- Home/
- Guides/
- Kitchen Renovation/
- How to Replace Kitchen Faucets
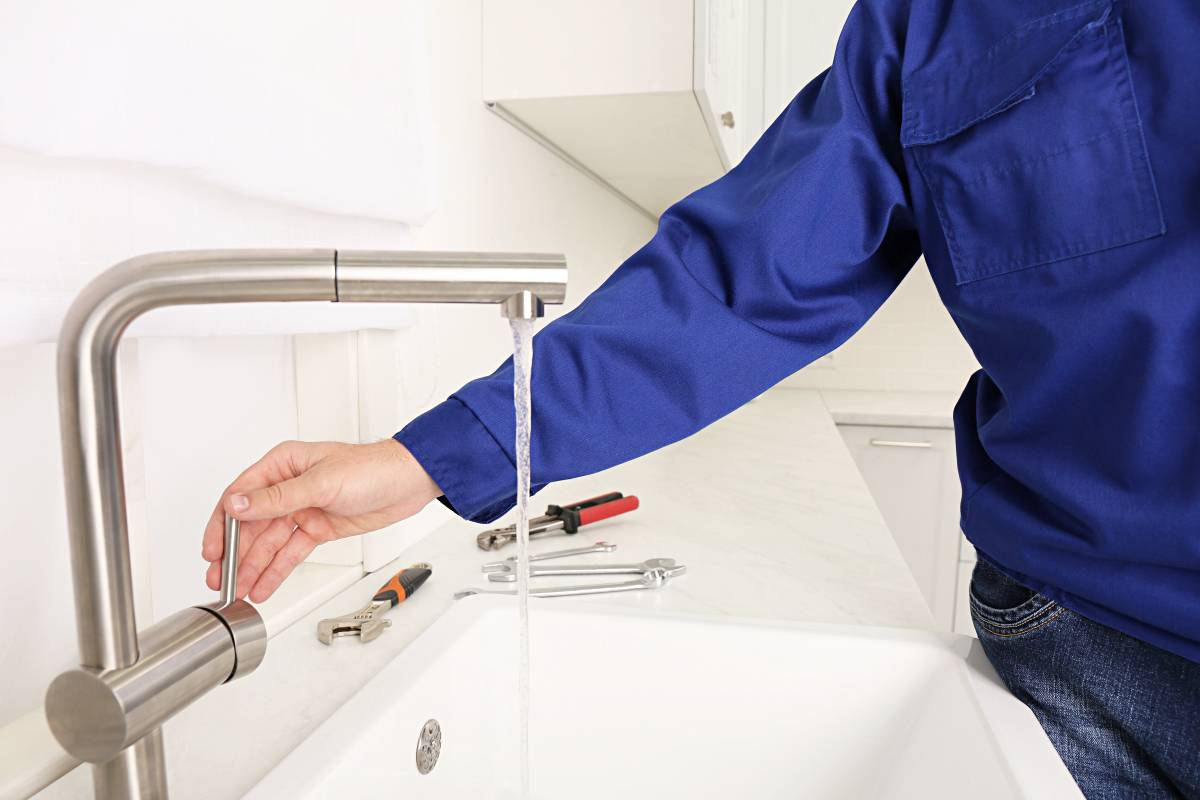
DIY kitchen makeover: How to replace a kitchen faucet with ease and confidence
Replace your kitchen faucet in 8 easy steps
Hire a plumberPublished on
Key Steps
- Turn off the water supply before you start. This is the most important step, as you don’t want to get sprayed with water when you’re working on the faucet.
- Disconnect the old faucet from the water supply. There will usually be a nut or a union that holds the faucet in place. Once you’ve disconnected the old faucet, you can remove it from the sink.
- Install the new faucet and turn on the water supply. Ensure the new faucet is properly aligned and tightened before turning on the water.
Your kitchen faucet is one of the most used fixtures in your home, so it’s important to keep it in good condition. But what do you do when your old faucet starts to leak, corrode, or just plain look outdated? Do you have to call a plumber?
Not necessarily! With the right tools and a little guidance, you can replace your kitchen faucet yourself. This guide will walk you through each step. So what are you waiting for? Roll up your sleeves and get ready to save some money by replacing your kitchen faucet yourself!
Signs that you need to replace your kitchen faucet
Several things indicate it’s time to replace the faucet in your kitchen sink:
Leaks - If you notice persistent leaks or dripping from your kitchen faucet despite numerous fixes, the old faucet is beyond repair and needs to be replaced.
Corroded or damaged faucet - If your old faucet is corroded, damaged, or shows signs of wear and tear, such as loose handles or difficulty in turning the faucet on and off, it’s time to replace your kitchen faucet with a new one.
Changes in water pressure - You might notice unusual noises when using the faucet and a difference in water pressure without adjusting anything. This could indicate internal damage, which could warrant kitchen faucet replacement.
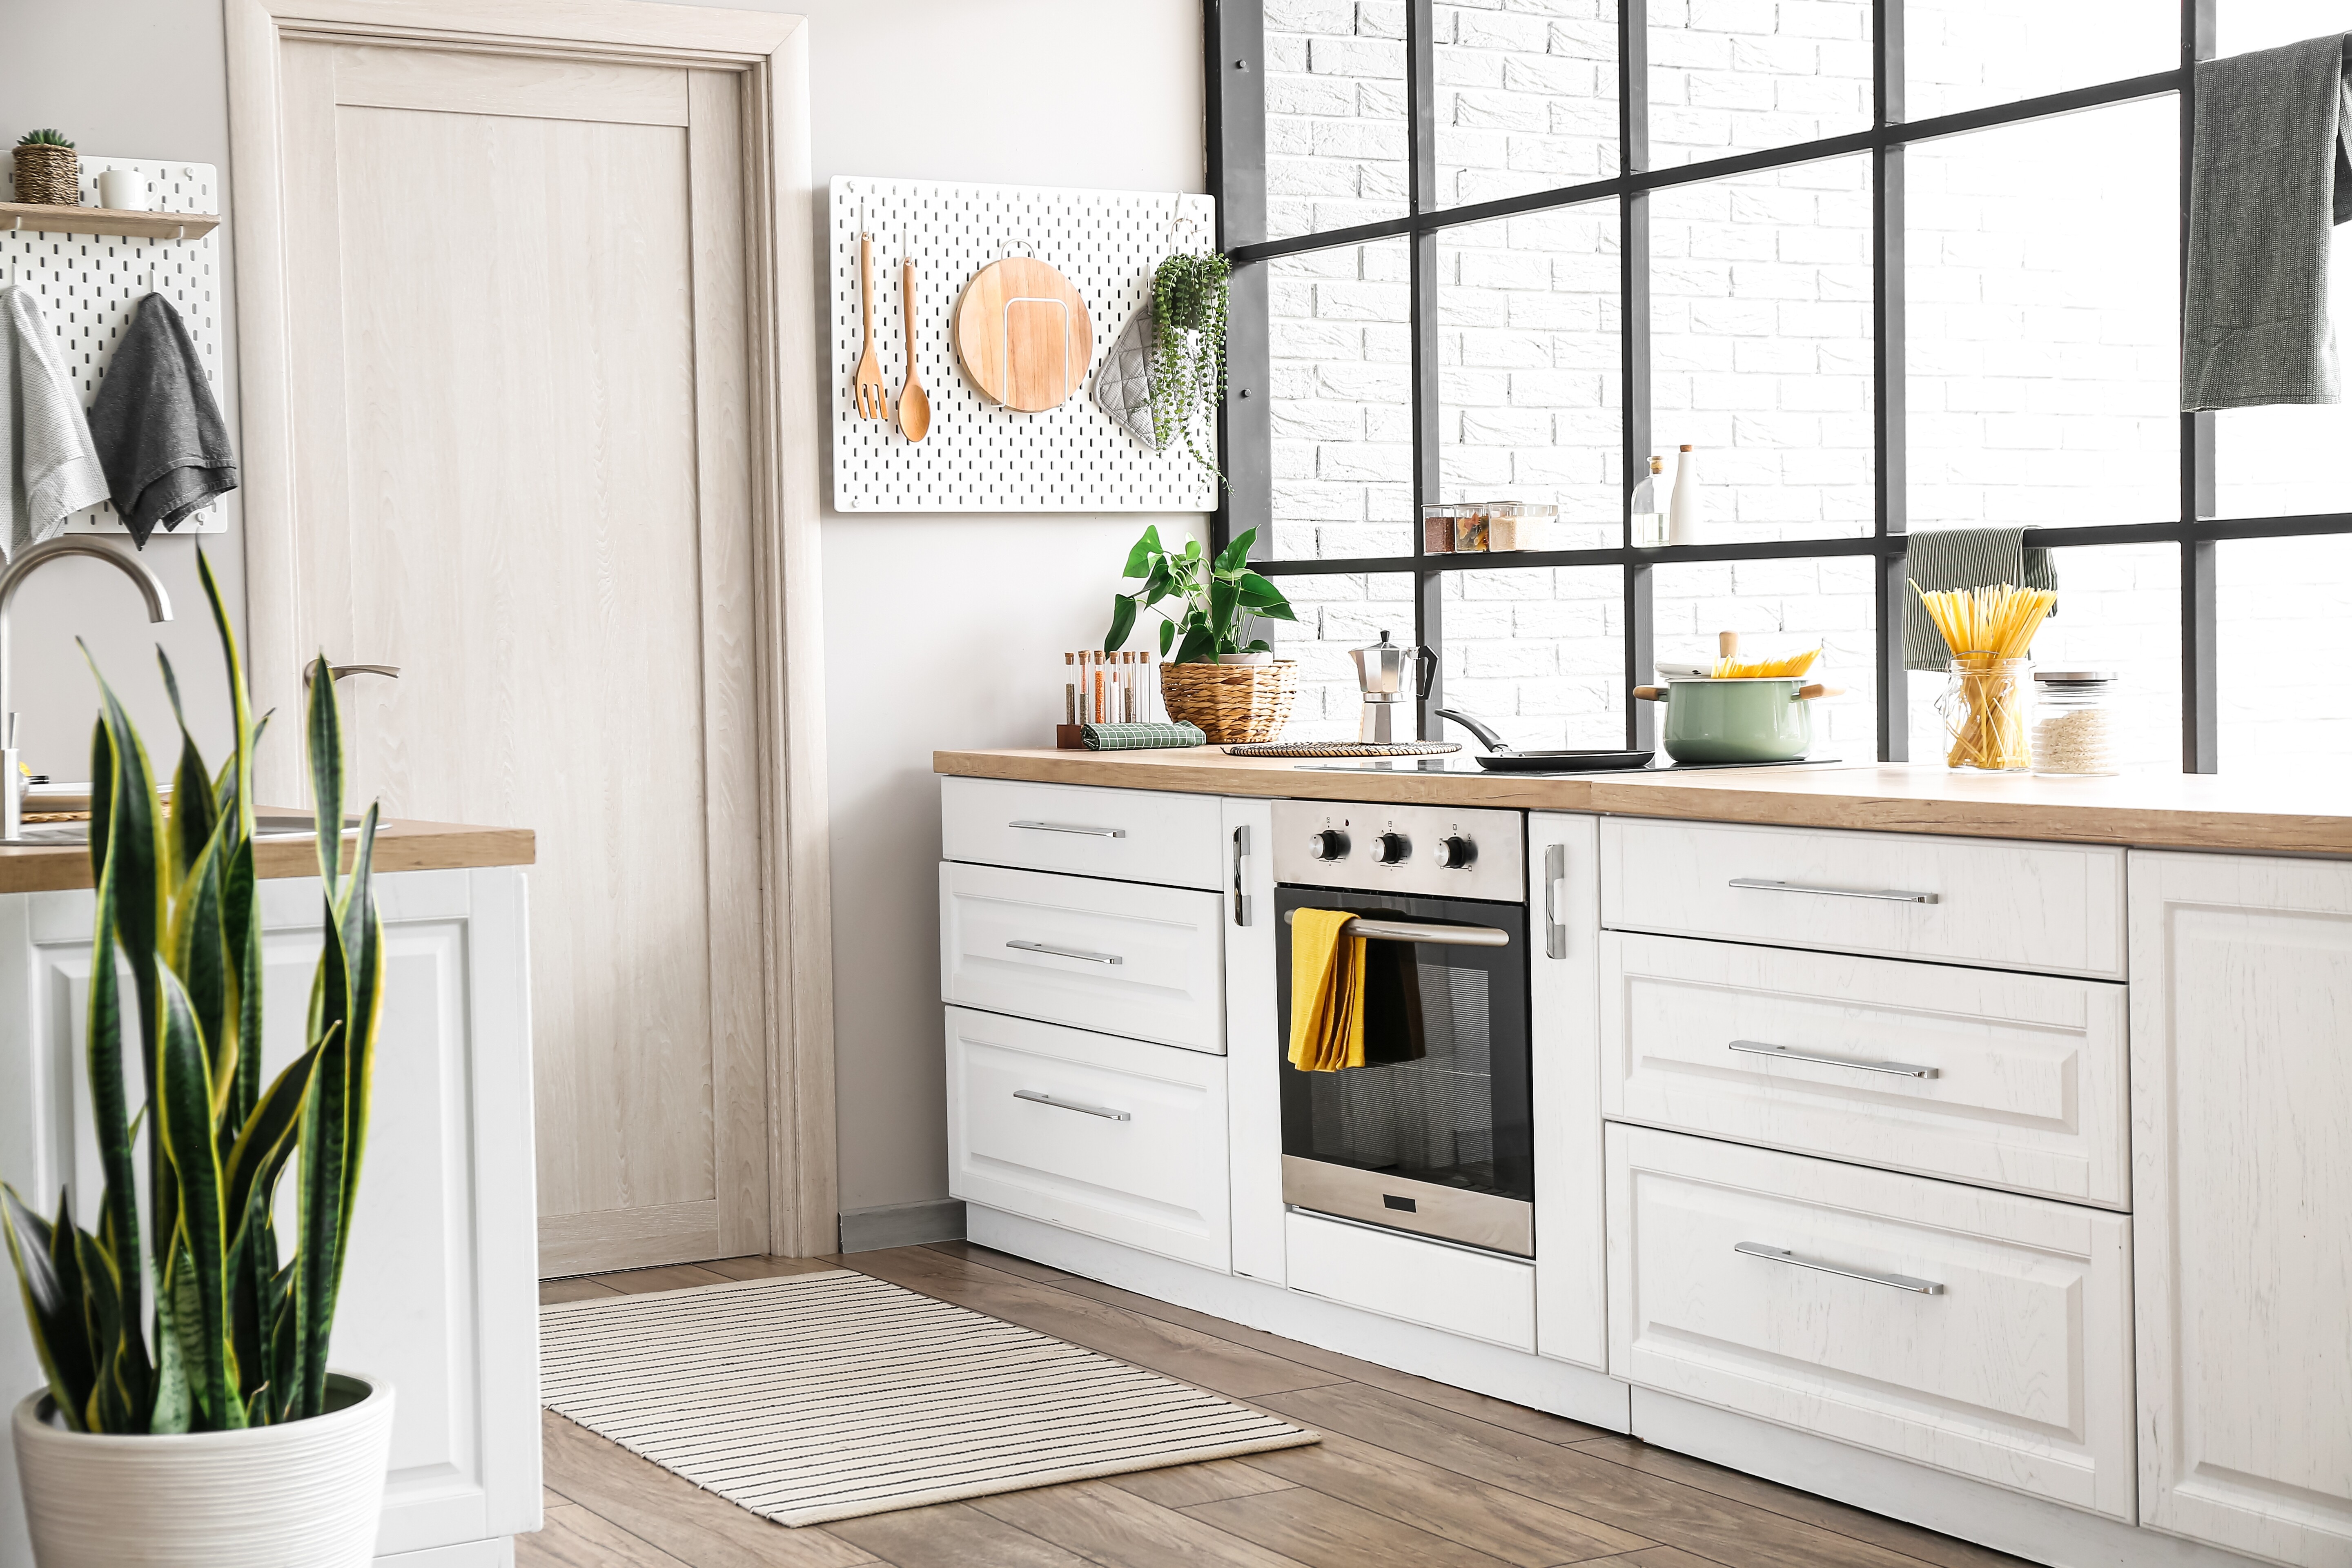
Outdated aesthetics - If your existing faucet no longer suits your kitchen’s style or if you plan on renovating your kitchen altogether, consider upgrading your existing kitchen faucet to match your new aesthetic.
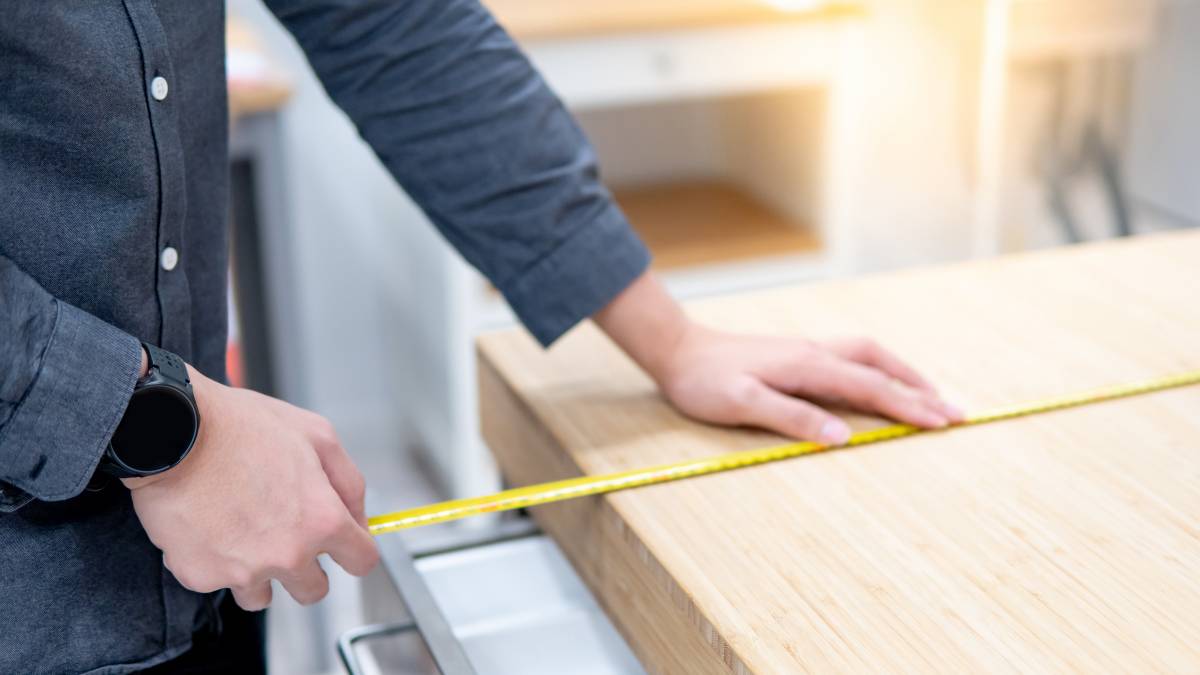
Preparing to replace kitchen faucets (tools, safety measures, etc.)
From changing kitchen faucets to installing kitchen sinks, it’s important to gather all the right tools you need for a smooth and safe process. You’ll need a set of adjustable pliers, a wrench to loosen and tighten connections, pliers to grip and turn fittings if needed, a bucket to catch spilling water, and a cloth or towel to clean up any mess. Additionally, you might need plumber’s tape, more commonly known as Teflon tape, to provide a secure and leak-free seal on threaded connections.
Aside from gathering all the tools to install a new faucet, proper safety measures should be followed. For example, you’ll need to turn off the water supply to your kitchen. This can be done by shutting off the main water valve or locating the specific valve connected to your kitchen. Turning off the water will prevent accidental leaks or water damage during the replacement process.
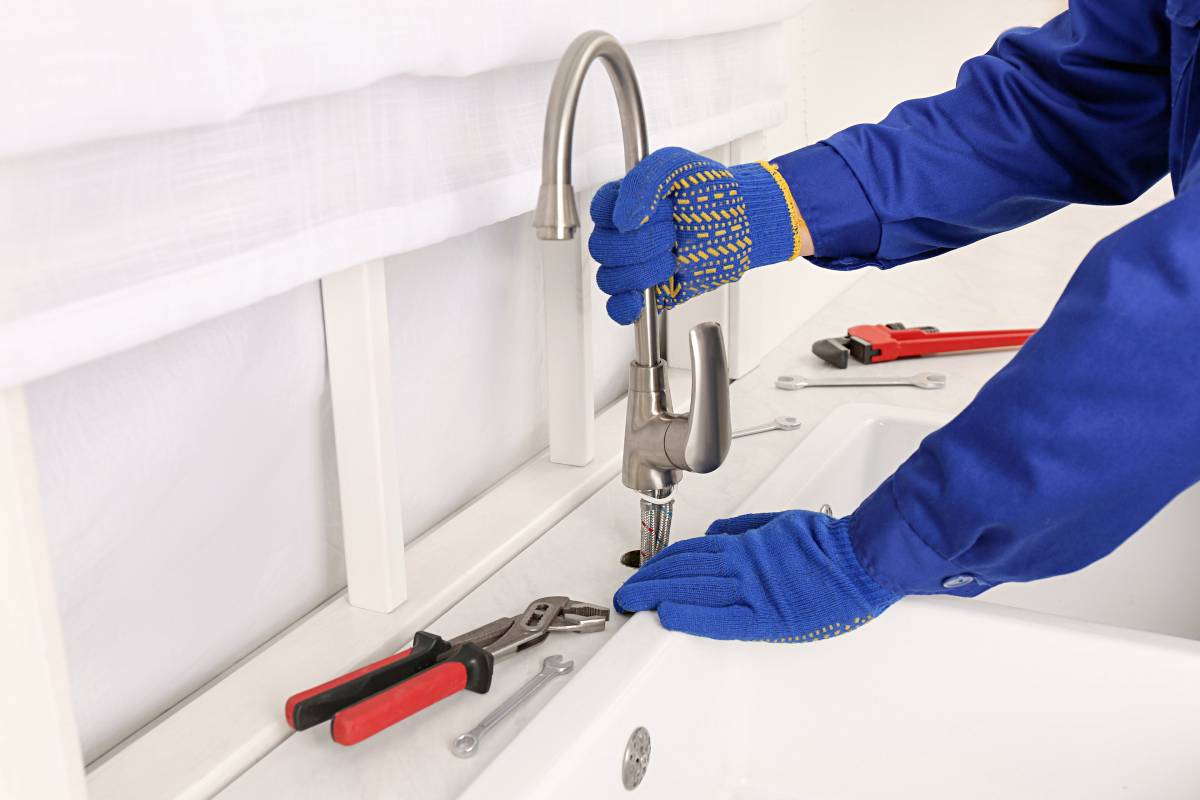
It’s also a good idea to wear safety goggles to protect your eyes from debris, harsh chemicals, and water splashes while removing or installing your kitchen faucet. If you’re still not confident about replacing a kitchen faucet yourself, it’s wise to ask a professional plumber for assistance.
How to replace a kitchen faucet on your own
After you have prepared your tools, turned off the water, and followed all required safety measures, you can start working on your old kitchen faucet. Here are step-by-step instructions on how to replace a kitchen faucet on your own:
1. Prepare the workspace
Place a bucket underneath the faucet area to catch any water that may spill during the removal process. This will help keep your workspace clean and minimize potential messes.
2. Disconnect the supply lines
Using an adjustable wrench or pliers, carefully loosen and disconnect the supply lines connected to the existing faucet. Be cautious of any water remaining in the lines and drain it into the bucket.
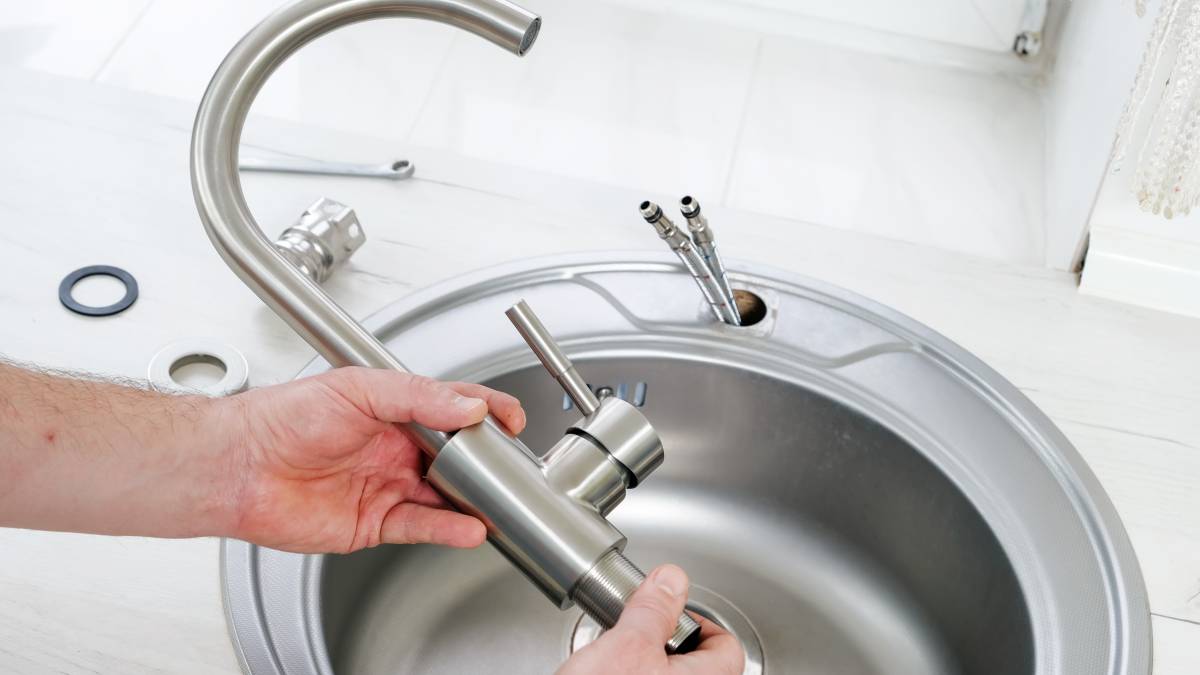
3. Remove the old faucet
Unscrew and remove the old faucet from the sink or countertop. Depending on the type of connections, you might need to use an adjustable wrench or pliers.
4. Apply plumber’s tape
Wrap a few layers of plumber’s tape around the threaded connections of the new faucet. This will create a tight seal and help prevent leaks.
5. Install the new faucet
Follow the manufacturer’s instructions to securely attach the new faucet to the sink or countertop. Use the provided hardware and tools, ensuring all connections are tightened properly.
6. Reconnect the supply lines
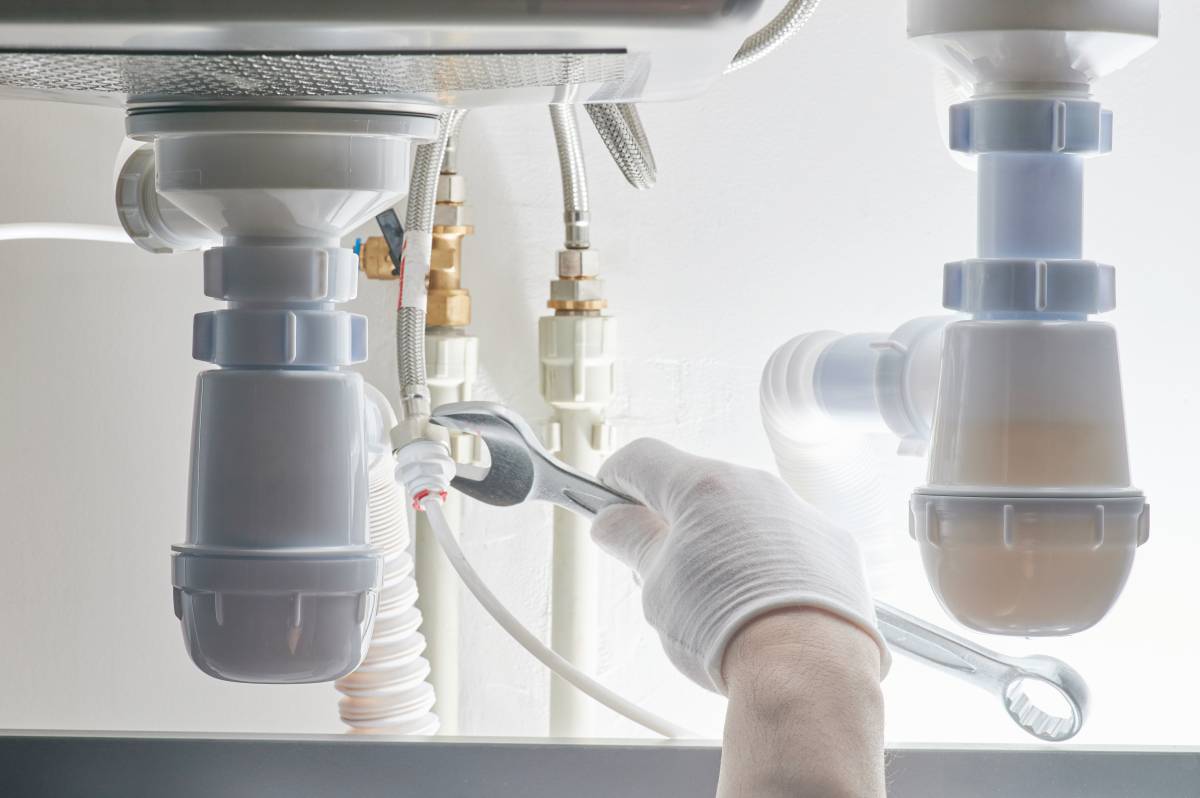
Reattach the supply lines to the corresponding connections on the new faucet. Use an adjustable wrench or pliers to tighten them securely, but be careful not to overtighten and cause damage.
7. Turn on the water supply
Slowly turn the water supply valve on and check for wetness around the new faucet and connections. If there are leaks, tighten the affected connections further or reapply plumber’s tape if necessary.
8. Test for functionality
Once you’ve confirmed there are no leaks, turn on the faucet and check its functionality. Make sure that the water flow is smooth and that the handle operates properly.
Replace your kitchen faucet easily with Airtasker
Overall, replacing your kitchen faucets doesn’t have to be a tedious task. With a little bit of elbow grease and the right tools, you can do it yourself. But if you’re still hesitant, don’t worry! Airtasker understands that plumbing projects require a lot of skill and hard work, and the platform can connect you with vetted professionals who can do the job for you.
Just log in and connect with nearby plumbers to help you get the job done. All you need to do is post a task, set your preferred schedule and budget, and wait for offers to come in. Be sure to review each offer before choosing the Tasker who best fits your needs.
If you’re ready to replace kitchen faucets, upgrade your kitchen fixtures, or tackle any other home improvement project, try Airtasker today and get a quote.
FAQs on kitchen faucet replacement
On average, replacing kitchen faucets takes between 30 minutes to 1 hour.
No. Kitchen faucet fittings come in a variety of styles, sizes, and connection types. While many faucets share common features and are compatible with a range of sinks, the number of holes in the sink, the spacing between them, and the specific plumbing connections can all influence the compatibility of a faucet fitting with a particular sink.
Most people change their kitchen faucets every 1 to 5 years, mostly for aesthetic and functionality purposes. But barring leaks, major damage, and corrosion, kitchen faucets could last you even decades.
Find kitchen renovators, fast
Find a kitchen renovator
Related articles


Related price guides