No matter how neat you are, if you own Apple AirPods they’re going to end up dirty, grimy and full of earwax. Hello, grossness, goodbye sound quality.
So, how to clean AirPods so they sound as good as new? This article will show you a step-by-step guide on how to properly clean your AirPods and bring back that pristine audio experience. Let’s dive in!
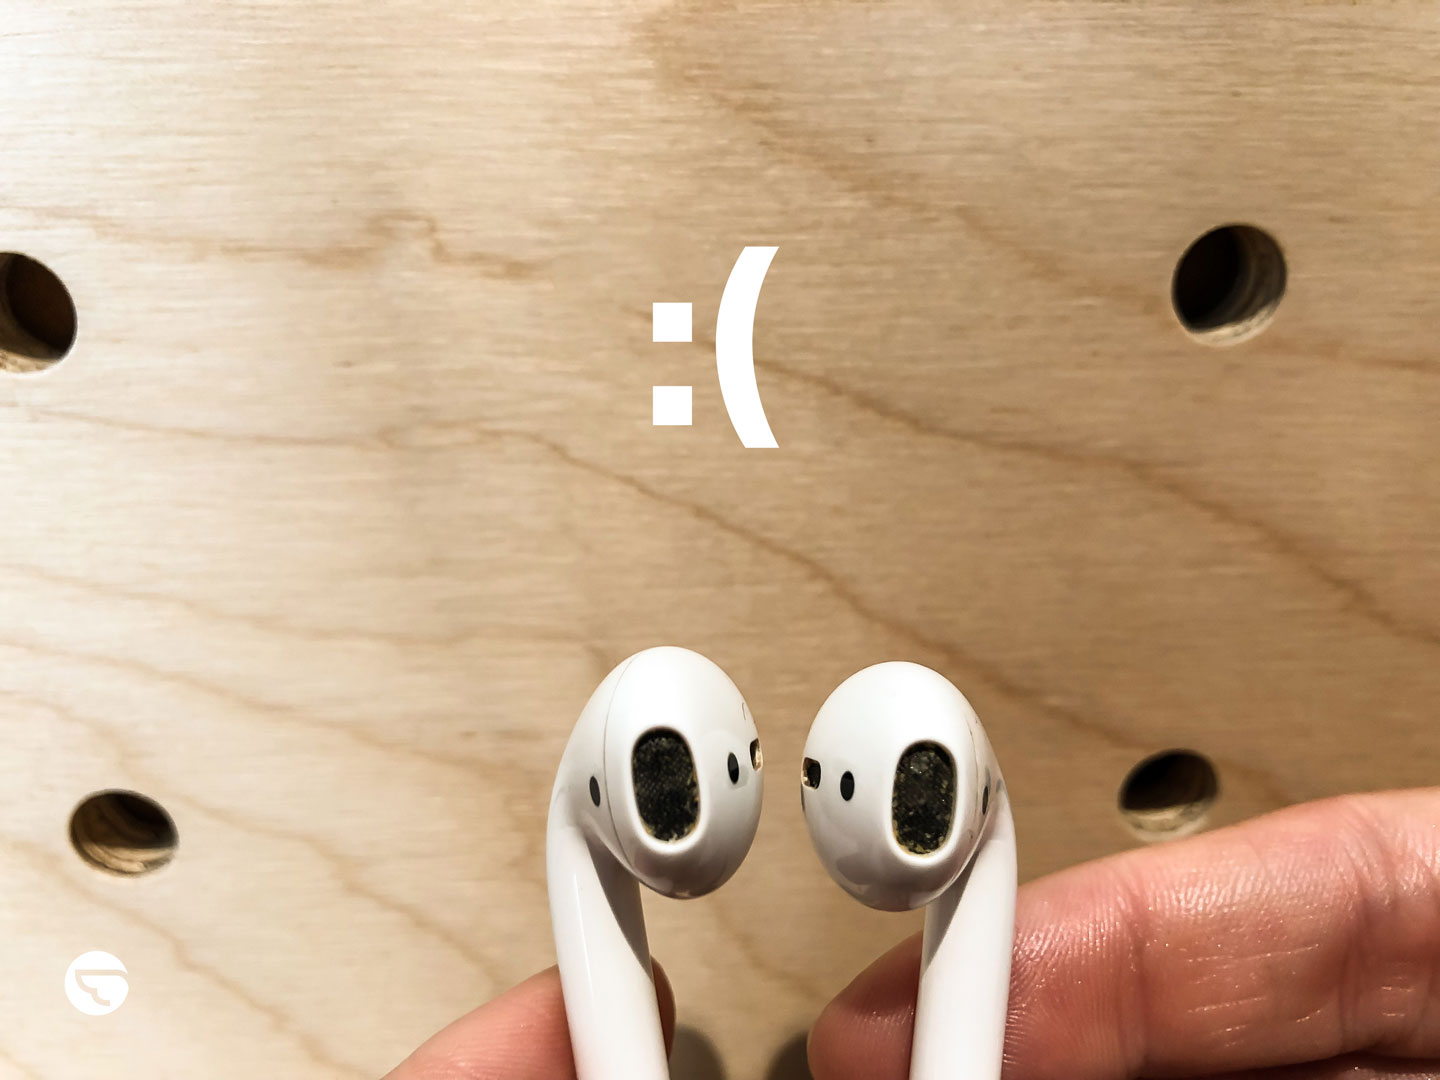
How to deep clean your dirty AirPods (the right way)
Apple Support suggests using a “soft, dry, lint-free cloth” to clean AirPods, but if you’ve tried you’ll know this doesn’t do much to help low or muffled sound quality. To bring that bass back you need to get the built-up wax out.
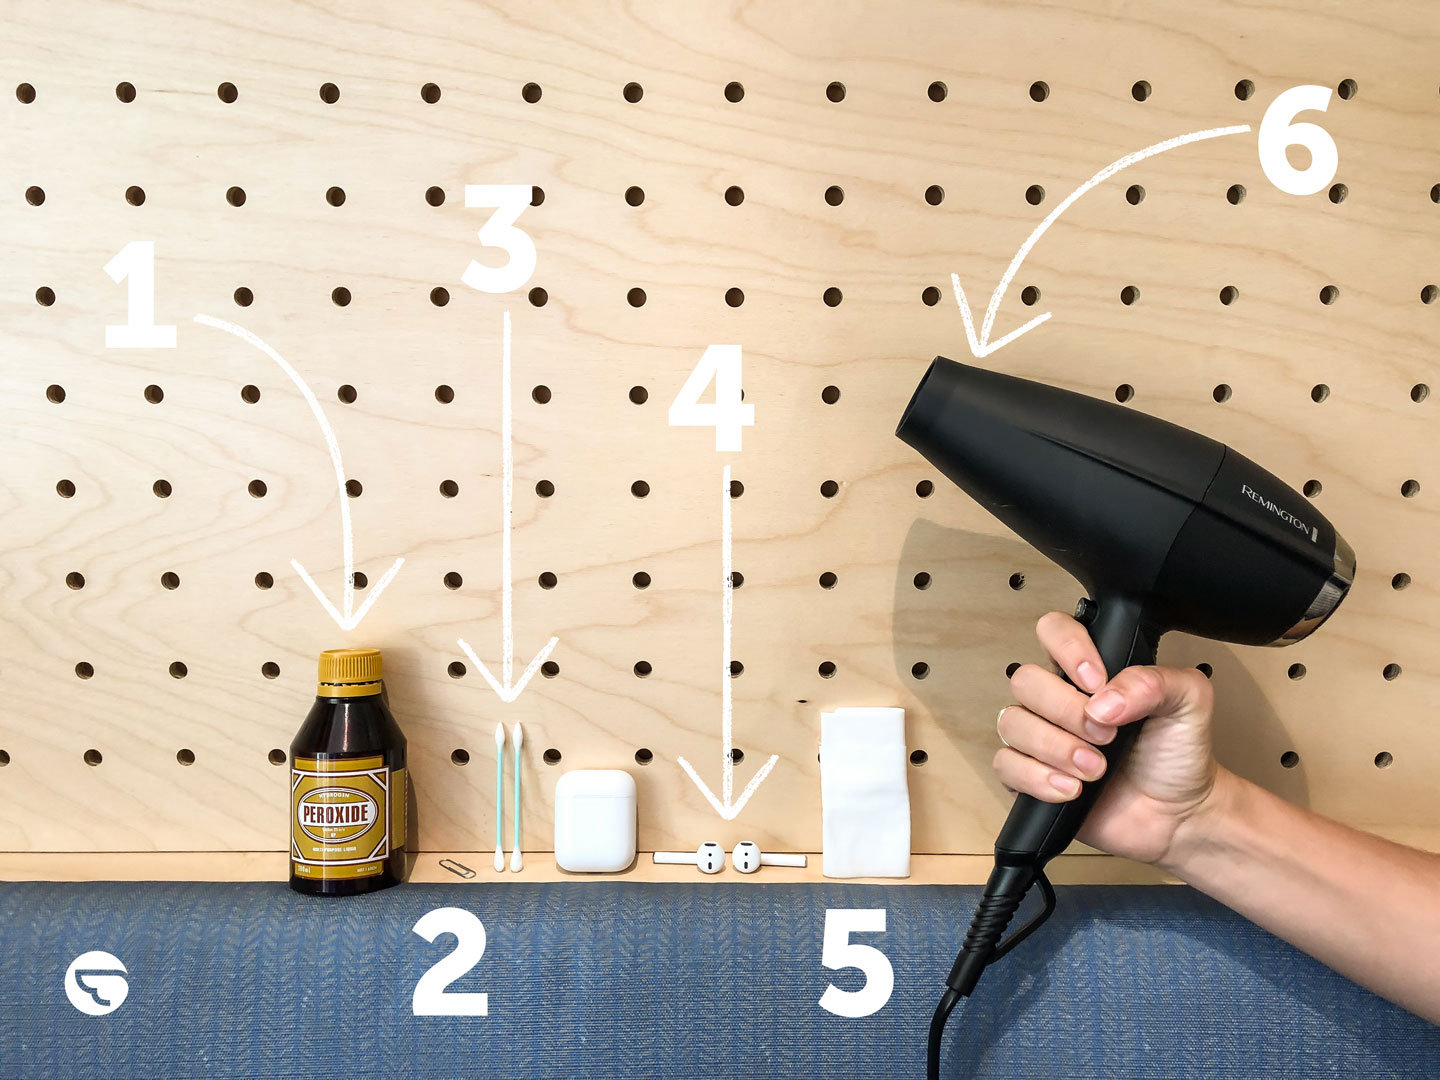
You need to do an AirPod deep clean. To give your AirPods a proper cleaning and restore their sound quality, you’ll need these cleaning materials:
- Hydrogen peroxide
- A paperclip
- Cotton tips / Q-tips
- Your Apple Airpod earphones
- A cloth or wet wipe
- A hairdryer
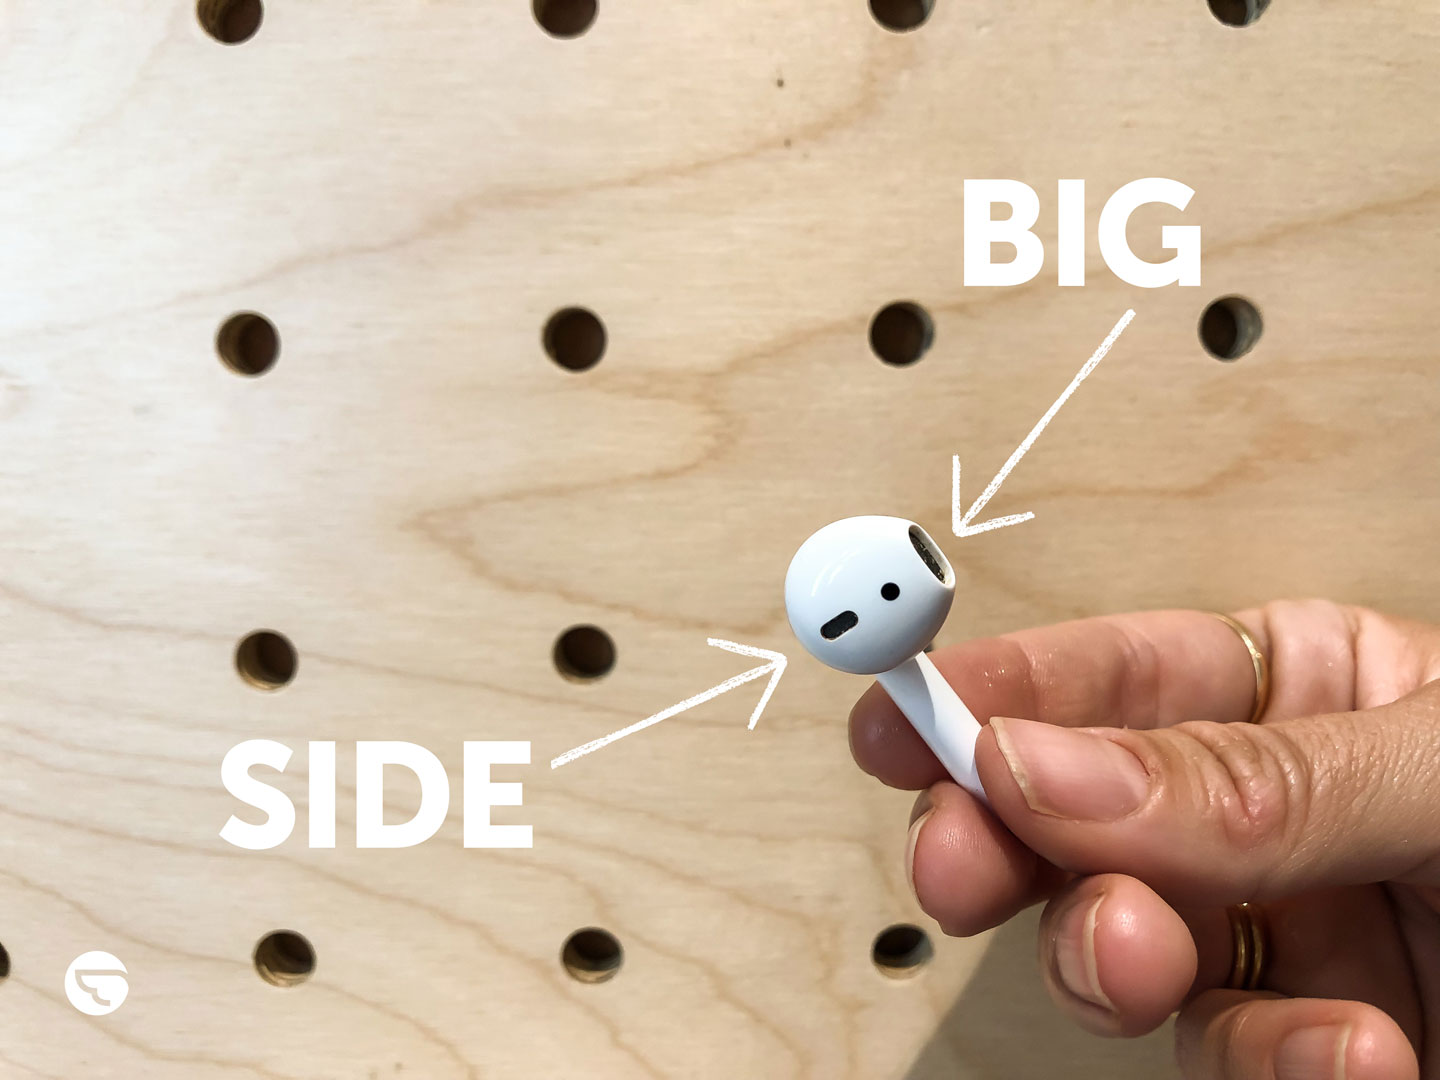
But, first things first, let’s get the terminology right.
When we refer to the ‘big‘ hole we mean the one that goes in your ear.
When we refer to the ‘side‘ holes we mean the smaller vents on either side of each earbud.
Now, let’s go through these simple steps on how to clean your AirPods thoroughly and enjoy better sound quality.
Step 1: Unfold the paperclip
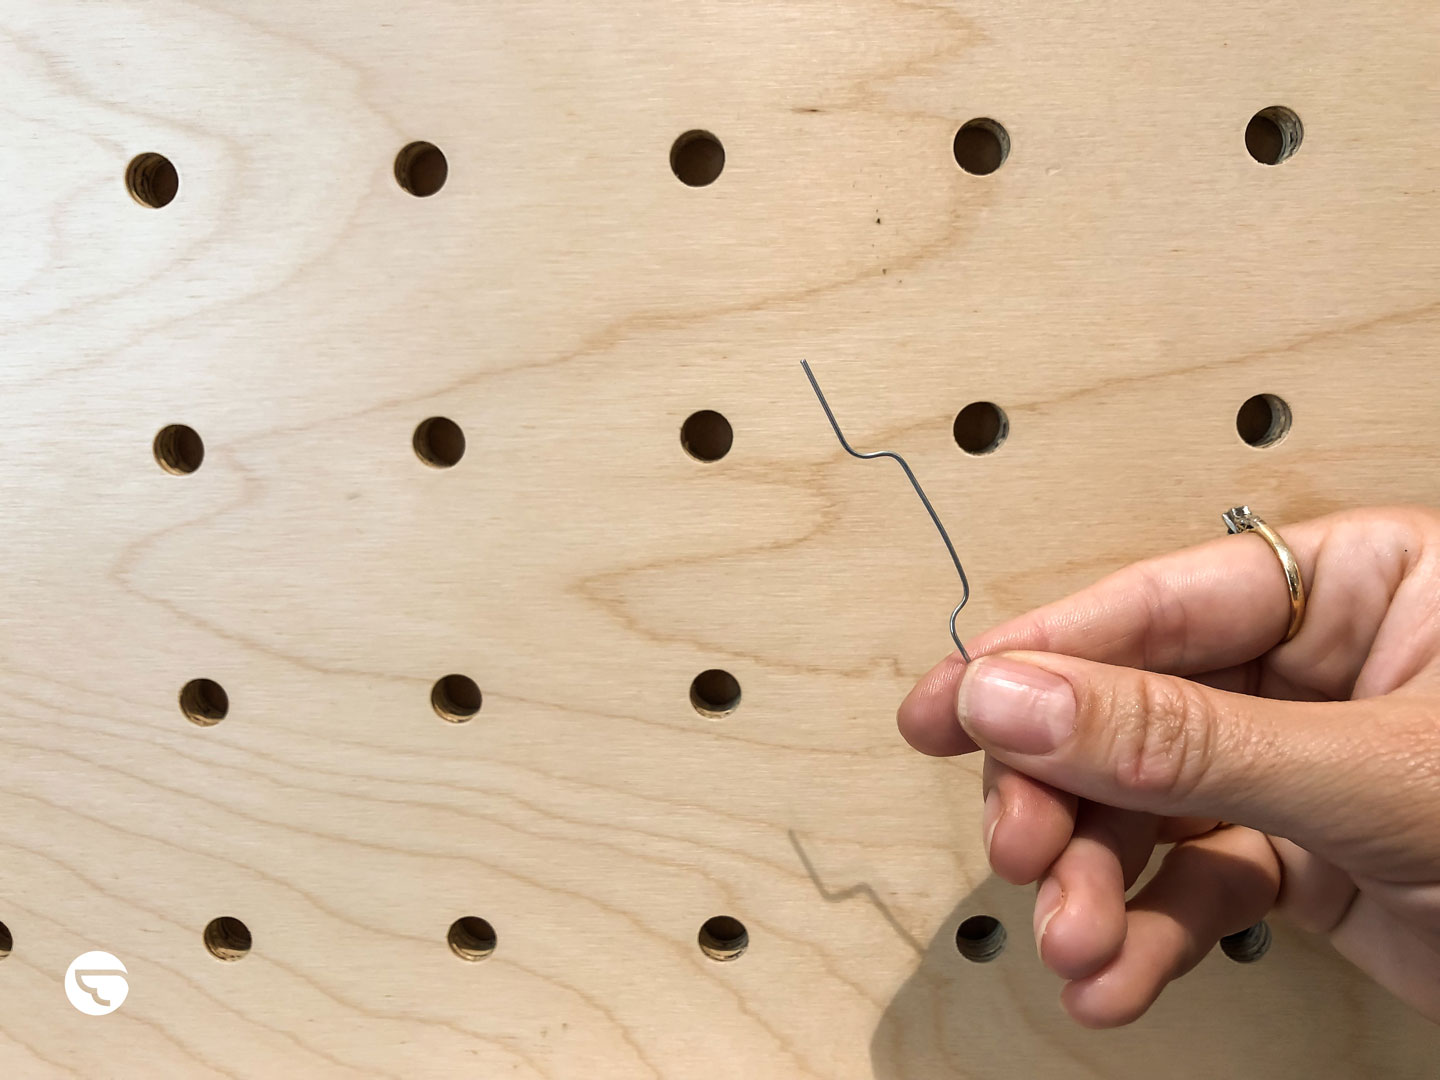
You just need a strong but small tool – you could also use the point of a nail file or the edge of a biro lid.
Step 2: Carefully scrape external build-up from the edge of the big hole with the paperclip
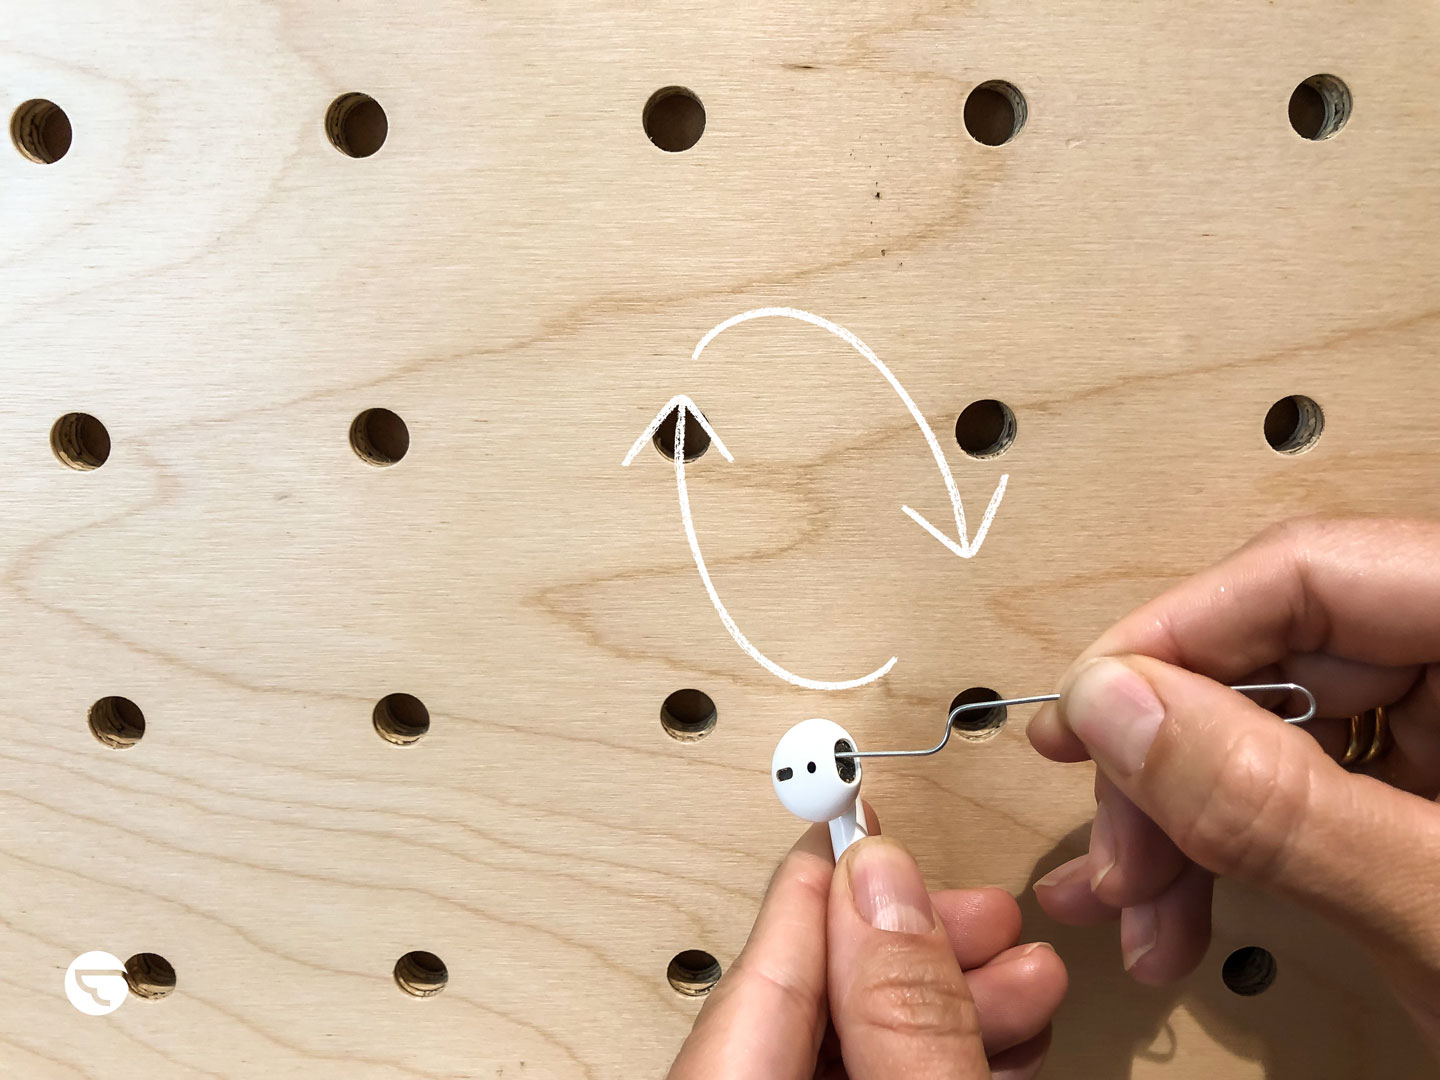
Be careful and don’t poke the mesh too hard, this is just to scratch off any superficial gunk built up around the outer edge.
Step 3: Tap the AirPod on a flat surface to dislodge loose gunk.
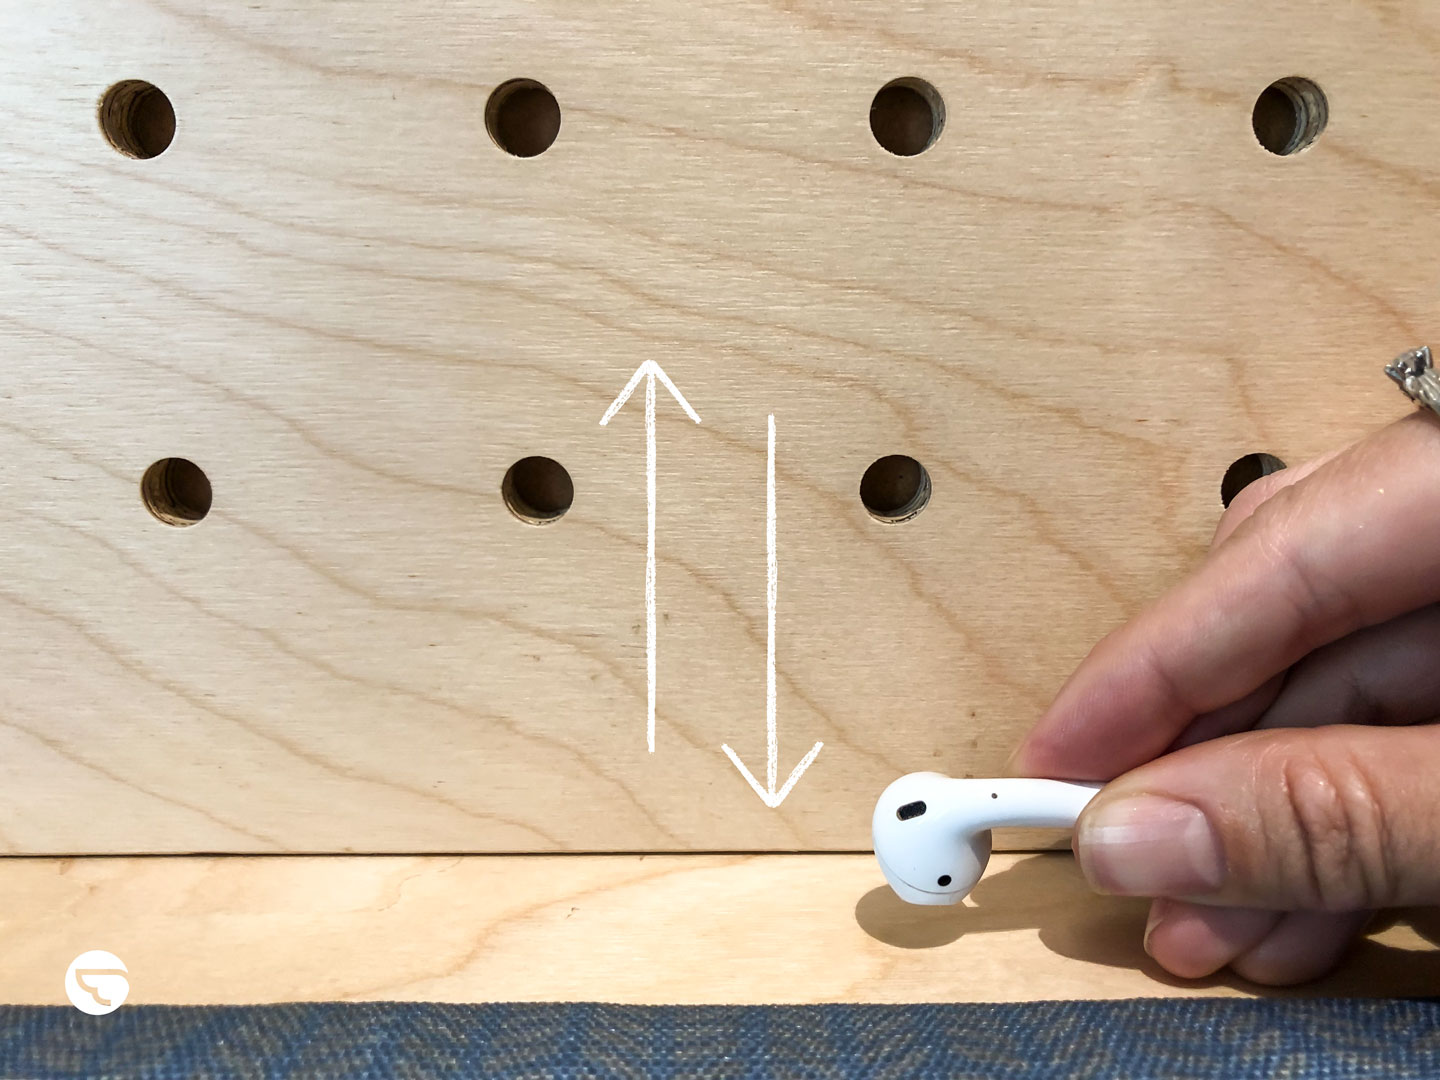
Keep the big hole face down so the dirt and wax fall out, not back in.
Step 4: Dip a cotton tip in the hydrogen peroxide solution
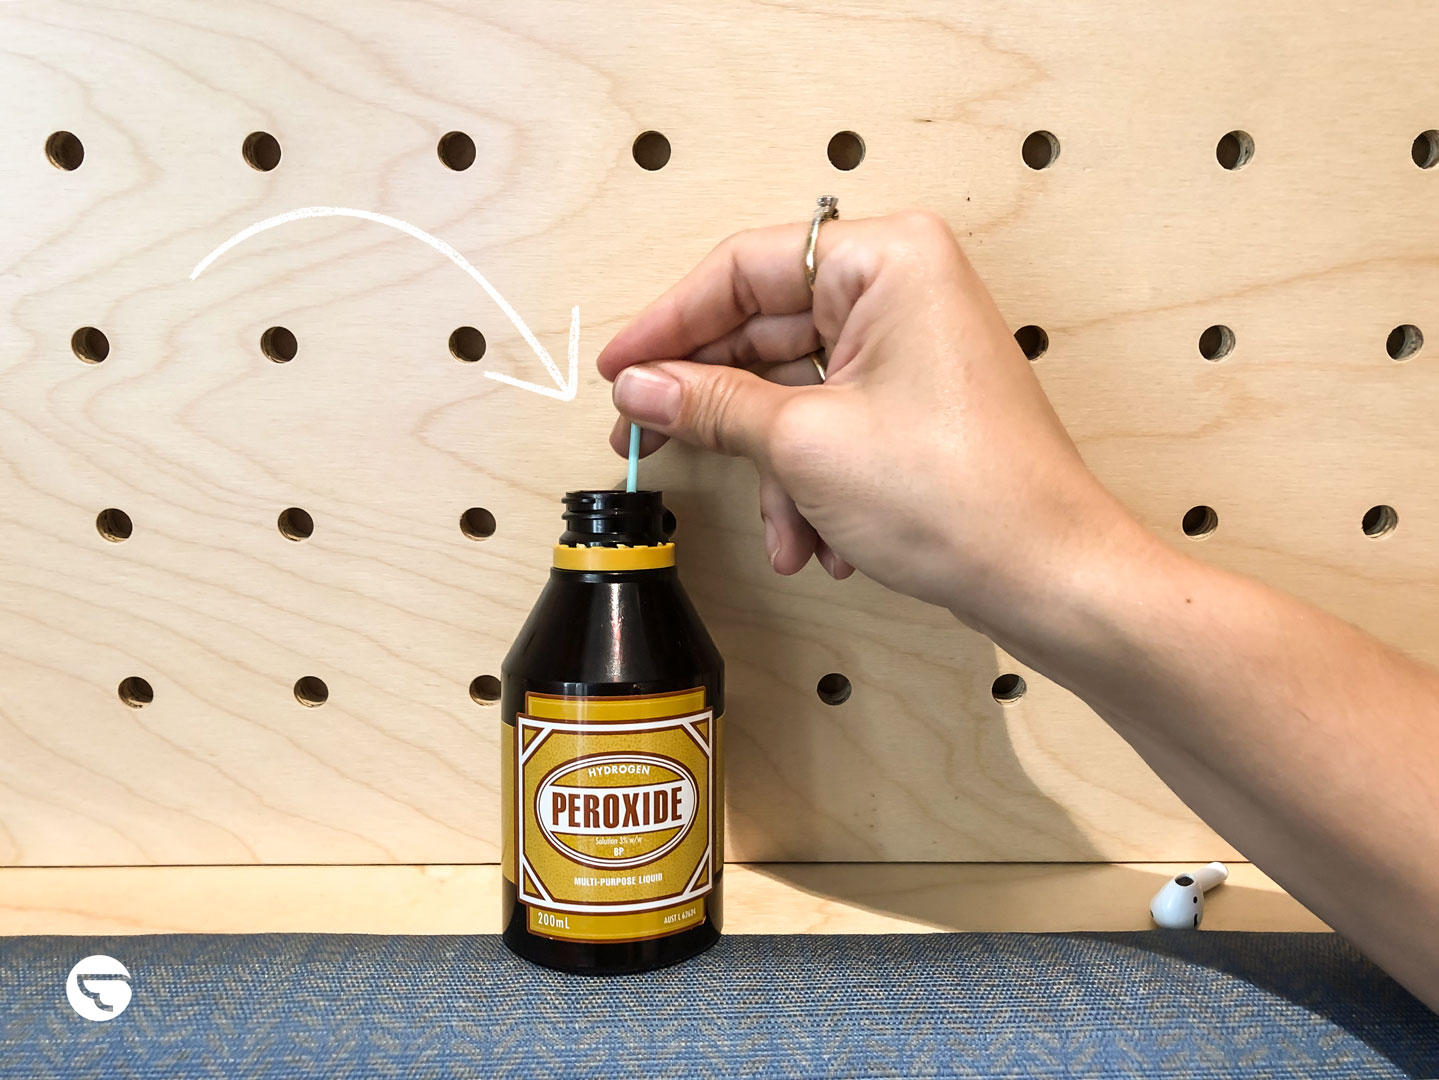
Think damp, not soaking. You’re not re-bleaching your AirPods back to box-fresh white. The peroxide is to soften the built-up earwax caught in the mesh.
Step 5: Wipe over the big hole with the peroxide-dipped cotton tip
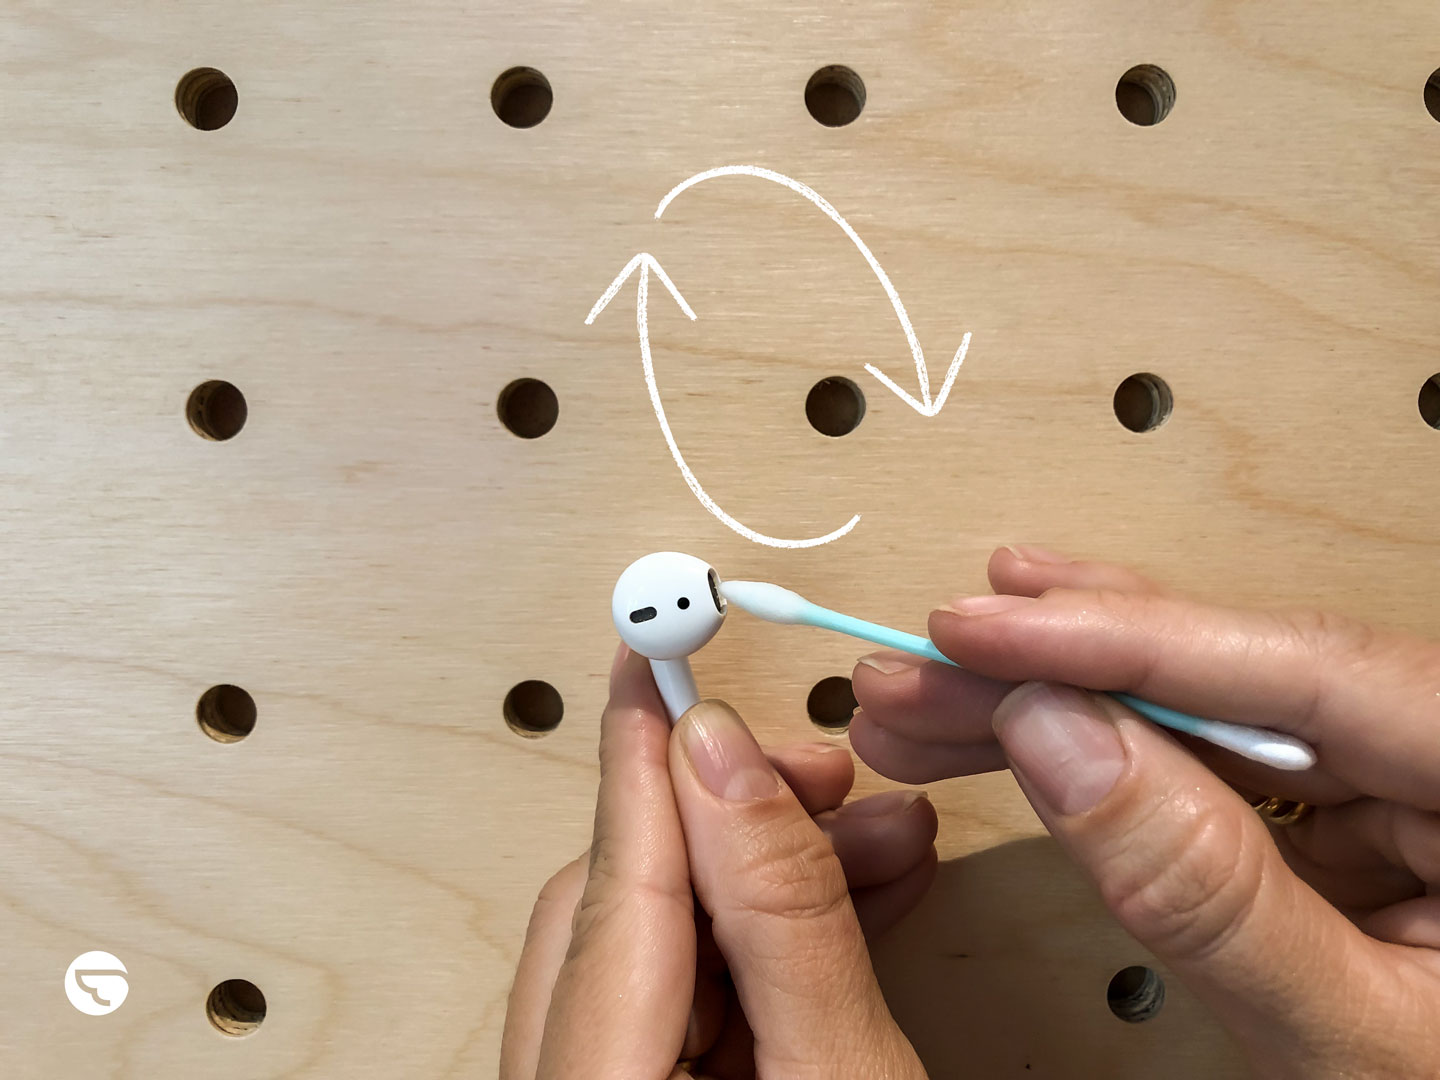
Wipe over the side holes too. This softens the earwax lodged in the mesh.
Step 6: Gently heat with the hairdryer to liquefy the wax
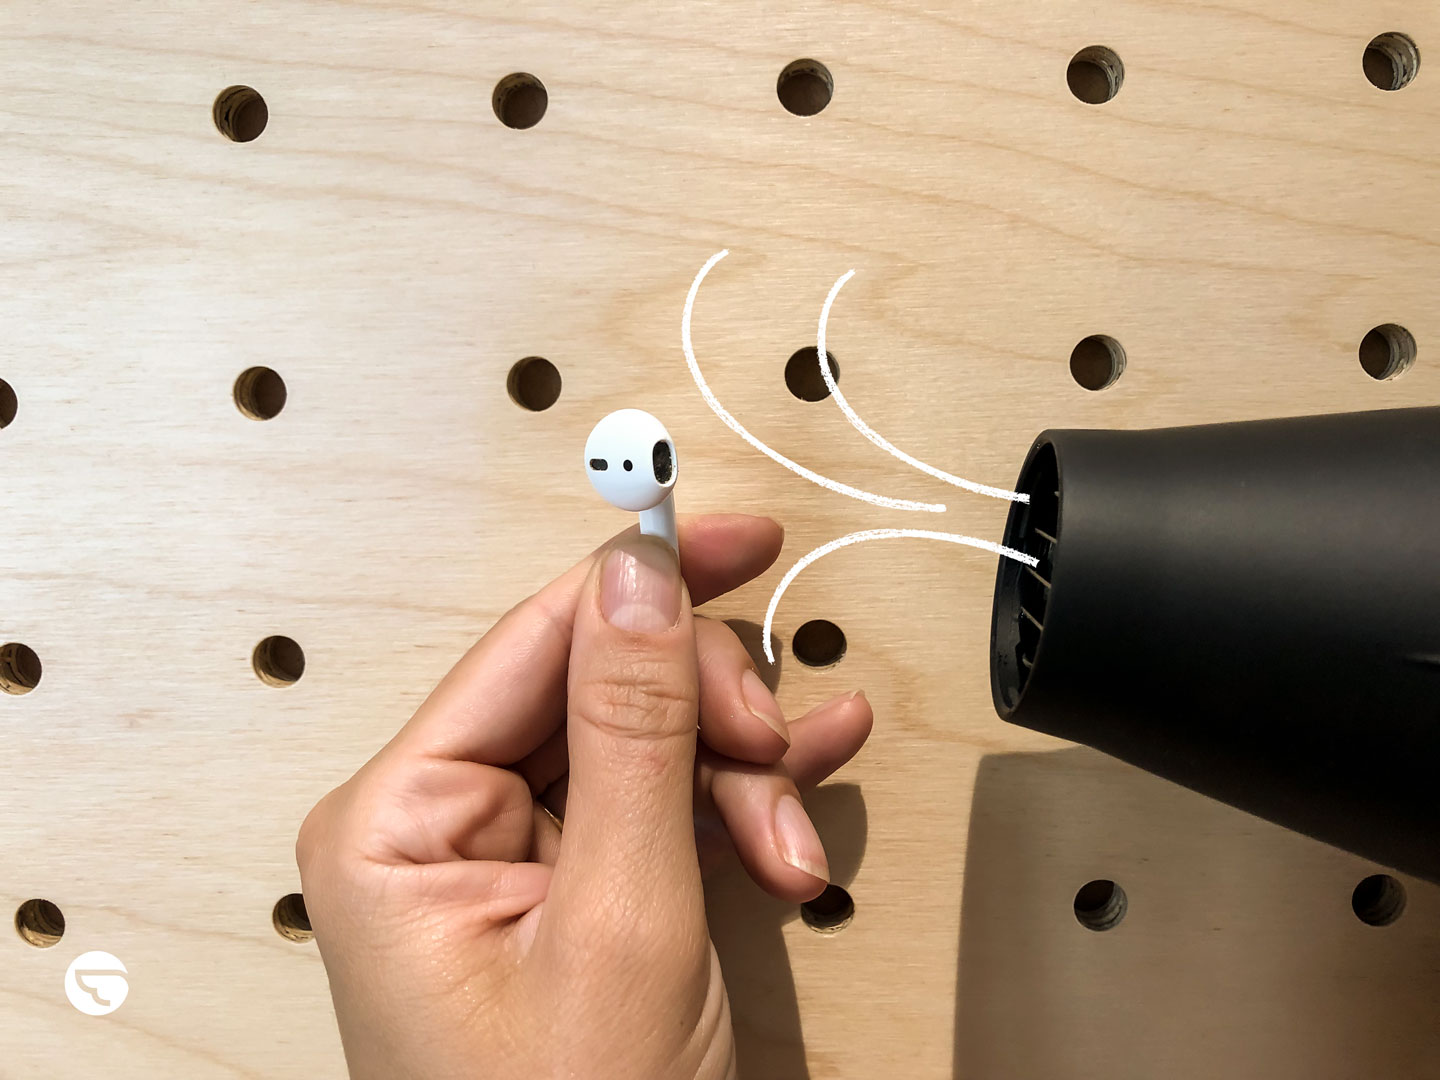
Common sense is required here – don’t blast them on high heat for 10 minutes. You just want to heat them enough to melt any wax inside.
Now, this is where it gets a bit weird but bear with us.
Step 7: Blow hard through the big hole
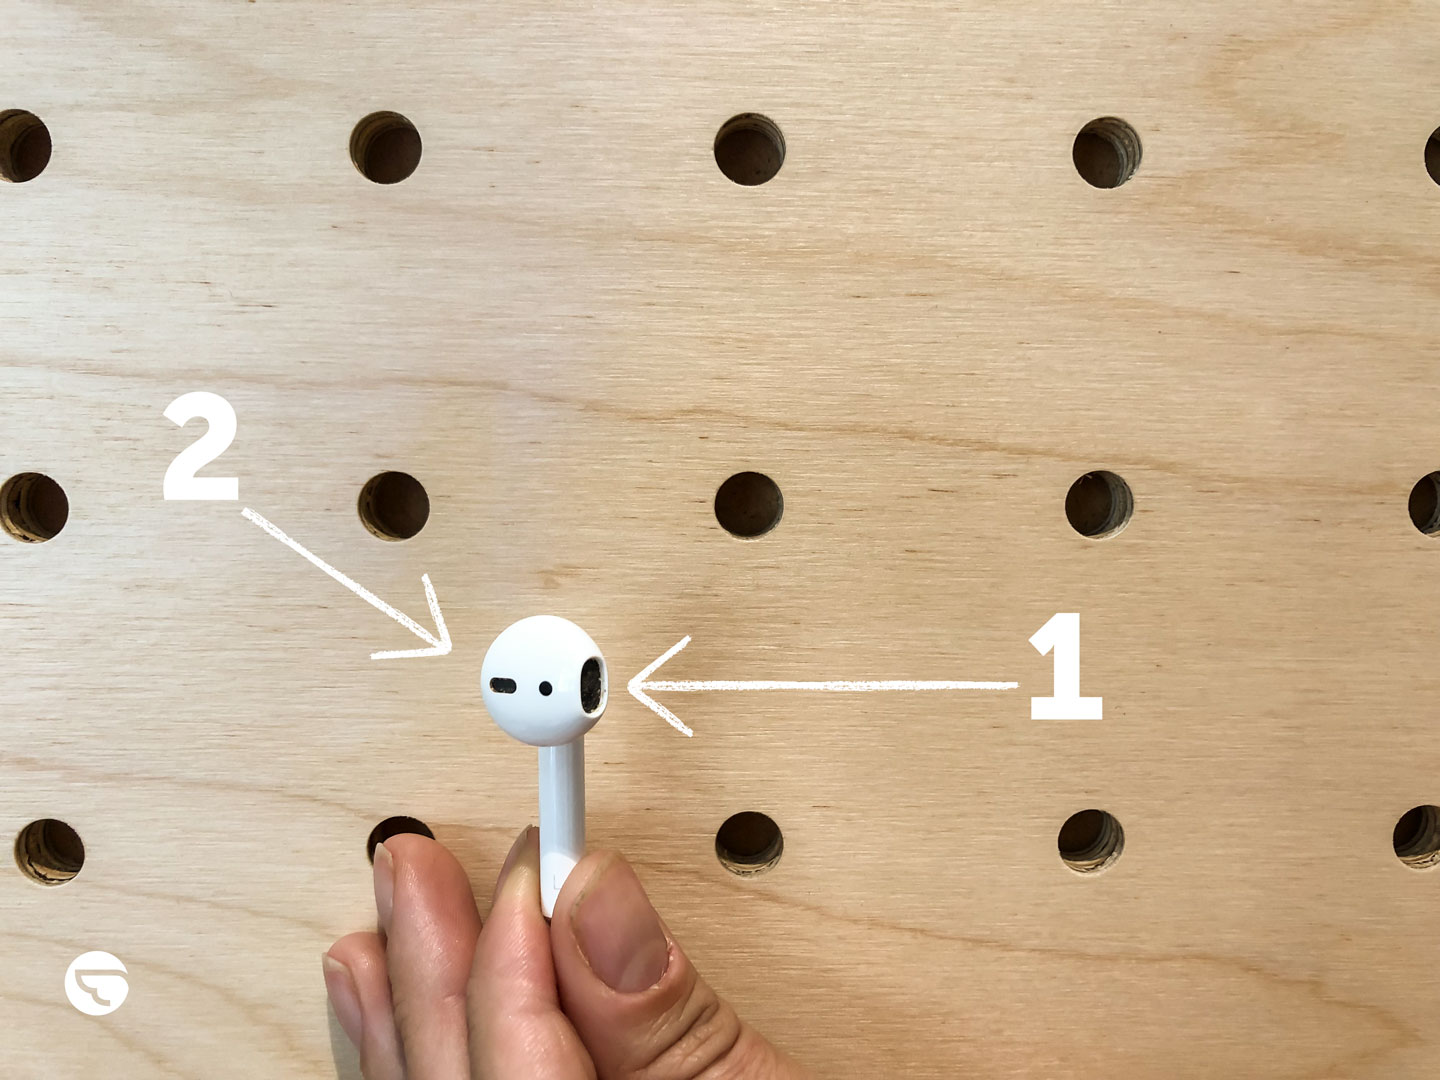
Then blow through the side holes. These should be short, sharp breaths.
This is a bit gross but presumably, it’s your own earwax, so…
Step 8: Suck through the big hole
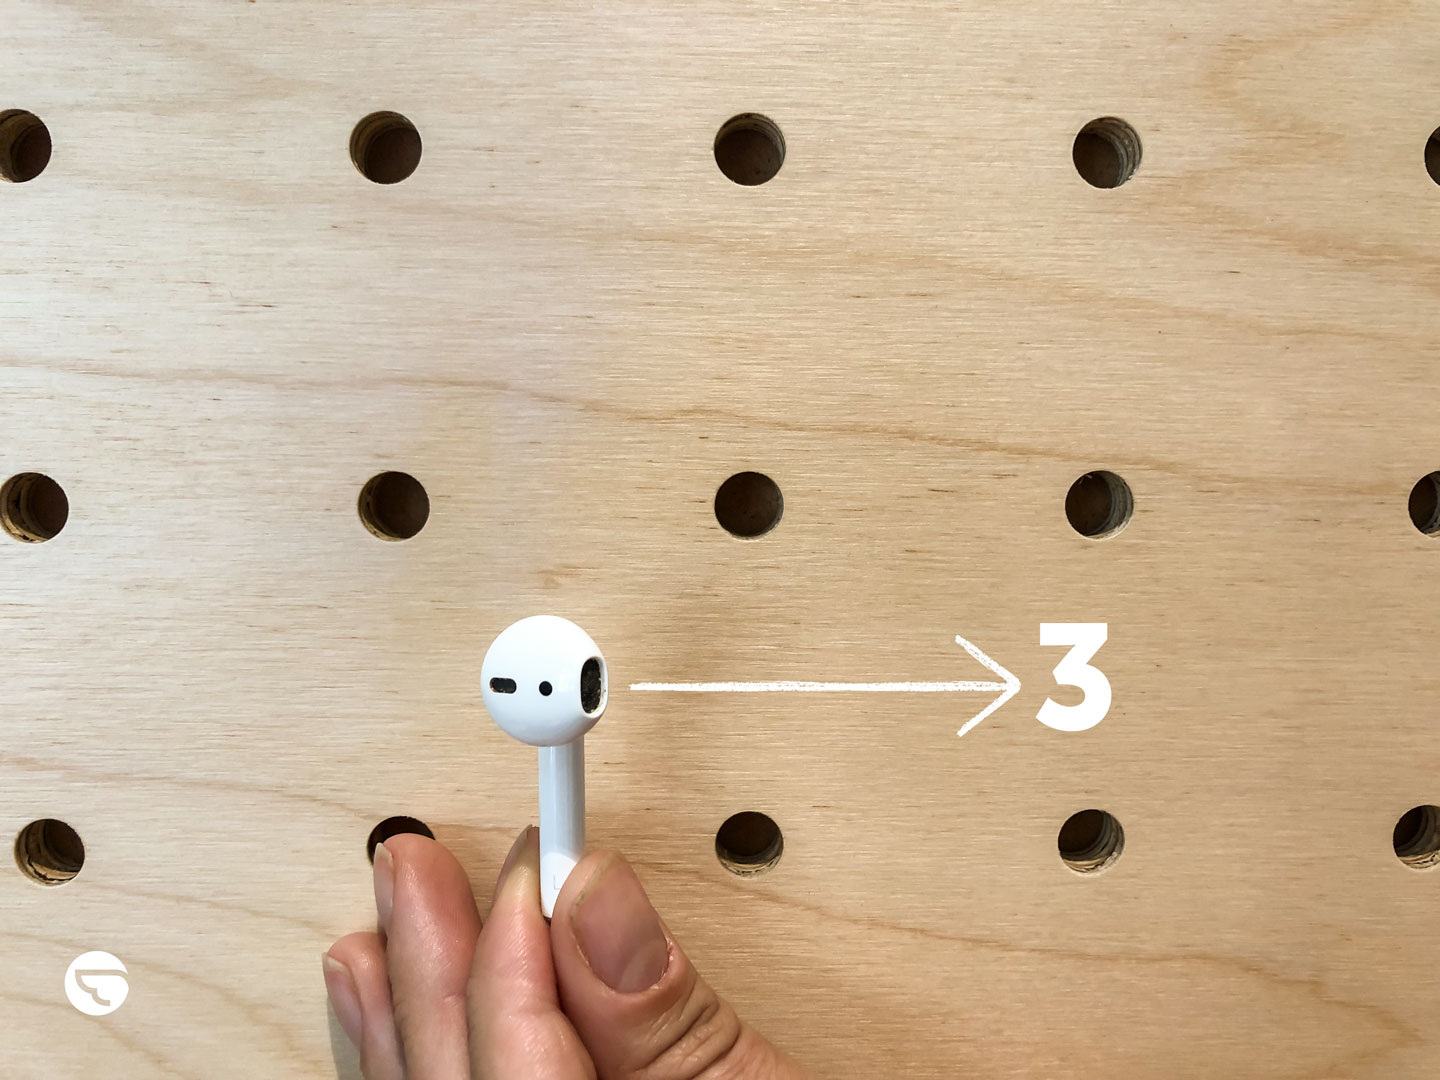
Seriously, stay with us.
Step 9: Blow through the big hole again
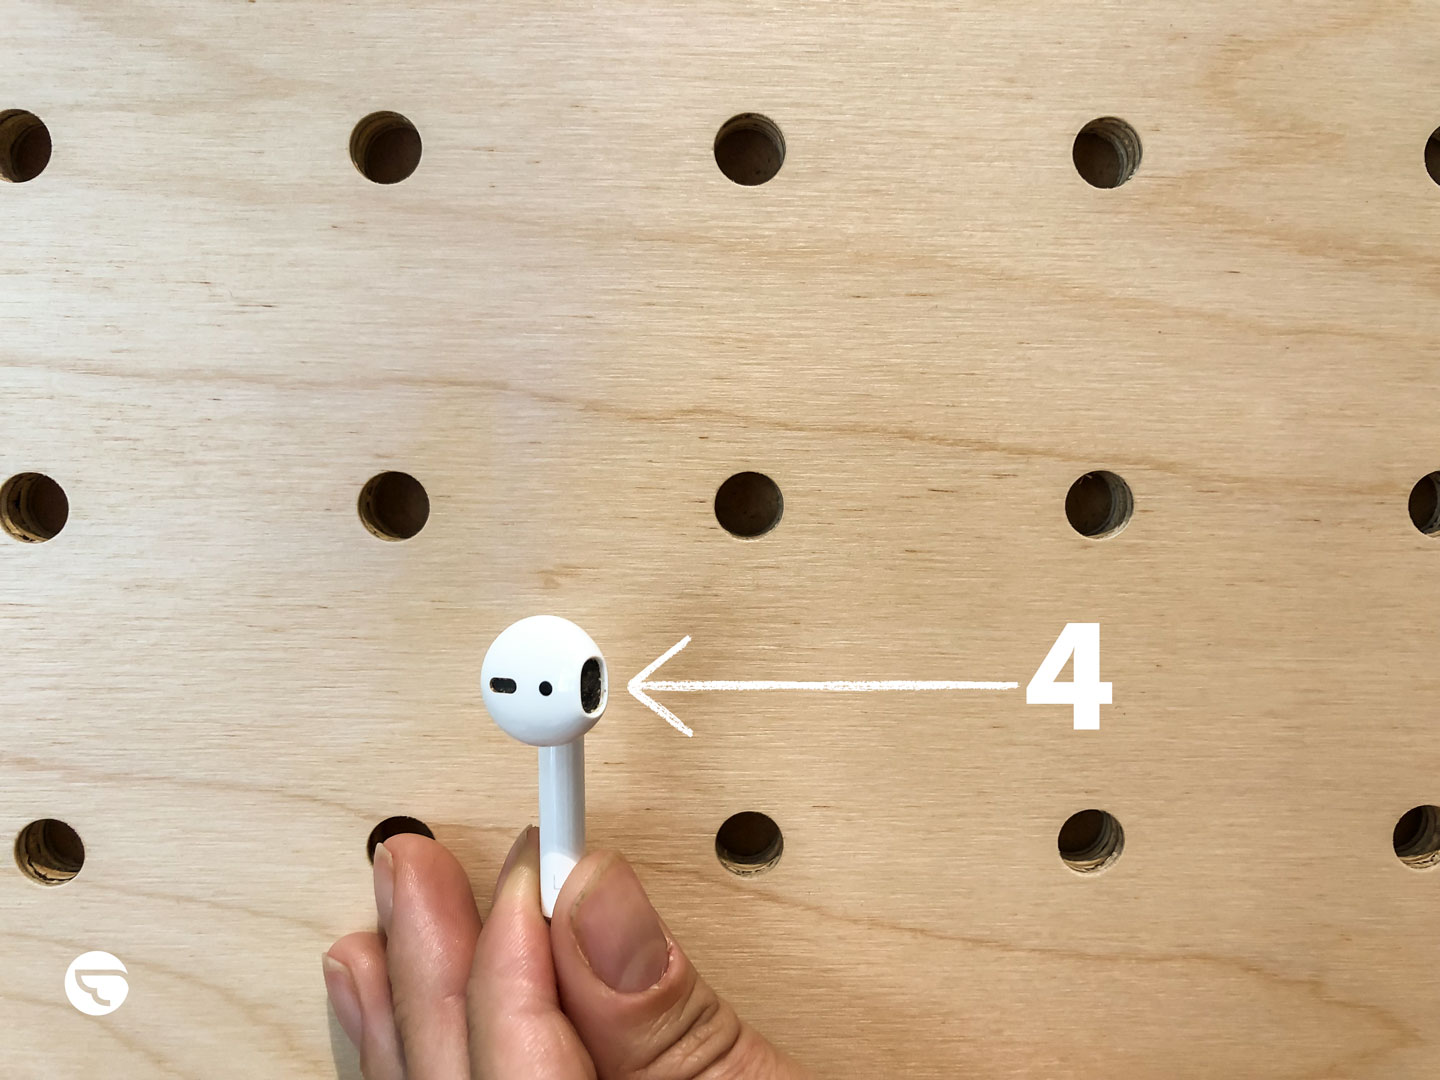
…then clean up the outside with a cloth or wet wipe.
Step 10: Repeat it all on the other AirPod and TA-DA!
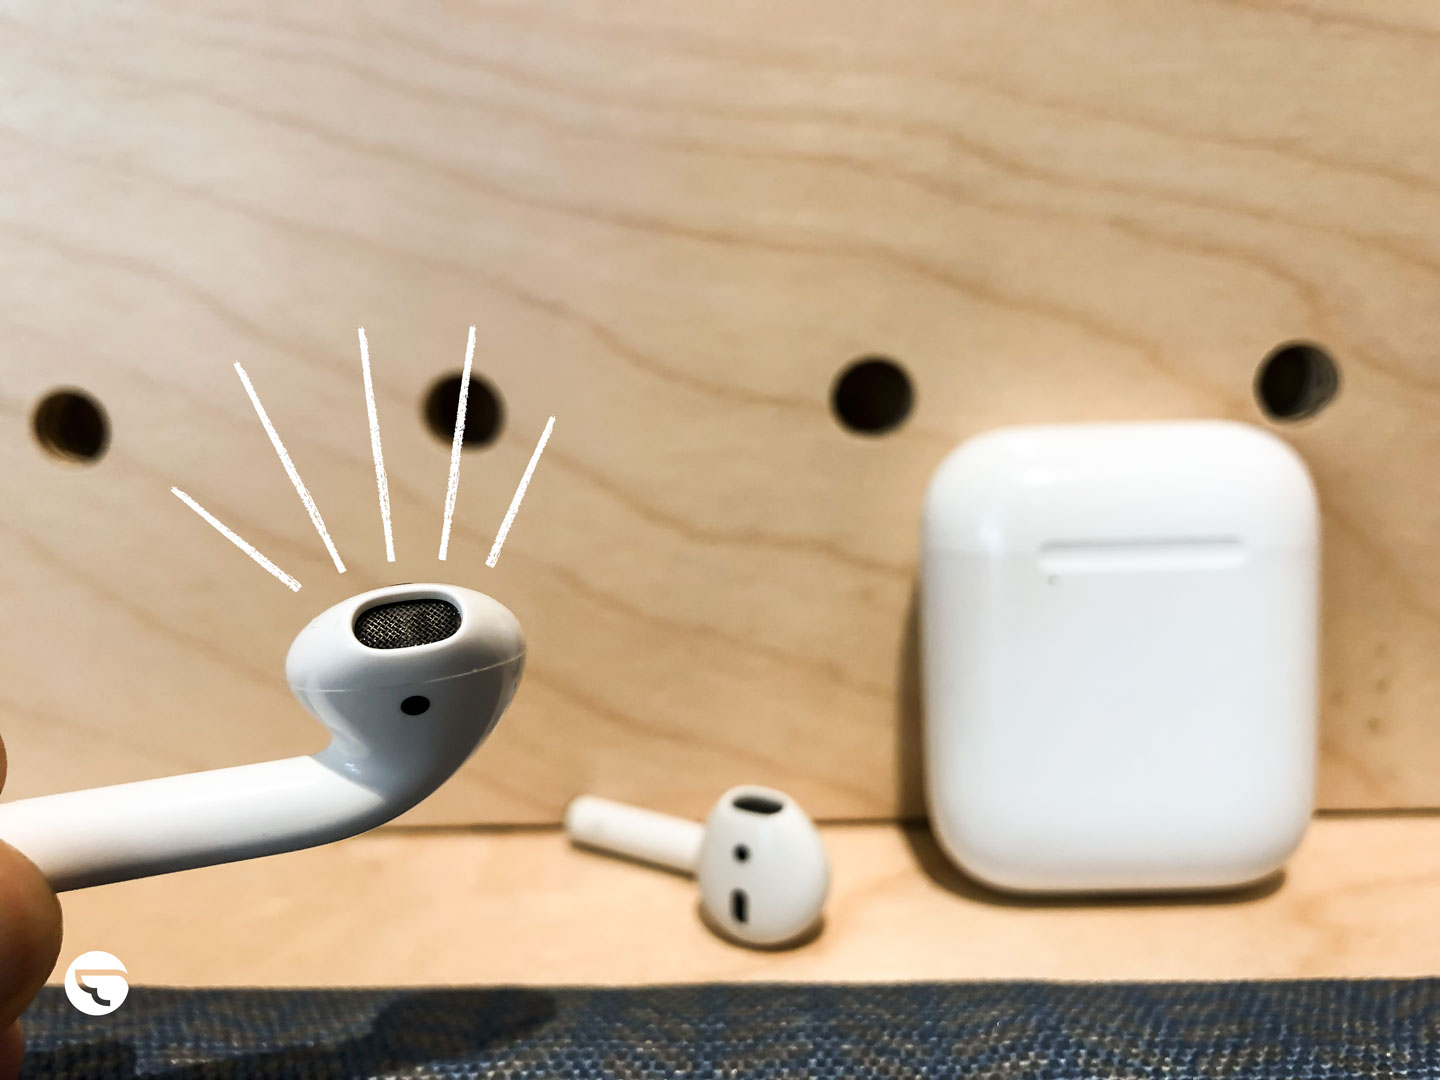
Super clean, sound quality like new. Sorry Apple, but no amount of buffing with a soft cloth will have the same effect.
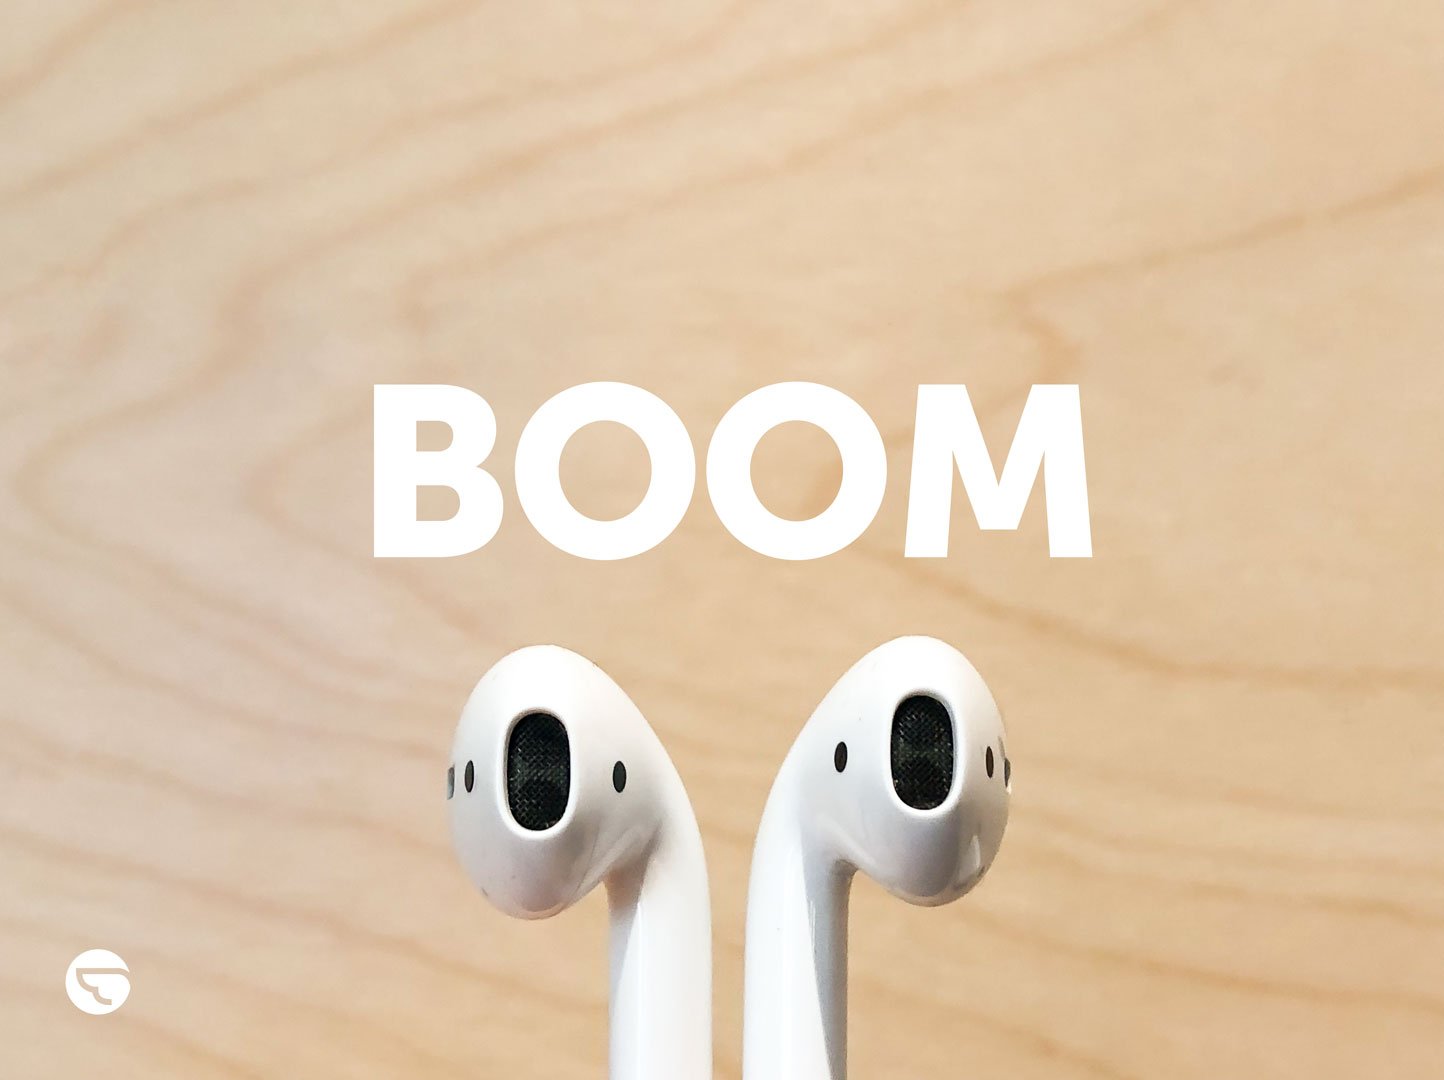
Thanks to AskUncleDave for this technique. Have you tried this? Let us know!
Do you have issues with your AirPods? Let the professionals take care of it!
If you’re facing any issues with your AirPods or need professional help in cleaning and restoring them, Airtasker has got you covered! This platform connects you with expert electronic repairmen who have the knowledge and experience to effectively diagnose and fix any problems your AirPods may be encountering.
Whether you’re dealing with sound quality concerns, connectivity issues, or simply in need of a thorough cleaning to ensure optimal performance, there are skilled Taskers that can bring your AirPods back to life.
Just post a task today to get started.




it was quite helpful