- Home/
- Guides/
- Picture Hanging/
- How to Hang a Picture

How to hang a picture on your wall
Find a picture hanging contractorLast Updated on
One fundamental way to turn a house into a home and make a space your own (unintentional rhyme) is by learning how to hang a picture accurately and safely. A well-hung picture or piece of art not only looks fabulous but ensures your possibly expensive artwork and framing remains on the wall.
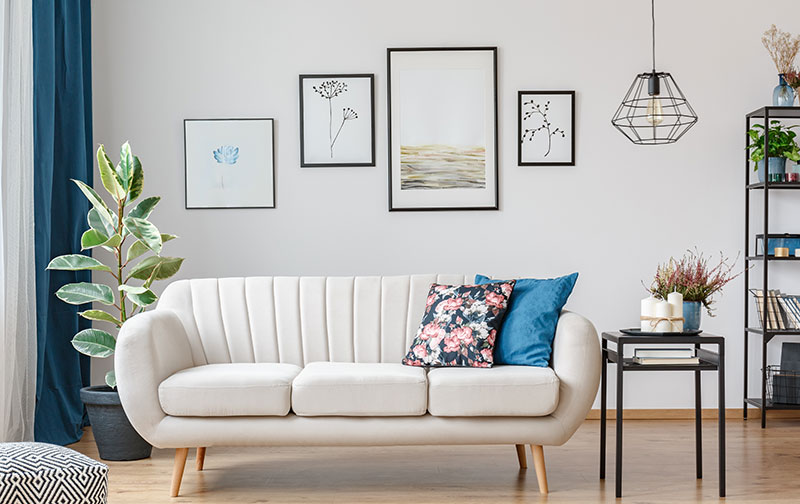
There are a few general rules for hanging pictures, and various methods depending on the type of frame. For the most part, your art should be at eye level and away from direct sunlight or heat sources. The eye-level rule is negotiable; however, as you may like to get a little creative or perhaps you are creating a gallery wall which requires varying heights.
Mastering the location of your art is one thing, ensuring it is hung safely, another. Read to learn some of the finer ways to hang a picture and the steps to ensure your art stays up!
How to hang a picture with a hook
If you are hanging a piece of art that has a bit of weight to it (mainly due to the frame), it’s best to find a stud so you can anchor a wall hook or nail securely. If you don’t have access to a stud near where you want to hang the art, then you can use hollow wall anchors or toggles, which are available at any hardware store. These will expand and spread the pressure of the hook, providing a more secure grasp on the wall.
If you are dealing with a lighter picture, there are plenty of adhesive hooks that will do the trick and avoid you having to drill or nail into your wall. Most adhesive hooks can hold up to 7kgs and can safely be removed without damaging the paint.
For brick walls, you can drill a hole with a masonry bit, push a plastic wall plug into the hole and insert a screw. If you have timber panelling in your home, a nail, screw or picture hook will do the trick nicely!
How to hang a picture with a wire
You have the option of tweaking your hanging method to use a wire secured to the frame as opposed to the metal hook placement. This can be handy if you have a deep frame and only requires a couple of screweyes to attach the wire.
Place the screweyes into the inner right and left-hand edges roughly a third of the way down the frame. From here you can loop the wire through the screweyes and choose how long you want to leave the wire, just make sure it can’t be seen when the weight of the picture pulls it down.
How to find a wall stud
If you are looking for a wall stud, likely because you will be hanging a large or heavy picture, you can rap your knuckles along the wall. When you feel and hear a solid backing, you’ve found a stud. If you are unsure, you can use an electronic stud finder for a more accurate answer. Studs are typically spaced every 16 inches and are usually about 1½ inches thick.
Before drilling or nailing, it is important to make sure there is no electrical wiring nearby so make sure you are not hanging the picture above or near any outlets or ports.
How to hang a picture
Everyone wants a level of peace of mind that their art will stay on the wall. You don’t want to nervously spend your time on the couch below a gallery wall or brace yourself each day when you come home expecting to see smashed glass on the floor. To avoid this, the following steps make hanging a picture easy:
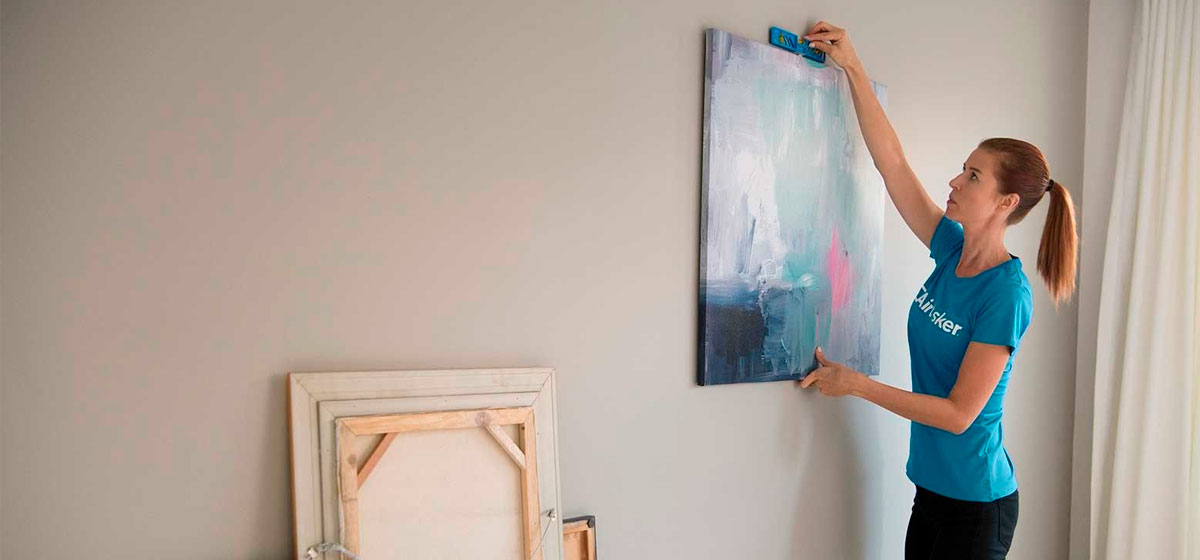
- Hold up your picture in the position of where you would like it to be
- Mark a line that runs along the top of the frame
- Hold the picture wire all the way up with your finger
- Measure the distance from your finger all the way to the top of the frame
- Also, measure all the way down that distance from the pencil mark on the wall then mark the spot
That spot will be where your chosen picture hook will go. Attach your hook to the wall via whichever method listed above suits then carefully hang the picture. You can use a spirit level to make sure your picture is straight.
How to hang a picture with sticky or velcro strips
A very popular modern option for hanging pictures and art, especially for renters, is the sticky tab or velcro hanging strips. These will provide a stronghold and also come off the wall cleanly, leaving the paint intact.
If you have freshly painted walls, it is important that you wait seven days after painting before you apply strips and never attach them to paper or soft surfaces on the picture frame.
Follow these instructions for the strips:
- Wipe the section of the wall that you want to attach the strips to with rubbing alcohol
- Separate the strips and click the two velcro sections together
- Remove one side of paper liner and stick it onto the frame
- Press firmly on the strip for 30 seconds
- Remove remaining liners and press frame firmly onto the wall
- Remove the frame from wall to allow the wall-side strips to reinforce
- Wait one hour for the adhesive to build then reattach the picture
Removing the strips
To ensure damage-free removal, pull the tab at the bottom of the strip slowly stretching it straight down against the wall. Make sure that you never pull away from the wall.
These strips will work well on painted, stained or varnished wood, glass, tile, metal, painted drywall and other smooth surfaces. Avoid using them on wallpaper, brick, rough or non-stick surfaces, or fabrics. You will be able to find various strip sizes, all of which relate to a differing weight. The strips can be used in either a vertical or horizontal direction.

Turning your home into a mini-gallery
Hanging pictures and art not only brings warmth to your home and makes it more visually interesting, but it is also a great way to show off or tailor your personal style and interests. There is no shortage of art in the world, and the kind that you choose to adorn your home with can say a lot about you!
If you have mastered the art of picking art but need a little help with the practical side of hanging it find a tasker who excels in wall mounting and can even help with your picture-hanging design! You can also have help hanging other things like mirrors or installing wallpaper!
FAQ
You can! In fact, this is a simple and reliable way to hang a picture if you have access to a wall stud. Studs are typically spaced every 16 inches and are usually about 1½ inches thick.
A single 1 1/2-inch or 2-inch finishing nail is good for pretty much any picture. Drive the nail into the wall with an angle of at least 45 degrees. This offers a significantly greater holding power than a straight nail into the wall.
In this case, “proper” is subjective depending on personal taste the design look you are going for. As a general rule, your art or picture should be at eye level, ensuring you keep it away from direct sunlight or heat sources. The idea behind this is much like that of an art gallery; you want to be able to stand and enjoy the piece of art comfortably by looking forward. You can, however, get creative with this and tailor you positioning to the room, other furniture, and most certainly, other art.
If hanging multiple pieces, try to make sure the top of the frames are in line with one another, even if they are different sizes. This method keeps things neat and sets a border for your art.
Positioning it usually the trickest part of hanging a picture, the hanging itself is somewhat easy in comparison. Once your picture is up, it will likely stay there for quite some time, and if it ends up being in the wrong position, you’ll be bothered by it constantly.
Spend some time figuring out where you would like your art to be, then mark a line that runs along the top of the frame. Hold the picture wire all the way up with your finger (if using a wire) and measure the distance from your finger all the way to the top of the frame (or hook). Measure all the way down that distance from the pencil mark on the wall then mark the spot; this is where your fixing will go.
Find picture hanging contractors, fast
Find a picture hanging contractor
Related articles

How to hang a picture on your wall
Read more