- Home/
- Guides/
- Rangehood Installation/
- How to Install a Rangehood
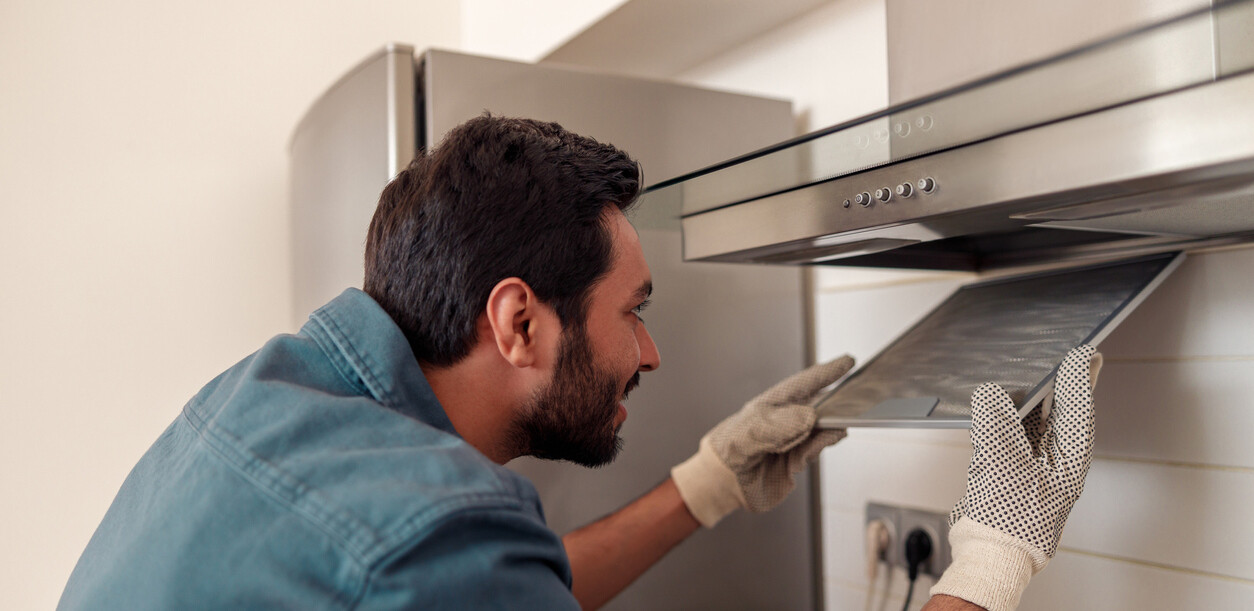
How to install a rangehood in 7 steps
Adding a range hood to your kitchen improves its air quality.
Find a rangehood installerLast Updated on
Key Steps
Do the prep work. Ensure that your chosen range hood unit matches your stove dimensions, have the right tools ready, and obtain any permits necessary.
Follow the steps closely. It’s important to mark where you’ll mount your hood and identify any ductwork obstructions before installing your range hood.
Refer to your manufacturer’s instructions. Always keep it on hand, and ask a professional for advice.
A range hood facilitates proper ventilation and improves the air quality in your kitchen by removing smoke, steam, heat, grease, and other contaminants. A recent study found range hoods to be the most effective mitigation approach to reducing pollutants from the cooking surface.
It may be purchased in conjunction with a stove, but only sometimes. In many cases, range hood installation is part of a kitchen renovation project, and you can hire professionals to install a range hood for you. However, installing a range hood yourself is still possible.
In this guide, we’ll cover how to install a range hood step by step, along with some additional tips.
Things You’ll Need
Range hood
Ductwork (if necessary)
Duct wall or roof cap
Screws
Drill & drill bit set
Level
Tape measure
Pliers
Hole saw
Wire strippers
Wire nuts
Foil & electrical tape
Safety glasses
Gloves
Time of Completion
Depending on the extent of the renovation—mainly hood ductwork—it can take up to 5 hours or more to install a range hood on your own. Some prep work is vital to get done ahead of time.
You may need to secure a permit to install a new range hood. Check your local building codes for requirements. You should also have taken stock of your stove dimensions before purchasing your new rangehood.
Installing a range hood in 7 steps
If you’re replacing an existing rangehood, your first step would be to safely remove it by shutting off power, unscrewing the wire nuts, and detaching all connections. However, if you’re installing a new range hood, follow along in the steps below.
Step 1: Choose the right location
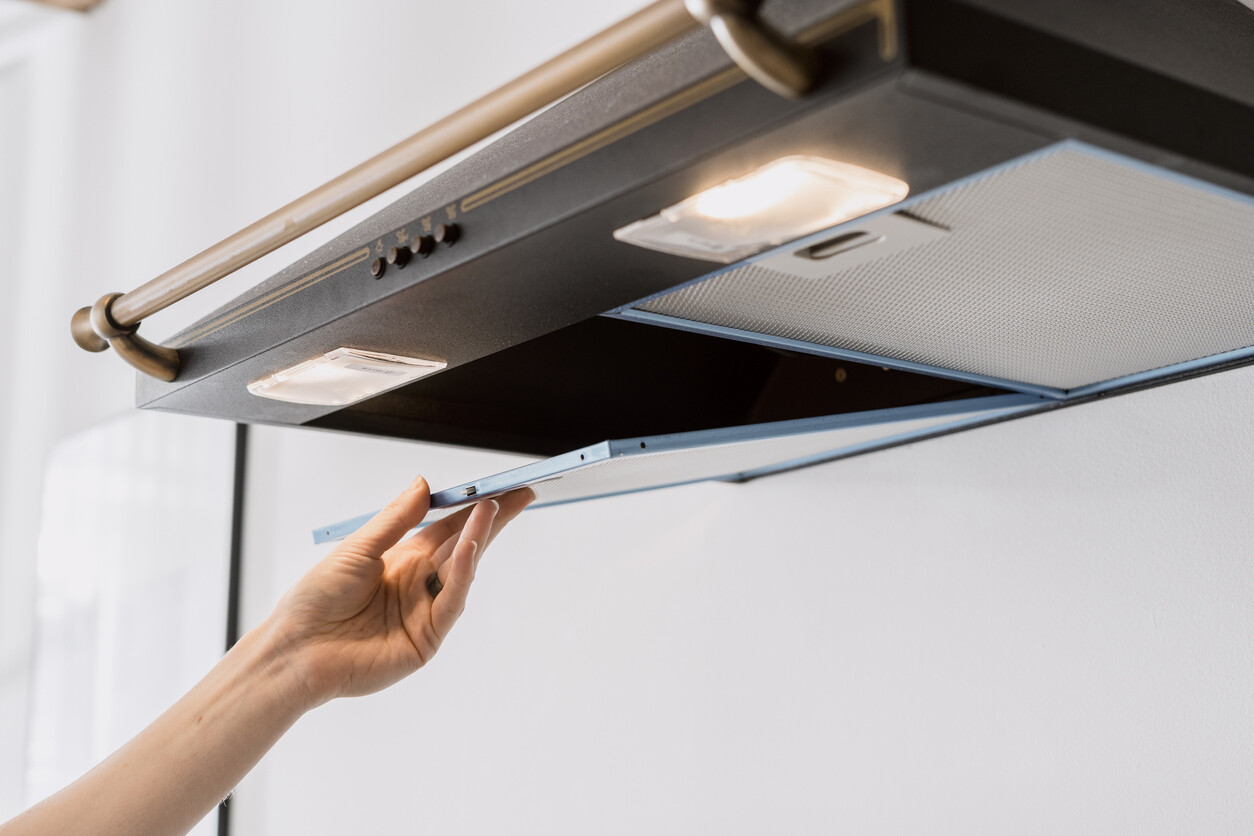
The first thing to do is find the proper position to install your range hood. It should have enough clearance between the range hood and be centred over the stove.
Most range hoods come with manufacturer instructions or a paper template to help you mark the spot in your wall or cabinet before cutting or drilling. Remember to keep holes for mounting, venting, and electricals—use a pencil to trace these so it will be easier to install the vented range hoods later.
Step 2: Determine the routing for ductwork
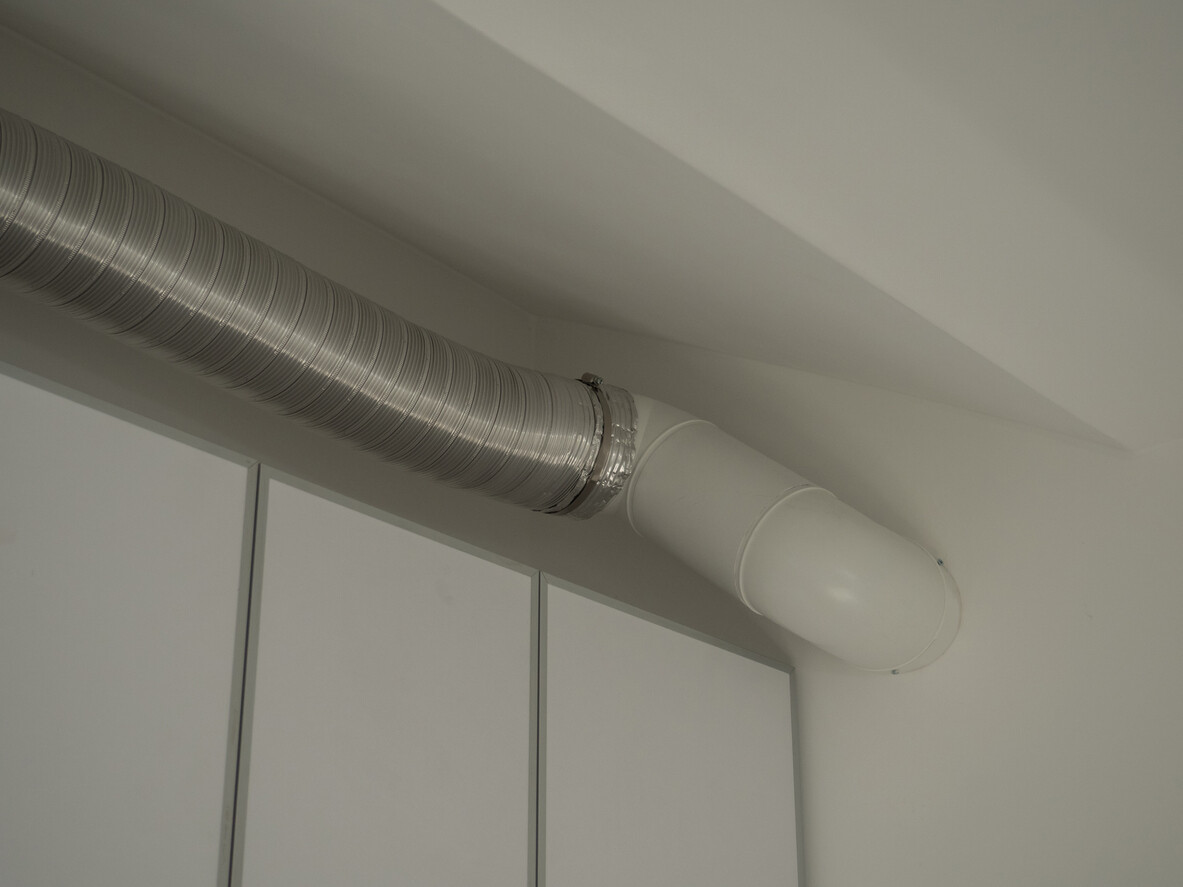
This step depends on whether you’re using ducted or ductless range hoods. Ductless range hoods do not vent the air outside of your home and circulate it instead. Ducted range hoods either draw air to the side of your house or upward through the ceiling.
For a ducted range hood, you should identify the most accessible venting location. Often, this will be directly behind the wall, but it may also be through the ceiling. Ensure there’s no electrical cable wiring or plumbing behind the wall. Meanwhile, if you’re placing the range hood over a kitchen island, you must route venting through the roof.
If you’re unsure which route would be shorter, you may need to enlist an electrician to check for you. In the following steps, we’ll discuss the first option—routing the ductwork through the wall.
Step 3: Cut the hole for the ductwork
Once you’ve determined the ductwork route, it’s time to start cutting. The size of the hole will depend on the size of the ductwork, and you can use a hole saw to cut the hole in the wall behind your stove. Then, use a long drill bit to penetrate through the drywall to create locator holes near the venting hole, which will get the ducting through to the outdoors.
Next, cut the exterior vent pipe hole using the locator holes. Use a hole saw according to the shape and size of your venting hole.
Step 4: Install the ductwork
Start from the exterior and work your way in when installing your ductwork. Insert ducting through your vent hole, ensuring it spans from the outside to the range hood. You may need to use foil tape to connect sections of the duct and install the necessary elbows or bends.
Step 5: Install wiring
You must connect the wires to the electrical outlet if the electric range is hardwired. If the rangehood is plug-in, you must connect the plug to an outlet—you must install a plug if you don’t have an existing one.
Turn off power at the circuit breaker and test it with an electrical tester. Then, connect the wires according to the manufacturer’s instructions. Calling an electrician for assistance is best if you don’t fully understand this step.
Step 6: Secure the range hood to the wall
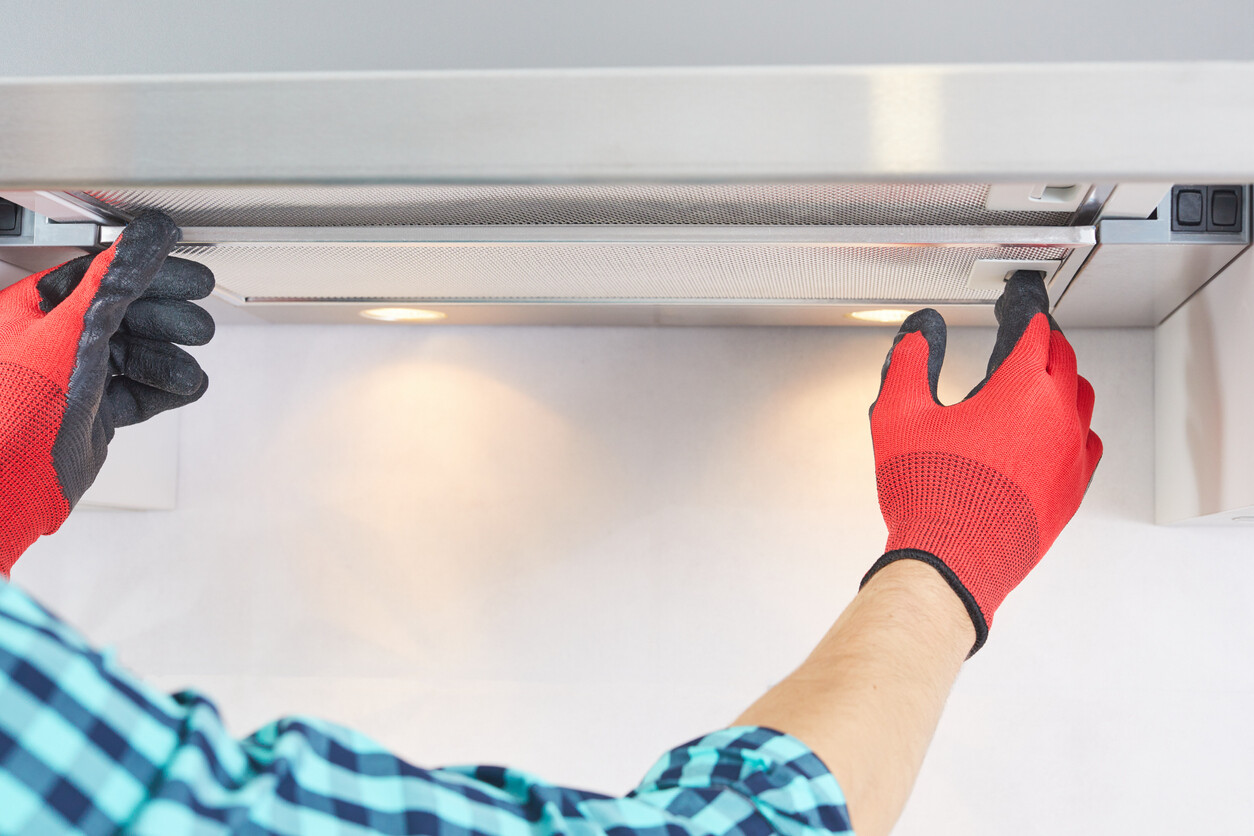
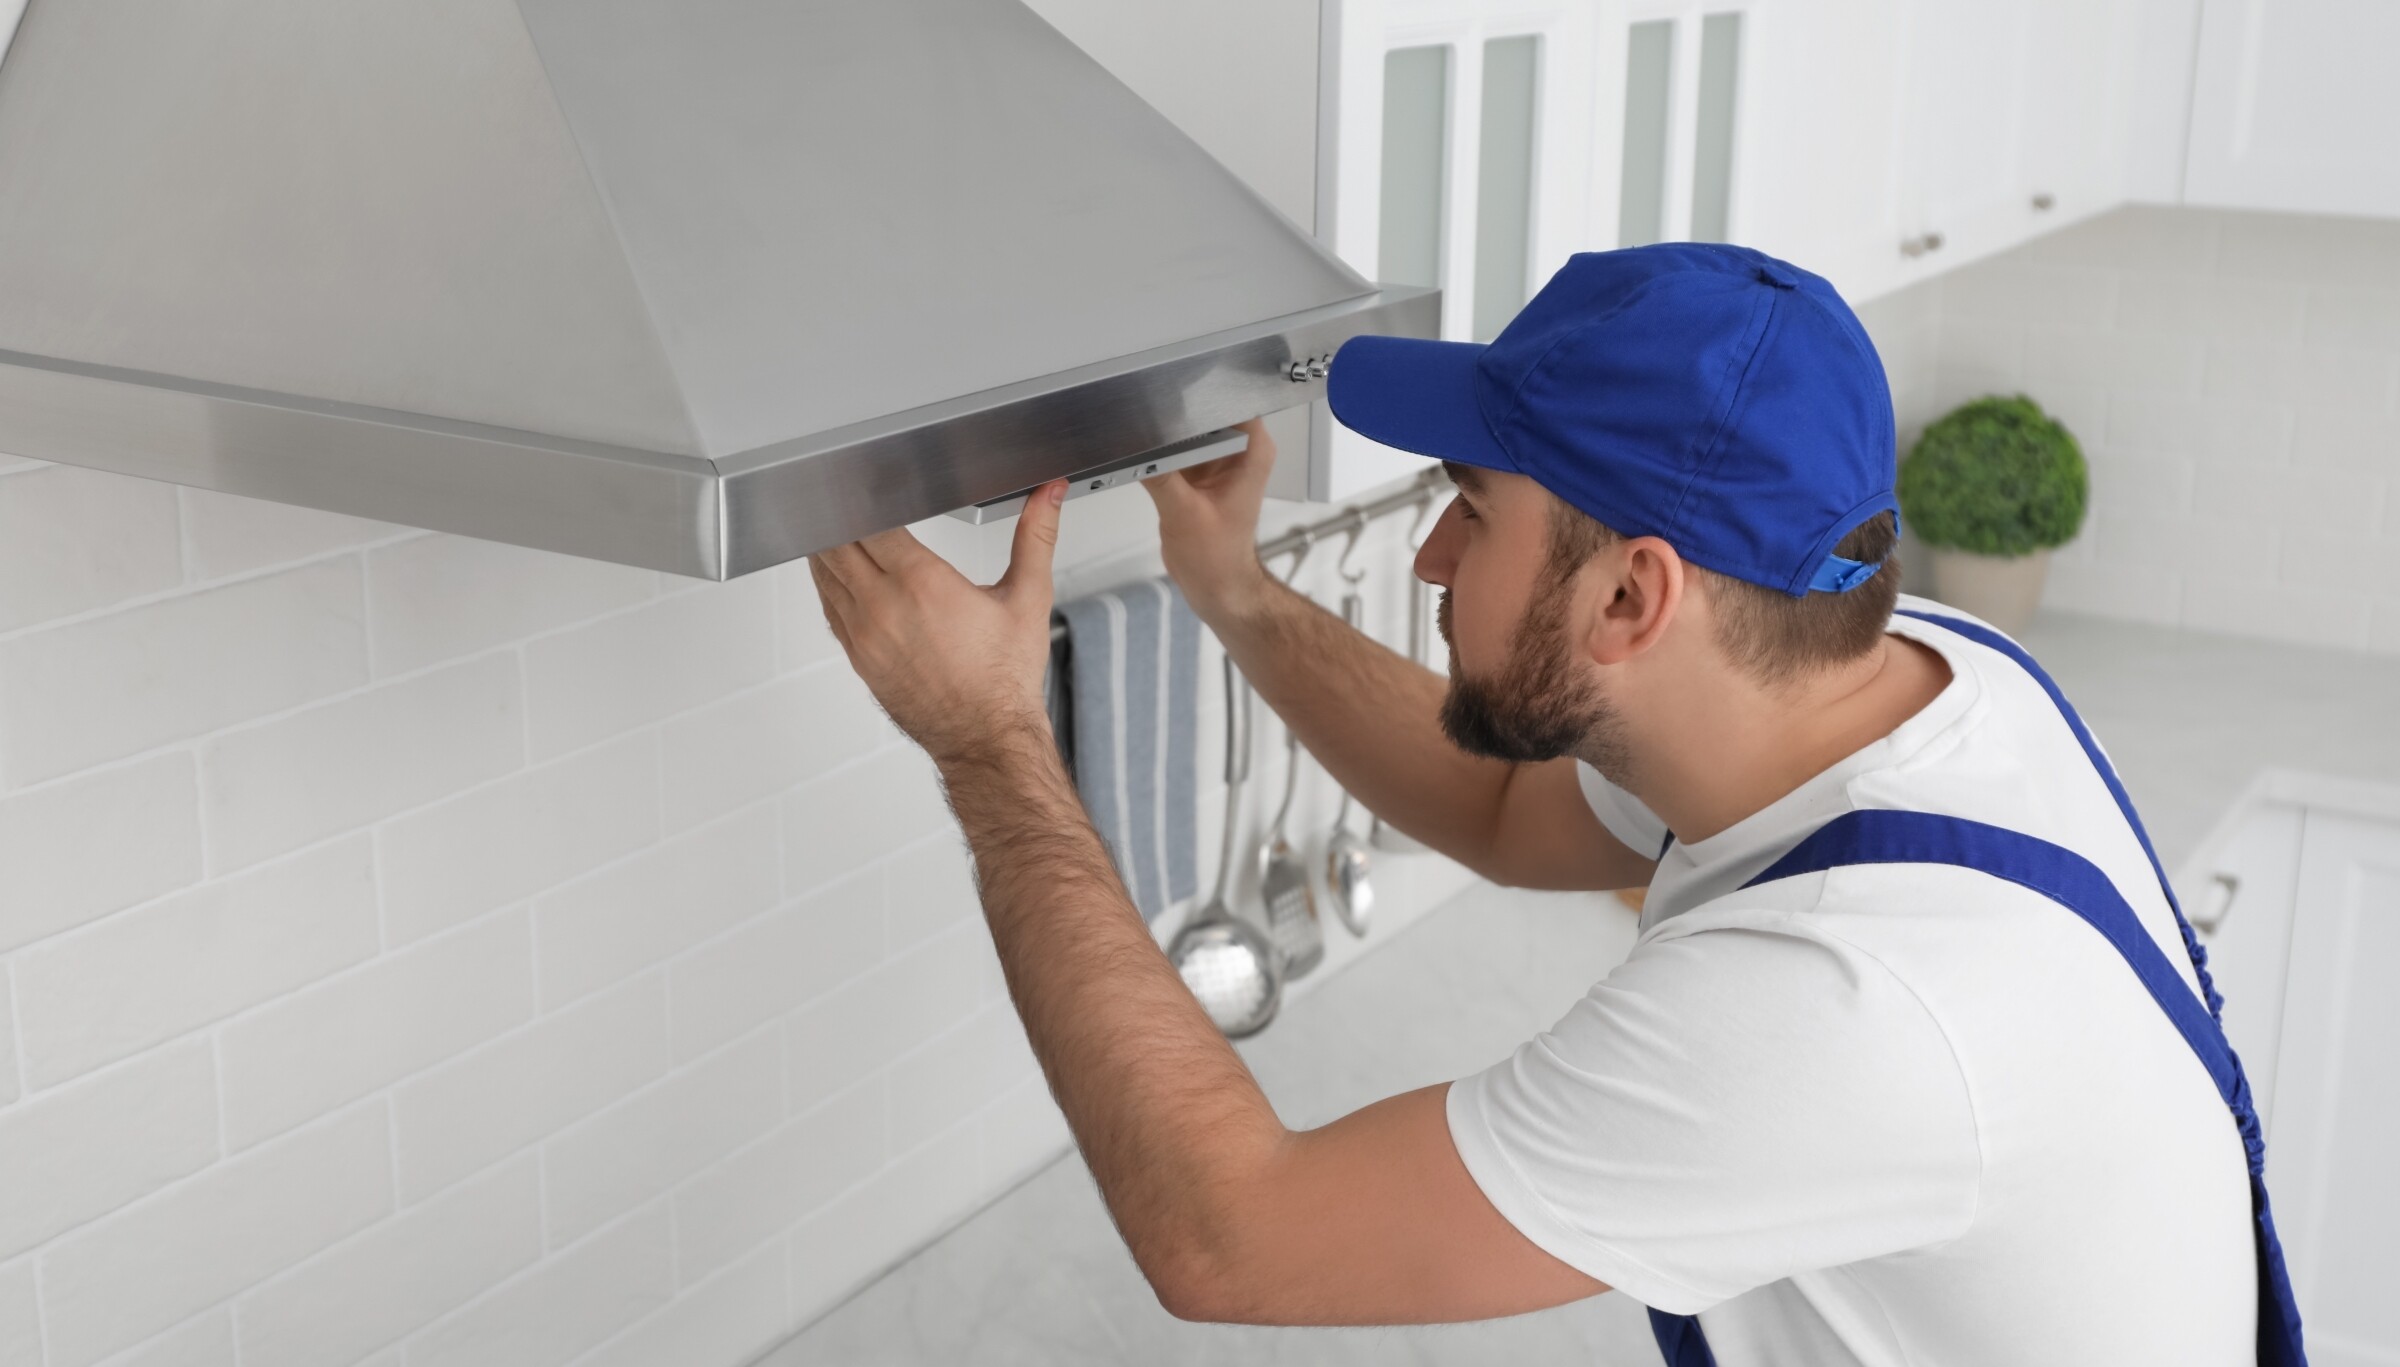
When your wiring and ductwork are sorted out, position your new range hood and prepare to secure it with mounting screws. You can do this alone, but it’s safer to enlist the assistance of an additional person. Have your helper keep the hood in place while you check that the wiring and ducting are aligned, and you use a screwdriver to tighten the mounting screws.
Step 7: Turn on the power and test the range hood
Once your range hood is in place, reset the power and see if the range hood fans and lights are working correctly. You may also check out the exterior to see if the ductwork is venting as it should.
Additional tips for installing your range hood
For a smoother range hood installation process, consider the following tips:
Ensure the range hood is the right size for your stove; take its dimensions before purchasing a new one.
Always follow manufacturer instructions when you run into anything you’re unsure about.
Be careful not to damage the range hood during installation to avoid costly repairs. While you can install it independently, having a second person ready to help with any heavy lifting or testing is better.
DIY your range hood installation
A range hood can be a great addition to your kitchen. If you could follow along in this guide, good job—you’ve installed a range hood successfully.
However, if any part of the process is uncomfortable to you, you should consider enlisting the help of a kitchen professional. For example, electrical wiring and roof ducting may be more complicated, so an electrician or contractor can provide the service more quickly and efficiently. Find a professional installer near you by posting a task on Airtasker today.
FAQs on rangehood installation
It requires technical skill to install a range hood, as you’ll be dealing with electricals and needing to cut through your wall or ceiling for ductwork. If you’re uncomfortable with the process, consider hiring a professional.
Yes, you can—it may be easier than installing a new one as you’ll know where to mount it and have existing holes for installing ductwork, if applicable.
In Australia, installing a range hood costs an average of $300 to $2,000.
Find rangehood installers, fast
Find a rangehood installer
Related articles
Related price guides
