- Home/
- Guides/
- Flyscreen Installation/
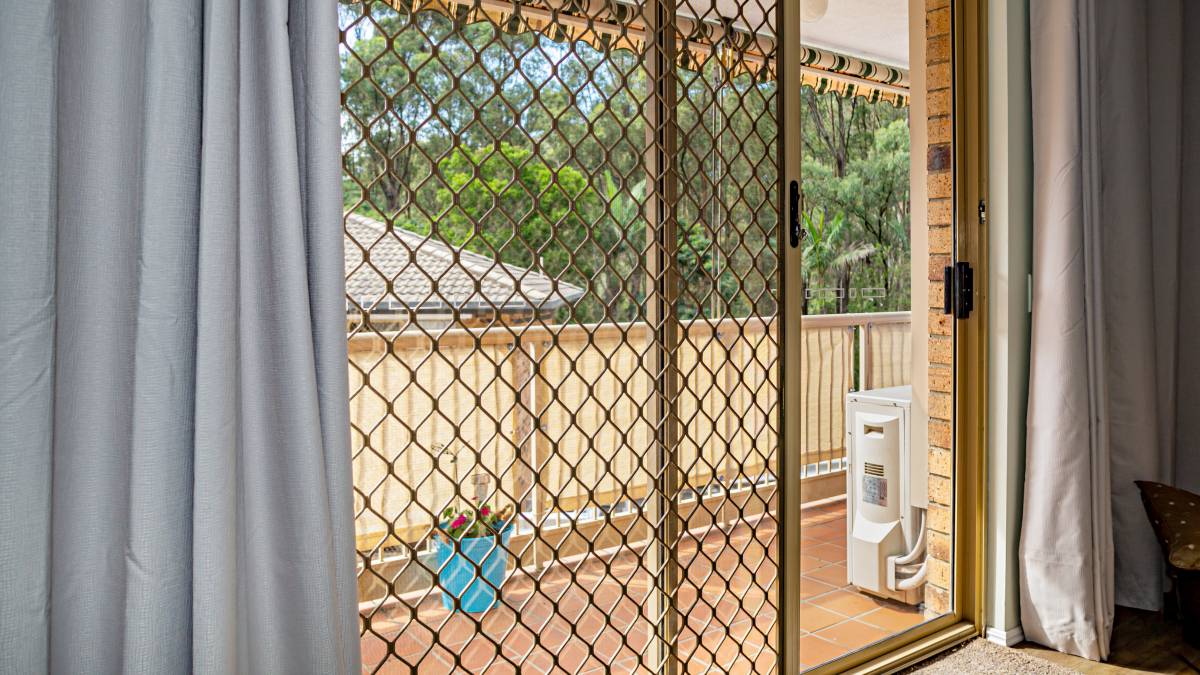
- How to Install a Flyscreen
Learn how to install a flyscreen step by step
Need help installing flyscreen? Learn from local handyman in our community!
Join Airtasker today!Last Updated on
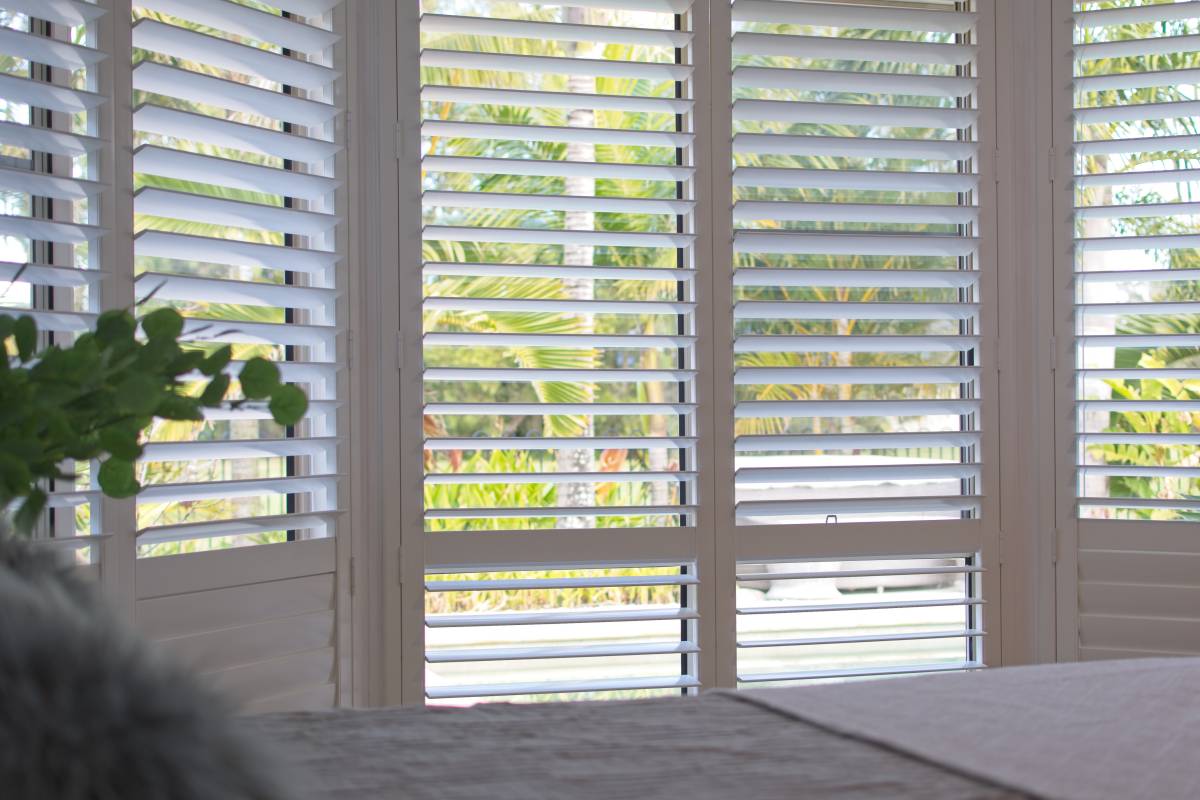
Flyscreens, also known as window screens, work similarly to screen doors in offering an extra layer of protection to your home year-round.
If you’ve got enough time and tools, or you’re wondering if you can install a flyscreen by yourself, we’ve got the answers for you. In this guide, we’ll walk you through how to install a flyscreen.
Here’s what you’ll need:
The materials listed below can easily be found in the hardware stores near you:
Hacksaw
Screen spline tool
Spline
Scissors
Stanley knife
Screen
Installing your window screen won’t take too much of your time—usually only a couple of hours.
How to build a flyscreen frame
If you’re wondering how to install a window screen without a frame, the solution is to build one.
Step 1: Measure the area
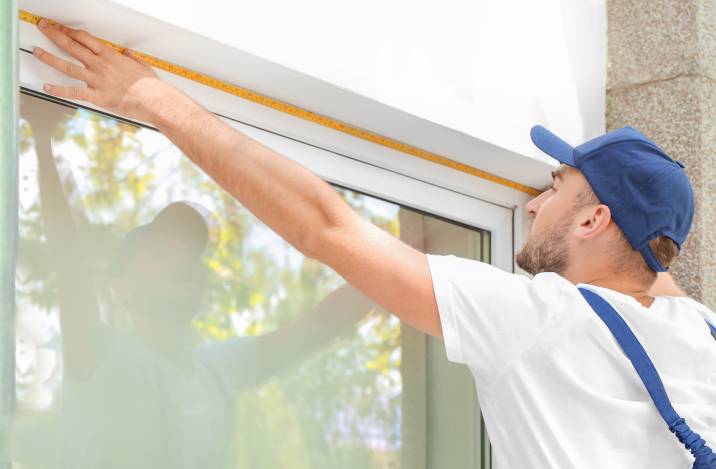
Measure the width and height of your window where the window frame will be installed. Subtract 3.8 cm from width and height to allow room for screen corners.
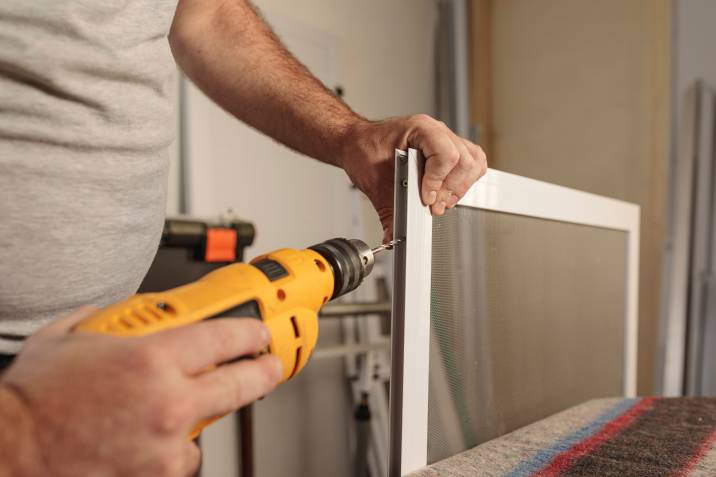
Step 2: Prepare aluminium frame pieces
Mark the measurement to your chosen frame. Using a hacksaw, cut the frame according to your measurement.
Step 3: Install spring frame clips or pull tabs (optional)
There will come the point where you’ll need to clean your window screen. Installing a spring frame clip will make this easier. Spring clips are placed at the top of the frame. It can easily be installed by sliding it at the corner to put them in place. You only need to install them on one side of the frame for easier removal.
To install a pull tab, place them with the channel side u. Pull tabs are usually placed in the middle part of the frame.
Step 4: Install screen corners
Install the four screen corners. Slide them into the aluminium frame pieces to hold them together.
How to install the screen on the frame
Step 1: Position the mesh
Lay the mesh on top of the frame and make sure the screen overlaps at least 2.5 cm over the frame.
Step 2: Cut the screen
Pull the screen tight and cut using scissors. Don’t worry if you cut it straight or as long as it overlaps the outside of the frame.
Step 3: Push the screen into the frame
Using your convex spline roller, identify the pointy side which is the convex wheel, and push the screen into the channel from one corner to the next.
If you have a pull tab, simply pull the screen when you roll past it to make it thin enough for the spline roller to pass through it.
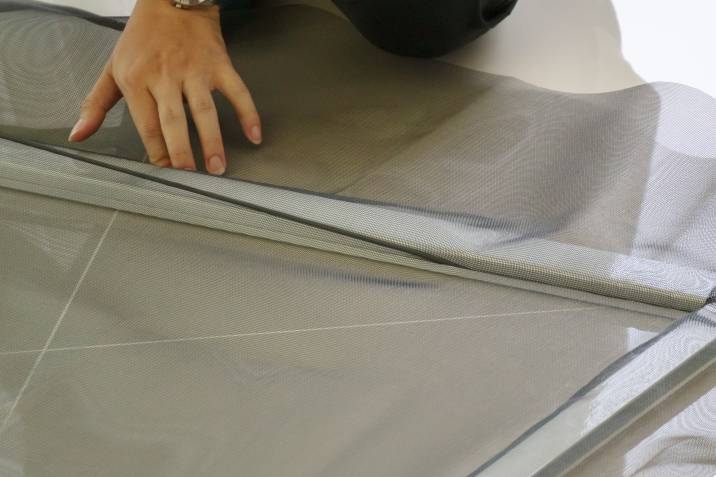
Step 4: Install the spline
Starting at a corner, press the spline into the channel using the concave side to lock the screen into its place. You may cut the spline and start on another corner or just keep it rolling.
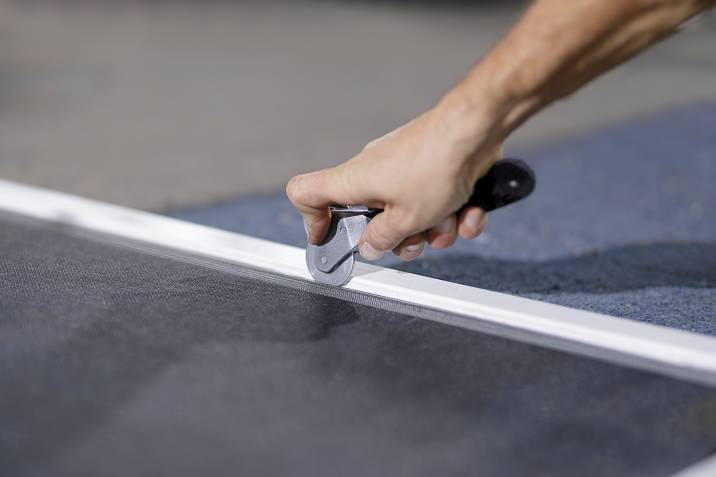
Step 5: Cut excess material
Using a Stanley knife, remove excess materials around the frame.
Placing the flyscreen
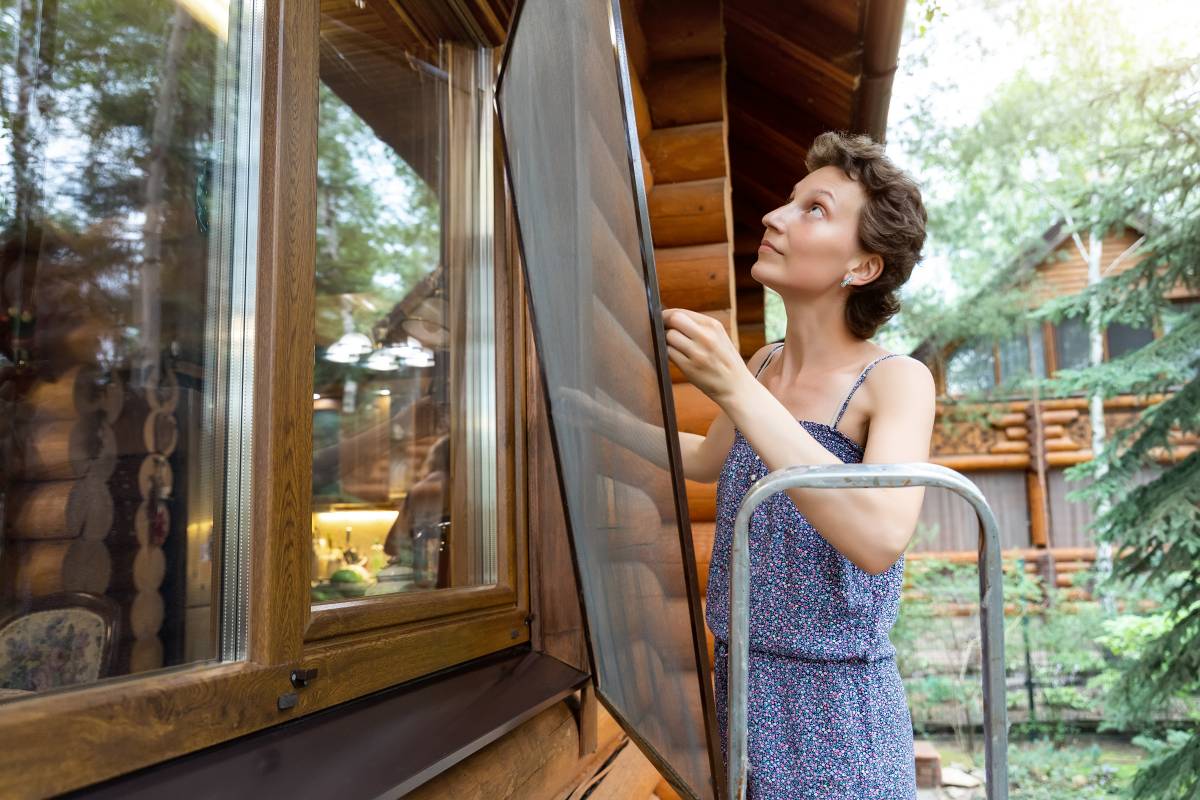
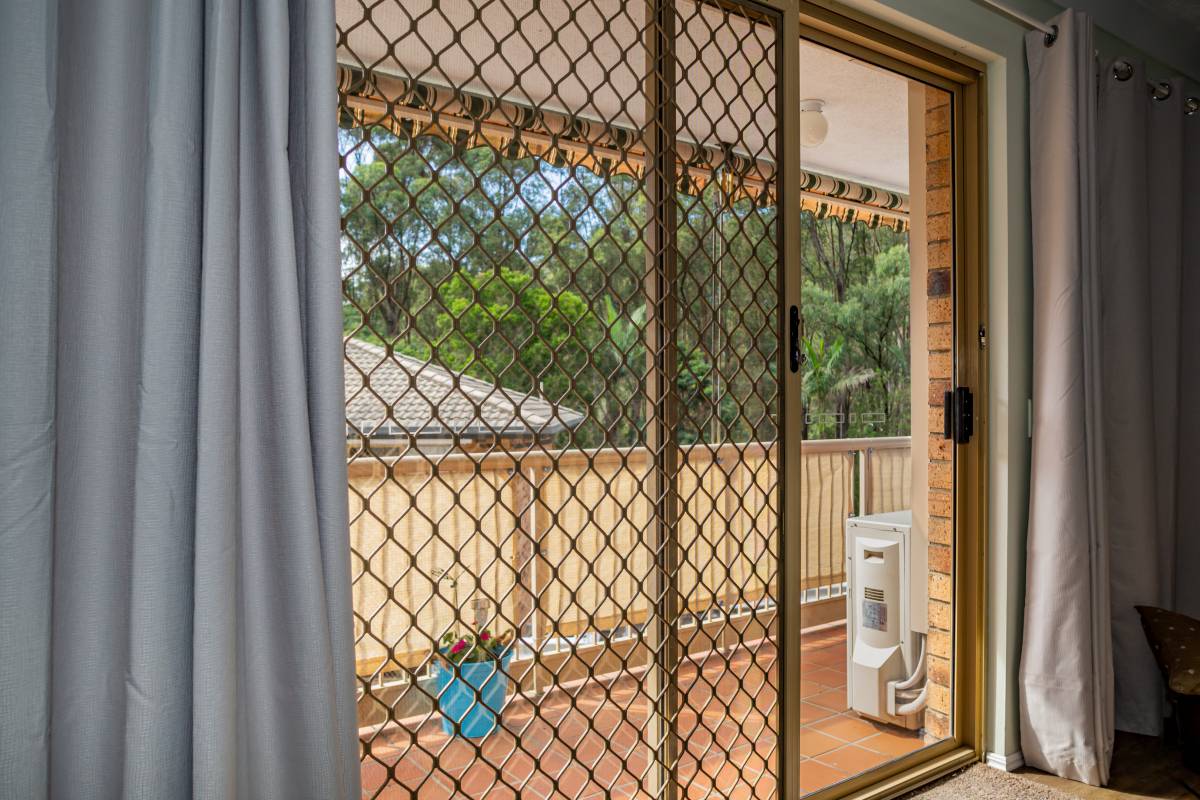
Open the window and sit the lower part of the flyscreen on the bottom track. Push the top of the screen forward so it sits on the upper track. Release the pressure so the screen is locked into place. This is done when installing a window screen from the inside.
If installing the flyscreen from the outside, make sure the windows are closed before you place them.
What are the types of screens?
There are three options when choosing a material for your screen:
Aluminium screen. It’s highly durable, doesn’t easily tear, is resistant to high temperatures, and can stand up against UV rays. Using aluminium screens for houses near the coastal areas is not advisable as they oxidise.
Fibreglass screen. Fibreglass is one of the cheaper options for screens. It boasts its flexibility and its ability not to crease. However, the colour can change after too much exposure to the sun.
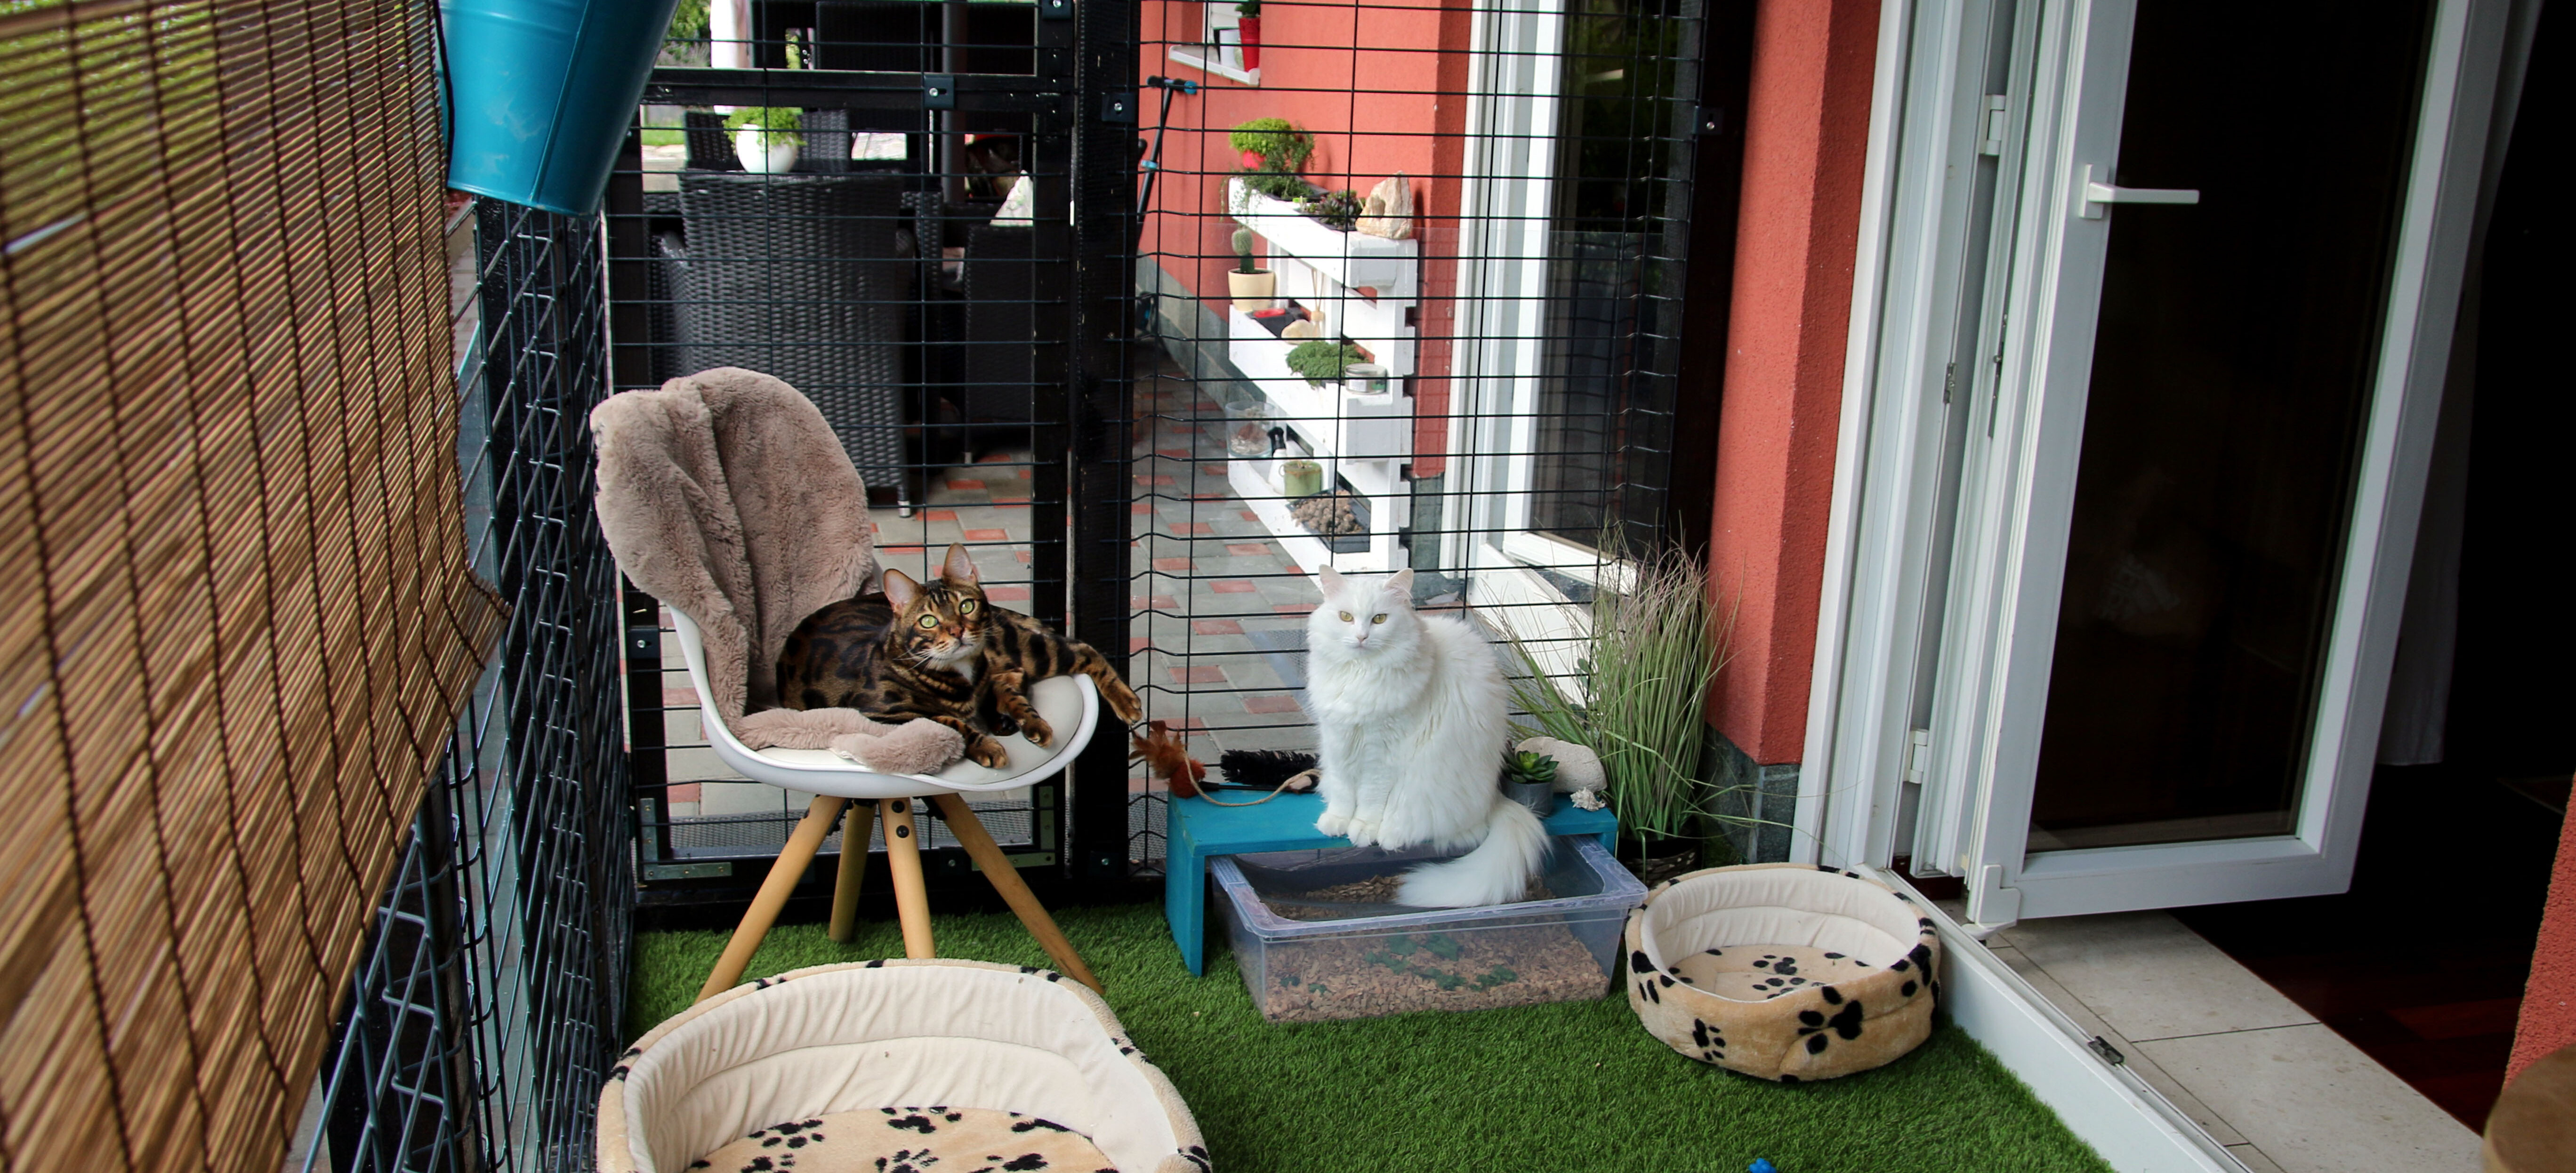
Polyester fabric. A more durable option, polyester can be more expensive than aluminium and fibreglass. It is ideal for homes with pets and children as it does not readily tear without a cutting tool.
Tips on taking care of your flyscreens
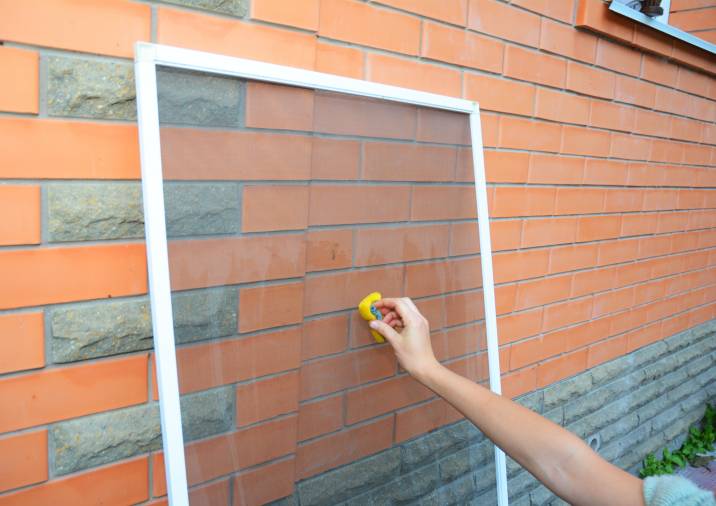
Maintaining your window screen not only prolongs its protecting capability but also saves you some money. Here are a few tips for preserving the quality of your newly installed screens:
Make sure to have your flyscreens cleaned at least once or twice a year. You may use a vacuum to remove the accumulated dust and dirt. You may also use soap and water to softly brush them off.
Remove your screen during winter. It may trap snow between the screen and the window and cause further damage.
Learn to remove and return the flyscreen properly to prevent damage to the material.
Put up your flyscreen safely and securely
Flyscreens are an essential accessory to your home; whether you’re installing a new one or replacing an old one, accuracy is required. If you haven’t got the time to do it, remember that you can always delegate the job to a friendly Tasker. Airtasker makes it easy to find someone to do a task for you, including flyscreen installations. Post a task today!
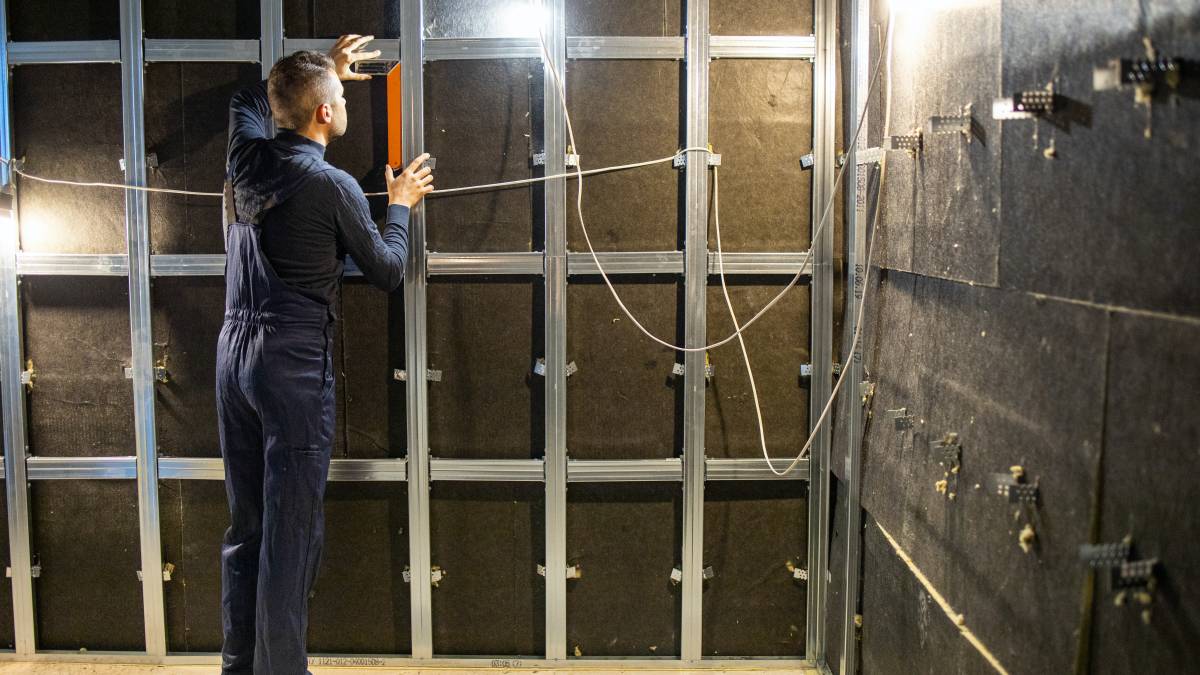
Find fly screens installers, fast
Find a fly screens installer
Frequently asked questions
Yes! However, it may need more than just fitting the window screen frame in the windows. It will involve drilling and screws that may require you to ask for help from a professional.
Window screens are usually installed from the inside as their quality may easily deteriorate when exposed to the sun. However, there are exterior flyscreens made specifically for outdoor installation. These are screens that are more durable, especially during different seasons.
Related articles
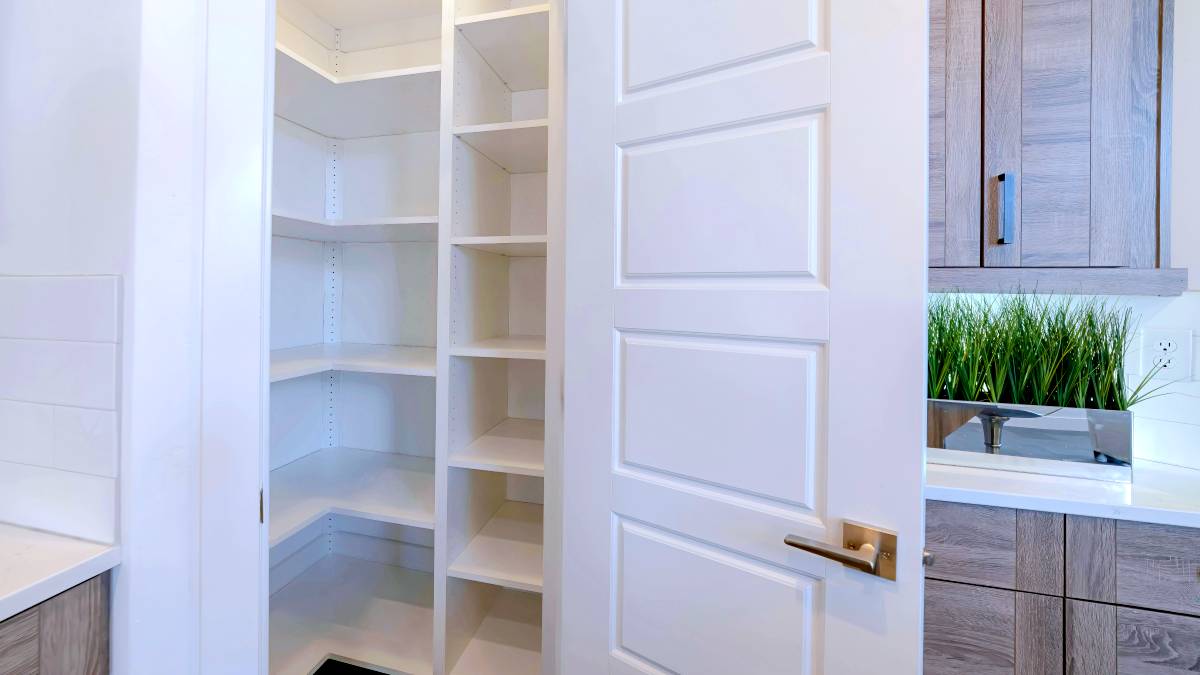
30 Eye-catching pantry door ideas
Read more

Related price guides
What are average handyman prices?
Read more
How much does treadmill repair cost?
Read more


Let's do this!
It's free and takes only a minute.