- Home/
- Guides/
- Plunge Pool/
- Plunge Pool Tips

10 Tips for building a backyard plunge pool
From finding the perfect location to choosing the right materials, this guide to building a plunge pool got you covered!
Talk to plunge pool buildersLast Updated on
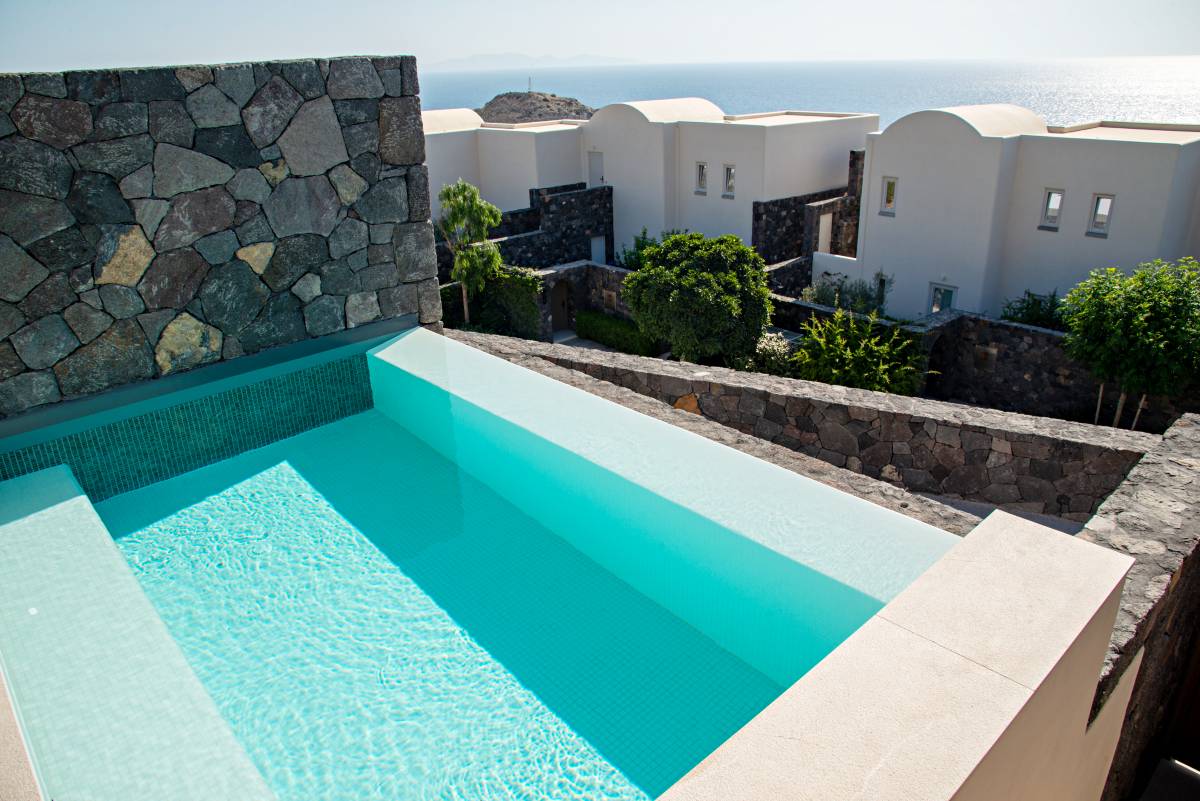
Imagine having your very own backyard oasis where you can escape, relax, and rejuvenate year-round. Backyard plunge pools can turn this dream into a reality! These small, affordable, and easy-to-maintain plunge pools offer a refreshing retreat right in your own house.
If you’re considering building a small backyard plunge pool, you’ve come to the right place! This article will share some essential tips and DIY plunge pool ideas to help you create your sanctuary.
Practical tips for building a DIY plunge pool
1. Find the right location
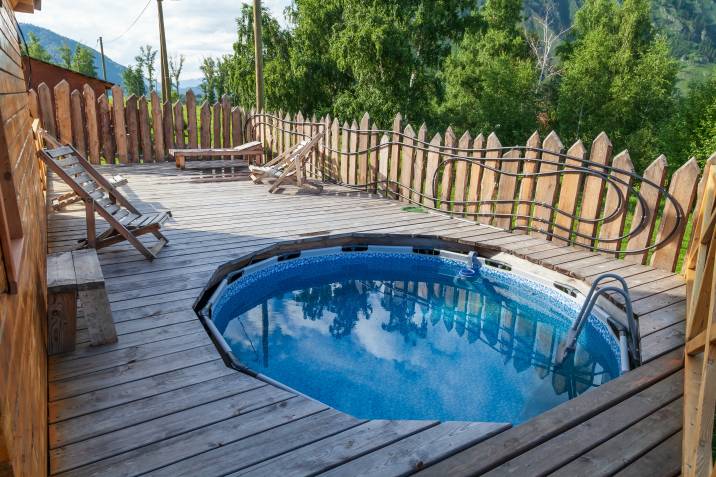
Before embarking on DIY plunge pools, carefully assess your backyard for the ideal location. A well-placed plunge pool will enhance the aesthetics and functionality of your outdoor space. Below are some tips:
Opt for a pool location that basks in ample sunlight, free from the shade of trees. This naturally warms the water and reduces the number of leaves that find their way into the pool.
Construct a windbreak to mitigate the effects of strong winds and minimise water evaporation.
Opt for a spot that ensures your pool remains clear of mud and debris, guaranteeing a clean and enjoyable swimming experience. Avoid low-lying areas that are susceptible to flooding during heavy rainfall.
Keep your pool away from overhead telephone or electrical wires for safety reasons. Ensure it is not positioned directly above buried sewer lines, septic systems, or electrical cables, which could cause complications or hinder maintenance access.
Position your pool within sight of your house. This allows you to keep an eye on swimmers even while indoors, providing peace of mind and ensuring safety.
2. Set your budget
Determine how much you can spend on plunge pool construction and maintenance costs. Research the various options available and prioritise your needs accordingly. A clear budget will guide your decision-making process and prevent overspending.
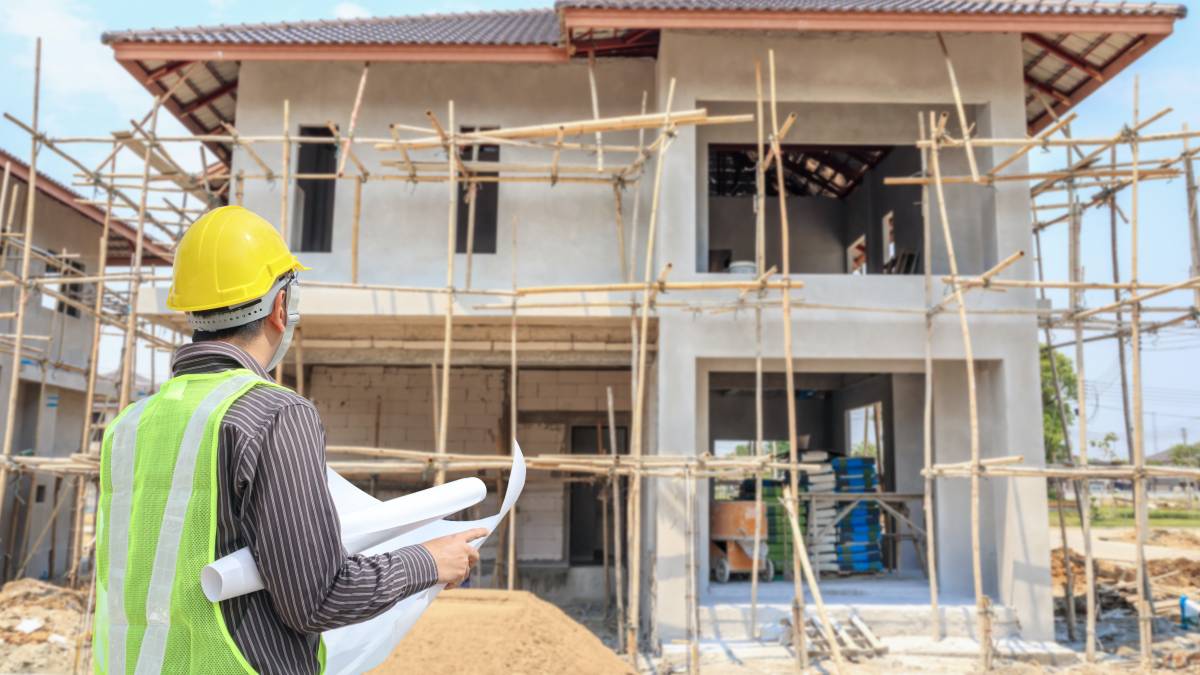
3. Get the required permits
Check with your local authorities about the necessary permits and regulations for building a plunge pool in your area. Obtaining the required permits will save you from legal complications and fees and ensure that your project meets all necessary standards.
4. Choose the right type of plunge pool
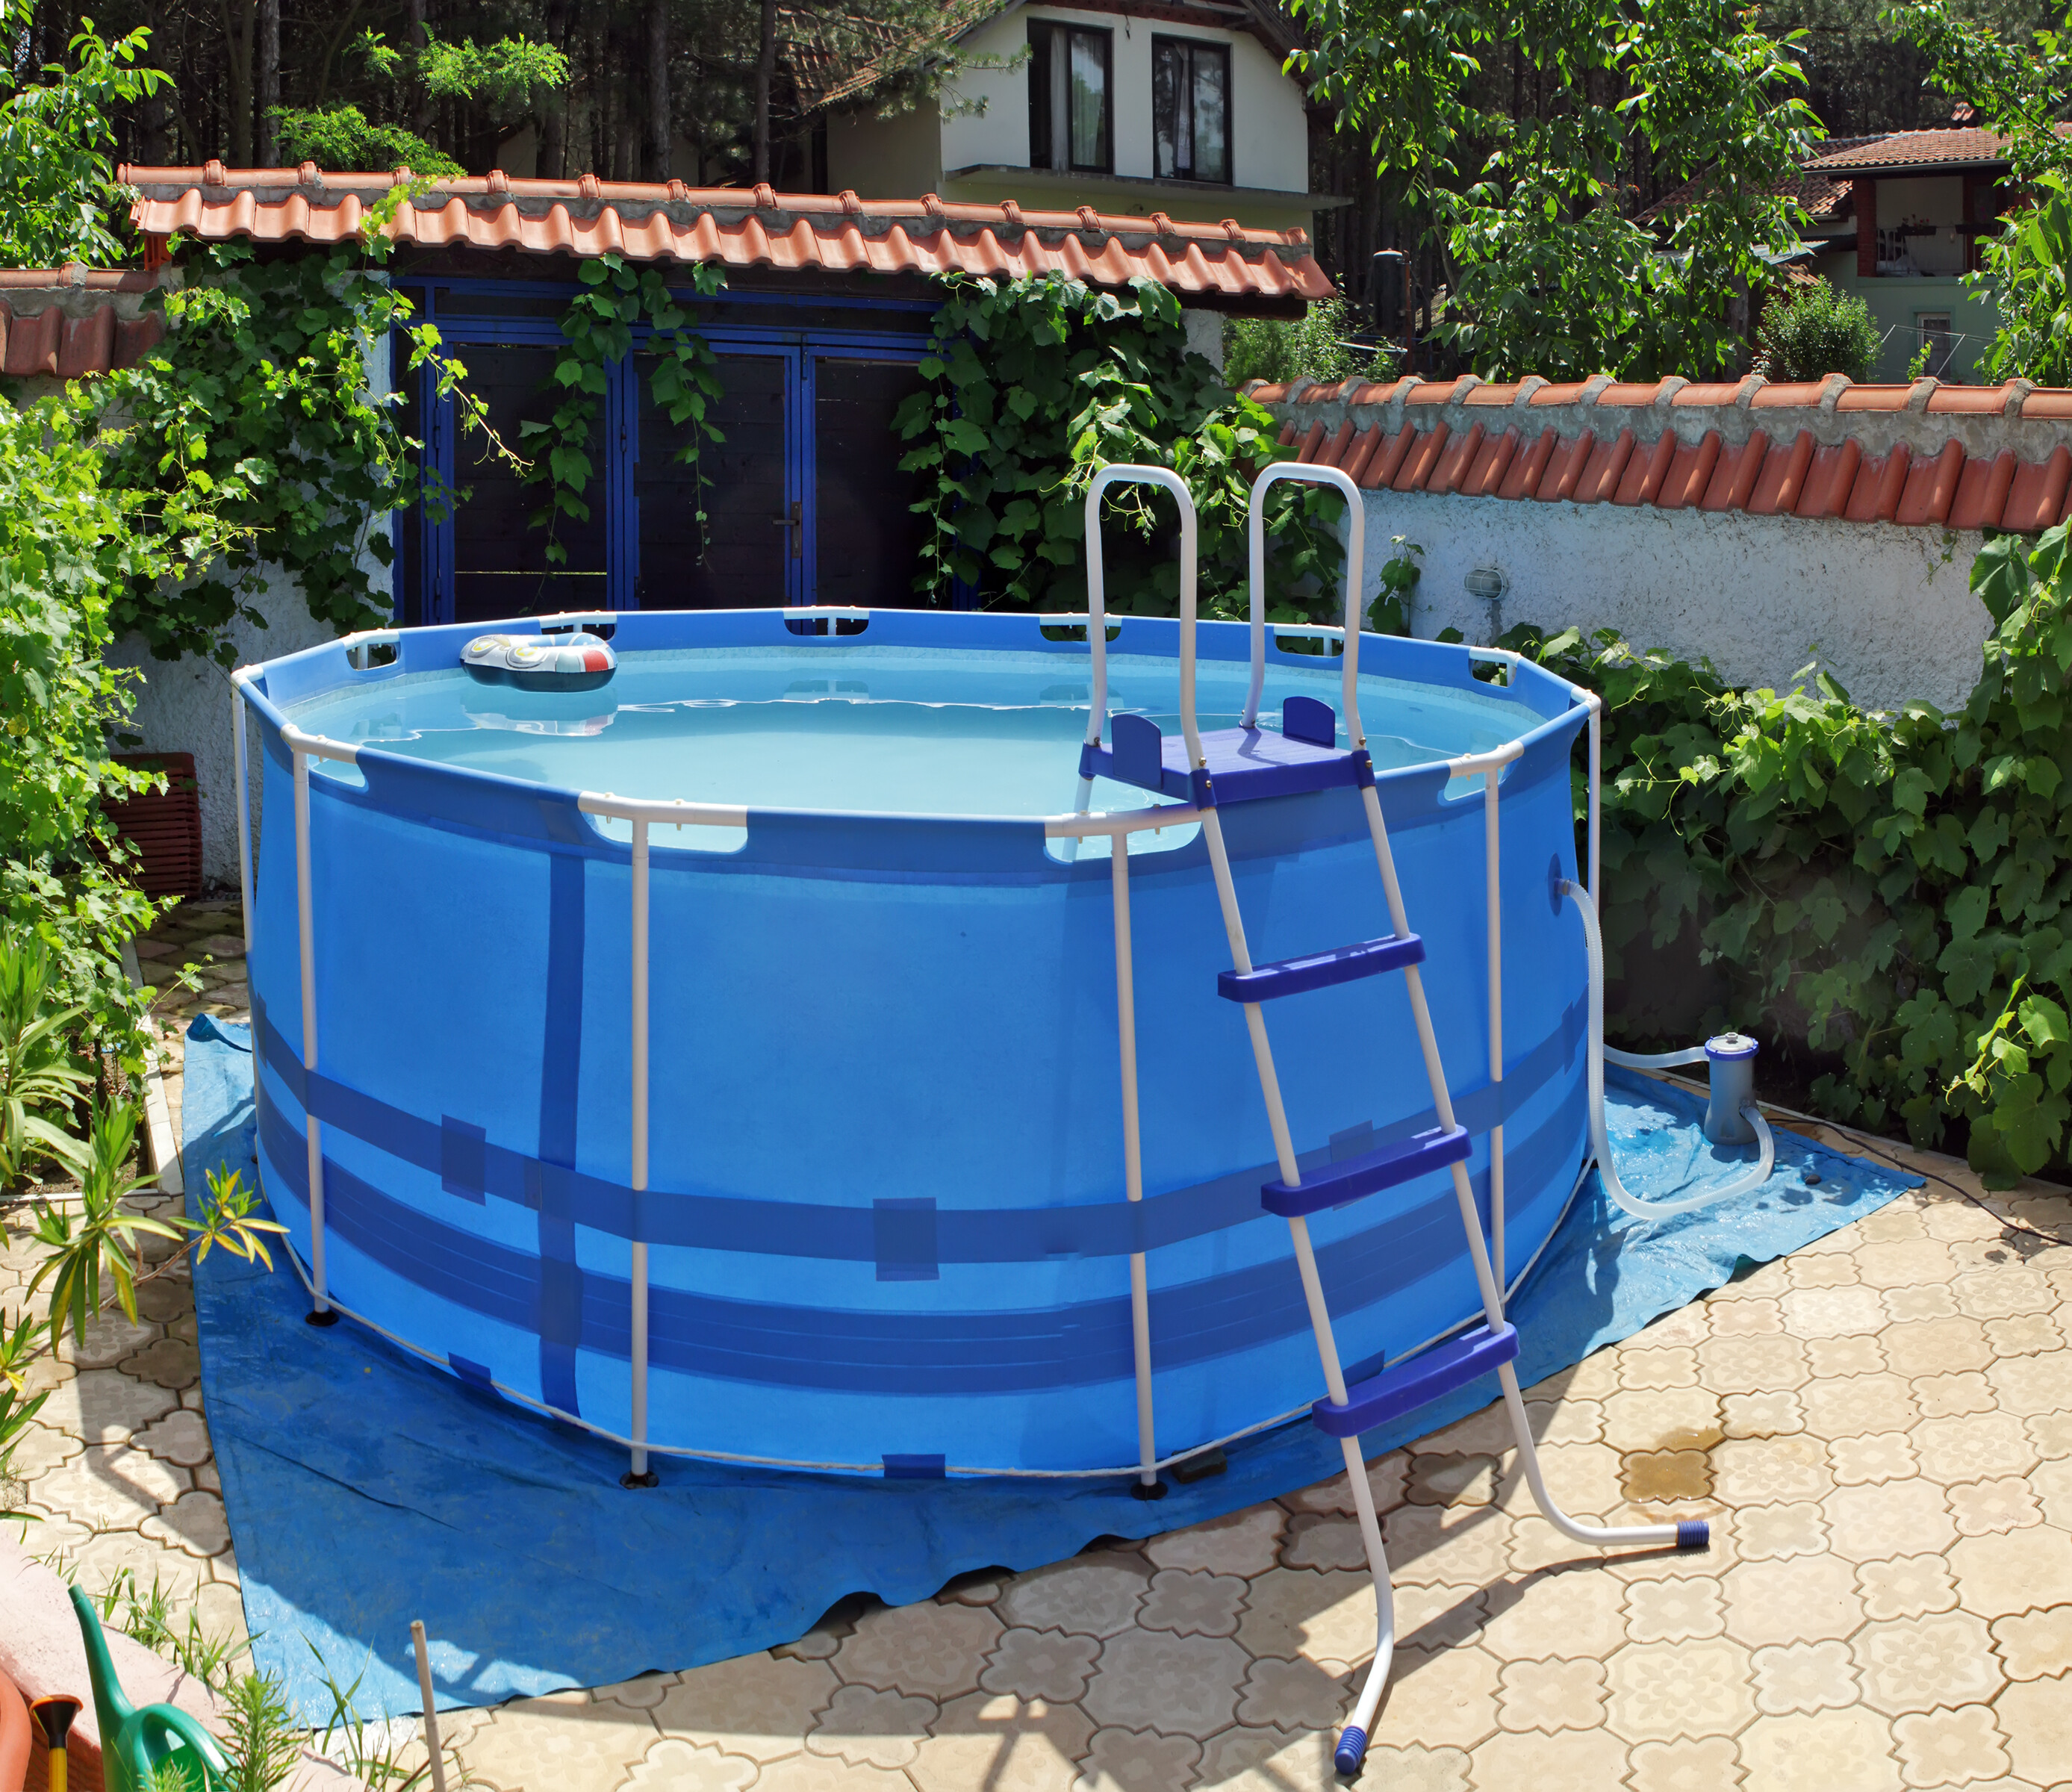
Decide between an above-ground or in-ground plunge pool based on your preferences, budget, and space availability. Consider your long-term plans and council requirements before making a decision.
Above-ground pools are typically more affordable, easier to install, and versatile as they can be relocated. They are ideal for homeowners with limited space and prioritise affordability, portability, or a desire for flexibility in the future.
Inground pools provide a seamless and permanent addition to your backyard, allowing for a more customised and visually stunning design. These are suitable for homeowners who have enough space and value long-term investments.
5. Choose the right plunge pool material
The appropriate material for your plunge pool is crucial for its durability and aesthetics. Consider your budget, desired aesthetic, and long-term maintenance expectations when choosing the right material:
- Concrete pools: This type offers unparalleled customisation, with the ability to be built in various sizes, shapes, and depths. Despite a longer installation period (around 3 to 12 weeks), concrete pools are renowned for their strength and durability, often lasting over 50 years. Additionally, a DIY concrete plunge pool can be remodelled, expanded, or updated, offering long-term flexibility and enjoyment.
- Vinyl pools: Vinyl pools can be rectangular, L-shaped, and freeform options. Construction typically takes one to three weeks. Note that pool toys, pets, or sharp objects can puncture the vinyl liner. Repairs are feasible, but selecting a liner with a thickness of 20-30 millimetres (about ¾-1 inch) enhances durability.
- Fibreglass pools: These are low-maintenance, quick to install, and offer smooth surfaces but have fewer design options. This limitation may pose challenges for smaller or uniquely shaped yards. But their durable finish resists stains and requires fewer chemicals, reducing algae compared to concrete pools.
6. Plan the plunge pool design
There are many pool designs, so it’s best to engage with a pool designer or architect to create one that complements your outdoor space and brings your vision to life. Think of the following:
- Your backyard dimensions and house layout influences the shape of your plunge pool. While square or rectangular shapes are common, numerous creative options exist beyond these.
- Consider how you’ll use your plunge pool to determine the right depth. Will it be for relaxation or children’s play? The average depth is 1.2 metres, but you can choose a deeper pool if desired.
- Your pool’s interior finish and colour significantly affect its visual aesthetics. Options include plaster, aggregate, pebble finish, glass tiles, or stone tiles, each with its cost considerations. The chosen finish will also affect the installation timeline and overall budget for your pool project.
7. Choose the right type of filtration system
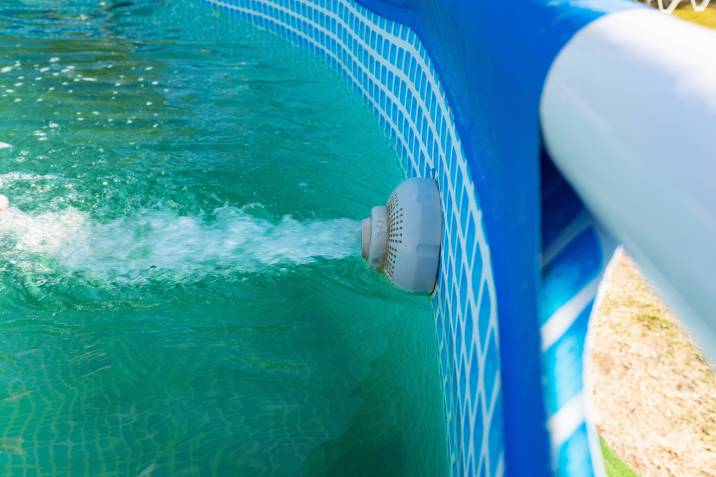
A reliable filtration system is vital for maintaining water clarity and cleanliness. Determine the most suitable one for your plunge pool while considering investing in energy-efficient and eco-friendly equipment to reduce operational costs and minimise environmental impact. Here are the most popular types:
- Sand filters: The most common method of pool water filtration. They use special filter sand to trap dirt and debris, which is cleaned through backwashing.
- Cartridge filters: Employs large cylindrical cartridges to screen out dirt. They don’t require backwashing and can be rinsed off with a garden hose, conserving water.
- Diatomaceous earth (DE) filters: Uses a porous powder with microscopic openings to trap particles. They effectively strain out dirt, dust, algae, and some bacteria. DE filters are cleaned by backwashing, using less water than sand filters, and fresh DE is added afterwards.
8. Invest in quality pool equipment
Opt for high-quality pool equipment to ensure optimal performance and longevity. This includes pool pumps, heaters, covers, and cleaning tools. Research reputable brands and consult with professionals to choose equipment that suits your requirements. Investing in reliable pool equipment will save you time, money, and effort in the long run.
9. Ensure regular maintenance and care
Commit to regular maintenance and care to keep your plunge pool pristine. Establish a routine for pool cleaning, water balancing, and equipment inspection. Familiarise yourself with proper pool chemistry and cleaning techniques, or consider hiring a pool maintenance expert to ensure your plunge pool remains well-maintained.
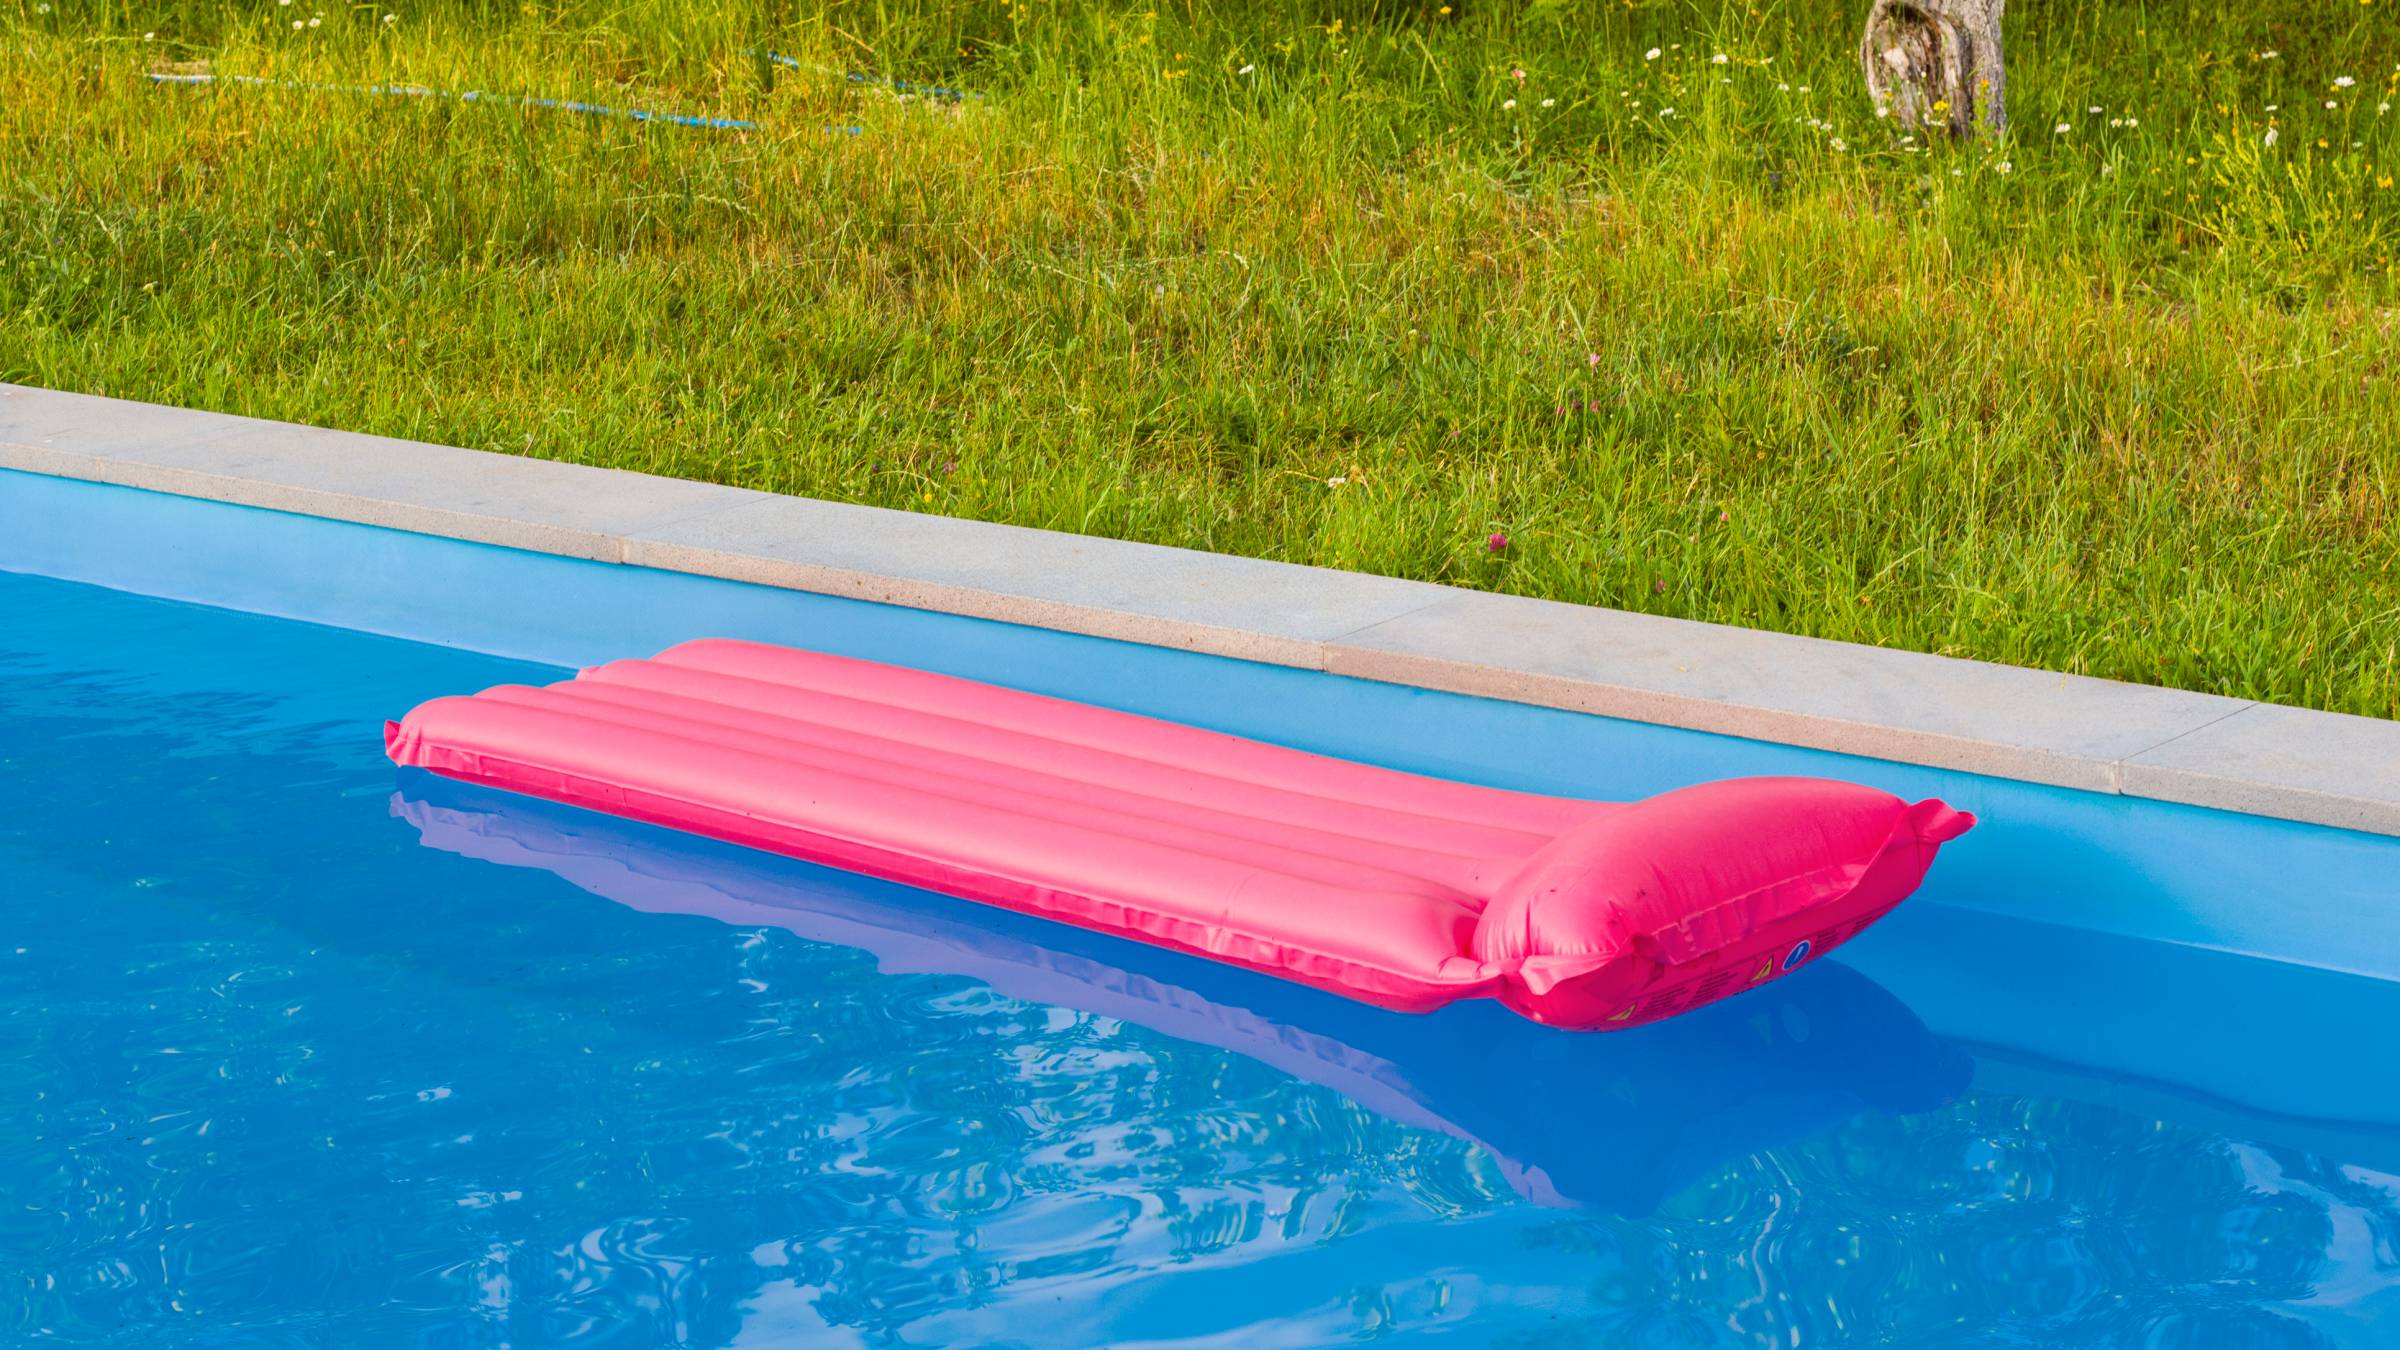
10. Consider having beneficial add-ons

Adding various features and accessories to your pool can significantly enhance your swimming experience and transform your backyard into a captivating oasis. While not all of these items may be necessary for your pool project, you may keep them in mind when planning:
- Safety fence: Prioritise safety by installing a secure fence around your plunge pool, especially if you have children or pets. Choose a design that matches your backyard aesthetics and complies with local safety regulations.
- Lighting and landscaping: Elevate your backyard plunge pool’s ambience with lighting and landscape design. Use underwater LED lights or floating solar-powered lights for a captivating nighttime atmosphere. Enhance the pool area’s natural beauty with a small garden patio filled with lush plants, shrubs, or rocks. Thoughtful lighting and landscaping will make the area more inviting.
- Jets: You may install hydrotherapy jets like those in a hot tub for their therapeutic benefits, soothing your muscles and promoting rest and relaxation. Swim jets provide a continuous current for swimming against, allowing for an invigorating workout.
Build the plunge pool of your dreams
Building a backyard plunge pool can transform your outdoor space into a private sanctuary where relaxation and enjoyment await. By following these essential tips, you can confidently embark on your plunge pool project!
Before you take a cold plunge into the process, consider booking professionals on Airtasker for their expertise! They can guide you from thorough planning to seamless installation. Put up a task, specify your needs, budget, and location, and start building your plunge pool! With the help of these professional Taskers, every day can feel like a vacation!
Find plunge pool builders, fast
Find a plunge pool builder
FAQs on plunge pools
The minimum size of a residential pool in Australia is often considered to be around 4 metres in length and 2.5 metres in width. It’s important to consult with a pool builder to ensure compliance with the regulations and requirements applicable to your location.
A plunge pool is smaller and designed for relaxation, cooling off, and hydrotherapy. It typically features a deeper depth and may include built-in seating or benches. In contrast, a traditional pool is larger, designed for recreational swimming and water activities. Swimming pools have varying depths and offer more space for exercise and play.
Generally, the ideal size ranges from around 3 to 5 metres in length and 2 to 3 metres in width. This size provides enough room for relaxation and hydrotherapy while being suitable for smaller backyards or spaces with limited room for excavation.
It’s recommended to consult with pool professionals or contractors to determine the optimal size for your specific needs and available space.
Related articles


Related price guides
How much does a plunge pool cost?
Read more
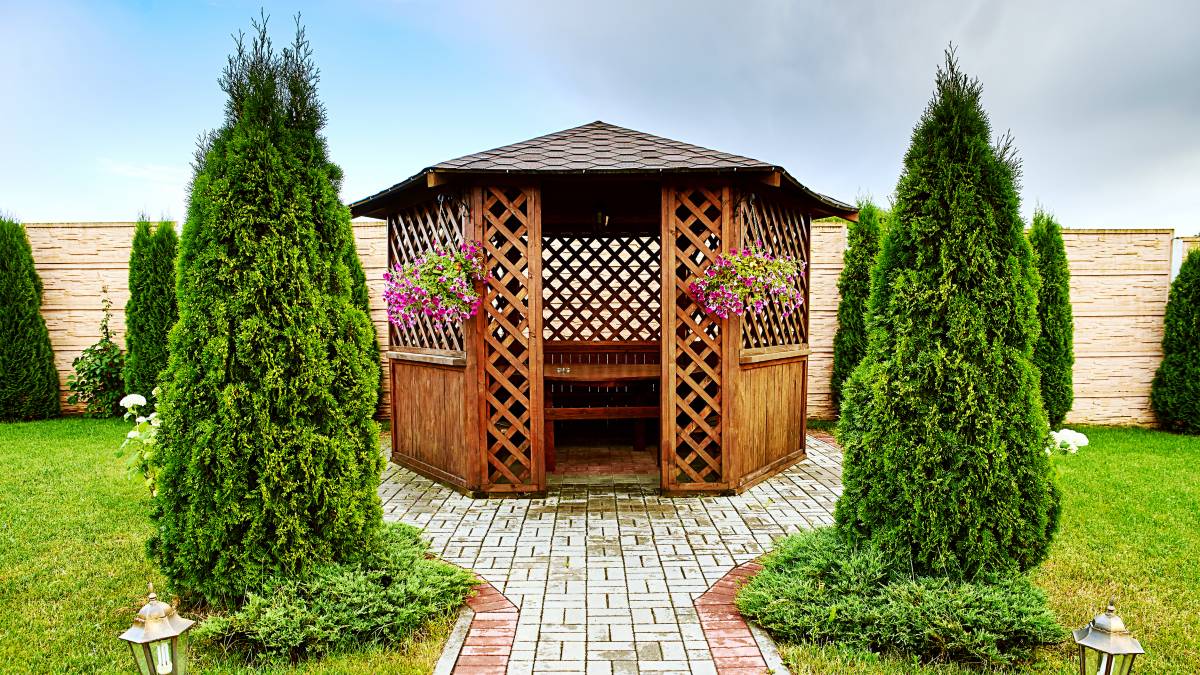
How much does an outdoor gazebo cost?
Read more
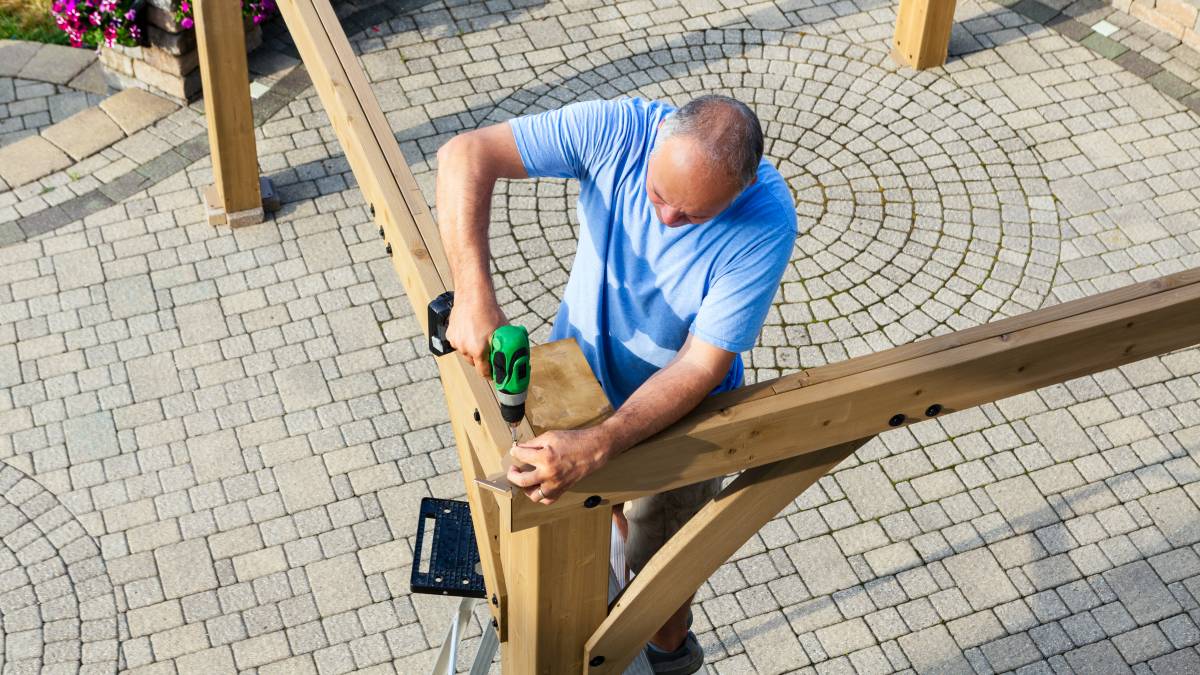
How much does a pergola cost?
Read more
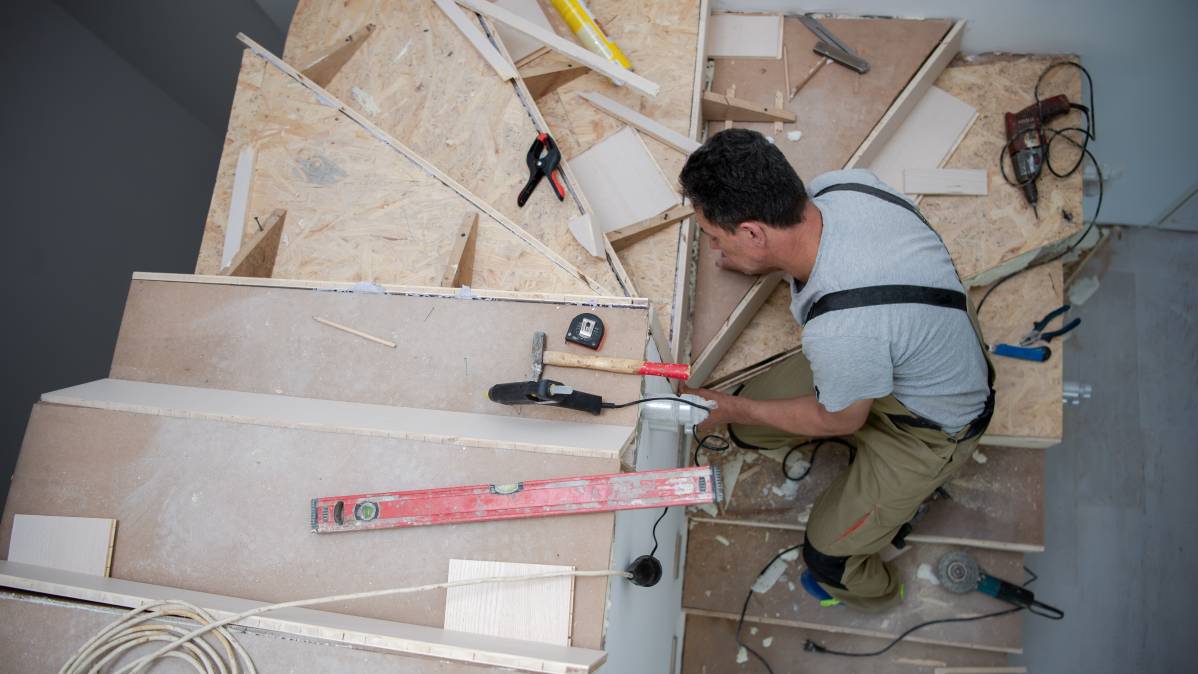
How much does a new staircase cost?
Read more
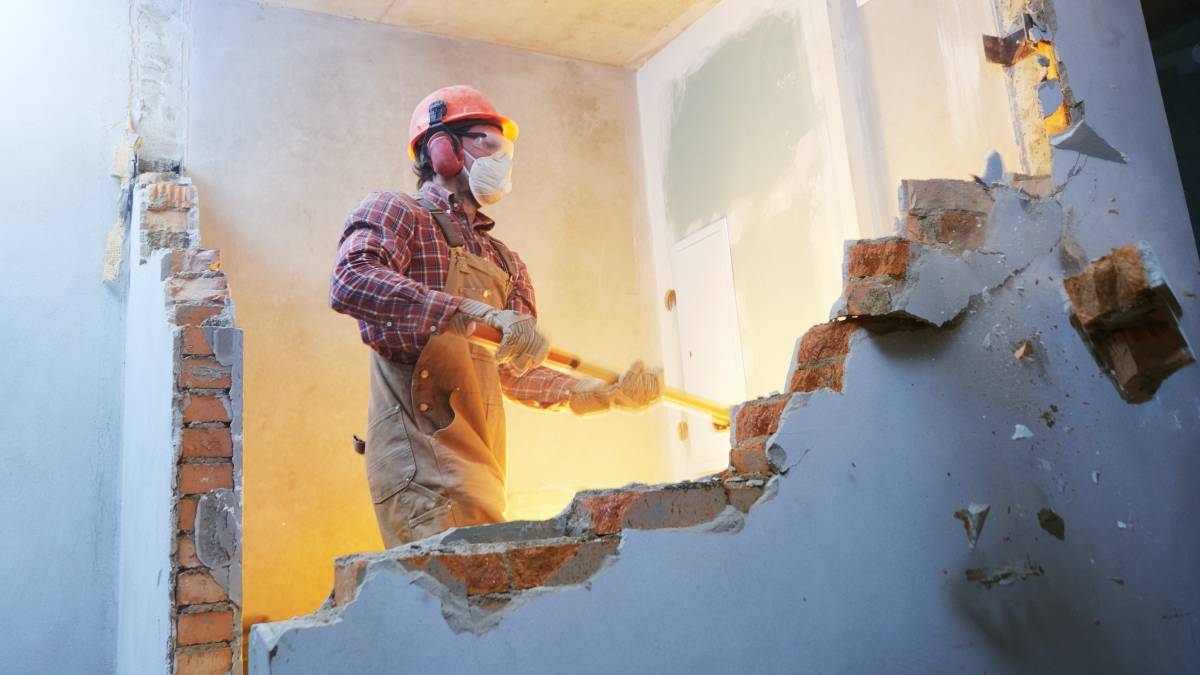
How much does demolition cost?
Read more

How much do patios cost?
Read more
Let's do this!
It's free and takes only a minute.