- Home/
- Guides/
- Ceiling Fan Installation/
- Ceiling Fan Wiring Guide
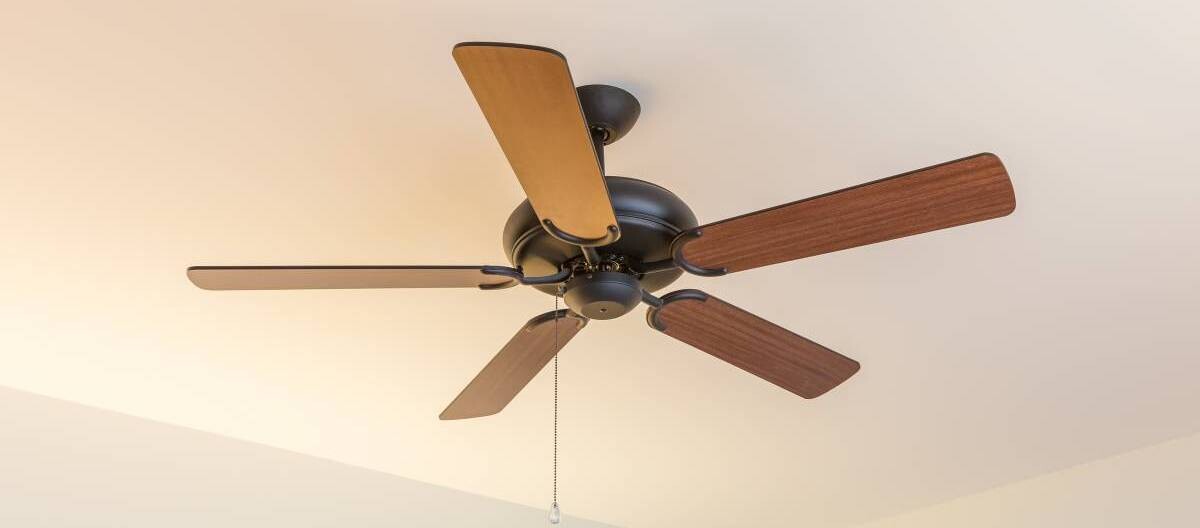
Home DIY: Ceiling fan wiring guide for beginners
A comprehensive guide to understanding ceiling fan wiring for safe electrical connections.
Find an installerLast Updated on
Key Takeaways
Even if you’re not directly working on electrical projects, investing in a non-contact voltage tester can help you check if wires are live without touching them.
Ceiling fans should be installed only on fan-rated junction boxes that support at least 15kg, as standard light fixture boxes cannot safely handle a fan’s weight and vibration.
Hiring a professional provides the certification required by UK building regulations, protecting your home insurance validity and future property sales.
Are you considering wiring a ceiling fan yourself? Understanding ceiling fan wiring basics could help you decide whether to tackle this project or hire a handyman for professional installation.
In this guide, we’ll cover essential wiring knowledge, required tools, potential challenges, and key safety considerations to help you make an informed decision about this electrical project. You’ll learn when DIY makes sense and when professional help is the safer, more cost-effective choice.
The tools and materials you’ll need
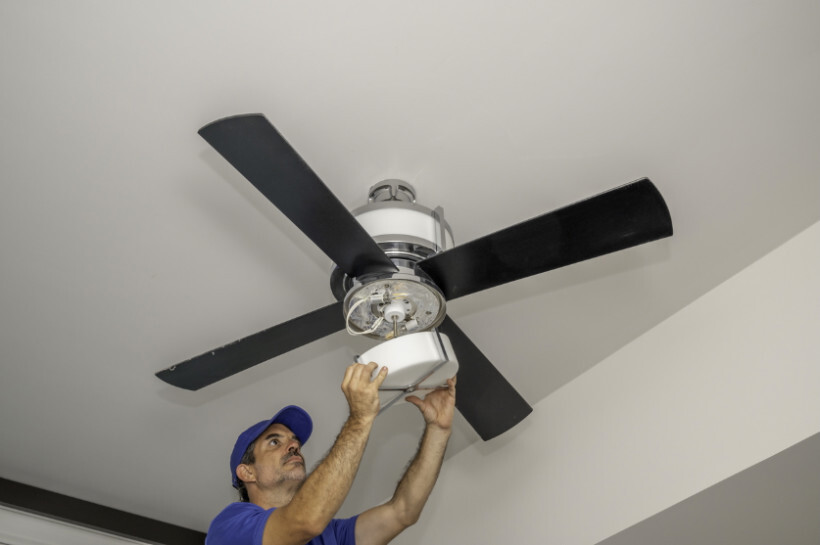
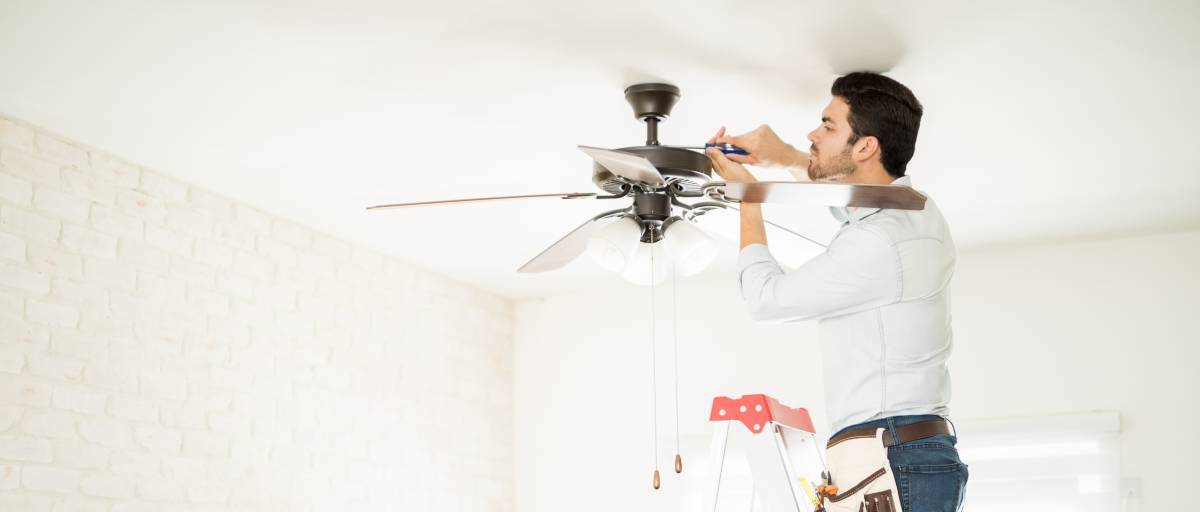
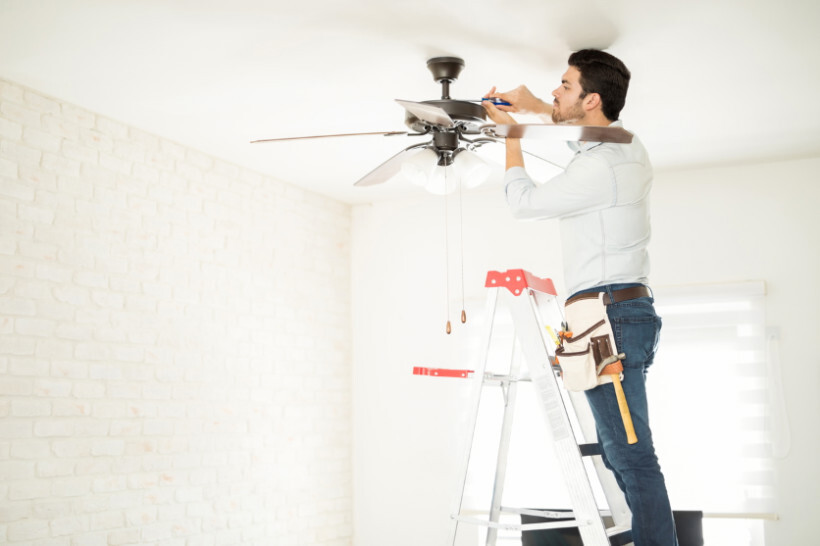 Man on a ladder carefully unscrewing a ceiling fan. (Source: iStock)
Having the right tools on hand makes installing a ceiling fan much easier and safer. Get these items together before you start so you don’t have to step down from your ladder mid-job:
Wire connectors (wire nuts) for securely joining wires together
Ceiling fan kit
Screwdriver (both flathead and Phillips) for attaching and adjusting mounting hardware
Wire cutter/stripper for removing insulation cleanly and safely from wires.
Electrical tape for extra insulation of wire connections
Non-contact voltage tester for verifying if a wire is live
Pliers or needle-nose pliers for twisting wires together and holding small components in place
Decoding ceiling fan wiring colour codes
The International Electrotechnical Commission standard (IEC 60446) mandated the colours and/or labels to identify each cable type throughout Europe, including the UK. This standardisation ensures consistency across electrical installations and promotes safety.
| Green/Yellow |
Connects to metal parts for safety in case of electrical faults |
| Brown |
Carries electricity to power the fan |
| Blue |
Completes the electrical circuit |
However, note that older installations may still feature the previous ceiling fan wire colours. For instances like this, consider hiring a professional who can correctly identify and work with these colour variations to ensure safety and compliance with current regulations.
Green and yellow wires: The earth wire is distinctively green with yellow stripes. It protects against electrical shock by directing fault currents safely to the ground in the event of an electrical fault. Always connect this wire to the fan’s metal housing and the earth terminal in your ceiling junction box. Proper earthing is mandatory for all UK fixed electrical installations.
Brown wires: The brown wire is identified as the live cable labelled as “L" in technical documentation in single-circuit installations. It carries electricity from your consumer unit to power your ceiling fan. This wire carries 240 volts and presents the highest shock risk.
Blue wires: The neutral wire, identified by its blue sheathing, completes the electrical circuit by providing a return path for current. It transfers electricity away from the appliance and is labelled “N" in technical documentation. For proper operation, connect the blue neutral wire from your ceiling junction box to the blue wire on your fan.
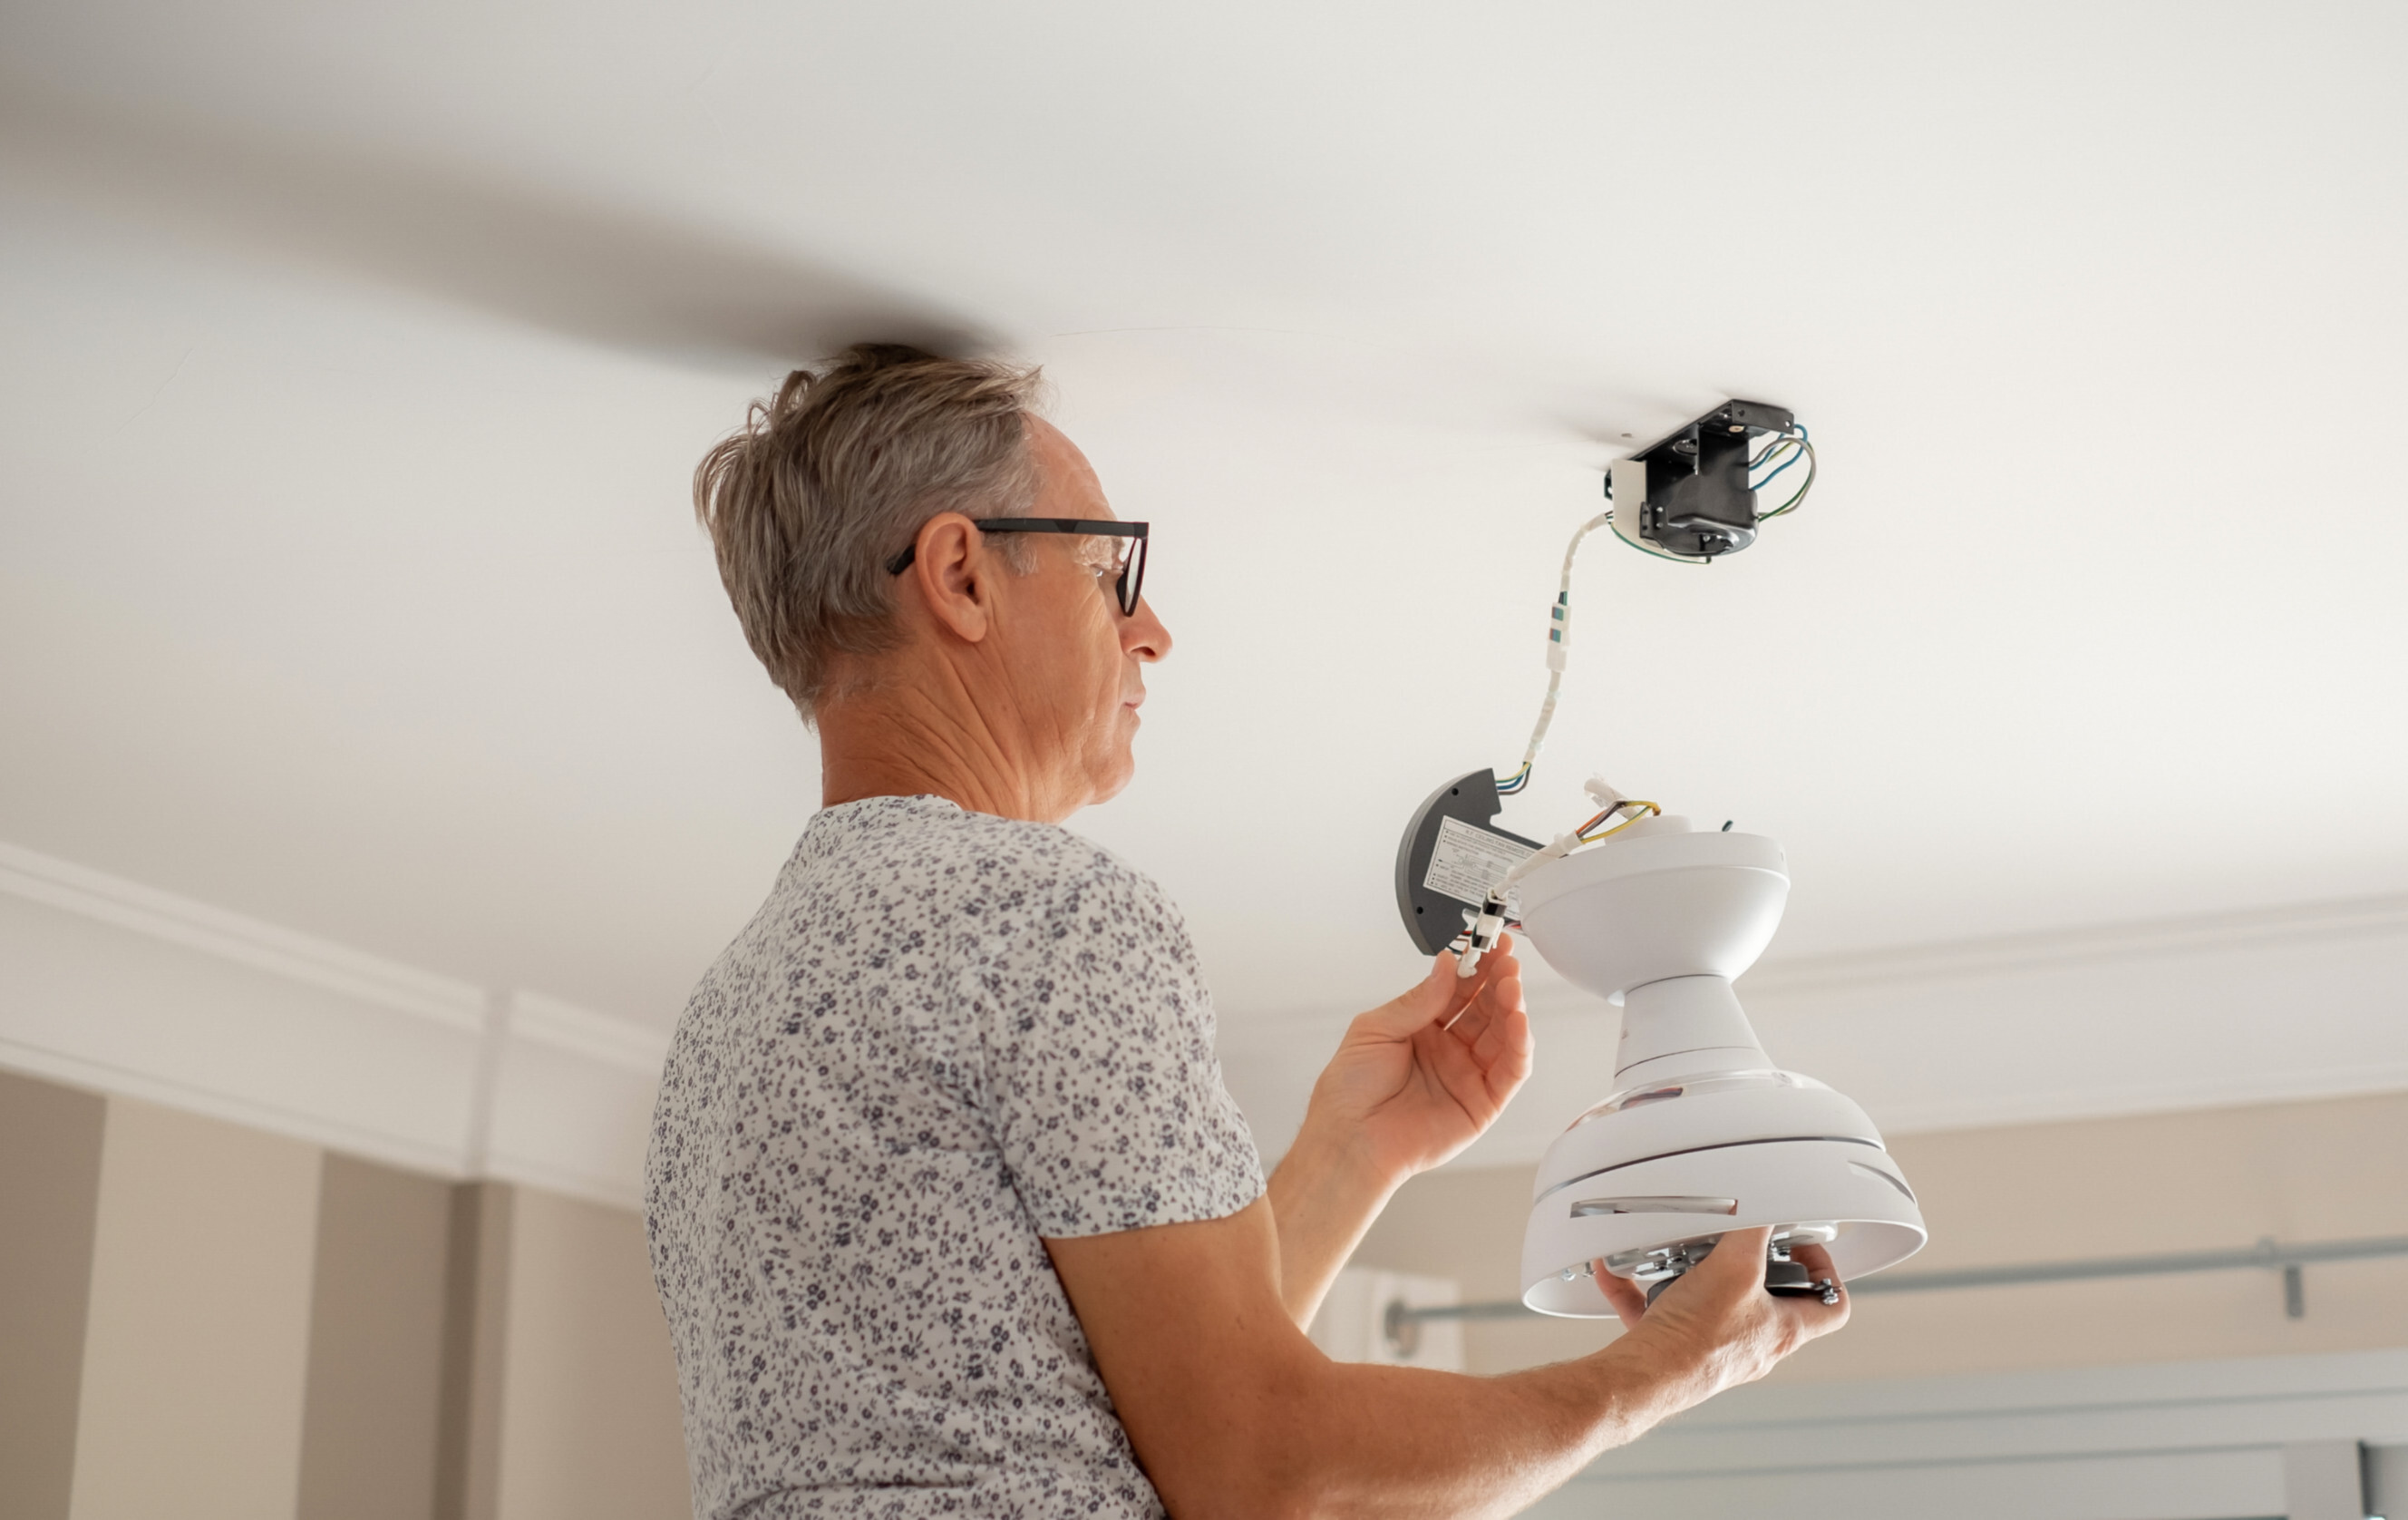
Understanding your ceiling fan wiring
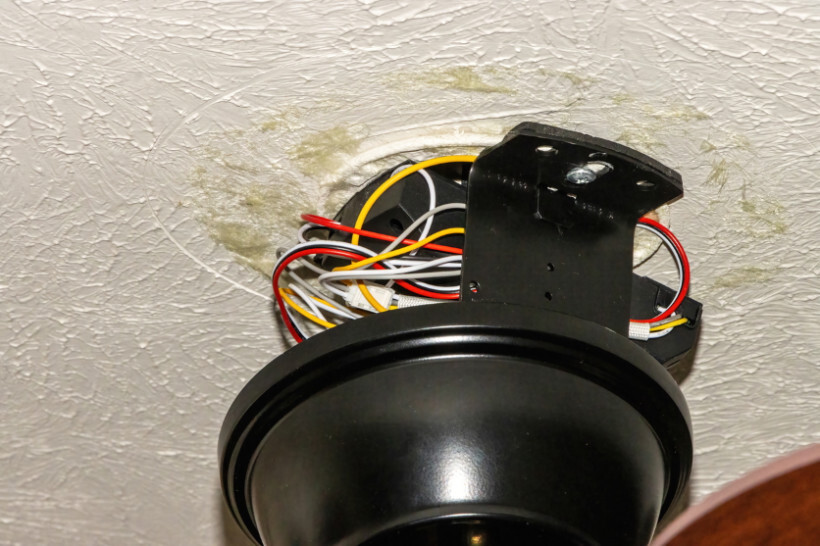 Close-up view of exposed ceiling fan wiring and installation bracket. (Source: iStock)
Safety must come first before attempting to install ceiling fan wiring. Here’s how professionals approach ceiling fan wiring in UK homes.
Step 1: Turn off the power at the consumer unit
A licensed electrician will locate the consumer unit (electrical box) and turn off the circuit breaker controlling the room where you’re fitting a ceiling fan. For added safety, they often place tape over the switch with a warning label. Some electricians remove the fuse entirely during the installation process.
Step 2: Test that power is indeed off
Professional electricians always use a non-contact voltage tester, a small device that detects electrical current without touching bare wires. They hold it near each wire in the ceiling box to confirm that no power is present. If the tester indicates current, they recheck which circuit breaker controls these wires.
Step 3: Identify the wires in the ceiling box
Once safety is confirmed, the next step is identifying your wiring. If you’re replacing an existing light fixture, note how the current wires are connected before disconnecting them. In older properties, they’ll also find red wires instead of brown and black wires instead of blue. These colour codes are essential for matching the correct wires to your new ceiling fan.
Step 4: Check for additional wires
The electrician will also note if there are multiple active wires. Two active wires (two brown or two red) typically mean the ceiling box is set up for separate fan switching and light switching. A single active wire usually means the fan and light will operate from one switch. This helps them understand how the fan will be controlled and what wiring configuration to use.
When to call a professional
If your wiring doesn’t match standard colours or you find extra wires that seem confusing, hiring a licensed electrician is strongly recommended. They can test connections, trace circuits, and ensure everything is safely connected.
Connecting the ceiling fan to the mounting bracket
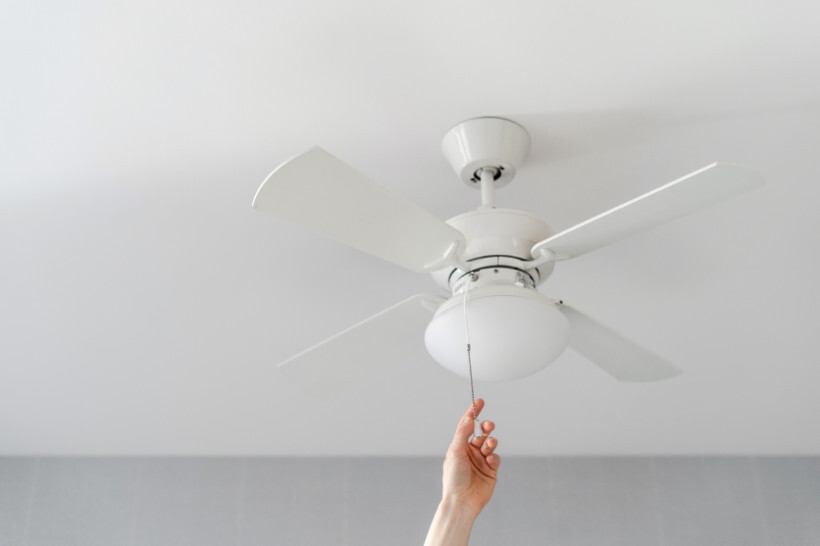 Turning on a ceiling fan with a simple pull of the chain switch. (Source: iStock)
Standard junction boxes aren’t usually strong enough to support the weight and size of a ceiling fan. Without the proper support, a fan could work loose over time and fall, potentially causing damage or injury.
Per UK building codes, ceiling fan mounts must support a minimum weight of 15kg. This requirement exceeds basic light fixture needs and accounts for both the fan’s weight and the forces created when it spins.
Junction box installation
For most UK homes, DIYers and licensed electricians follow these steps:
Locate ceiling joists: They identify the wooden beams in your ceiling that provide structural support. These joists become anchor points for the fan mounting system.
Choose the right junction box: Fan-rated boxes are designed to handle weight and movement. The weight capacity must match your specific fan requirements.
Install support bracing: When the fan location doesn’t align with the ceiling joists, insert a support brace through the existing ceiling hole. This brace spans between joists, creating a solid mounting point.
Secure the junction box: The junction box attaches to either the ceiling joist or support brace with all screws tightened firmly to prevent movement.
Mounting bracket installation
With the junction box in place, a professional follows these key steps when installing and wiring a ceiling fan:
Attach the bracket: The mounting bracket connects directly to the junction box using the supplied hardware. Its slots match the fan’s base plate.
Check for stability: They test the bracket by applying pressure to ensure it can handle the fan’s weight without shifting.
Run the wiring through the bracket: Electrical wires from the ceiling pass through the centre of the mounting bracket for later connection.
Final position adjustments: They fine-tune the bracket position to ensure the fan hangs level and centred.
For concrete ceilings, special anchoring methods are required. Professional installers use concrete-specific drill bits to create precisely sized holes, then insert heavy-duty expansion bolts or toggle anchors rated for at least twice the fan’s weight to ensure secure mounting.
Wiring your ceiling fan without switches
For some UK homes, running new switch wiring isn’t practical. In these cases, fans operate using pull chains, remote controls, or built-in mechanisms rather than wall switches. Here’s how to wire a ceiling fan in this scenario.
Turn off power at the consumer unit.
Connect the blue wire (neutral) from the fan to the blue ceiling wire.
Join the green/yellow earth wire to the household earth wire.
Connect the brown live wire from the fan to the brown ceiling wire.
For fans with lights, connect the separate light wire to the live circuit.
Secure all connections with proper connectors and tuck into the junction box.
This direct connection works perfectly with remote-controlled fans, providing convenient operation without wall switches. Most modern fans include remotes, but retrofit kits are available for older models.
Wiring your ceiling fan and light with one switch
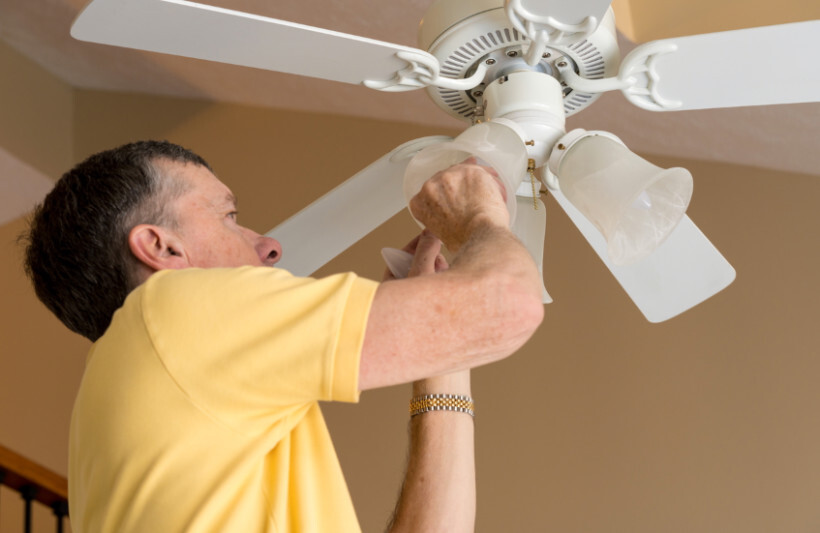
 Installation of a modern ceiling fan with light fixtures by a professional. (Source: iStock)
With this setup, both the fan and light operate from a single wall switch. When you use the switch, both functions turn on or off together.
After switching off the power, identify all wires in the ceiling box.
Connect green/yellow earth wires from the ceiling and fan.
Join blue neutral wires from the ceiling and fan together.
Connect brown live wire from the ceiling (through the switch) to the fan’s live wire.
Connect the light wire to the same live circuit, allowing the switch to control both functions.
Secure all connections with proper connectors and position them neatly within the junction box.
Always check your specific model’s wiring diagram, as terminal arrangements can vary between manufacturers.
Wiring a ceiling fan with a light with two switches
For independent control of the fan and light, UK installations typically use a double switch:
Turn off the power at the consumer unit.
Identify the two switched live wires (both brown, but tagged differently).
Connect the blue neutral wire from the ceiling to the fan’s neutral terminal.
Join all earth wires together and connect to the earth terminal.
Connect one switched live wire to the fan’s motor circuit.
Connect the second switched live wire to the light circuit.
Secure all connections with appropriate connectors.
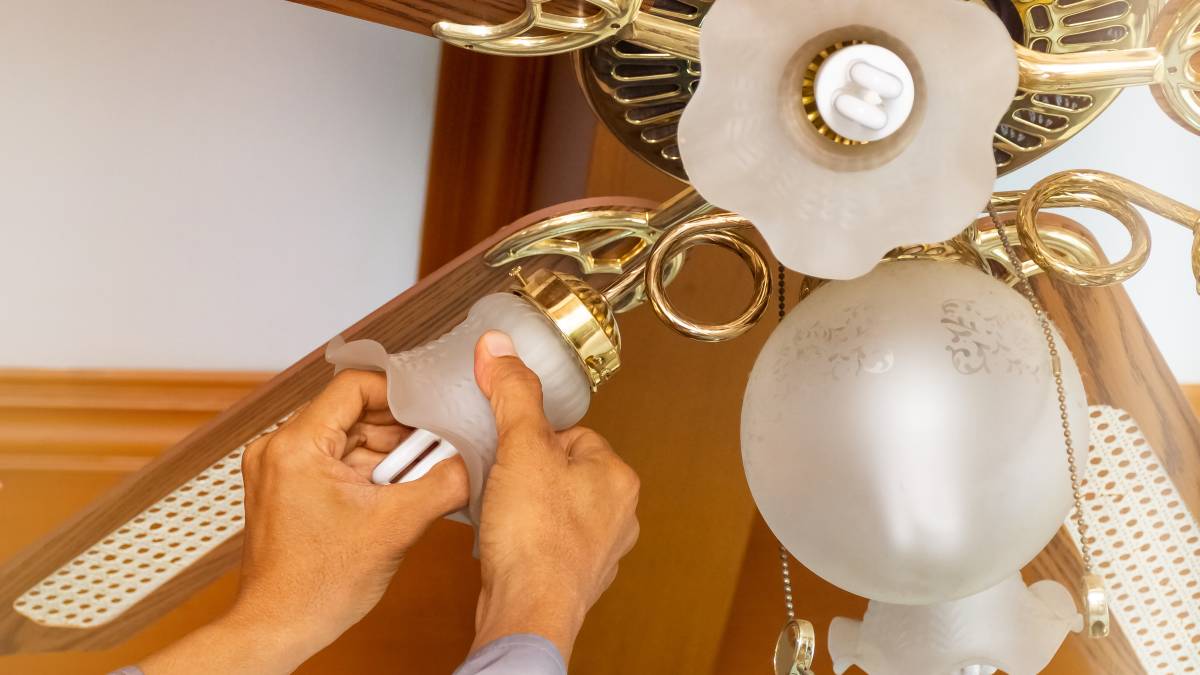
Testing your ceiling fan connections
 Casual yet professional installation of a ceiling fan with lights. (Source: iStock)
Well-installed ceiling fans operate smoothly and quietly. Any rattling, scraping, or wobbling indicates an issue. If your fan doesn’t function correctly:
Switch off power at the consumer unit immediately for safety.
Double-check that all wire connections match correctly (i.e., brown to brown, blue to blue).
Ensure the light wire is connected to the proper circuit.
For dual-switch installations, check all switch connections.
Tighten any loose screws in the canopy or mounting bracket.
Verify the fan blades aren’t obstructed.
If the ceiling fan still won’t work, you can find a qualified electrician on Airtasker for prompt and professional ceiling fan installation. Rather than risking safety or wasting time troubleshooting complex electrical issues, booking an experienced tradesperson ensures proper installation and peace of mind.
Part P building regulations and electrical safety
Any electrical work in UK homes, including ceiling fan installation, must comply with Part P of the Building Regulations. These regulations protect homeowners from dangerous installations that could cause electric shocks, fires, or even fatalities. Non-compliance is illegal and could result in fines of up to £5,000.
The simplest approach is hiring an electrician registered with a government-approved competent person scheme:
Registered professionals can self-certify their work.
You’ll receive proper certification without building control involvement.
Work is guaranteed to meet safety standards.
If installing a ceiling fan yourself:
In non-notifiable areas (bedrooms, living rooms), follow the BS 7671 standards.
In notifiable locations (kitchens, bathrooms), notify building control before starting.
Pay the inspection fee (typically £150-£300).
Arrange for inspection after completion.
Obtain your Building Regulations Compliance Certificate.
Ultimately, all ceiling fan installations should have appropriate electrical certificates (EIC or MEIWC) and Building Regulations Compliance Certificates.
Should you hire a professional for ceiling fan installation?
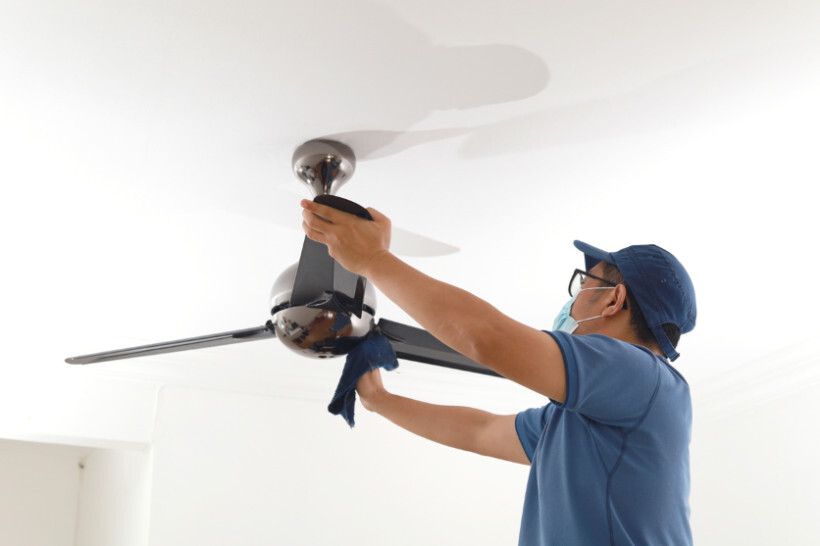 Final adjustments being made on a ceiling fan to ensure perfect alignment and function. (Source: iStock)
Hiring a professional ensures safety, proper mounting, and correct wiring connections—reducing fire hazards, preventing wobbling, and eliminating ceiling damage risks. They have the necessary tools, experience, and knowledge to handle complex electrical work according to UK regulations.
DIY installation can save approximately £49 to £250 only if you’re replacing an existing fan and have sufficient electrical experience. For new installations, complex ceilings, or dual-switch setups, a skilled tradesperson delivers guaranteed results without the safety risks. The small investment protects your home and ensures your fan works correctly from day one.
Master your ceiling fan wiring
Successful ceiling fan installation hinges on understanding the wiring colour codes and having enough electrical knowledge and techniques for a safe installation. Whether you tackle it yourself or hire a professional depends on your experience level and the complexity of your installation.
Need help with your installation? Post a task on Airtasker to connect with qualified ceiling fan installers who can handle the entire process safely. Simply describe your ceiling fan type, room location, and any special requirements. Compare quotes from rated electricians, view their previous work, and choose someone with the right expertise and pricing for your project.
FAQs on ceiling fan wiring
Ceiling fan installations must comply with Part P of UK Building Regulations, requiring either a registered competent person to complete the work or notification to building control for inspection if doing it yourself. For safety and compliance, all fixed electrical installations must adhere to BS 7671 (IET Wiring Regulations) standards.
Yes, you can install a ceiling fan yourself if you have basic electrical knowledge and are replacing an existing ceiling fixture with adequate support. For installations in kitchens or bathrooms, you must notify building control or hire a registered electrician to certify the work.
For UK homes, select a fan sized appropriately for your room: 76cm or smaller for spaces under 10m² (hallways, utility rooms), 106cm for rooms up to 15m² (bedrooms, offices), and 142cm for areas over 23m² (large rooms, halls). Choose models rated for 220-240V suited to UK weather (reversible motors for winter/summer use and appropriate IP ratings for moisture-prone rooms).
If your ceiling fan is wobbling, turn it off immediately and check for loose mounting screws, imbalanced blades, or an unstable junction box. Clean the blades to remove dust build-up that causes imbalance, and if included, use the provided balancing kit to adjust blade weight distribution.
In older UK electrical installations, the red wire is the live conductor (equivalent to brown in newer installations) carrying electricity to power the fan. When connecting a new fan to older wiring, the red wire connects to the brown wire on your ceiling fan or to the fan’s live terminal.
The blue wire in UK ceiling fan installations is the neutral conductor that completes the electrical circuit by providing a return path for current. Connect the blue wire from your ceiling to the blue wire or neutral terminal on your ceiling fan to ensure proper electrical function.
In Australia, electrical work is strictly regulated. Most ceiling fan wiring tasks require a licensed electrician. Attempting this work yourself may void your home insurance and could result in fines. While this guide shows what’s involved, we recommend hiring a qualified professional for the actual installation.
Sometimes, but only if the junction box can support the fan’s weight and the wiring matches Australian standards. It’s very important to make sure the existing junction box is rated to support the weight and movement of a ceiling fan. Most light fixture boxes need upgrading to handle a fan’s weight and movement.
The noise might come from loose screws, unbalanced blades, or electrical issues with the motor or capacitor. A licensed electrician can safely check and fix these problems.
The earth wire protects you by directing dangerous electrical currents safely to ground if a fault occurs, preventing electric shocks and reducing fire risks.
Find ceiling fan installers, fast
Find a ceiling fan installer
Related articles
Install a screen door in 6 steps
Read more

How much can you earn as a handyperson?
Read more
How to Soundproof a Room
Read more

30 Lovely pantry door ideas
Read more
How to fox proof your chicken coop
Read more
How to install curtain rods
Read more

Best blue-collar jobs on Airtasker
Read more

Learn how to cut a mirror in 7 steps
Read more


Related price guides
How much does treadmill repair cost?
Read more

How much does clock repair cost?
Read more

How much does hot tub repair cost?
Read more

How much does signage cost?
Read more

How much does awning repair cost?
Read more

How much does window repair cost?
Read more

How much do chainsaw services cost?
Read more

What are average handyman prices?
Read more