- Home/
- Guides/
- Cooker Hood Installation & Repair/
- How to Install a Cooker Hood
How to install a cooker hood in 7 steps
Adding a cooker hood to your kitchen improves its air quality.
Find a cooker hood installerLast Updated on
Key Takeaways
Do the prep work. Ensure that your chosen cooker hood unit matches your stove dimensions, have the right tools ready, and obtain any permits necessary.
Plan the ductwork route carefully - either through the wall or ceiling - and make sure no electrical wires or plumbing are behind cutting areas to avoid damage.
Get someone to help when mounting the hood to the wall. One person can hold it steady while you connect wiring and secure mounting screws, making the job safer and easier.
A cooker hood is arguably one of the most important investments you can make in your kitchen. In fact, recent studies show that it’s actually the most effective mitigation approach to reducing pollutants, such as smoke, steam, heat, grease, and other contaminants. If you absolutely want your kitchen to smell fresh and avoid sticky residues, then this should be part of your kitchen renovation.
However, mounting a cooker hood can be surprisingly challenging. The process requires precise measurements, secure wall mounting, electrical connections, and potential ductwork installation. This guide will walk you through the installation process step-by-step, helping you identify when you might need the help of a professional installer.
The tools and materials you’ll need
Ductwork (if necessary)
Duct wall or roof cap
Screws
Drill & drill bit set
Level
Tape measure
Pliers
Hole saw
Wire strippers
Wire nuts
Foil & electrical tape
Safety glasses
Gloves
Time of completion
Installing a cooker hood typically takes 2-4 hours for most DIY enthusiasts, plus 1-3 days for permits and preparation. However, your specific installation may vary based on:
- Hood type: Wall-mounted (2-3 hours), island (3-5 hours), or integrated (2 hours)
- Existing infrastructure: Pre-existing ductwork can save 30-60 minutes
- Electrical setup: Simple plug-in (15 minutes) vs. new wiring (add 1+ hour)
- Experience level: First-timers should add 30-60 minutes for careful reading and double-checking
Regardless of your experience level, it’s recommended to block off at least half a day for this project. This buffer allows time to overcome unexpected challenges, such as discovering non-standard wall structures or purchasing additional supplies mid-installation.
Installing a cooker hood in 7 steps
If you’re replacing an existing cooker hood, your first step would be to safely remove it by shutting off power, unscrewing the wire nuts, and detaching all connections. However, if you’re installing a new cooker hood, follow along in the steps below.
Step 1: Choose the right location
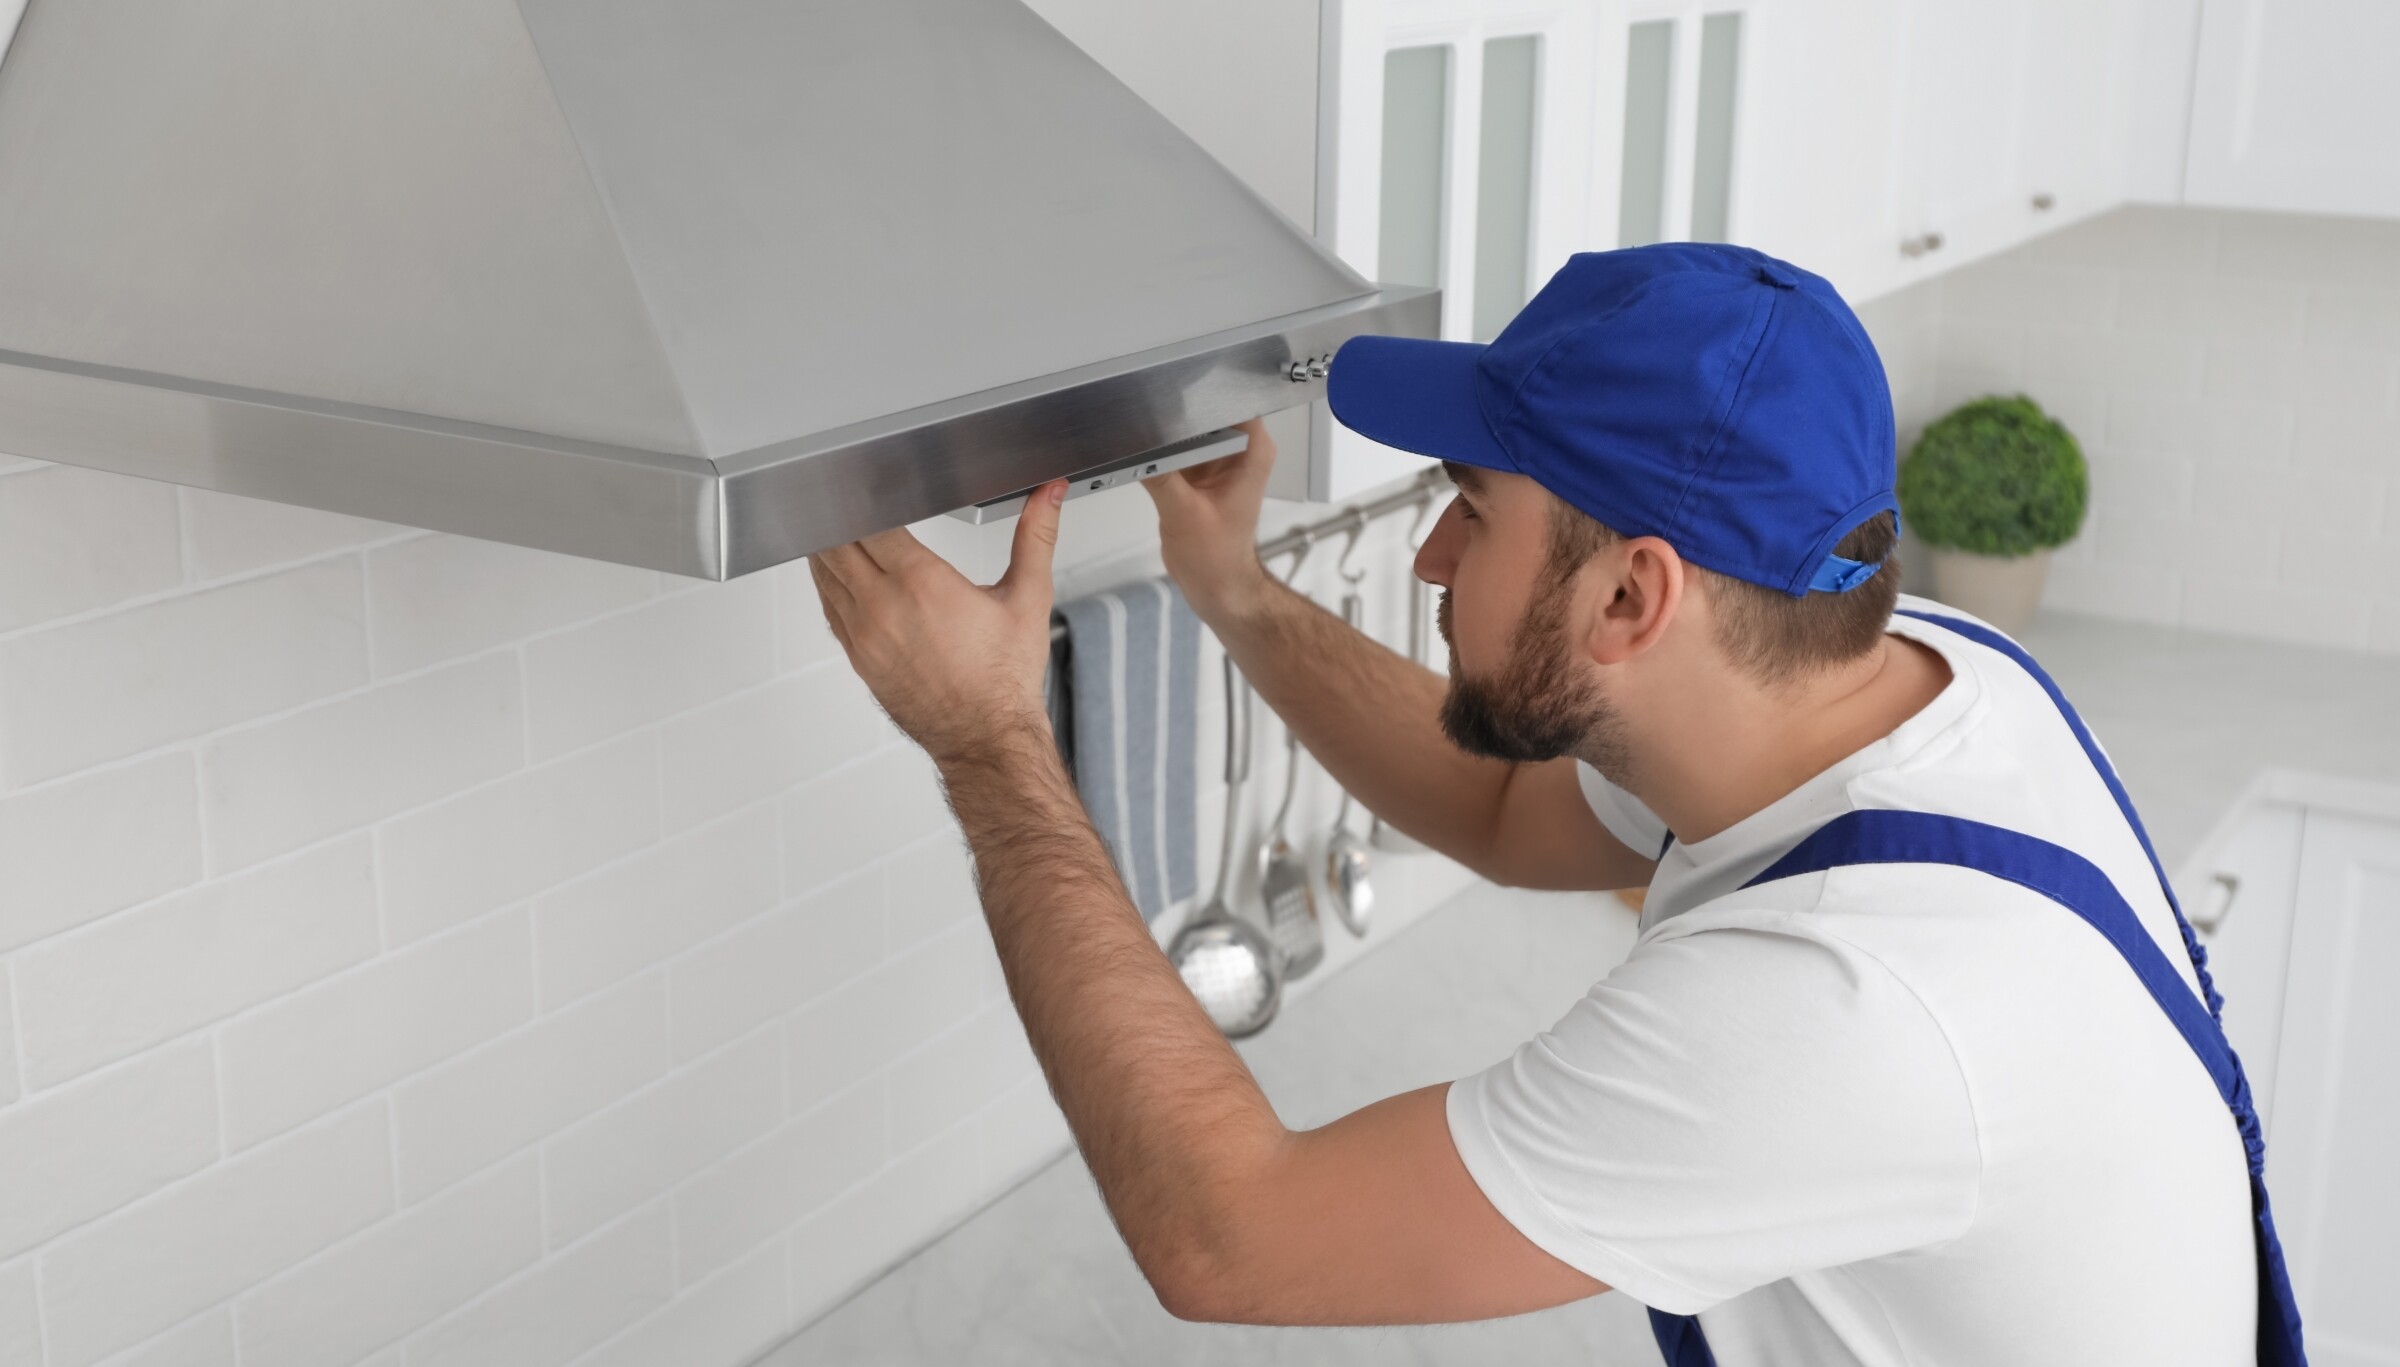
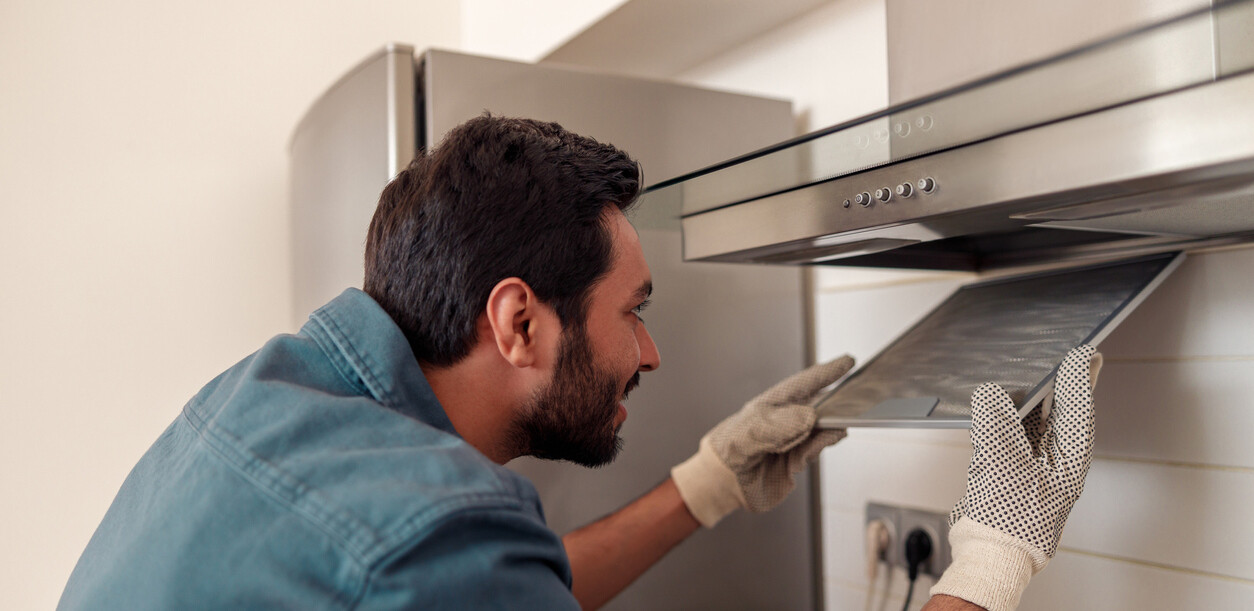
 A person opening a cooker hood. (Source: iStock)
The first thing to do is find the proper position to install your cooker hood. It should have enough clearance between the cooker hood and be centred over the stove.
Most cooker hoods come with manufacturer instructions or a paper template to help you mark the spot in your wall or cabinet before cutting or drilling. Remember to keep holes for mounting, venting, and electricals—use a pencil to trace these, so it will be easier to install the vented cooker hoods later.
Step 2: Determine the routing for ductwork
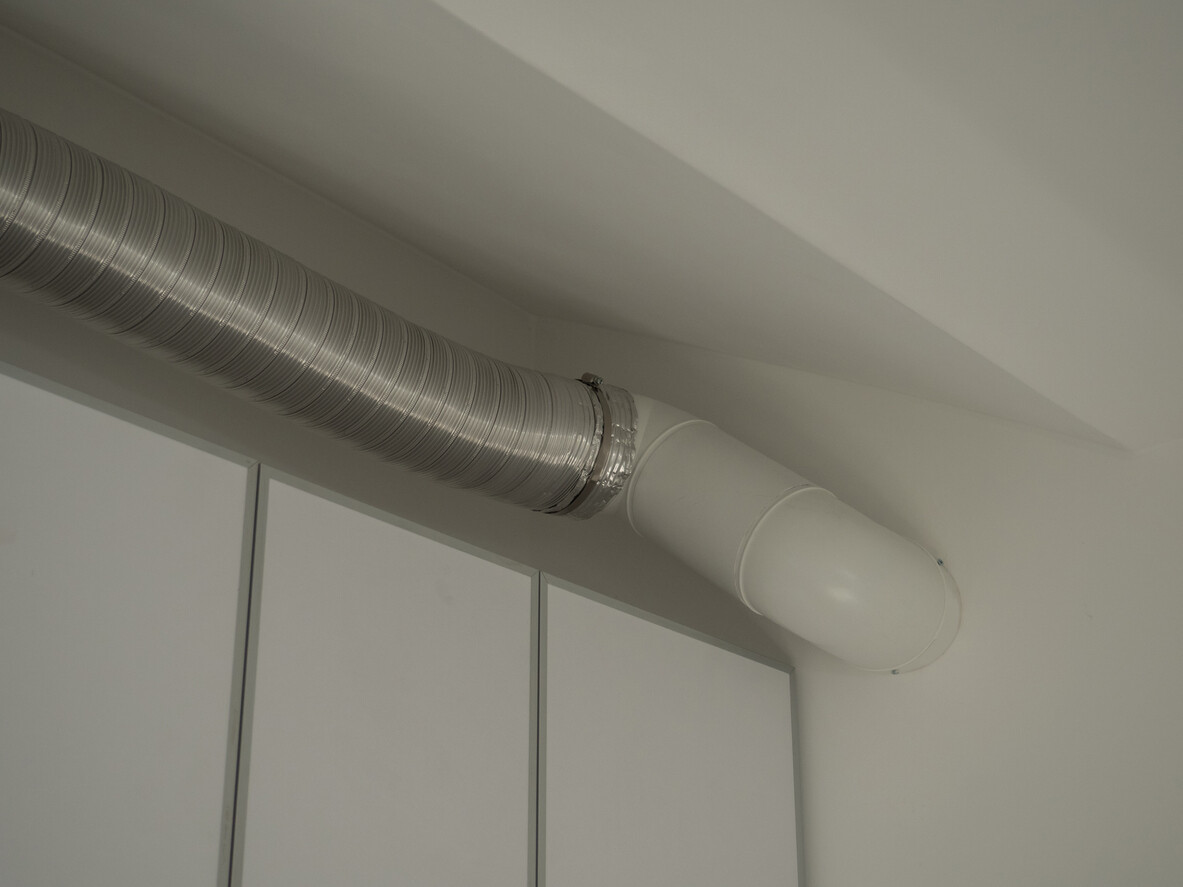 Cooker hood duct work (Source: iStock)
This step depends on whether you’re using ducted or ductless cooker hoods. Ductless cooker hoods do not vent the air outside of your home; instead, they circulate it. Ducted cooker hoods either draw air to the side of your house or upward through the ceiling.
For a ducted cooker hood, you should identify the most accessible venting location. Often, this will be directly behind the wall, but it may also be through the ceiling. Ensure there’s no electrical cable wiring or plumbing behind the wall. Meanwhile, if you’re placing the cooker hood over a kitchen island, you must route venting through the roof.
If you’re unsure which route would be shorter, you may need to enlist an electrician to check for you. In the following steps, we’ll discuss the first option—routing the ductwork through the wall.
Step 3: Cut the hole for the ductwork
Once you’ve determined the ductwork route, it’s time to start cutting. The size of the hole will depend on the size of the ductwork, and you can use a hole saw to cut the hole in the wall behind your stove. Then, use a long drill bit to penetrate through the drywall to create locator holes near the venting hole, which will get the ducting through to the outdoors.
Next, cut the exterior vent pipe hole using the locator holes. Use a hole saw according to the shape and size of your venting hole.
Step 4: Install the ductwork
Start from the exterior and work your way in when installing your ductwork. Insert ducting through your vent hole, ensuring it spans from the outside to the cooker hood. You may need to use foil tape to connect sections of the duct and install the necessary elbows or bends.
Step 5: Install wiring
You must connect the wires to the electrical outlet if the range is hardwired. If the cooker hood is plug-in, you must connect the plug to an outlet—you must install a plug if you don’t have an existing one.
Turn off power at the circuit breaker and test it with an electrical tester. Then, connect the wires according to the manufacturer’s instructions. Calling an electrician for assistance is best if you don’t fully understand this step.
Step 6: Secure the cooker hood to the wall
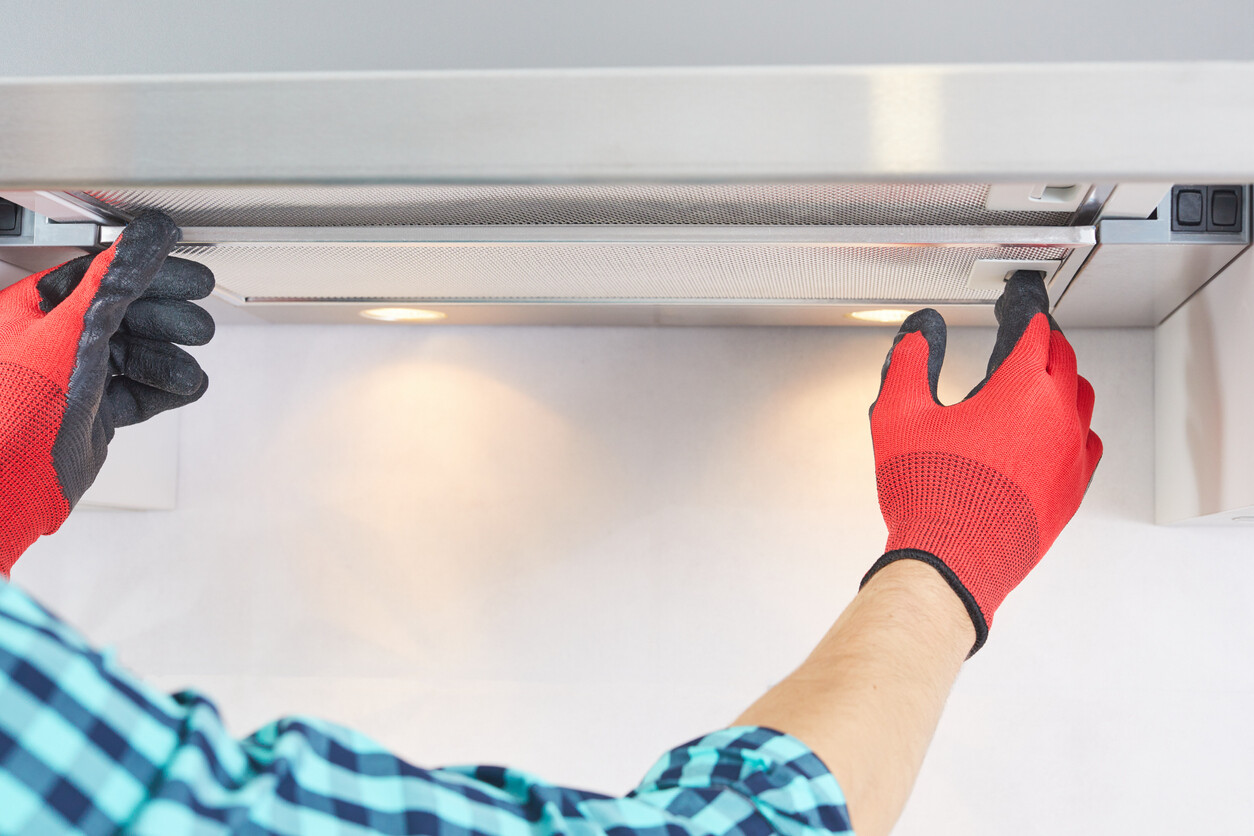 A person securing the range hood hinges. (Source: iStock)
When your wiring and ductwork are sorted out, position your new cooker hood and prepare to secure it with mounting screws. You can do this alone, but it’s safer to enlist the assistance of an additional person. Have your helper keep the hood in place while you check that the wiring and ducting are aligned, and you use a screwdriver to tighten the mounting screws.
Step 7: Turn on the power and test the cooker hood
Once your cooker hood is in place, reset the power and see if the cooker hood fans and lights are working correctly. You may also check out the exterior to see if the ductwork is venting as it should.
Additional tips for installing your cooker hood
For a smoother cooker hood installation process, consider the following tips:
Ensure the cooker hood is the right size for your stove; take its dimensions before purchasing a new one.
Always follow manufacturer instructions when you run into anything you’re unsure about.
Be careful not to damage the cooker hood during installation to avoid costly repairs. While you can install it independently, having a second person ready to help with any heavy lifting or testing is better.
Cooker hood installation: Should you DIY?
A cooker hood can be an essential part of your kitchen and improve its overall look. Remember that you can always hire a professional. For instance, electrical wiring and roof ducting may need more technical know-how. Find a professional installer near you on Airtasker and get your cooker fitted more efficiently.
FAQs on fitting a cooker hood
It does require some technical skill to install a cooker hood, as you’ll be dealing with electricals and needing to cut through your wall or ceiling for ductwork. If you’re uncomfortable with the process, consider hiring a professional.
Yes, you can—it may be easier than installing a new one as you’ll know where to mount it and have existing holes for installing ductwork, if applicable.
In the UK, installing a cooker hood costs an average of £120 to £500.
Find cooker hood repairs & installers, fast
Find a cooker hood repair & installer
Related articles

Related price guides