- Home/
- Guides/
- Shed Installation/
- How to Insulate a Shed
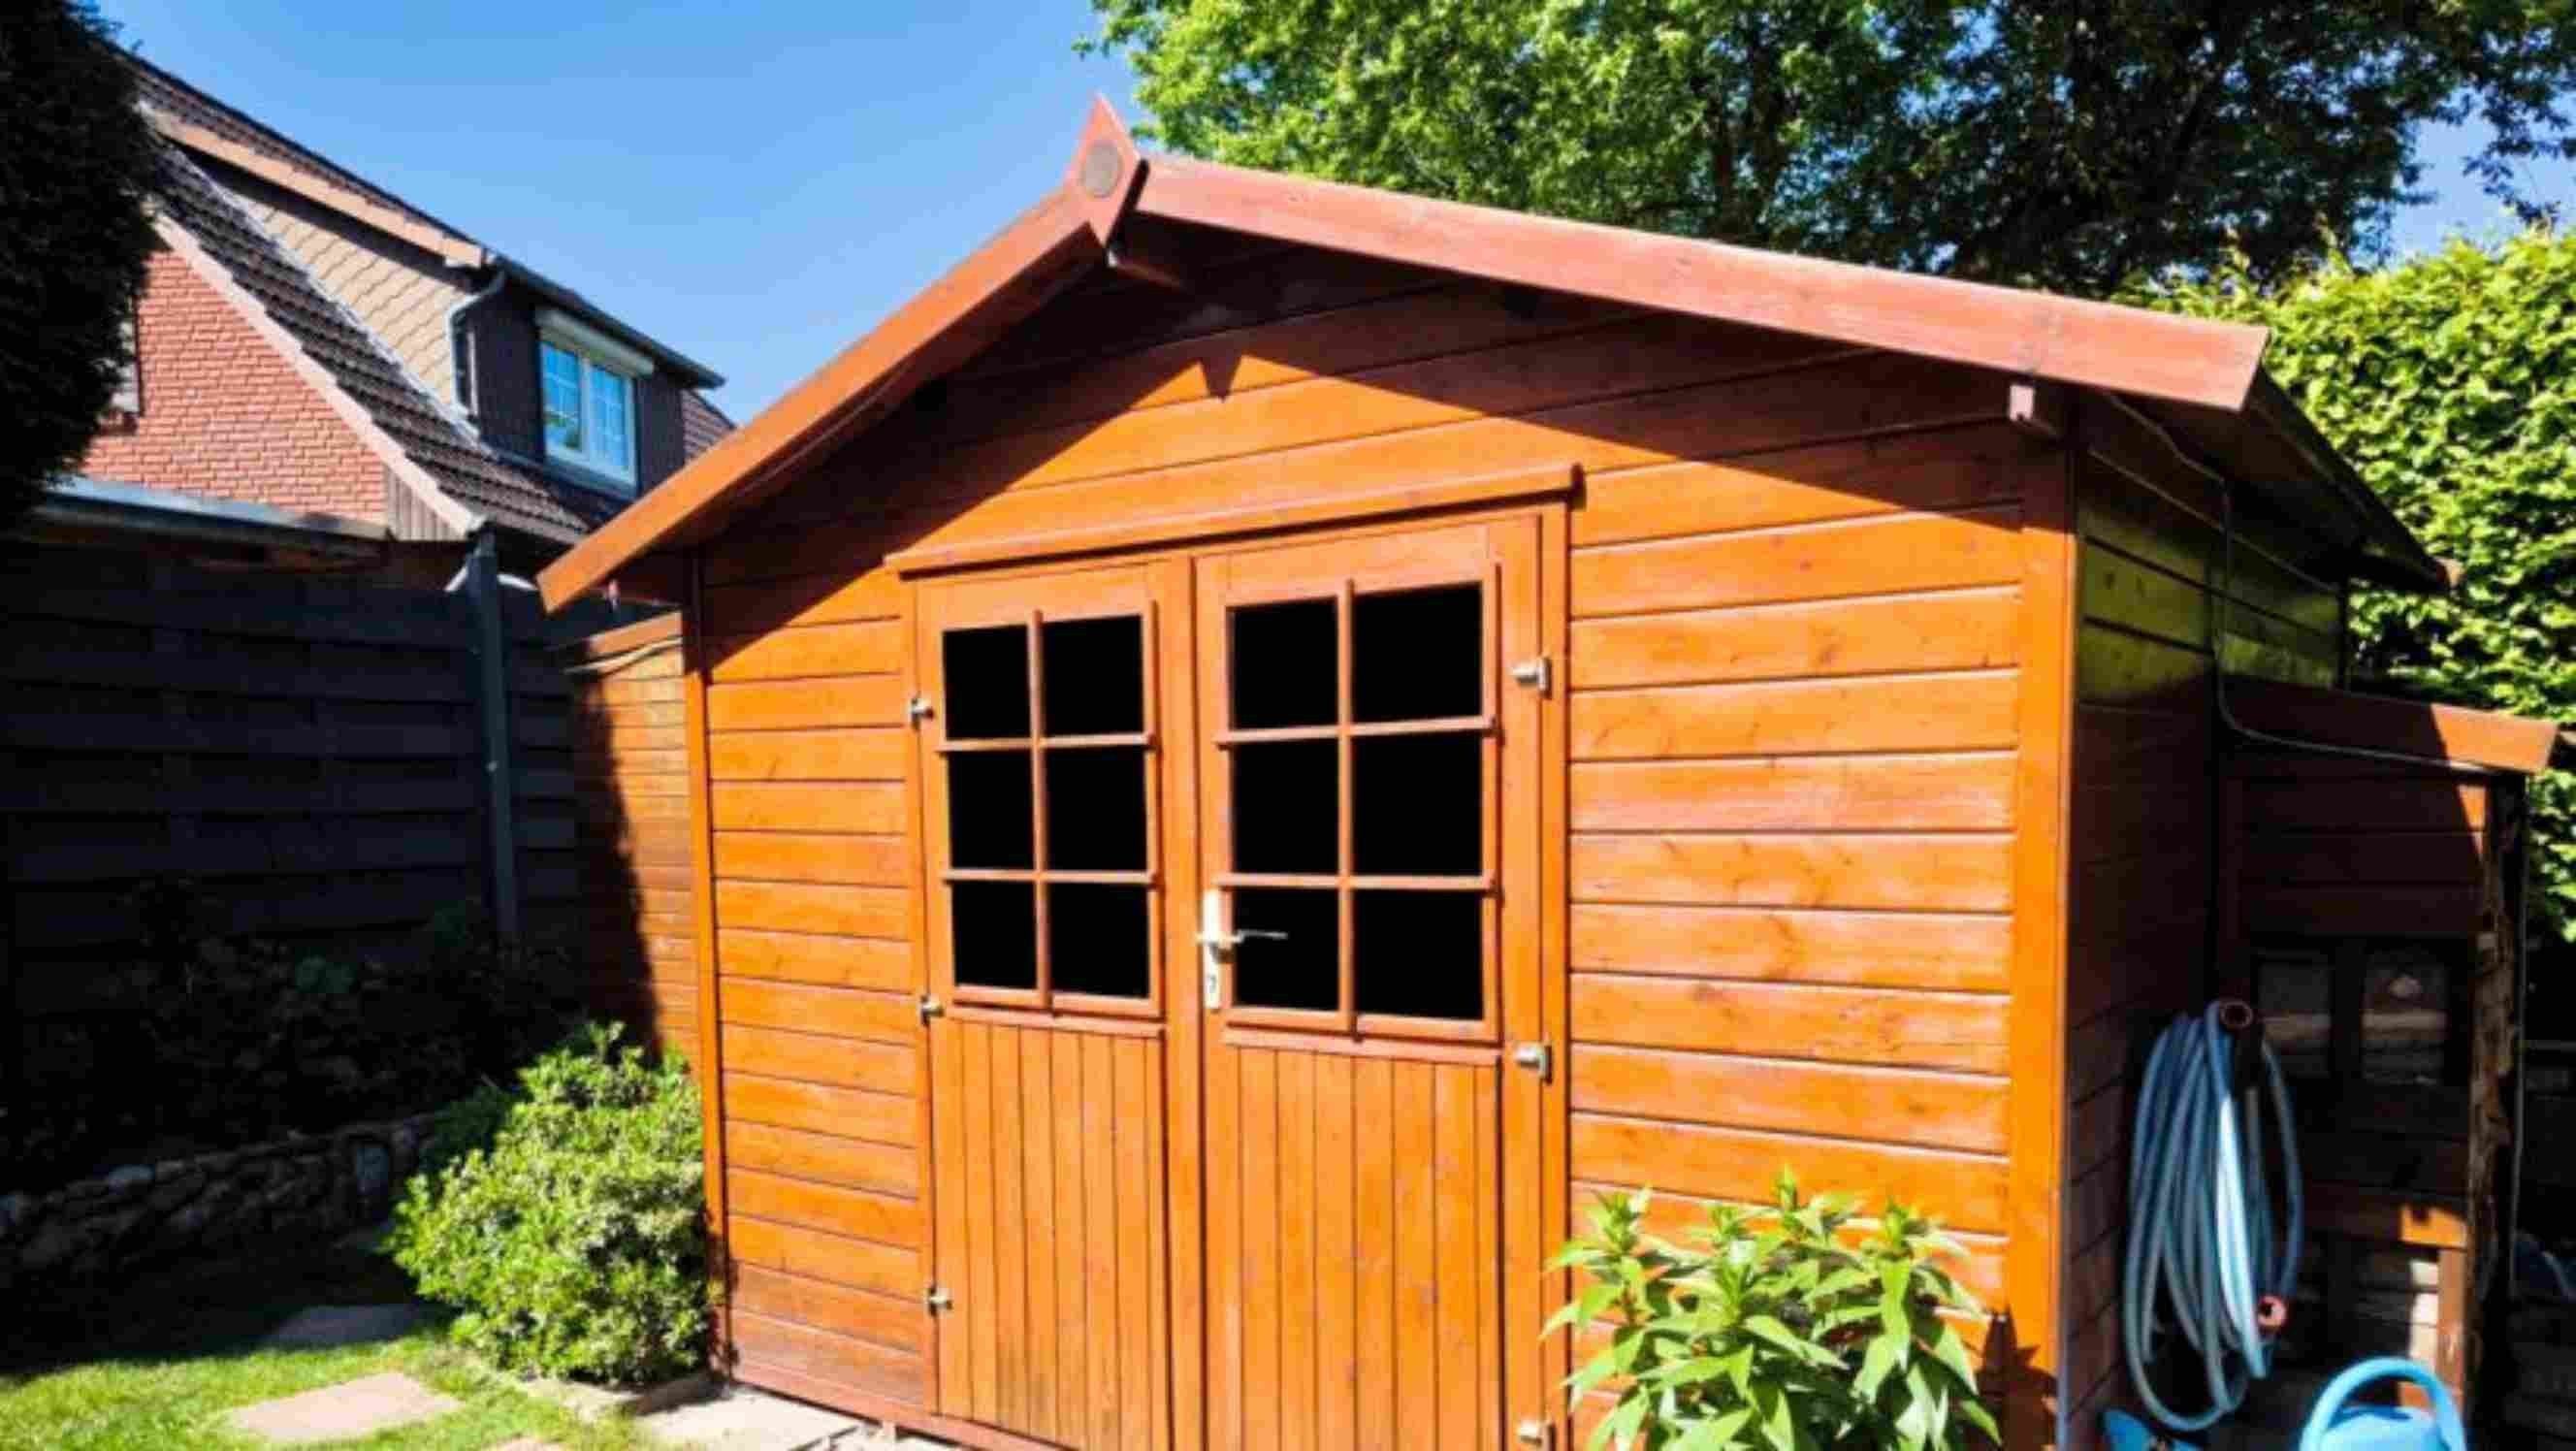
How to insulate a shed and maintain a comfortable temperature
Here’s a detailed guide to insulating your shed and make it a pleasant space regardless of the weather.
Hire a shed installer or insulation expertPublished on

Written by Angela A.
Staff Writer
Read more about our contributor
Ever felt like your garden shed's only good for storing tools because it's unbearably hot in the summer or freezing cold in the winter? You're not alone. Many homeowners find their sheds underutilised due to poor insulation.
The good news? There’s a simple solution. Learning how to insulate a shed can transform it into a comfortable, usable space regardless of the season.
This guide will dive into the nuts and bolts of shed insulation—what it is, why it matters, and how you can do it yourself.
Why shed insulation matters
Wondering if it’s worth the effort to insulate your shed? Here’s why:
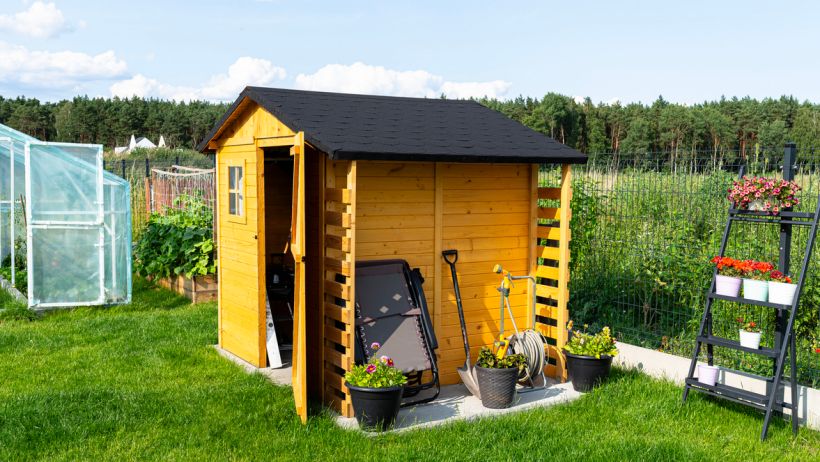 Proper insulation can enhance your shed's usability by regulating temperature and protecting stored items from damage. (Source: iStock)
Year-round comfort - Insulating your shed keeps it warm in winter and cool in summer, making it usable no matter the season. You’ll finally be able to work or relax in comfort.
Energy efficiency - Having insulation installed correctly prevents energy loss and heat transfer, so it’s easier to maintain the shed’s temperature with less power. That’s not just good for the environment—it’s good for your wallet, too.
Extended shed life - Insulation protects against moisture buildup, which reduces the risk of mould and rot. In other words, a well-insulated shed is a durable shed.
Versatile use - Insulated sheds can be more than just storage spaces. Think about using your shed as a workshop, hobby room, or even a ideal shed bar. The possibilities are endless.
Increases property value - A functional, well-insulated shed adds value to your property. Considering how much effort you put into building the shed, knowing it will be valuable for the long haul is a big plus.
Types of insulation for UK sheds
There are different kinds of storage sheds, so there are also several types of insulation you can choose from depending on your budget, climate, and intended use.
 There are various types of insulation for storage sheds, such as fibreglass, foam boards, and reflective foil. (Source: iStock)
Some of the most common options for UK sheds include:
Wool insulation - This is a sustainable and highly effective choice. It’s natural, breathable, and great for keeping your shed in the right temperature.
Reflective foil insulation - This works by reflecting heat, so it’s perfect for all seasons. Reflective insulation is particularly good at keeping your shed cool during the scorching summer months.
Fibreglass insulation - This is a common choice due to its affordability. It provides excellent thermal resistance and is easy to install.
Spray foam insulation - This is perfect if you’re after a thorough, gap-free layer of insulation. It seals all gaps and cracks but can be more expensive and requires professional installation.
Bubble wrap - This is the least effective option but good for those on a budget. While it does provide some thermal insulation, it’s not as efficient as other materials.
Tools and materials needed for shed insulation
Before diving into your shed insulation project, you’ll need to gather some essential tools and materials, such as:
Utility knife
Measuring tape
Staple gun
Safety goggles
Work gloves
Insulation material of your choice (e.g., wool, reflective foil, fibreglass, spray foam, bubble wrap)
Caulk and caulk gun (for sealing gaps)
Adhesive or mounting tape (if using bubble wrap)
Ladder (for tall sheds)
How to insulate your shed – a step-by-step guide
Insulating a shed is a complex process, so you have to prepare and really know your way around the steps beforehand. Here’s a general guide to help you get started.
Step #1 - Assess your shed for insulation
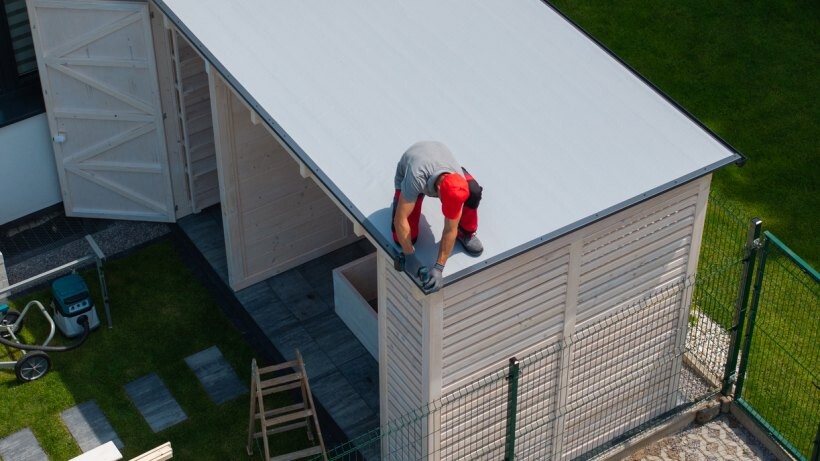 Before installing insulation, assess your shed’s current setup, including its structure, ventilation, and storage needs. (Source: iStock)
Before you even think about installing insulation, you’ve got to check your shed’s current setup.
Start by walking around your shed and taking a good look at the walls, roof, and floor. Are there any cracks or gaps that need sealing? Gaps can really let in the cold or heat, so it’s important to address them right away with some caulk. If you’ve got a shed frame that’s timber or steel, make sure it’s in good shape and sturdy enough to support insulation.
Next, think about the type of insulation that’ll work best for your shed. If you’ve got a type of garden shed that’s particularly exposed to the elements, you might need a more robust solution like fibreglass or spray foam. On the other hand, if you’re looking to just give your shed a bit of a thermal boost, something like bubble wrap might be enough.
Step #2 - Prepare for insulation installation
Once you’ve assessed your shed, it’s time to get everything prepped for insulation.
Start by clearing out the shed completely. You don’t want any tools, garden equipment, or miscellaneous items getting in the way. Plus, having an empty space makes it much easier to move around and ensure precise installation. Give the inside a good sweep to get rid of any dust, cobwebs, or debris. A clean surface will help the insulation adhere better.
Next, measure your shed’s dimensions. Use your measuring tape to measure the height, width, and length of the walls, roof, and floor. These measurements will help you figure out exactly how much insulation material you’ll need.
Don’t forget to include the spaces between any studs or beams when taking measurements. Knowing these details down to the inch will save you from making multiple trips to the hardware store.
Finally, gather all your tools, materials, and protective clothing. Having everything within arm’s reach will keep the process smooth and efficient. If you’ve decided on using a specific type of insulation, double-check to see if it requires any special preparation, like cutting into specific sizes or shapes.
Step #3 - Install insulation for your shed
When installing insulation on a shed, there are key areas to tackle to ensure comprehensive coverage and maximum efficiency. Each section requires specific attention to detail and appropriate materials.
Let’s briefly outline the main areas you’ll need to focus on:
Shed walls - the walls are the largest surface area in your shed and play a crucial role in preventing radiant heat loss and reducing outside noise.
Shed roof - bulk insulation on the roof will help keep your shed warmer in the winter and cooler in the summer, extending the usability of the space.
Shed door - an insulated door can significantly reduce drafts and add another layer of thermal protection.
Shed floor - although often overlooked, the floor can let in cold from the ground, making your shed uncomfortable.
How to insulate the shed walls
Measure the walls precisely to determine how much shed wall insulation you need.
Cut the insulation panels or material to fit snugly between the wall studs.
Slip the cut insulation pieces into the wall cavities and make sure they sit evenly.
Secure the insulation with insulation supports or use adhesive as needed.
Add a vapour barrier over the insulation to prevent moisture buildup.
Finish by covering the insulated walls with drywall or another wall covering of your choice.
How to insulate the shed roof
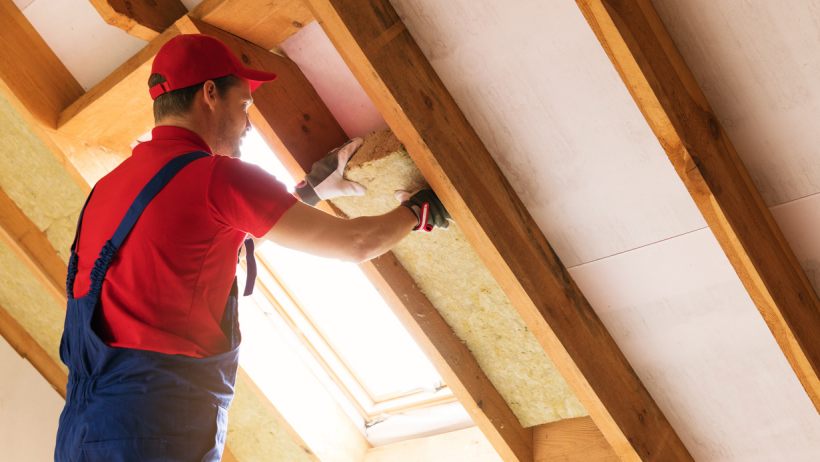 Insulating a shed roof helps regulate temperature and prevent condensation. (Source: iStock)
Measure the dimensions of your shed roof to know how much insulation you need.
Cut the insulation material to fit snugly between the roof joists.
Press the insulation into the spaces and ensure it fits tightly to avoid gaps.
Apply a staple gun to secure the insulation in place.
Install a vapour barrier over the insulation to stop moisture from seeping in.
Finish by covering the insulated area with plywood or any roof covering you prefer.
How to insulate the shed door
Measure the door dimensions to figure out how much insulation you’ll need.
Cut the insulation material to match the size of the door panels.
Fit the insulation pieces snugly into the panels and ensure that there are no gaps.
Secure the insulation with strong adhesive or double-sided tape for a firm hold.
Cover the insulated door with a vapour barrier to protect against moisture.
Reattach the door panel if it was removed and make sure it operates smoothly.
How to insulate the shed floor
Measure the dimensions of your shed floor to know how much insulation you’ll need.
Cut the insulation boards to fit the floor snugly.
Lay the insulation boards over the top of the floor, and make sure that there are no gaps.
Secure the boards with adhesive or screws for a firm hold.
Place a vapour barrier over the insulation to keep moisture at bay.
Finish by covering the insulated floor with plywood or another flooring material you like.
Step # 4 - Maintain your shed insulation
First off, keep an eye out for any signs of wear and tear. Check your insulation regularly to spot any gaps, tears, or moisture build-up that could affect its performance. If you notice any damage, don’t ignore it—repair it right away. A small issue like a small tear can quickly become a big problem if left unattended.
Also, make sure your vapour barriers are intact. They’re there to prevent moisture from getting into your insulation and compromising its effectiveness. If you find any breaches or areas where moisture seems to be creeping in, you’ll need to address that immediately. Simply patching up small tears with a waterproof tape can do wonders.
Lastly, don’t forget about the ventilation. Proper airflow is necessary to prevent water damage and keep your insulation in top shape. Ensure vents are unblocked, especially in seasons where condensation is more likely, like winter. These routine checks can maximise the lifespan of your shed insulation.
Struggling to insulate your shed? Hire an expert for professional shed insulation!
Insulating your shed doesn’t just make it more usable every season. It also extends its overall lifespan. However, let's be honest. While a DIY approach can be rewarding, it also requires a lot of time, effort, and know-how. That’s why many people prefer to hire a professional to insulate their sheds properly.
If the thought of measuring, cutting, and installing seems daunting, why not make it easy on yourself? Hire an expert who knows exactly how to get the job done efficiently. Airtasker connects you with skilled pros who can handle your insulation and shed installation projects.
So, why wait? Post a task today and connect with experienced tradespeople who can transform your garden shed into a year-round haven.
Learn more about our contributors

Written by Angela A.
Staff Writer
Angela Apolonio is an experienced writer with a Biology background. She writes about home tips, car upkeep, gardening hacks, and food facts, bringing a unique blend of science and practicality to her work. As a wife and a mother, she knows the value of iron-clad routines, so she's passionate about sharing what works for her with everyone else. She loves making everyday life simpler and helping readers find fresh ideas to bring more joy into their spaces.
FAQs on insulating a shed
Yes, an air gap between the insulation and the shed cladding helps to prevent moisture build-up and improves insulation effectiveness.
No, MDF (Medium-Density Fibreboard) is not suitable for insulation as it does not provide effective thermal or acoustic insulation properties.
Building a shed yourself can be cheaper if you have the necessary skills and tools. However, factoring in time and potential mistakes, pre-built sheds may sometimes be more cost-effective.
The time required to insulate a shed varies depending on its size and complexity but typically ranges from a few hours to a full day.
Find shed installers, fast
Find a shed installer
Related guide pages
Related price pages
How much does a new staircase cost?
Read more
How much do new patios cost?
Read more

How much does a pergola cost?
Read more

How much does a plunge pool cost?
Read more
How much does demolition cost?
Read more
