- Home/
- Guides/
- Christmas Decorating/
- How to Make a Christmas Wreath

How to make a Christmas wreath
Embrace the festive season with a DIY Christmas wreath. Follow these tips or hire someone to dress up your home for the holidays!
Find a decoratorLast Updated on
Wreaths have a way of diffusing the Christmas spirit like no other piece of holiday decor can. And what better way to make a wreath than by using your favourite greenery?
In this guide, you’ll learn how to make a homemade Christmas wreath using basic craft supplies, natural materials, and a little creativity. Let’s begin!
What to use for a DIY Christmas wreath?
Pruners or hand shears
22 gauge paddle wire
Wire snips
A wire wreath frame
Some greens and foliage
Optional supplies: floral wire, fishing line to hang the finished Christmas wreath, green or red ribbons
Need more help in choosing ingredients for your greenery wreath? Use any of the following to make a Christmas wreath that doesn’t just look festive but also smells amazing!
Pine leaves
Cedar
Juniper
Boxwood
Eucalyptus and seeded eucalyptus
Sage
Rosemary
Rose hips
Red or yellow twig dogwood
Moss-covered branches
Blueberry branches
Seed pods and cones
Pine cones
A few words of caution: You'll be able to forage for supplies and greenery around your neighbourhood, but remember to:
|
How to make a Christmas wreath in 4 steps
Step 1: Clip and sort your materials
Once you’ve gathered your craft supplies and ingredients, you can start cutting all the leaves and branches into segments. Try to aim for similar sizes so you can create a symmetrical wreath. For the branches, clip them into 4- to 6-inch sizes or – for a wilder, more “natural-looking” wreath – vary the branch sizes from 4 to 8 inches.
Sort them into piles by type, then wrap your paddle wire around the wreath frame to secure it.
Step 2: Add the ingredients to the frame

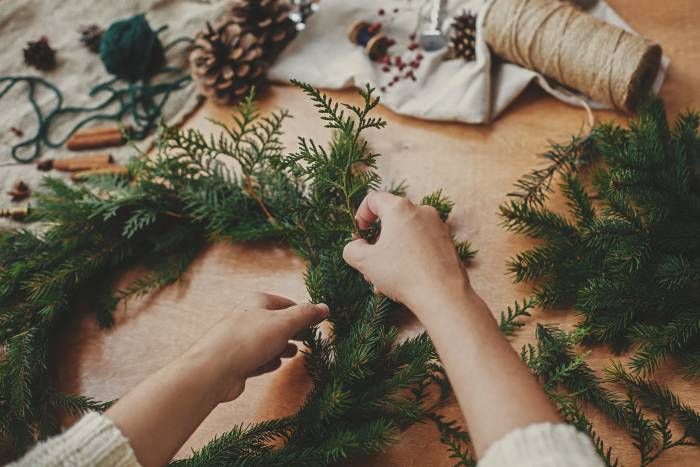
Add the greenery by starting with a branch of each ingredient to make a small bouquet. Lay these on the wireframe and wrap paddle wire around each bunch. Make sure that it’s tight, as tension holds your wreath together. If needed, use floral wire to secure the leaves and branches better.
The greens and branches will shrink and dry over time, so it’s a good idea to make the wires a little extra tight from the get-go.
Repeat the creation and attachment of the bouquet, setting them on the frame, slightly overlapping one another. Do this over the whole wreath while stepping back from time to time to make sure the wreath looks full and balanced. Sometimes, the tiny details make you miss the big picture!
If you notice things getting a little uneven or gaps forming, simply add materials by sliding them tightly under a wire loop to balance your wreath.
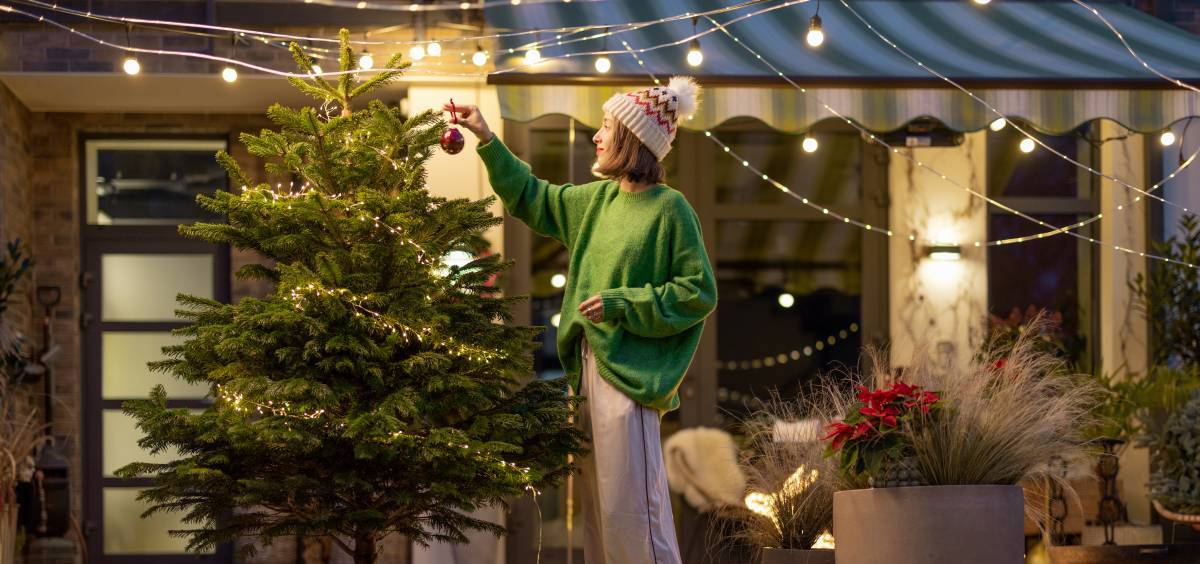
Bonus holiday tip: Dress up your Christmas tree with some of the same elements on your wreath – a perfect way to create a theme for your Christmas decorations! |
When you reach the last bunch, lift the first bouquet and tuck the ends of your final bunch underneath it. Finish this section by wrapping more wire to make sure everything is secure, then step back and assess the wreath, identifying any areas that may need some small additions to create a full look.
|
Related: 6 non-traditional Christmas tree ideas |
Step 3: Tie off the wreath
The final step is tying off the wreath. To do this, wrap some more wire around the structure roughly two to three times. You don't want there to be so much wire that it is overly visible, so aim for a good balance between aesthetics and functional security.
Clip the wire with wire cutters or pruners (if you don’t have these yet, you can surely buy cheap ones in a dollar store near you!), then turn the wreath over and thread the end of the wire through the frame.
Wrap any slack around one piece of the frame and secure the wire by tucking the end in so it won't scratch anyone or anything. At this point, you should be looking at a completed wreath, but you can “fluff” necessary sections by gently pulling the branches. This is also the time to trim any pieces that are too long or add other bits and pieces to give your DIY Christmas wreath a unique look.
Step 4: Add some final Christmas touches

Some people love natural-looking wreaths, and if that is you, you are likely already finished at step three. However, if you want a little more beauty than just the greens, or you want a bit of a modern twist, try adding pine cones, flowers, a green or red ribbon, or even some Christmas tree ornaments.
If you do want to add some things that have a little more weight to them, make sure you attach them securely with a piece of paddle wire. Position your ornament on the wreath, then snip a piece of wire and wrap it in the least visible spot around the ornament and through the frame.
If you are attaching pine cones, for example, lay them on the wreath, working the wire through the greenery and tying it off on the backside of the wreath. Tightly twist the wires together, and always make sure you tuck the ends to avoid any scratches on the door.
Repeat the steps and additions until you've reached a look you absolutely love!
How to make your Christmas wreath last longer?
Give your wreath a light mist every few days so it doesn't dry out too quickly. If it’s hanging on your front door, make sure that it’s protected from too much heat or direct sunlight.
A fresh wreath can last a lot longer than just the holiday season. In fact, the fresher they are, the longer they can thrive!
We should also mention, wreaths don't just have to be for Christmas! While they are a symbol of the holiday, you can use the same steps above to create wreaths for other special occasions like weddings, or simply just use them to decorate your home with a touch of nature! There are no rules when it comes to the world of wreaths!
Have some fun getting into the festive spirit!
Now that you see how easy it is to make DIY Christmas wreaths, you can use this as an activity that gets the whole family into the festive spirit! There are also many other varieties you can explore – everything from a simple wreath to a DIY burlap wreath and one made with dried flowers.
If your wreath is part of a grand Christmas decoration overhaul of your home, consider hiring some extra hands. Here on Airtasker, you can find people who can help decorate your home, make customised crafts, or even install some outdoor lighting to make your house the brightest on the block!
Happy Christmas and holiday season!
Wreath-making FAQs
Grapevine wreaths are popular as they add a rustic look to your space. They are also quite simple if you follow these steps:
Cut several yards of wild grapevine
Place vines in a large bucket of water to soak them, which will soften the vines
Once they are flexible, start at one end and create a circular coil
Wrap any side branches into the wreath to finalise the look
Yes! It’s cheaper to craft homemade Christmas wreaths than purchase new ones, especially if you’re only going to use materials you already have at home or in your garden.
Find two branches that have some flexibility to them and overlap each one by about 1/3 of their length. Gently and carefully twist the ends around one another, and use some wire to secure each end into place. Repeat this with the other ends, and adjust them as needed to create the size you need for your wreath.
Absolutely yes! You can make money selling wreaths during the holiday season. You could even craft wreaths for other occasions, like weddings and Valentines’ day.
Find christmas decorators, fast
Find a Christmas decorator
Related articles


