- Home/
- Guides/
- Packing & Unpacking/
- How to Pack Boxes for Moving
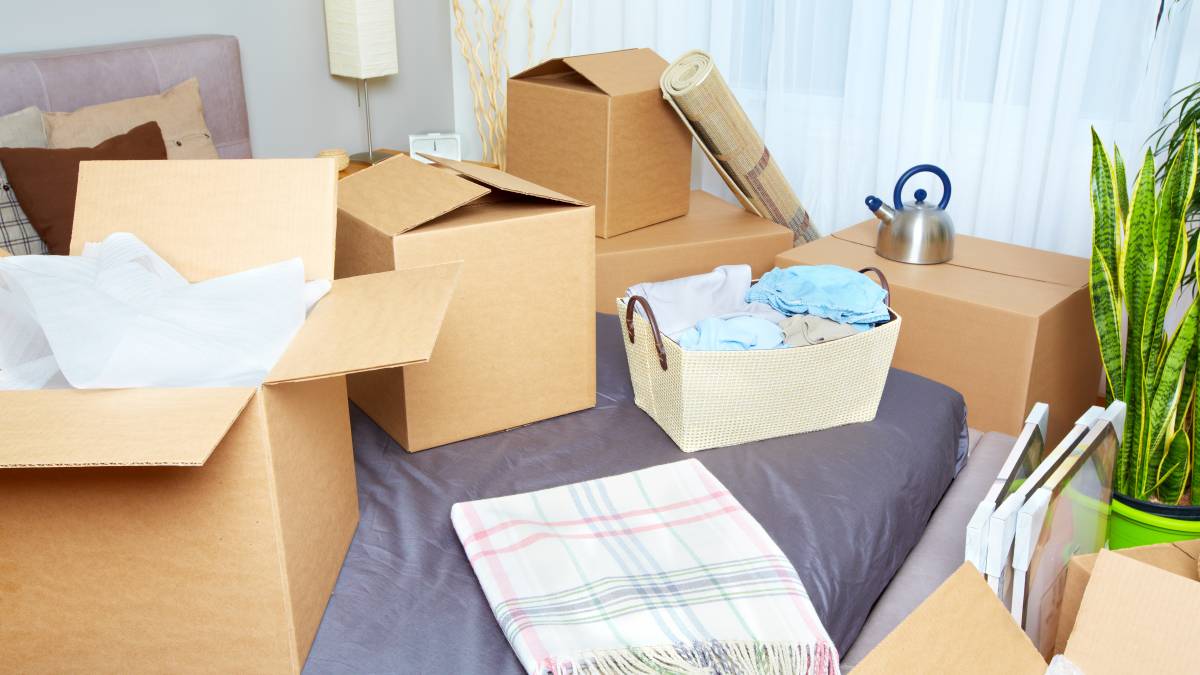
Simplify your move: Learn how to pack boxes for a stress-free move
Is moving day just around the corner? Learn the proper way to pack your boxes for a swift move!
Book a professional packerLast Updated on
Moving day can be challenging for many, and it’s not something people find exciting to do. Without the help of professional removalists, it can be a stressful and time-consuming process for moving homeowners.
With the correct approach to packing, it can become simpler and more efficient. Whether you’re moving around the block or in another town, our guide will help you how to pack moving boxes like a pro.
What you’ll need
Boxes of different sizes
Packing tape
Packing paper
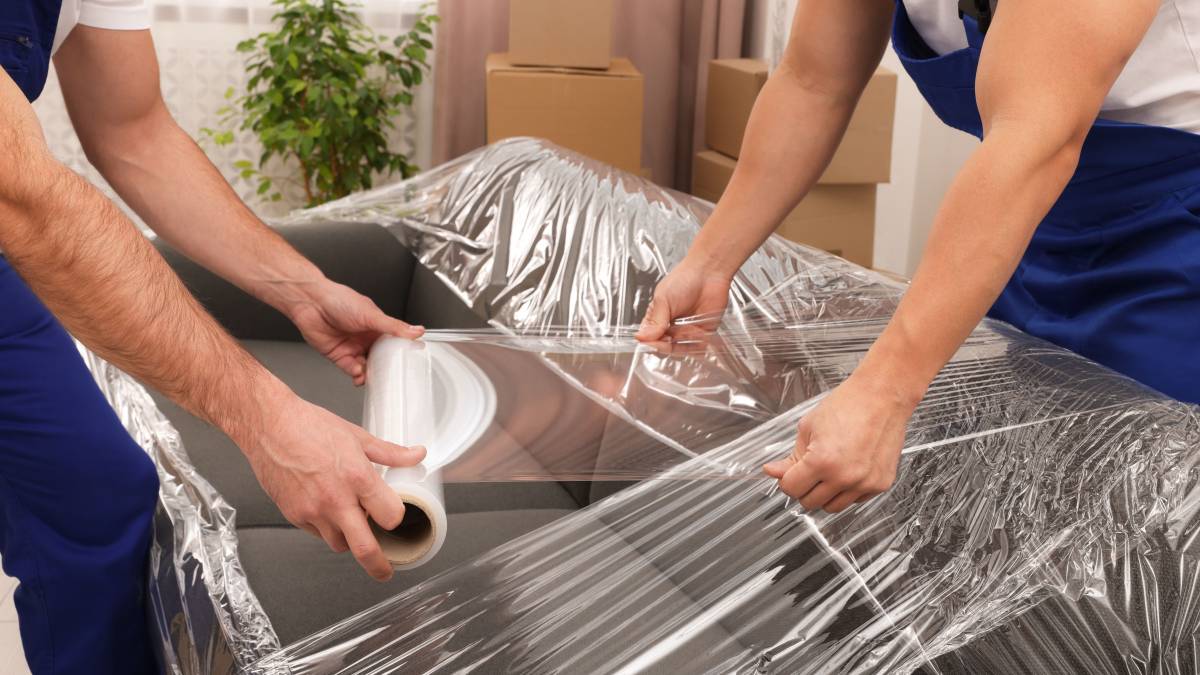
Bubble wrap
Markers
Labels
Scissors
Box cutter
Dolly
Gloves
Packing boxes for moving tips and completion time
Packing for a move can differ from one household to another. The duration required to pack boxes depends on the size of your house, the number of your belongings, and your level of organisation.
One-bedroom homes or lofts take the shortest amount of time to pack. You can dedicate two whole days of packing to get it done. Those with two-bedroom properties should allow an extra day for packing.
However, it’s understandable that you sometimes can’t dedicate an entire day to just packing. Instead, you can devote two to three hours daily to the task. When you do this, expect the whole process to take up to three to five weeks since you’ll probably pack one room at a time.
If you're pressed for time, you can always seek assistance from professional packers and movers nearby. They’ll be knowledgeable in handling everything!
A step-by-step guide to packing moving boxes
Step 1: Make sure you have the right packing materials
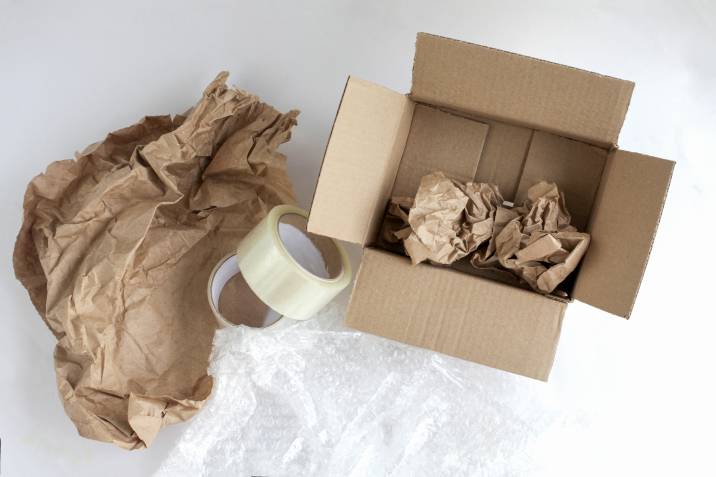
Don’t leave it to the last minute to run to a store for supplies. Check out the list above to see what you need to pack your boxes properly. Using quality packing materials to keep your belongings safe during the move is essential.
Step 2: Time to get sorting
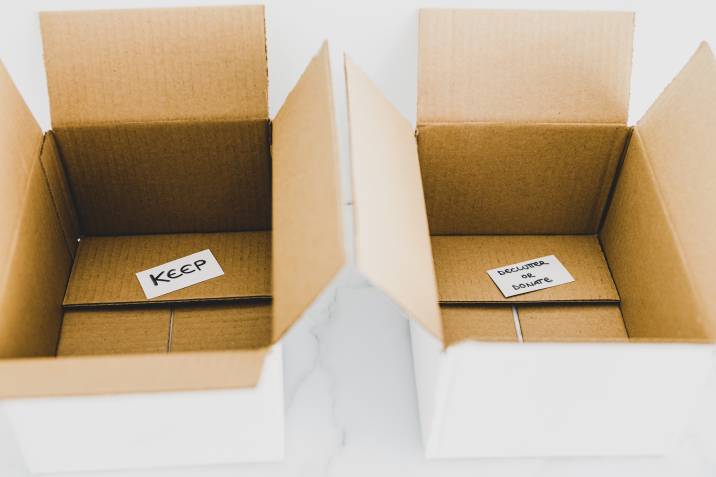
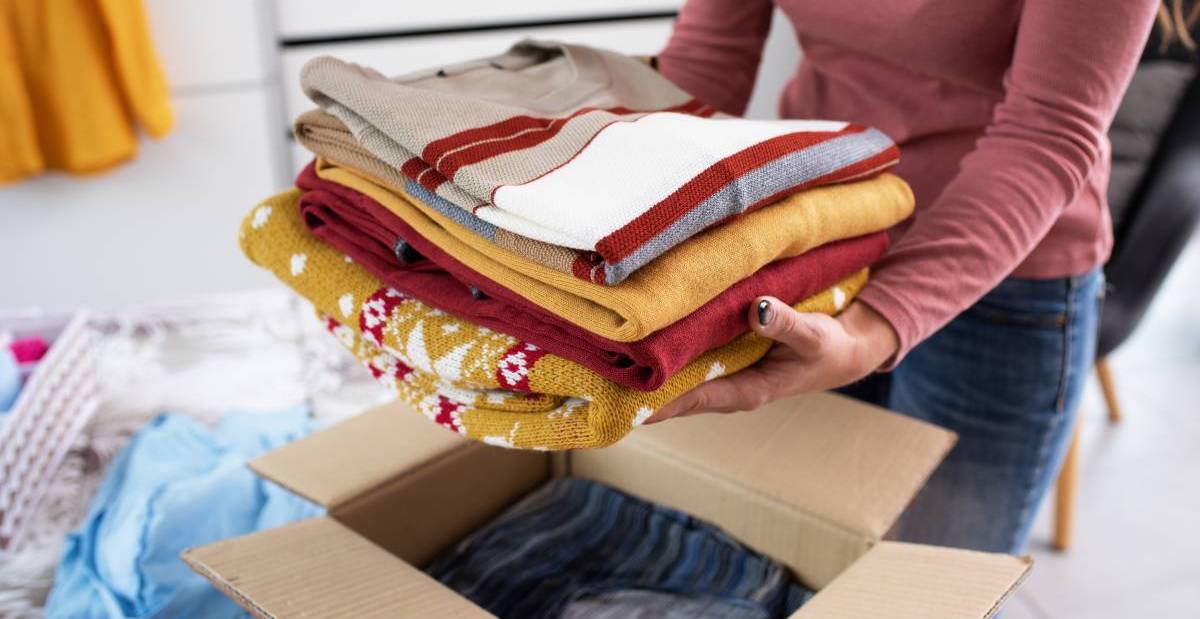
Start by getting rid of any unwanted items to reduce the amount of packing you need to do. Take a good look around each room in your house and decide which items you’ll keep, donate, or throw away.
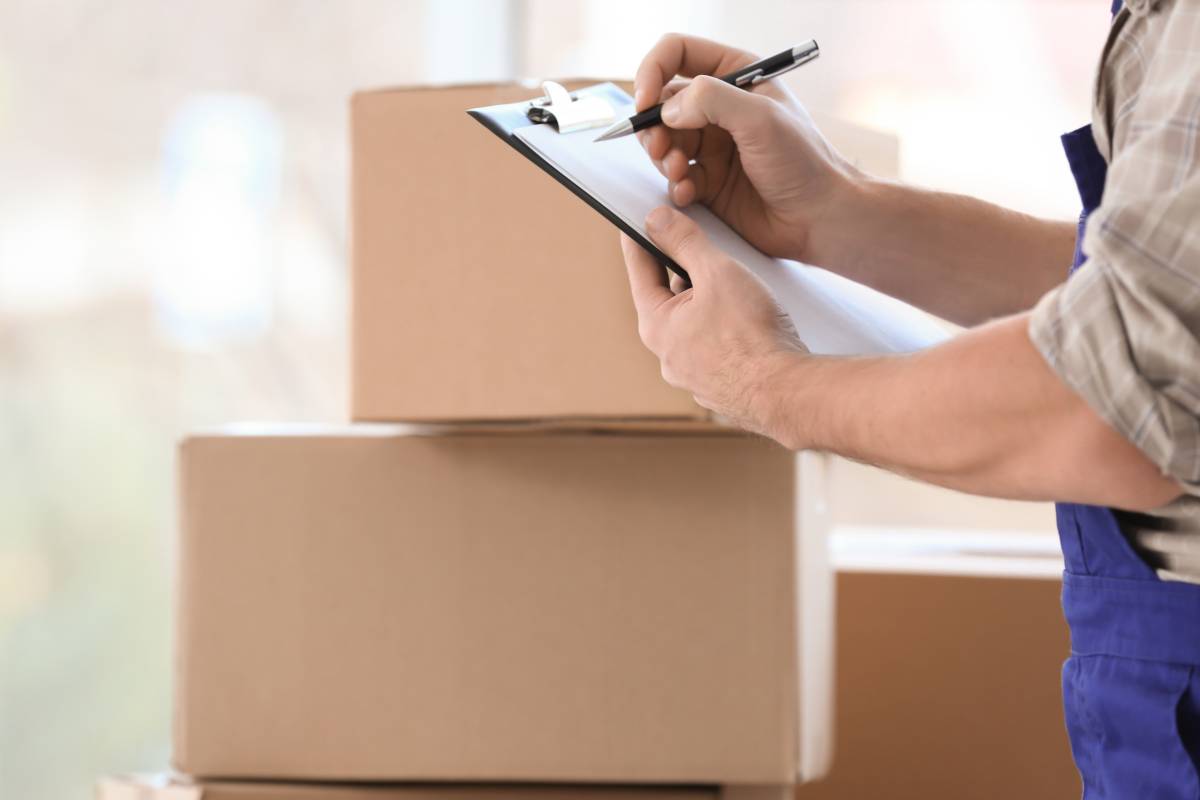
Get your label makers or markers ready for this step. As early as now, you can take out some boxes and label them with “Keep,” “Donate,” or “Throw”. This will help keep things organised from the very beginning.
Once you’ve done that, you’ll have a better idea of which valuables you’ll take to your new place and the quantity and sizes of boxes you’ll need for the task. Getting organised is important before you start grouping the boxes for loading.
Step 3: Pack room by room
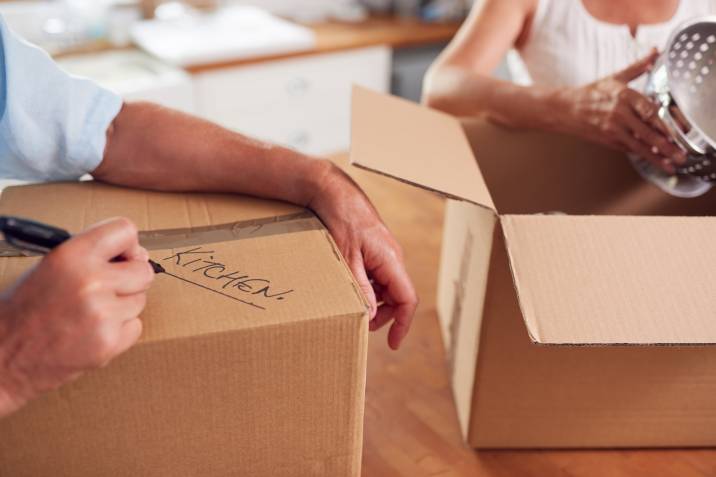
It’s advisable to pack your belongings one room at a time. This approach will simplify the unpacking process later on. Start with the items you use the least and gradually progress to the ones you use more frequently.
Use markers and labels to tag each box with its respective room and category. You can also include a brief description of its content, such as “bath towels, hand towels, and floor mats” for the bathroom. This labelling system will aid in your items when unpacking.
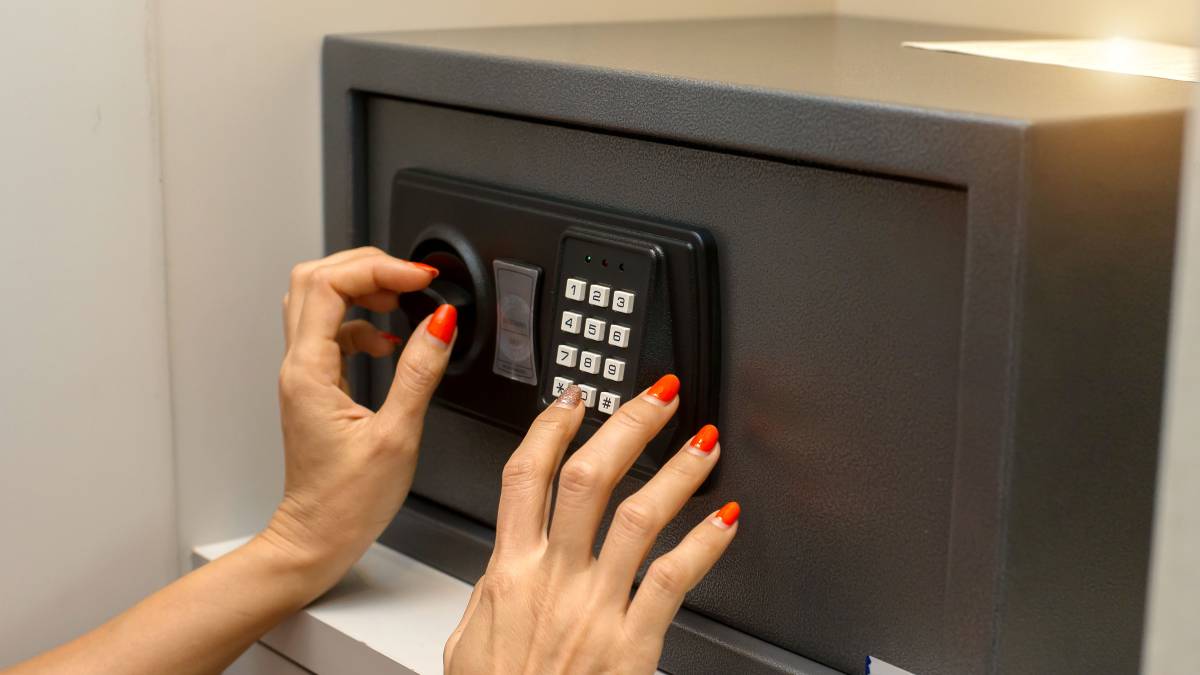
While packing, reserve important items like documents, jewellery, and valuables. Transporting these items in your car is preferable for peace of mind. This way, you'll feel secure knowing they’re with you and won’t be lost or damaged during transit. You can take out separate boxes for this and label them with the proper tags.
Step 4: Pack heavy items at the bottom
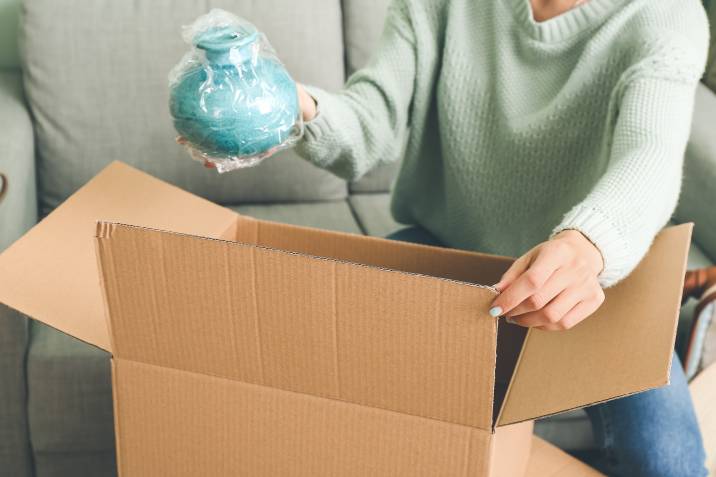
Place heavier items at the bottom of your moving boxes to distribute the weight evenly. This makes carrying the boxes easier and reduces the risk of them breaking or collapsing during the move.
If you’re having a difficult time, don’t be afraid to seek help from expert packers and movers to make the task easier for you.
Step 5: Use padding materials when necessary
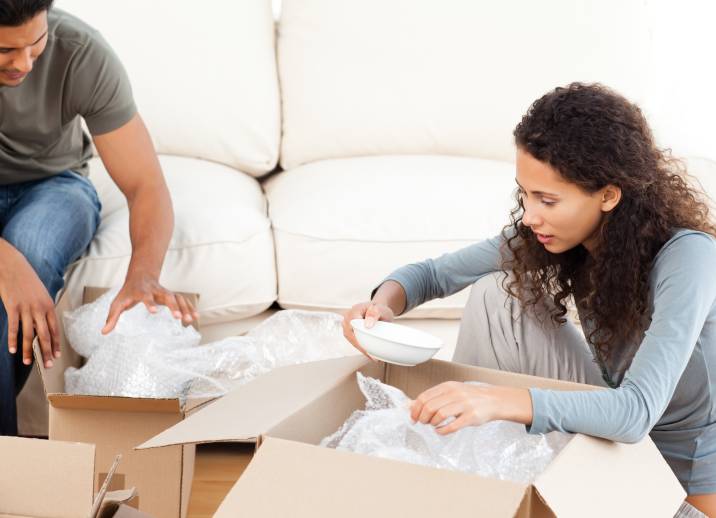
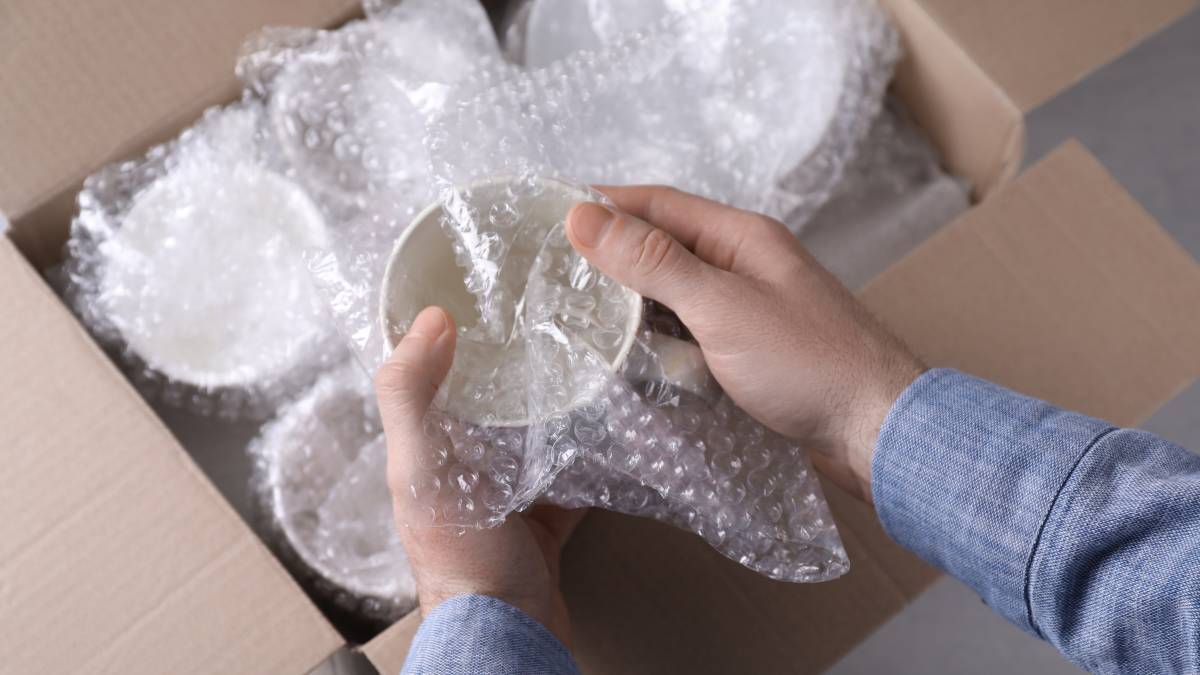
Using padding materials like bubble wrap, crumpled papers, and old towels or clothing, ensure you fill any gaps in the box to prevent items from moving on the drive.
The boxes should feel sturdy enough to protect what’s inside, even if the bottom gets accidentally wet. Remember that prepping the boxes properly is essential to prevent damage during transport, so do not overlook this step!
Step 6: Seal your boxes properly
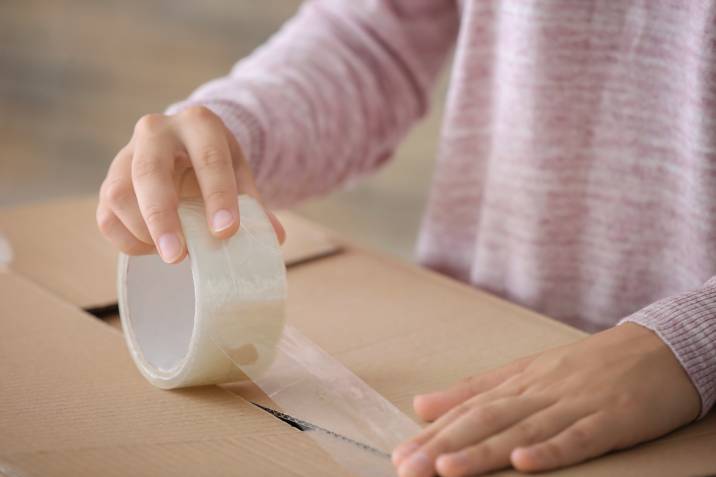
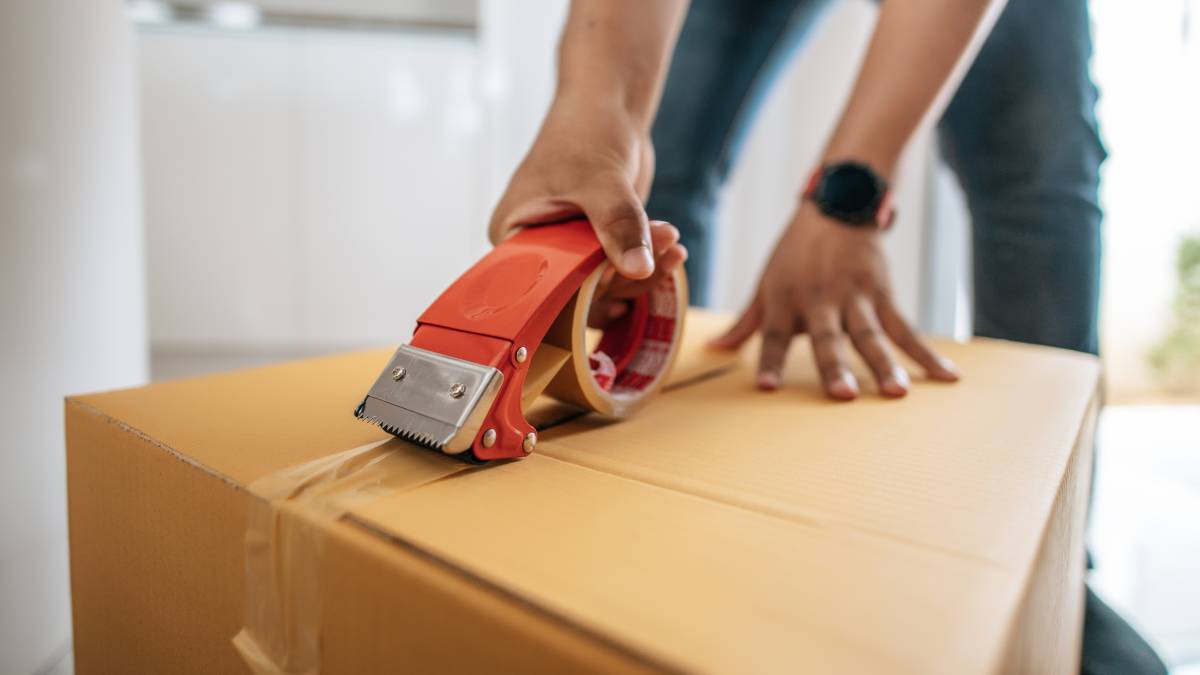
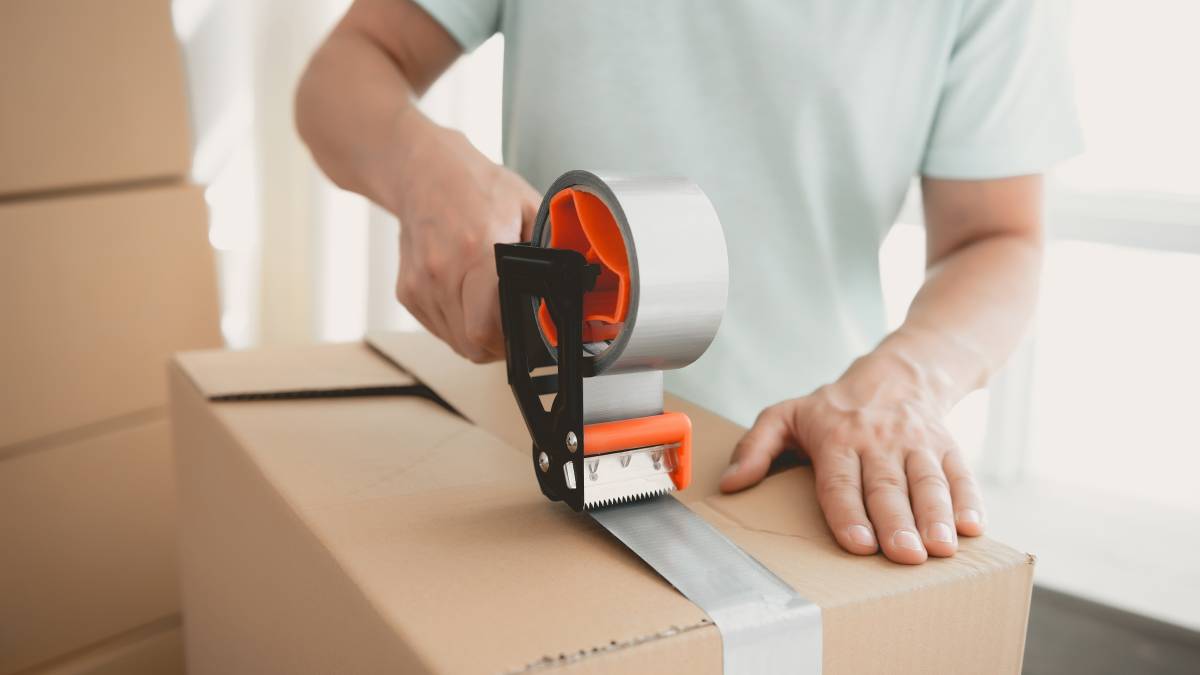
When it comes to how to tape moving boxes, it's crucial to use a strong tape and reinforce the seams of the box. Many people use the “H” pattern to tape along the sides of the box. It’s important to get high-quality packing tape to ensure that your boxes don’t open by accident during the move.
Make sure to check that you haven’t overpacked your boxes. You can tell if you have if the boxes are too heavy or if it’s not easy to seal them properly. Overpacking increases the risk of boxes breaking or collapsing during the move.
Step 7: Label your boxes
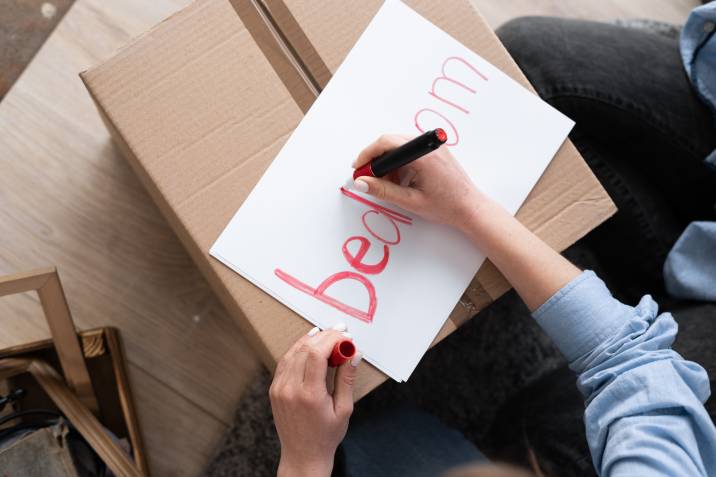
After packing your boxes, use a marker or label maker to label each box with the room it belongs in and a brief description of its contents. Be sure to label the top and at least one side of each box so you and your movers can easily identify its contents.
Once your boxes are labelled, ready your boxes for loading. Are you sensing your hands will be full on the big day? You can contact your professional house or flat movers to start packing.
☞ You might also like: How much do packers cost?
Make packing (and unpacking) easier!
Whether you’re moving down the block or across the country, packing up your stuff the right way is key to a hassle-free move. Lucky for you, this guide on how to pack boxes for moving will help you sidestep those pesky moving mishaps.
With some good planning and some elbow grease, you can nail your next move!
But if life’s getting in the way and you’re finding it tough to get your packing done, don’t worry! You can always get extra help from the pros. Don’t hesitate to post a task on Airtasker! There are many Taskers who are willing to help you get ready for your big moving day.
FAQs about packing boxes for moving
It’s always good to pack boxes in categories. This can be done according to the room and the type of items inside them.
Here is a quick list of items you should not put in boxes for a move:
Hazardous materials
Personal items
Medication
Electronic devices
Packing items that you rarely use should come first, such as those already stored in a container, as it makes packing more straightforward. This could entail items out of season, non-essential items, or items kept in storage areas. For example, you can pack out of season clothes in boxes for moving first before your frequently used clothes or other items.
Find packing and unpacking removalists, fast
Find a packing & unpacking removalist
Related articles
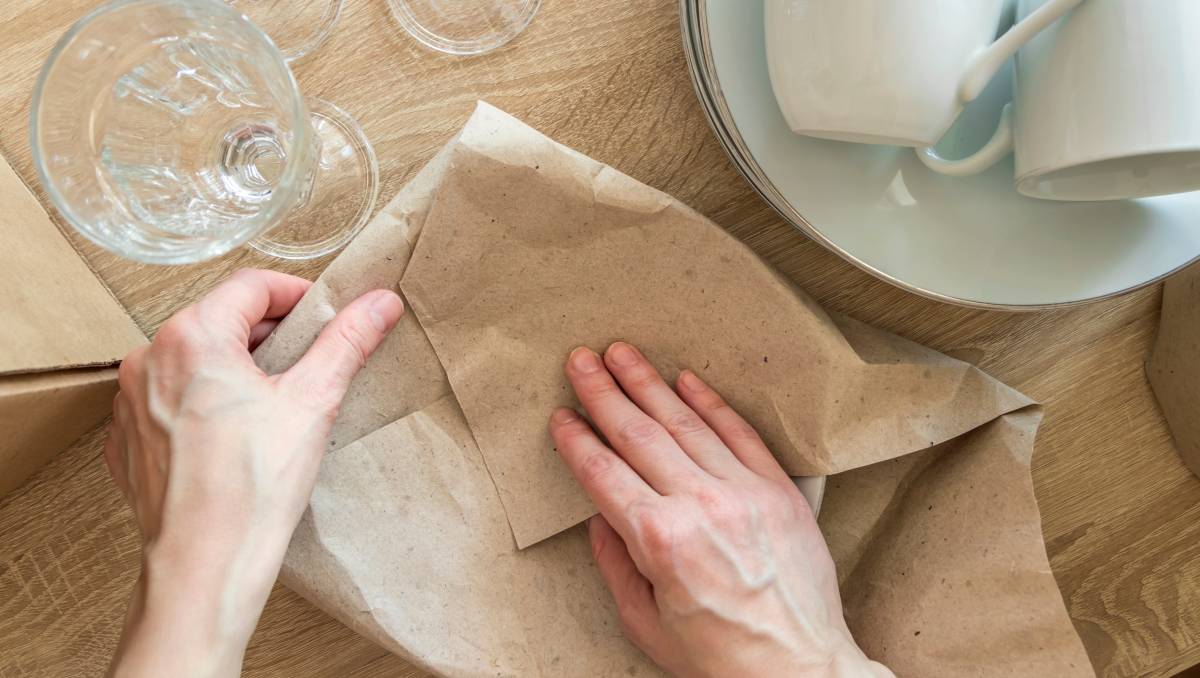
How to pack kitchen items for moving
Read more
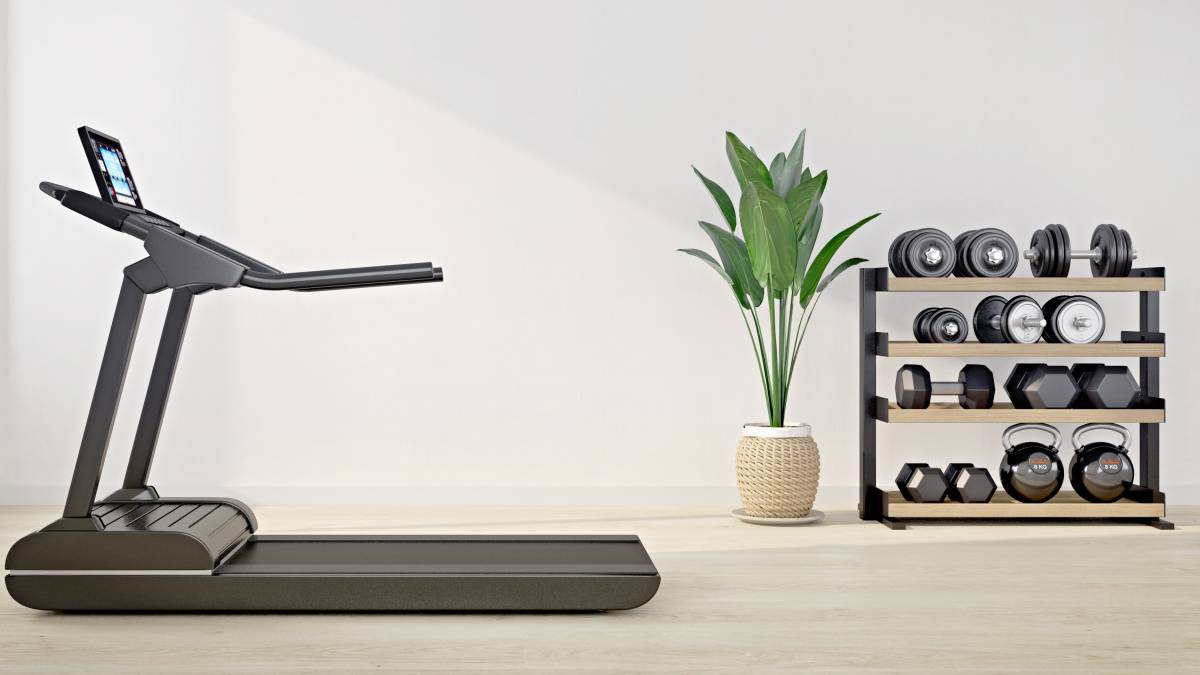
How to move gym equipment safely
Read more
How to pack books for moving
Read more
How to move a shed
Read more
How to move a washing machine
Read more

How to move a pinball machine
Read more
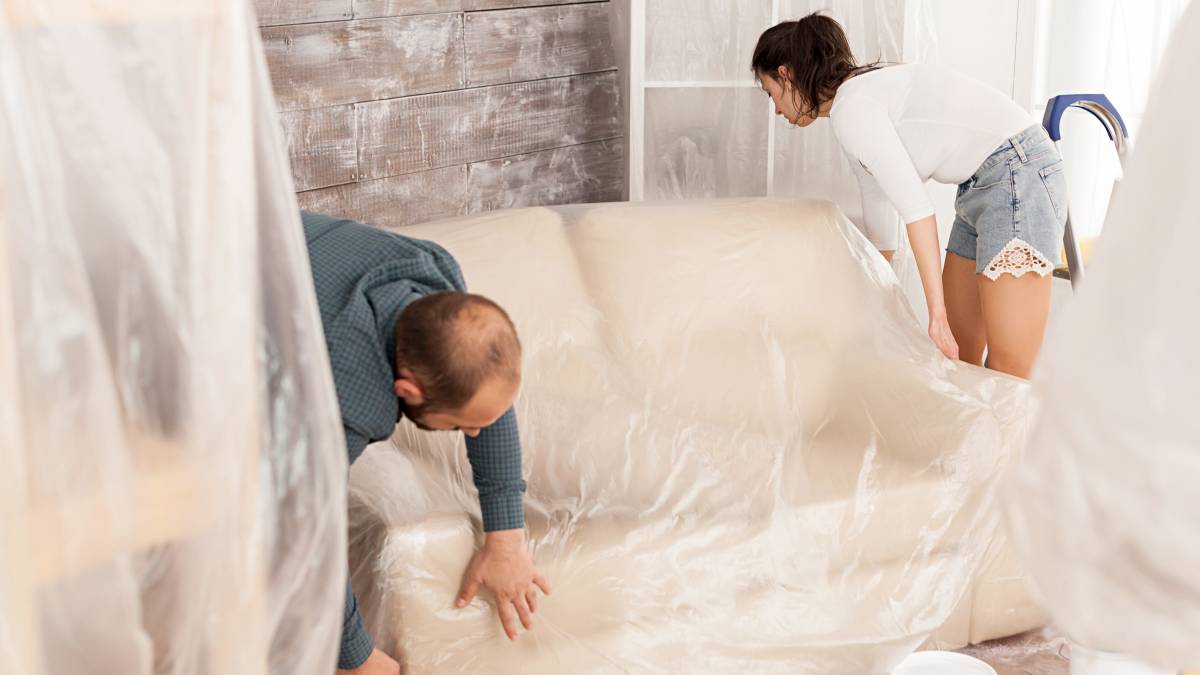
How to wrap furniture for moving
Read more
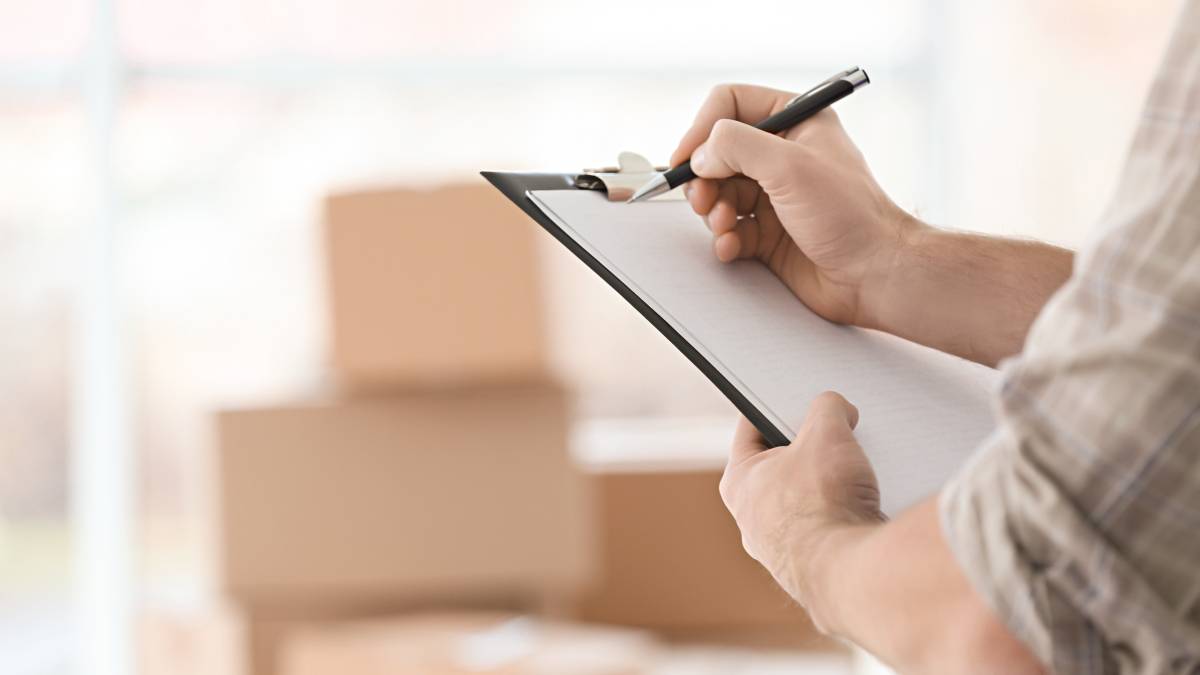
What moving companies won’t move
Read more
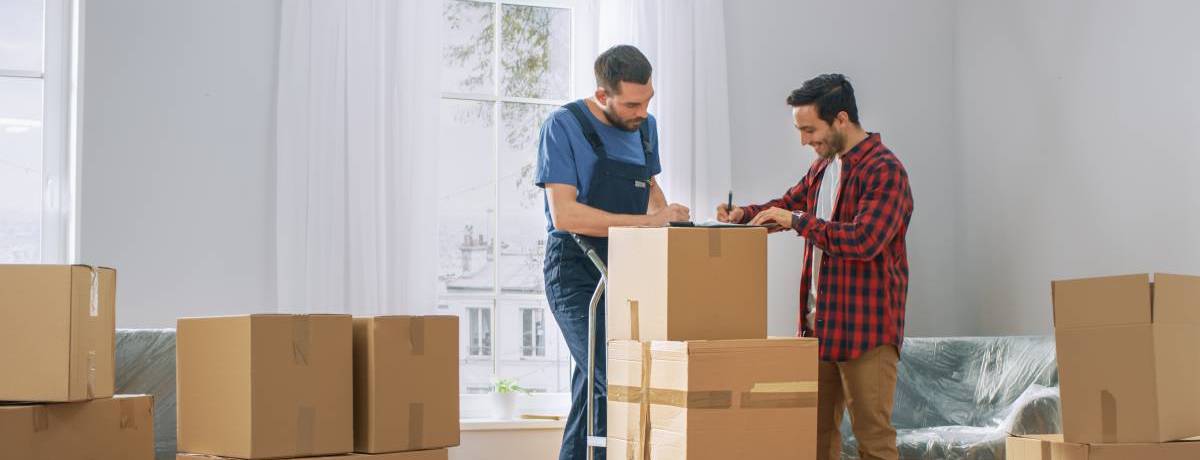
A guide to becoming a removalist
Read more
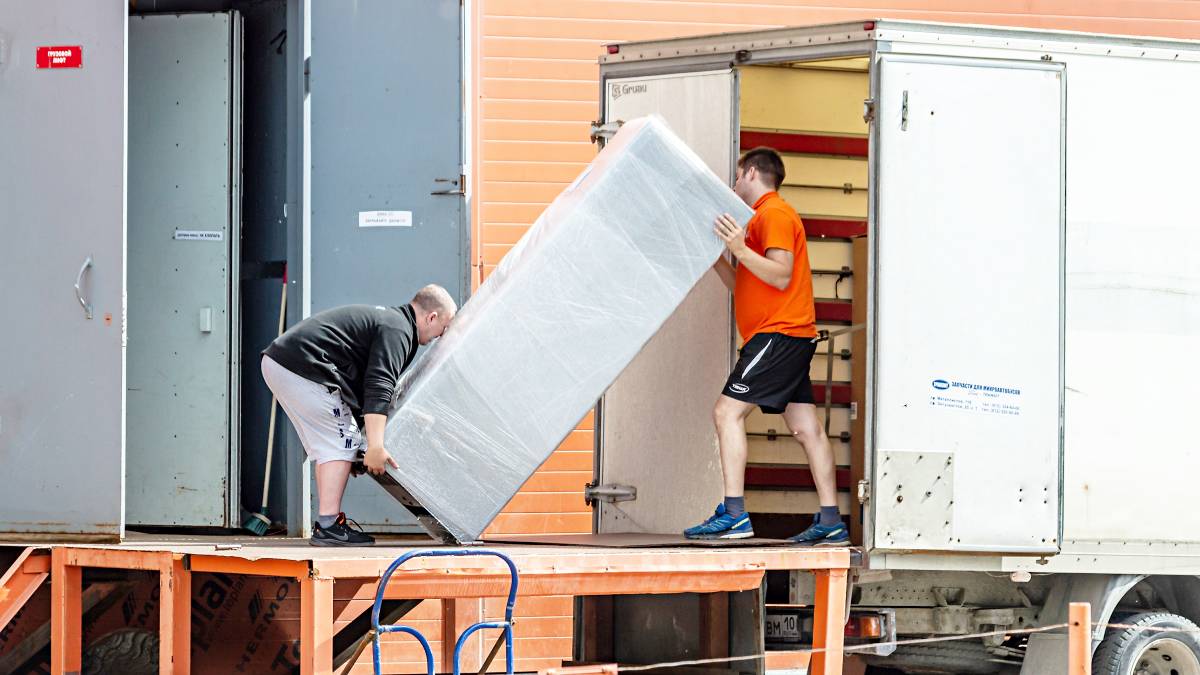
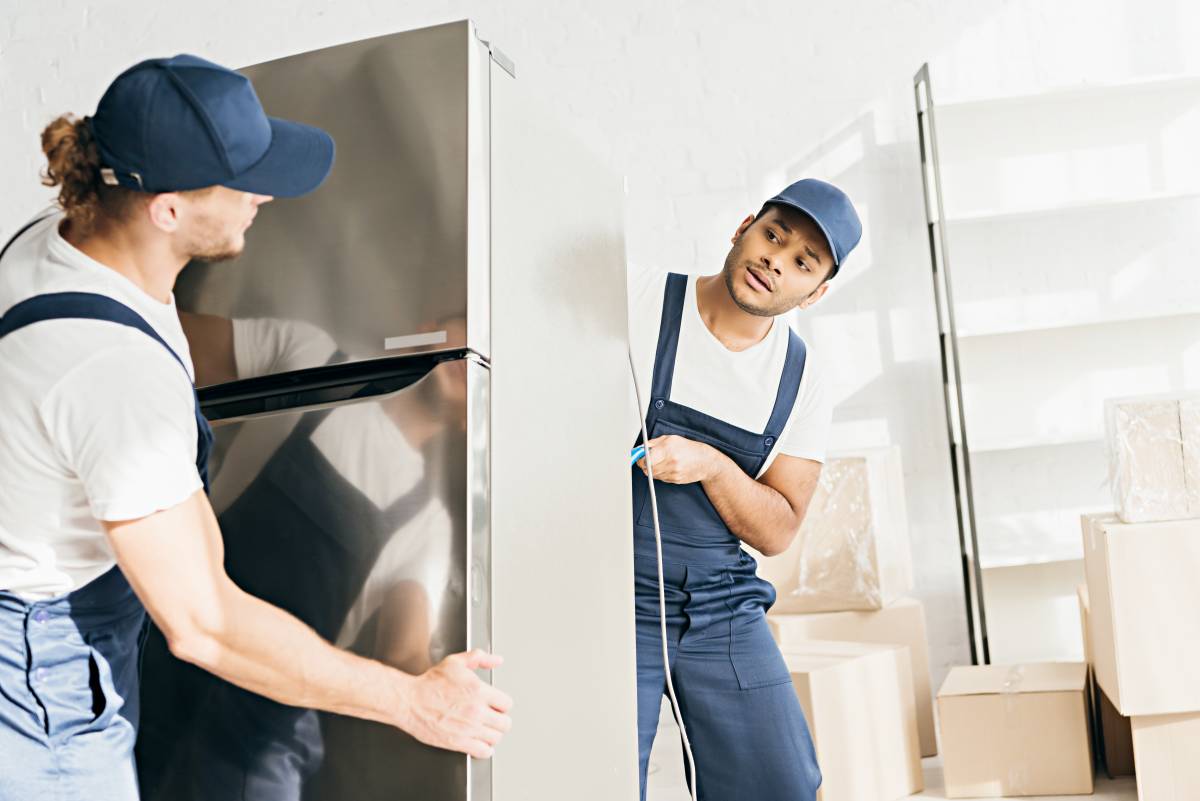
Moving a fridge: How to do it right
Read more

Tips for moving house with kids
Read more
How to move a vending machine
Read more

How to pack mirrors for moving
Read more
How to pack artwork for moving
Read more
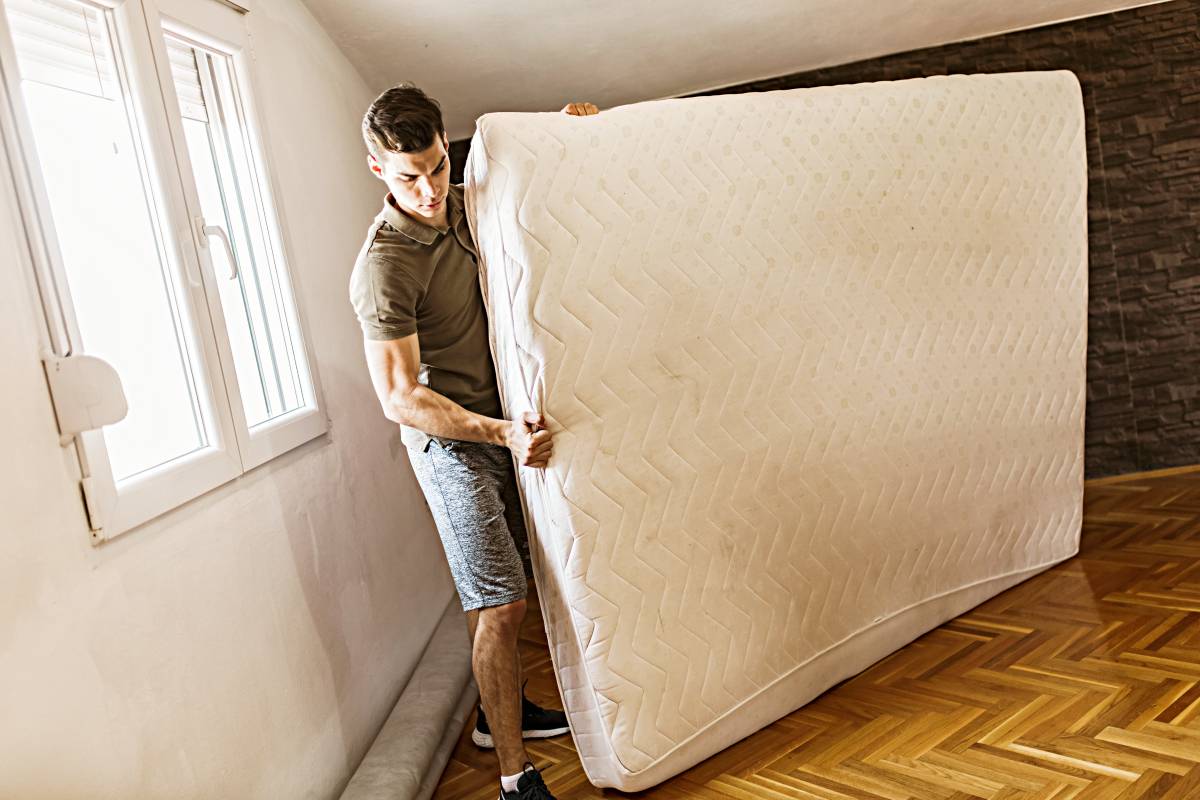
How to pack bedding for moving
Read more

How to move a pool table
Read more
Related price guides
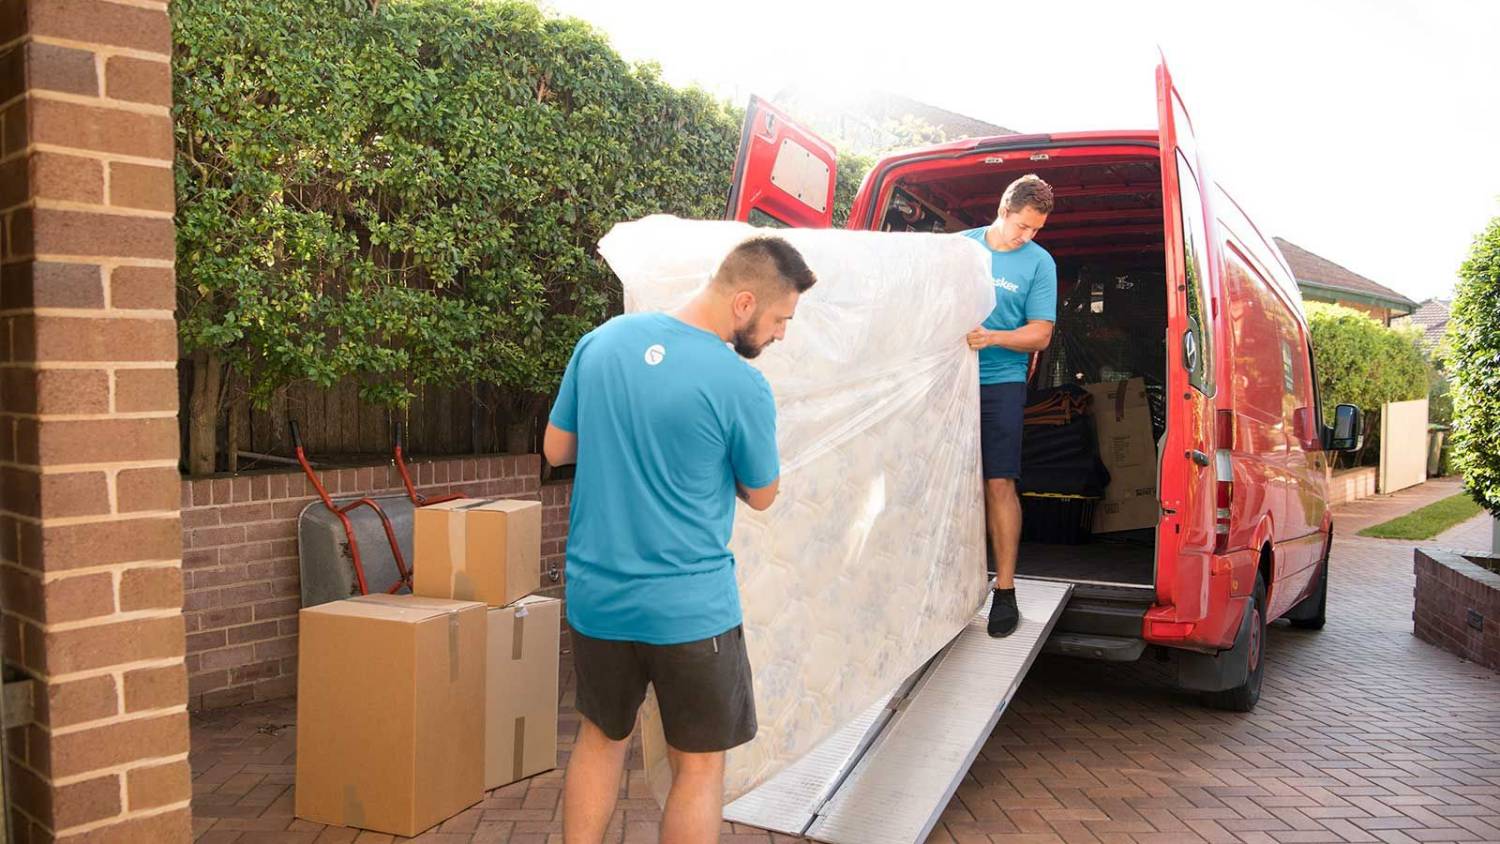
How much does it cost to move house?
Read more
How much do removals cost?
Read more
How much does it cost to move house?
Read more

How much does piano moving cost?
Read more

How much does shed removal cost?
Read more
How much do packers cost?
Read more
