- Home/
- Costs/
- Regrouting/
- Regrouting Cost Guide
Regrouting tile costs: How much to fix your bathroom grout
Post to find a price. It's free and only takes a minute.
Price guide
$170 - $1,000
low
$170
median
$585
high
$1,000

Last Updated on
Key Facts
- Regrouting a standard 100 sq ft bathroom costs between $170 and $1,000, depending on grout type, area, and labor.
- Grout prices range from $10 to $65 per 25-lb. bag, while pre-mixed options can cost up to $160.
- Mold or moisture damage may raise the cost, especially if prep work or tile replacement is needed.
Cracked grout, stained joints, or mildew creeping along your bathroom tiles? These aren’t just cosmetic issues. They’re signs your grout is past its prime. If left unchecked, moisture can seep beneath your tiles, leading to water damage, mold growth, and expensive repairs. This is why regrouting is essential maintenance.
But before you consider hiring a professional, knowing the regrouting costs will help you make a smart decision. This guide will compare materials and labor costs and break down what drives those prices.
Regrouting price list
To guide you in comparing costs, below is a helpful table to refer to when calculating costs for a regrouting project. Keep in mind that the price of each type of grout will also vary depending on manufacturer, brand, and suggested retail price.
| Service | Cost |
|---|---|
Regrout a bathroom |
$170 to $1,000 |
Regrout shower tiles |
$10 to $25 per square foot |
Duration |
1-2 days |
What are the factors that affect the cost of bathroom regrouting?
How much does it cost to regrout a shower or tiled surface? To calculate bathroom regrouting costs and adequately prepare your budget, take note of the following factors. They will determine precisely how much regrouting bathroom tiles cost.
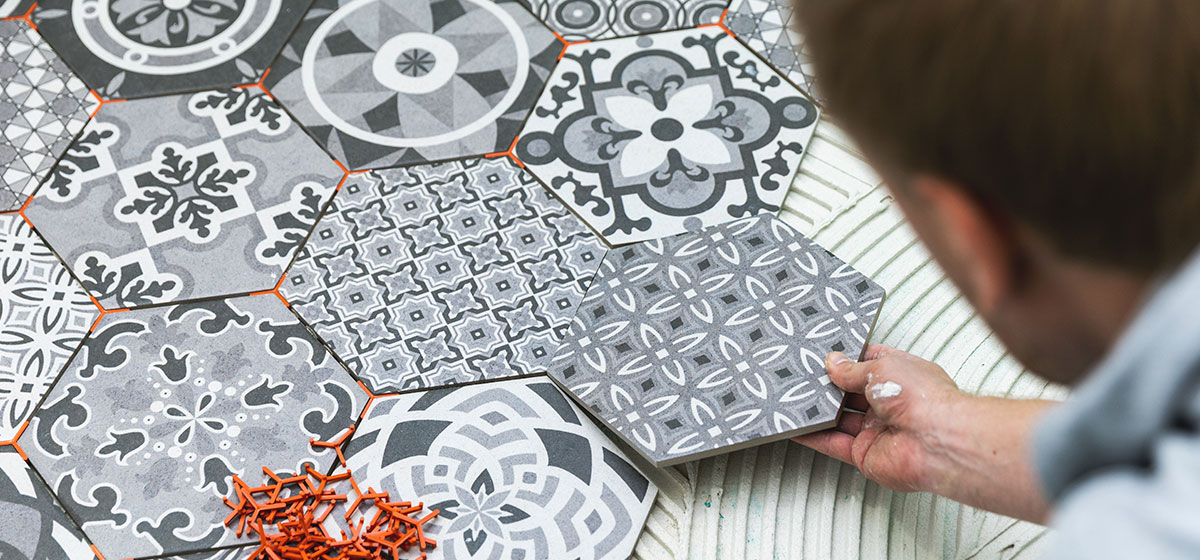
Type of grout
The average cost to get a shower regrouted heavily depends on the grout type. Grouts with unique properties are more expensive than generic ones. If there is fungal growth in the bathroom, there is an anti-fungal grout option for you.
There are also antibacterial grouts, epoxy grouts, pre-mixed grouts, unsanded grouts, and finely sanded grouts. Most dry grouts start at $10 to $65 per 25-pound bag, while ready to use ones that do not require mixing cost $12 to $160. The area covered by a 25-pound bag depends on the width and depth of the joint plus the size of your tile.
Here's a price breakdown for different types of grout and their pros and cons.
| Type of grout | Pros | Cons | Cost |
|---|---|---|---|
Unsanded wall tile grout |
|
Without the sand, expect more shrinkage and cracking when dry. It also can’t be used in gaps larger than 3mm wide. |
Around $5 to $6 per square foot for removal and replacement |
Sanded tile grout (for floors) |
|
Shrinkage issues can be minimal, but still possible |
Around $6 to $8 per square foot |
Specialist epoxy grout |
|
More expensive and more difficult to apply since it sets quickly |
Around $2.24 to $4.5 per kg |
Size of area
Naturally, the cost to regrout tiles in a shower area will be higher if your bathroom takes up a bigger space. Larger bathrooms tend to have larger tiled areas that need regrouting. Hence it will require more materials, more time and will incur greater expenses.
Labor costs
Labor costs vary depending on which part of the bathroom needs regrouting, as well as your location. Tradespeople in different areas of the US charge differently for labor costs.
Current condition of the grout
If the current grouting of your bathroom is already degraded and moldy, it most likely lets the moisture collect under the tiles. Due to water damage, regrouting may cost more as well.
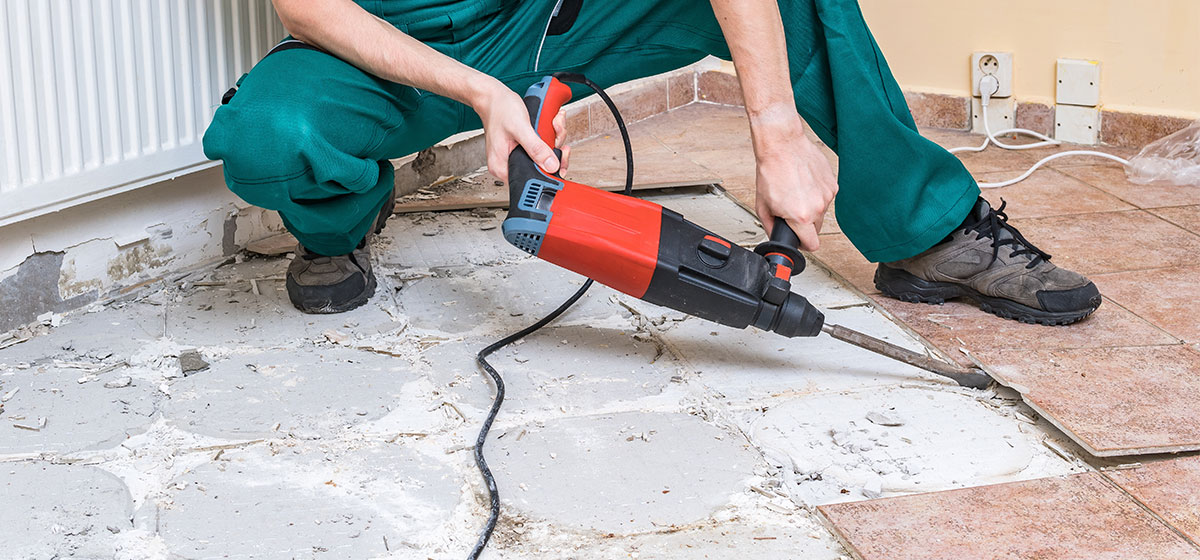
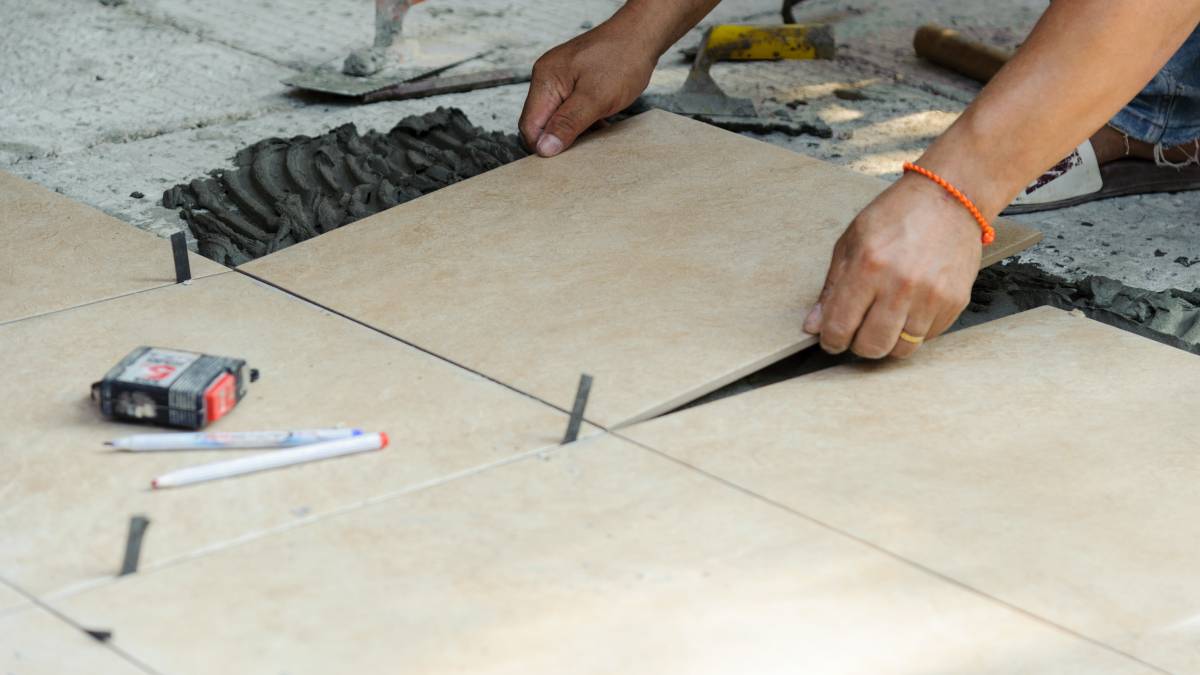
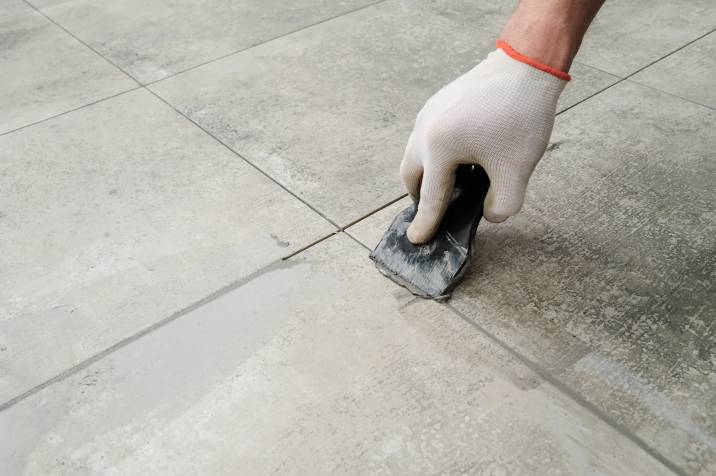 Regrouting worn floor tiles to restore durability and appearance. (Source: iStock)
Regrouting tiles: The process at a glance
To give you an idea of what the job entails, here is an overview of the process. This will also allow you to evaluate if you can do the regrouting job by yourself or if you need to hire a professional to do it.
Step 1: Finding and fixing leaks
If there are brown molds, this can mean that water is getting behind wall tiles, under the floor tiles, and soaking through the joints. Make sure to find where the leak is coming from and have it fixed first before regrouting. Otherwise, there is no point to regrout as you will still encounter the same issues.
Step 2: Removing the old grout
An ideal tool to remove old grout is a drill, which will let you work through the surface of the grout and under without damaging the tiles. Don’t forget to wear safety goggles to protect your eyes from debris! Once finished, go over the lines using a screwdriver, then vacuum the debris to make sure you have removed any last traces.
Be careful in removing old grout, as chipping or cracking bathroom tiles can cause increased work time, additional costs, and stress since it can be challenging to find the exact tiles to match.
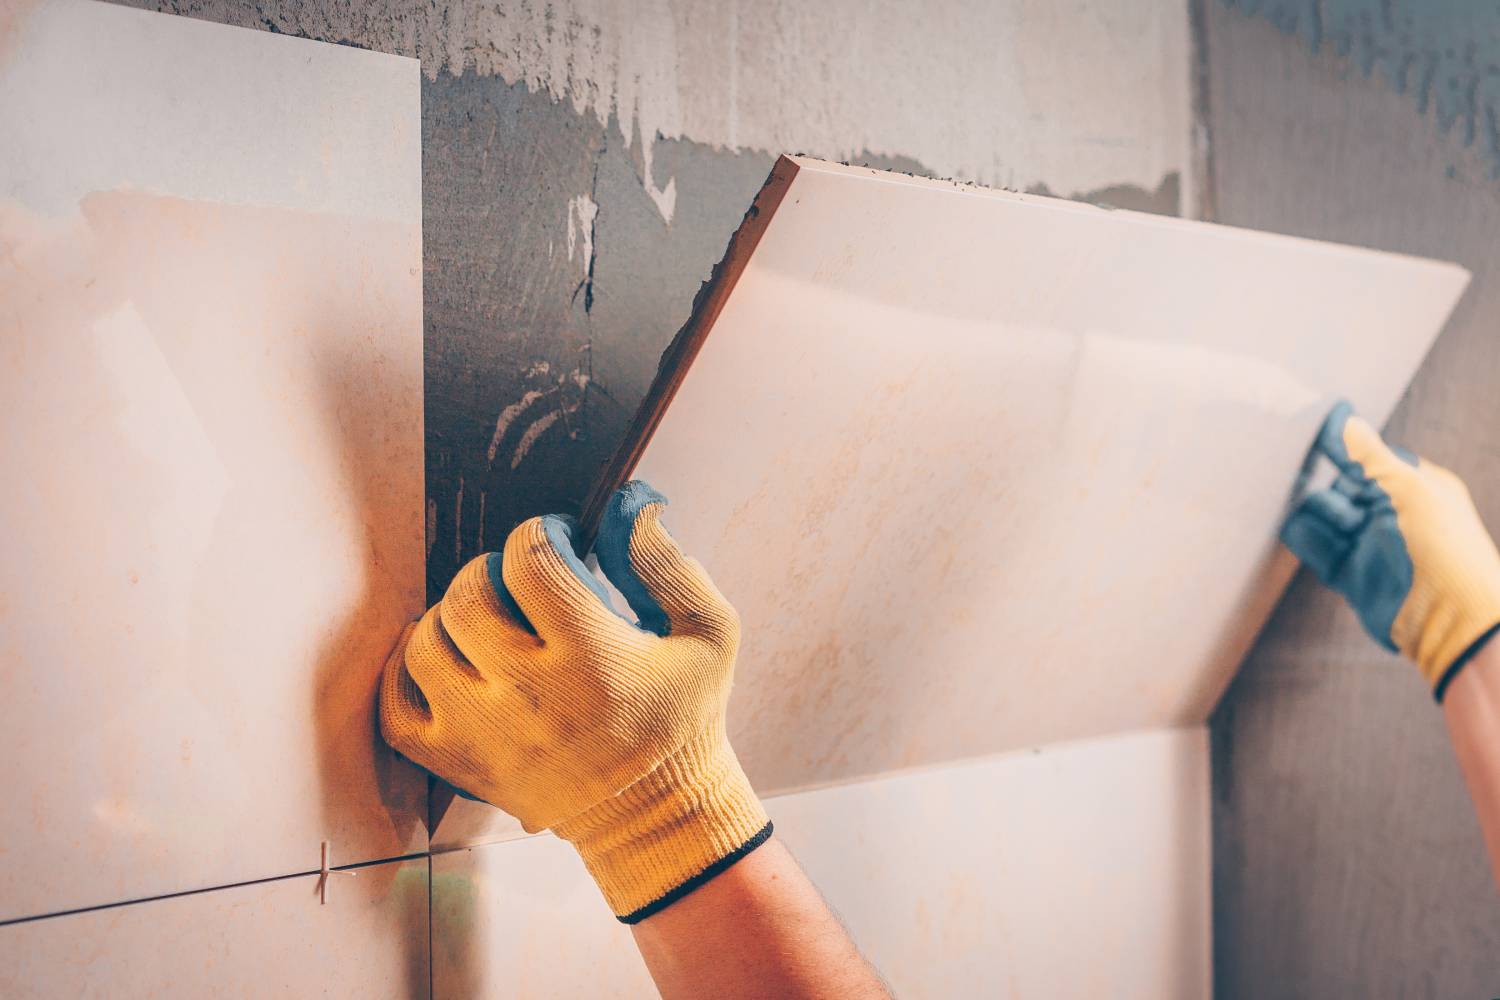
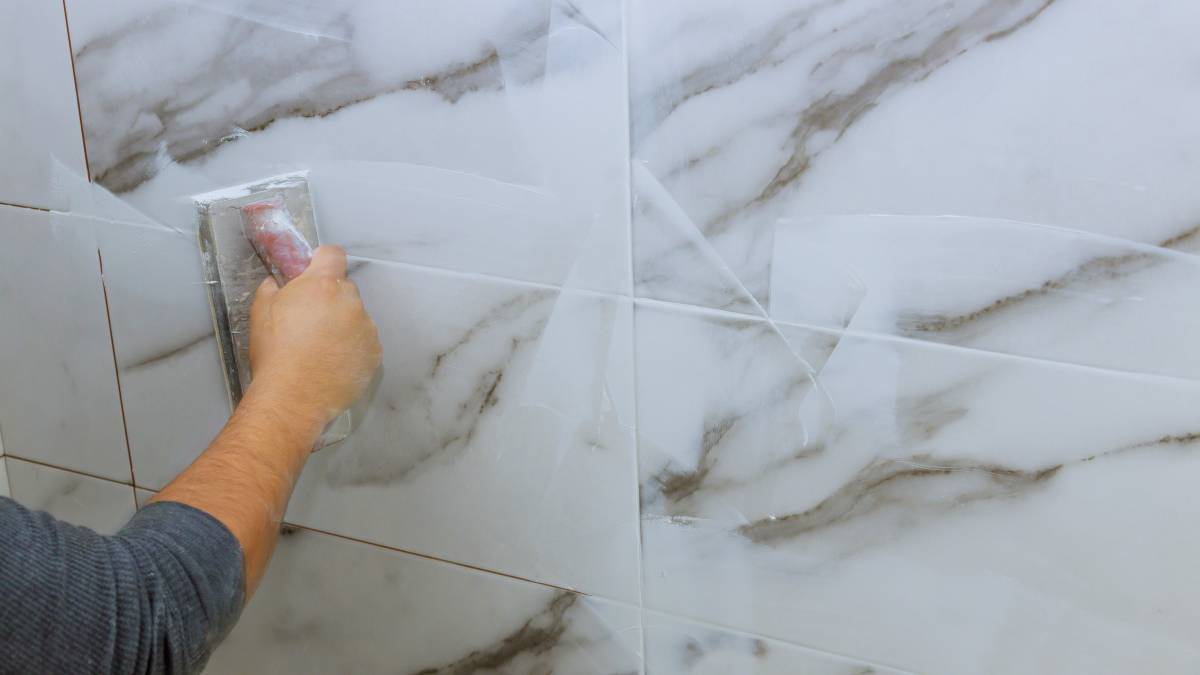
Step 3: Preparing and applying the new grout
There are ready-mix grouts available in the market. However, if the grout on hand needs to be mixed first, you will need a tool called a grout float (which helps you mix the grout) and a scraper (to get rid of any excess).
Step 4: Cleaning off excess grout while wet
Clean off any excess as you go, as it dries quickly and becomes harder to remove. Use a damp sponge to remove them, then leave the grout to dry.
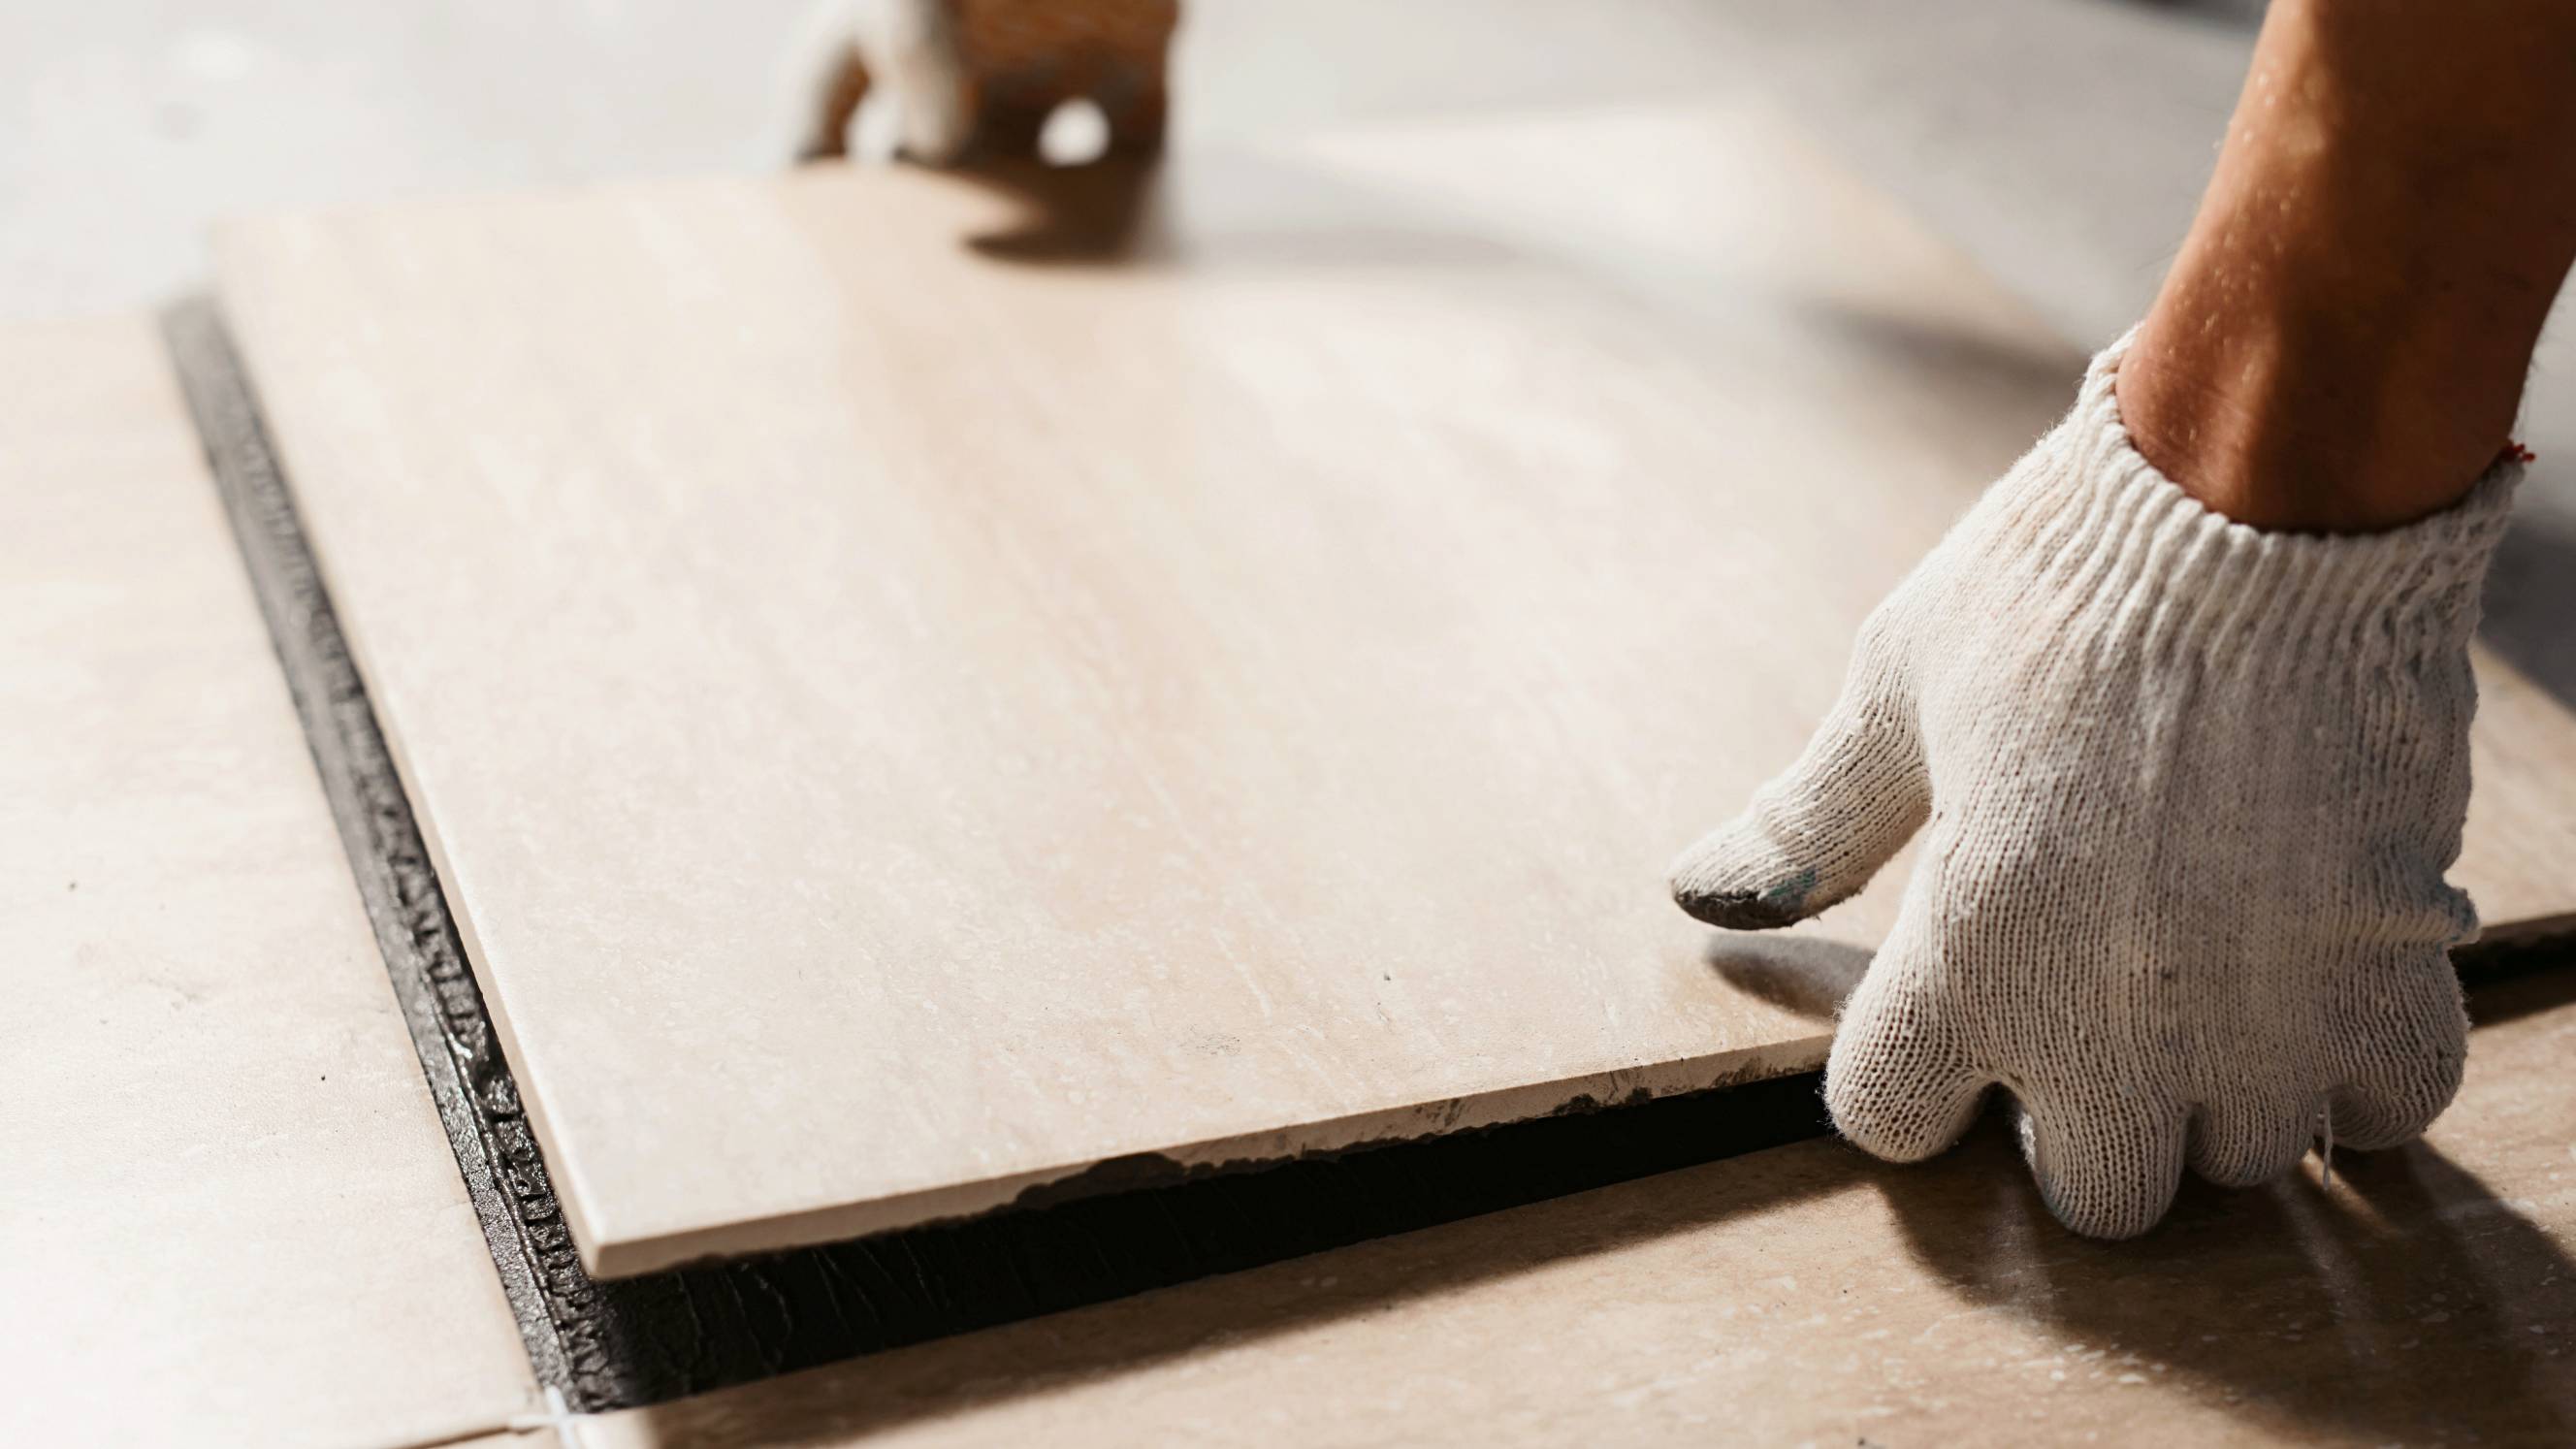
Step 5: Replacing broken tiles when necessary
If a tile is damaged while removing old grout, use a chisel to remove the broken tile. Get the new tile and apply the adhesive on its back part. Position it using spacers to maintain proper grout gaps. Once dry, remove the spacers and grout the joints.
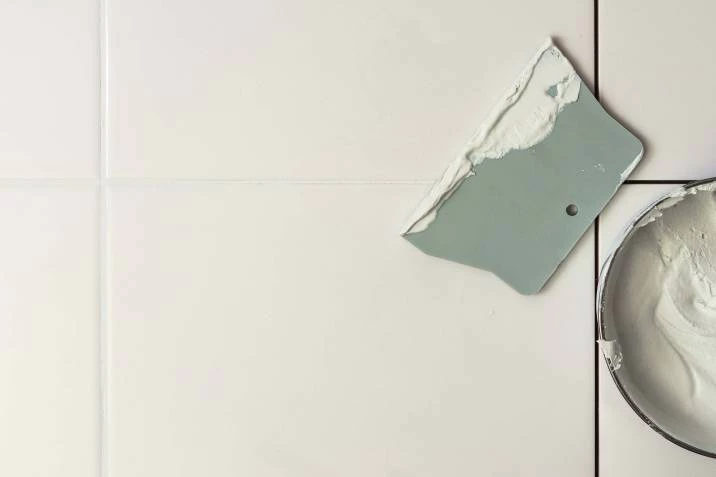 Regrouting light-colored tiles enhances cleanliness. (Source: iStock)
Should you regrout yourself or hire a professional?
Should you hire, or should you DIY? To help you compare the two options, here are the pros and cons of hiring a tradesperson vs doing the regrouting yourself.
Regrouting may look simple, but getting it right takes years of experience. A professional knows how to remove old grout cleanly using the right tools and techniques. This reduces the risk of tile damage and ensures a longer-lasting, mold-resistant finish. It does come at a higher cost, but you're paying for peace of mind and quality workmanship.
Meanwhile, if you’re handy and confident with tools, DIY regrouting can be a cost-effective option since you’ll save on labor costs. However, it's not without risks. You'll need to invest in safety gear like goggles and specialised tools. More importantly, a lack of experience can result in uneven finishes—or worse, improper sealing that allows moisture to seep in and cause future damage.
Bottom line: Hiring a professional is ideal if you want a high-quality result without the learning curve. DIY is doable, but only if you’re prepared to invest time, effort, and care.
Restore your bathroom with expert regrouting
Cracked or damaged grout can lead to moisture problems, mold growth, and costly repairs. Instead of dealing with the hassle, let an experienced professional handle the job.
Airtasker makes it easy to find skilled Taskers who can regrout your bathroom efficiently and affordably. Simply post a task, compare quotes, and choose a Tasker who fits your budget and needs.
Restore your bathroom’s look and functionality today!
FAQs
It’s possible to grout over old, damaged grout. However, you won’t address the moisture issues that could be trapped under the tiles. So to prevent this and achieve a smooth finish simultaneously, have the old grout removed first.
For planning considerations, allot one to two days for regrouting jobs regardless of the bathroom size. The exact time will depend on the speed of your tradesperson.
No, you need to wait 24 to 48 hours before grouting new tiles to ensure that they are properly set.
Set the grout to dry at least overnight for a total of 24 hours. Then wait for a few days or up to a week to ensure that the moisture took its time to dry up.
Yes, you can! But choose a paint that’s grout-friendly. Epoxy colorants or epoxy paints come in various colors and would work well on grout.
Yes, this is highly important for gaps! Gaps between tiles are necessary to allow for the expansion that happens when there is a temperature change. Besides that, they stop moisture from reaching the substrate, preventing water damage behind tiles. Use 2 mm joints for a wall tiling project and 5mm when using natural stone.
Find regrouters, fast
Post a task
Related price guides
Related articles