- Home/
- Guides/
- Ceiling Fan Installation/
- Ceiling Fan Wiring Guide
Ceiling fan wiring guide: What US homeowners need to know
A comprehensive guide to understanding ceiling fan wiring for safe electrical connections.
Find an installerLast Updated on
Key Takeaways
- Shut off power at your US breaker panel to ensure no live voltage is present before starting work.
- After turning off the power, use a non-contact voltage tester to verify that all wires are completely de-energized to reduce the risk of electrical shock during installation.
- Adhere to standard wiring color codes and detailed manufacturer guidelines to guarantee proper operation and compliance with electrical safety standards.
Thinking about installing a new ceiling fan yourself? You might be surprised at how doable ceiling fan wiring actually is! It’s one of those perfect middle-ground DIY projects – not as simple as changing a lightbulb, but definitely not as complicated as repairing a water-damaged drywall ceiling.
In this guide, you’ll learn the exact steps to wire a ceiling fan properly, including the different wiring setups, the tools you’ll need, and the tricky spots where DIYers sometimes get stuck. This way, you can decide whether to grab your ladder and wire cutters or hire a licensed electrician instead.
The tools and materials you’ll need
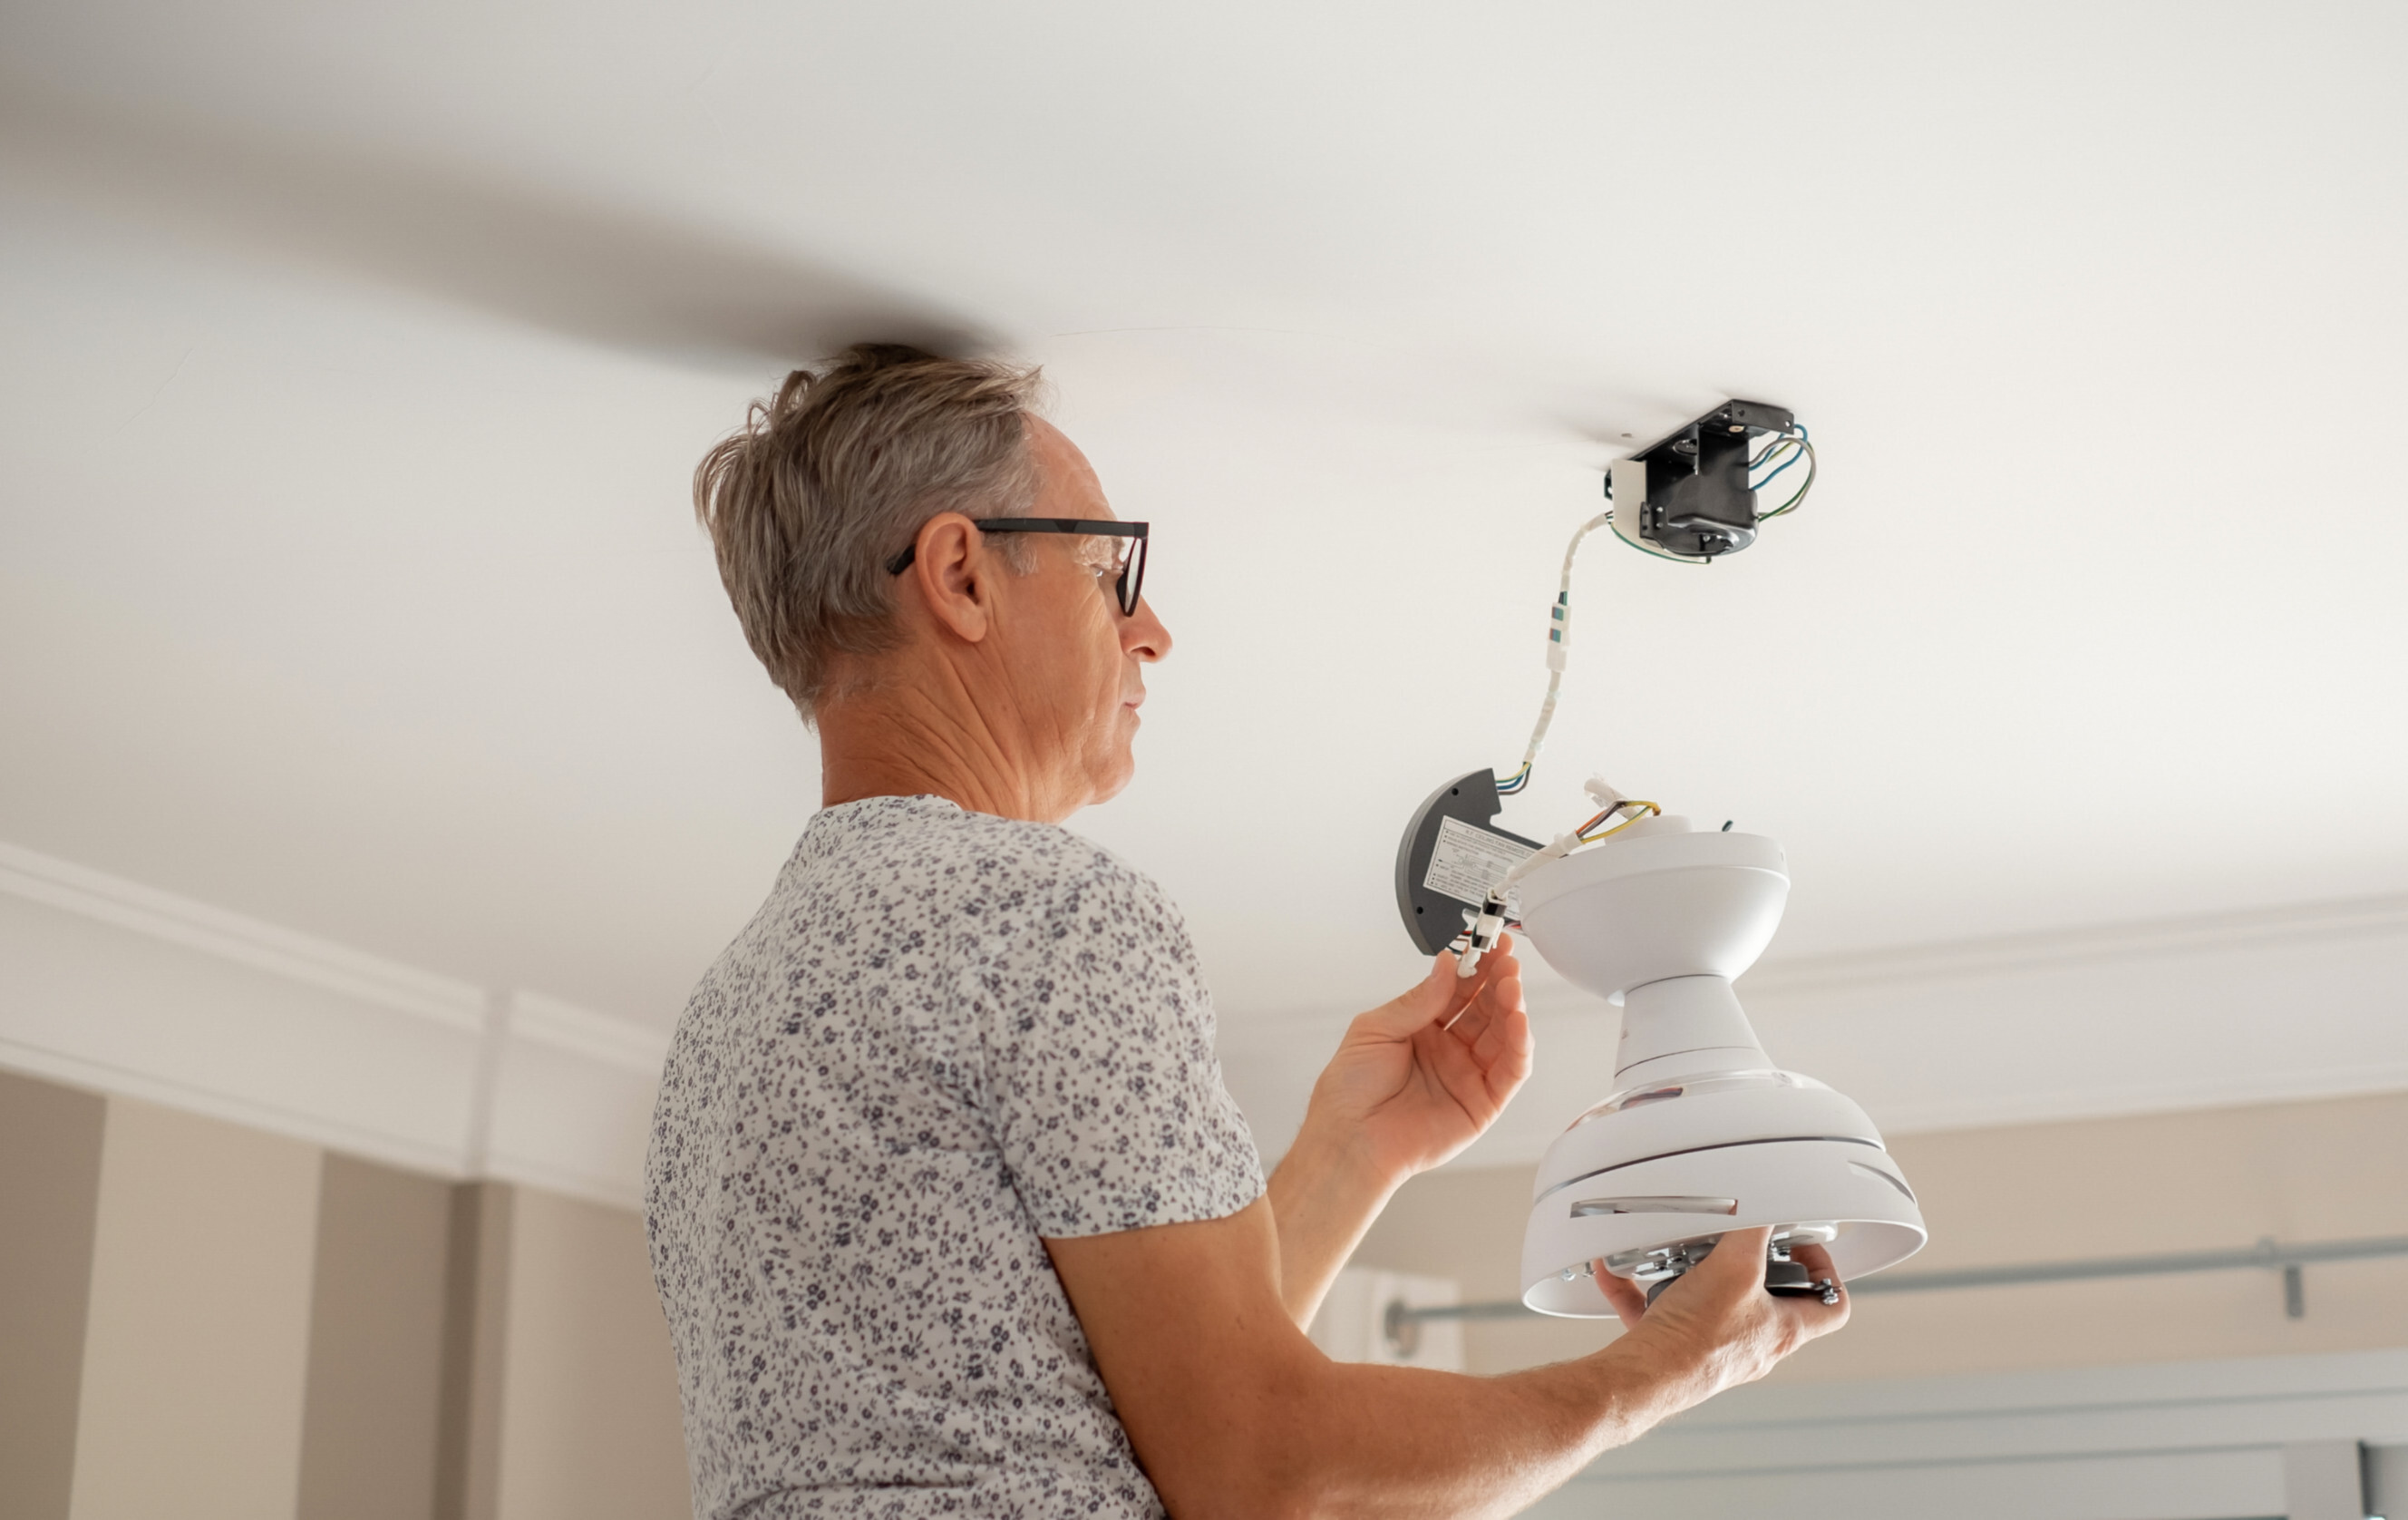
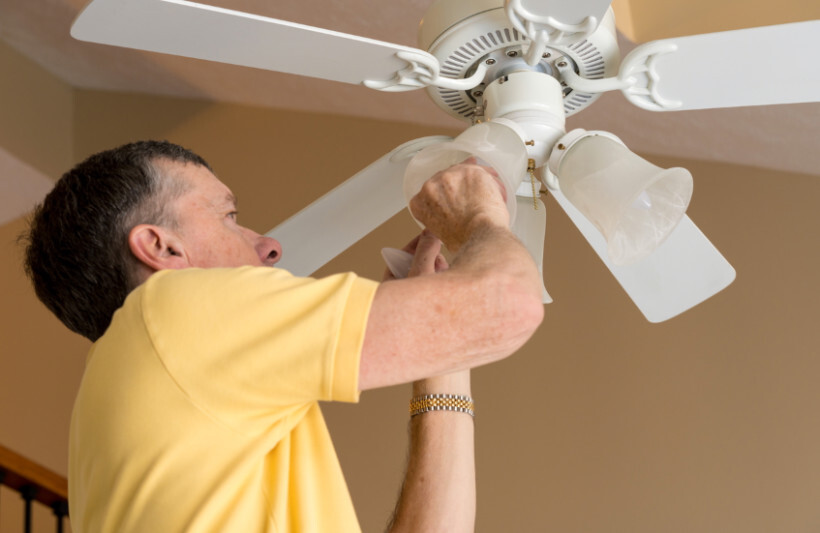
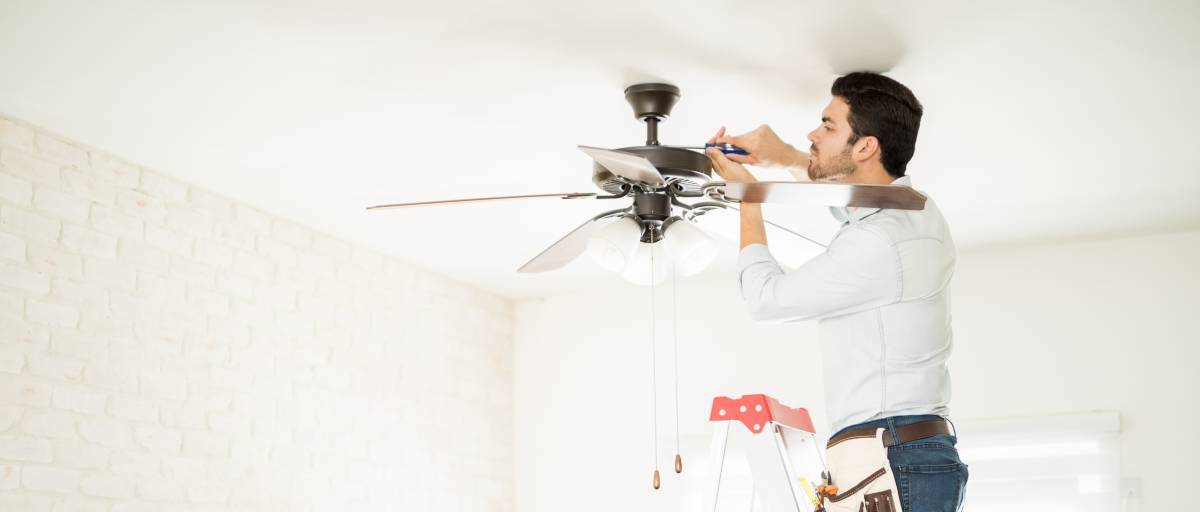
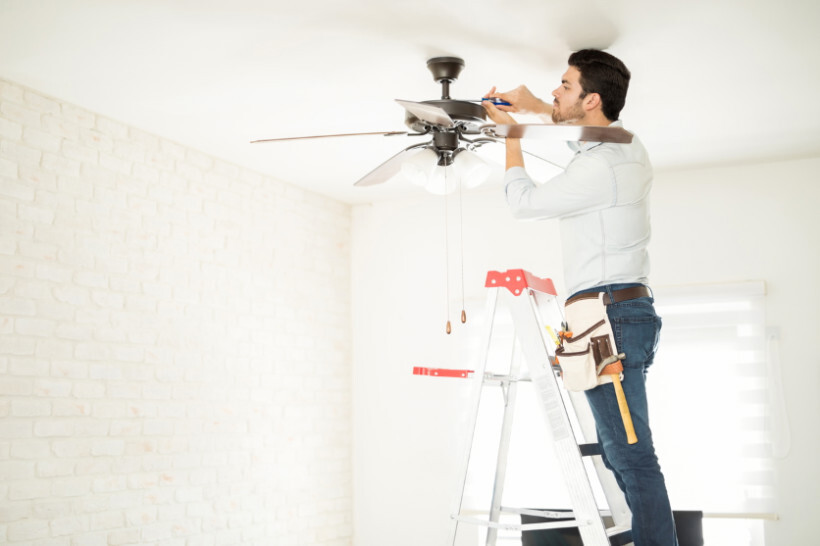 Man on a ladder carefully unscrewing a ceiling fan. (Source: iStock)
Having the right tools on hand makes wiring a ceiling fan much easier and safer. Get these items together before you start so you don’t have to step down from your ladder mid-job:
Wire connectors (wire nuts) for securely joining wires together
Screwdriver (both flathead and Phillips) for attaching and adjusting mounting hardware
Wire cutter/stripper for removing insulation cleanly and safely from wires
Electrical tape for extra insulation of wire connections
Non-contact voltage tester for verifying if a wire is live
Pliers or needle-nose pliers for twisting wires together and holding small components in place
Decoding ceiling fan wiring color codes
Before you connect any wires, take a minute to check your fan’s manual first and understand what each ceiling fan wiring color actually does. While manufacturers sometimes use different color schemes, here’s what you’ll typically find:
Black |
Hot wire that powers the fan motor |
Blue |
Powers the light kit on your fan |
Green/Copper/Yellow |
Ground wire for safety |
White |
Neutral wire for balancing voltage |
Red |
Additional hot wire |
The US National Electrical Code (NEC) only mandates two specific wire colors: white (or gray) for neutral power conductors and bare copper, green, or green with a yellow stripe for protective ground. Any other colors can be used for power conductors.
Black wires: Black wires deliver power from your breaker panel to the fan motor. They carry 120 volts, so always treat them as live until tested with a voltage meter. Connect these to the black wires from your ceiling box.
White/Gray wires: These neutral wires complete the electrical circuit by providing a return path for current. For proper operation, connect your fan’s white wire to the white wire in your ceiling box.
Green/Copper/Yellow wires: Ground wires protect against electrical shock by directing stray currents safely to the ground. Always connect these securely to the grounding conductor in your ceiling box or to the grounding screw on the mounting bracket.
Blue wires: Blue wires power the light fixture on your ceiling fan. Connect this to the black wire (or separate switch wire) in your ceiling box if you want your light controlled independently from the fan.
Red wires: When present, red wires enable separate control of fan and light functions. They carry the same voltage as black wires and require the same safety precautions. Connect to the corresponding switch wire in your ceiling box for independent operation.
Understanding your ceiling fan wiring
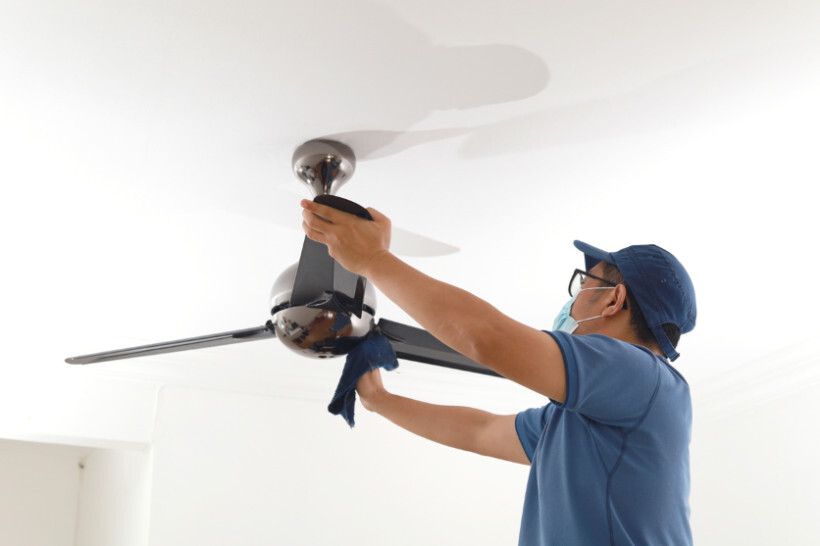
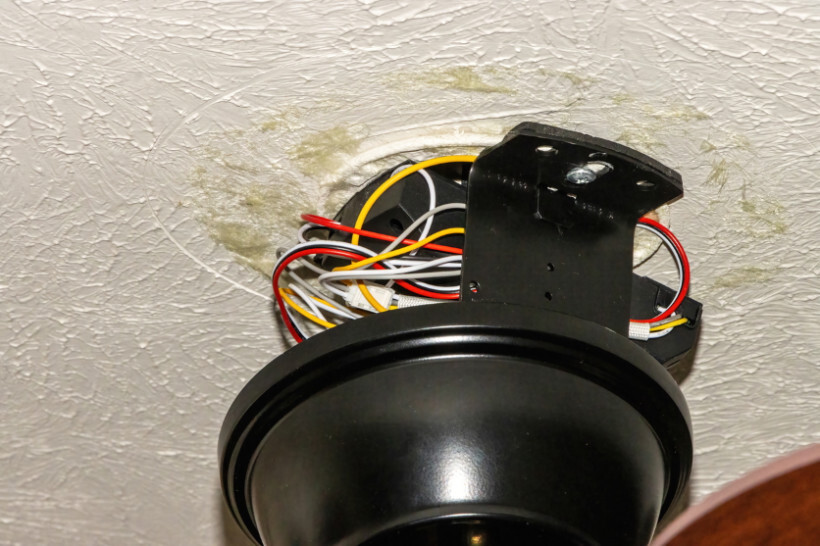 Close-up view of exposed ceiling fan wiring and installation bracket. (Source: iStock)
To get the wiring right, start by checking what you’re working on in your ceiling box. To do this, switch off the power supply line, remove the switch cover plate, pull out the switch, and grab your voltage tester. The voltage tester is a must-have for any electrical work since it indicates if a wire is carrying a load without you having to touch it. Hold it near a wire, and if it lights up or beeps, it is live.
With the power confirmed off, inspect the wires in your ceiling box. Most US homes follow this standard color system:
| Wire color | What it means |
|---|---|
White/Gray |
Neutral |
Green/Copper/Yellow |
Ground |
Black/Red/Blue/Orange |
Hot |
If you find two hot wires (usually black and red), you have separate switches for your fan and light. This allows independent control of each function. If you find only one hot wire (usually black), your fan and light will operate from a single switch or pull chain.
Does the wiring not match the standard colors? Don’t guess! Consult your fan’s manual or get a second opinion from a professional handyman.
Connecting the ceiling fan to the mounting bracket
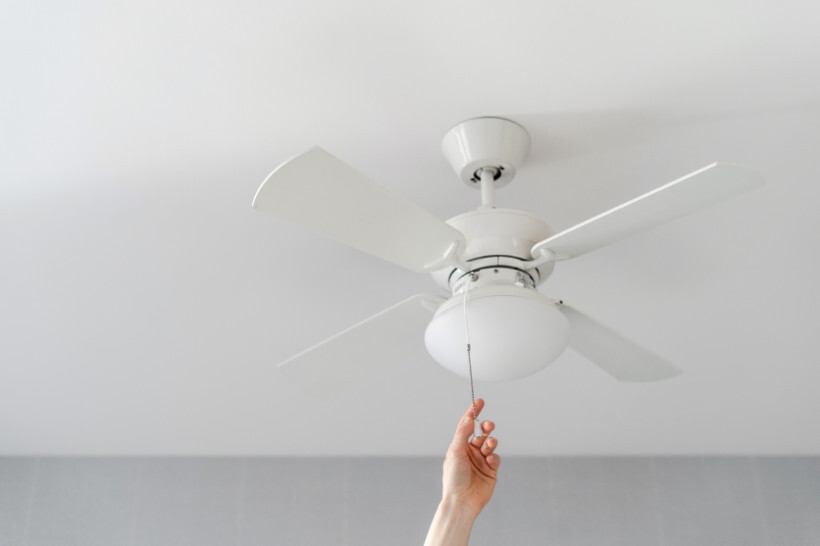 Turning on a ceiling fan with a simple pull of the chain switch. (Source: iStock)
Standard junction boxes aren’t strong enough to support the weight and size of a ceiling fan electrical wiring system. Without proper support, your fan could fall, damaging your ceiling or causing injury. A ceiling fan support brace reinforces the junction box by extending between ceiling joists, creating a solid mounting point that handles weight and vibration.
Per US building codes, ceiling fan mounts must support at least 50 pounds, though boxes not explicitly labeled for weight can support fans up to 35 pounds. Boxes marked with a specific weight rating can support fans up to that weight but never over 70 pounds.
Installing a new ceiling fan bracket
If converting a light fixture to a ceiling fan, you must install proper support brackets:
Turn off power at the circuit breaker.
Remove the existing light fixture.
Remove the old junction box using a wooden block and hammer.
Insert the expandable ceiling fan brace through the ceiling hole.
Center and extend the brace until it locks firmly between joists.
Attach the metal saddle to the brace.
Secure the new fan-rated junction box to the saddle.
Replacing an existing ceiling fan mount
When installing a new fan where one already exists, check the current mounting system:
Verify if the existing bracket supports your new fan’s weight.
Confirm the junction box is fan-rated (marked “For Fan Support”).
Replace the mounting bracket if it’s not compatible with your new fan.
Position the fan motor assembly on the bracket.
Secure according to manufacturer instructions.
Always follow the specific mounting instructions included with your ceiling fan model.
Mounting the ceiling fan to the bracket
After installing the support bracket, mount the fan assembly:
Attach the mounting bracket to the junction box using supplied screws.
Lift the fan motor assembly to the bracket (get assistance when installing ceiling for fans over 25 pounds).
Set the fan housing on the bracket’s alignment notches.
Rotate the fan until it locks into place.
Verify the fan is securely mounted before wiring.
Wiring your ceiling fan without switches
This configuration means the fan is connected directly to your home’s electrical circuit without the use of any wall switches. Instead of being controlled by a wall switch, the fan typically relies on pull chains, a remote control, or built-in controls on the unit itself.
Turn off the power at the circuit breaker.
Connect white wires (neutral) from the fan and ceiling together.
Connect the green wire to household ground wire (copper/bare).
Connect the black wires (hot) together.
Connect the blue wire to the blue wire for lights.
Tuck all wires back into the junction box.
Restore power and test the fan.
Without wall switches, consider adding a remote control kit for easier operation.
Wiring your ceiling fan and light with one switch
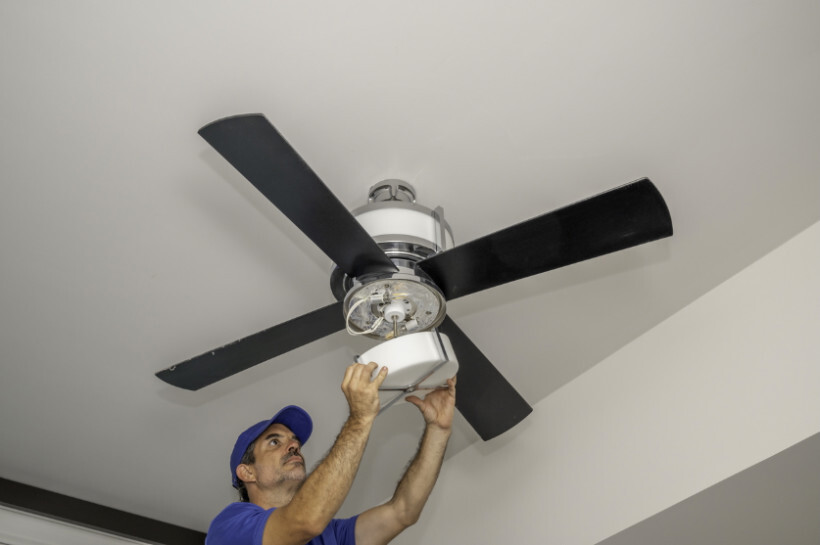 Installation of a modern ceiling fan with light fixtures by a professional. (Source: iStock)
In this setup, the ceiling fan and its integrated light kit are connected to a single circuit controlled by one wall switch. When you operate the switch, the fan and the light turn on or off together.
Turn off the power at the circuit breaker.
Connect the green/bare copper wires (ground) together.
Connect the white wires (neutral) together.
Connect the black wires (hot) together.
Connect the blue light wire to the black fan wire and black ceiling wire.
Tuck all wires back into the junction box.
Restore power and test operation.
As a rule of thumb, reference a ceiling fan electrical wiring diagram from your fan’s manual to confirm connections.
Testing your ceiling fan connections
 Casual yet professional installation of a ceiling fan with lights. (Source: iStock)
After wiring up a ceiling fan, it’s crucial to check if it functions properly before considering the job complete. Return to your breaker panel and flip the appropriate circuit breaker to the “ON” position. Once power is restored, test the wall switch to ensure electricity reaches the fan.
Try the fan pull chain to cycle through different speed settings and verify if the fan rotates at the intended speeds. Listen for any unusual noises that may indicate loose components or improper installation. Test the light function to see if the ceiling fan wiring has been correctly connected for fans with light kits.
If your fan doesn’t work properly:
Turn the power off at the breaker again.
Double-check all wire connections for proper matching (especially black to black, white to white).
Confirm the ceiling fan wiring’s blue wire is connected to the right power source for the light.
For dual-switch setups, confirm the ceiling fan wiring red wire is connected.
Ensure wall switches are wired correctly.
Check for loose canopy screws or mounting bracket connections.
If problems persist after double-checking all connections, consult your fan’s manual or contact a qualified electrician.
Should you hire a professional for ceiling fan installation?
 Final adjustments being made on a ceiling fan to ensure perfect alignment and function. (Source: iStock)
It’s advisable to hire a licensed electrician if you’re not confident working with electrical wiring or your ceiling box has a complex configuration. Professionals are trained to adhere to US electrical codes and safety standards, ensuring your installation is secure and compliant with local regulations. Incorrect wiring can lead to safety hazards, such as electrical shocks or fires; so when in doubt, professional assistance is a sound investment in your home’s safety.
Consider these questions when deciding:
Do you know how to install a ceiling fan without existing wiring? This requires running new electrical cables and creating proper junction boxes.
Do you understand how to install a ceiling fan with existing wiring? This involves correct wire identification and connection techniques.
If you answered yes to both, you can save on installation costs by doing it yourself. But if it’s a no to either question or feel uncertain, hire a certified electrician. Their expertise provides peace of mind and efficiency, especially in older homes with non-standard wiring where risks are higher.
Master your ceiling fan wiring
Installing a ceiling fan requires attention to detail, especially when working with the wiring codes and other electrical components. If you’ve followed our guide, you should now know the basics of fitting a ceiling fan. Remember to always prioritise safety by turning off power before any installation or ceiling fan repair work.
For those uncertain about electrical projects, hire a professional to do the task for you. An experienced electrician can complete the installation safely, efficiently, and in compliance with local building codes.
Need help installing your ceiling fan? Post your task on Airtasker and connect with an installation expert who can get the job done right.
FAQs on ceiling fan wiring
Use UL-listed wire nuts that match your wire gauge, typically yellow for 12-14 AWG wires found in most ceiling fans. Ensure connectors are sized appropriately for the number of wires being joined and twist clockwise until tight. For added security, wrap connections with electrical tape.
The black wire is typically the hot wire that supplies power, while the red wire is usually the secondary hot wire for separate light control. Always verify with a voltage tester before touching any wires. If unsure, consult a licensed electrician.
First, identify the main power wires (black, white, ground) and any secondary wires like the red (for separate switch control). If you’re uncertain about how to wire a ceiling fan with extra wires, take photos of your ceiling box wiring and consult the manufacturer or an electrician for guidance.
Always turn off power at the circuit breaker (not just the wall switch) and verify with a voltage tester that no power is present before handling any wires. Never rely on just the wall switch being off.
Find ceiling fan installers, fast
Find a ceiling fan installer
Related articles
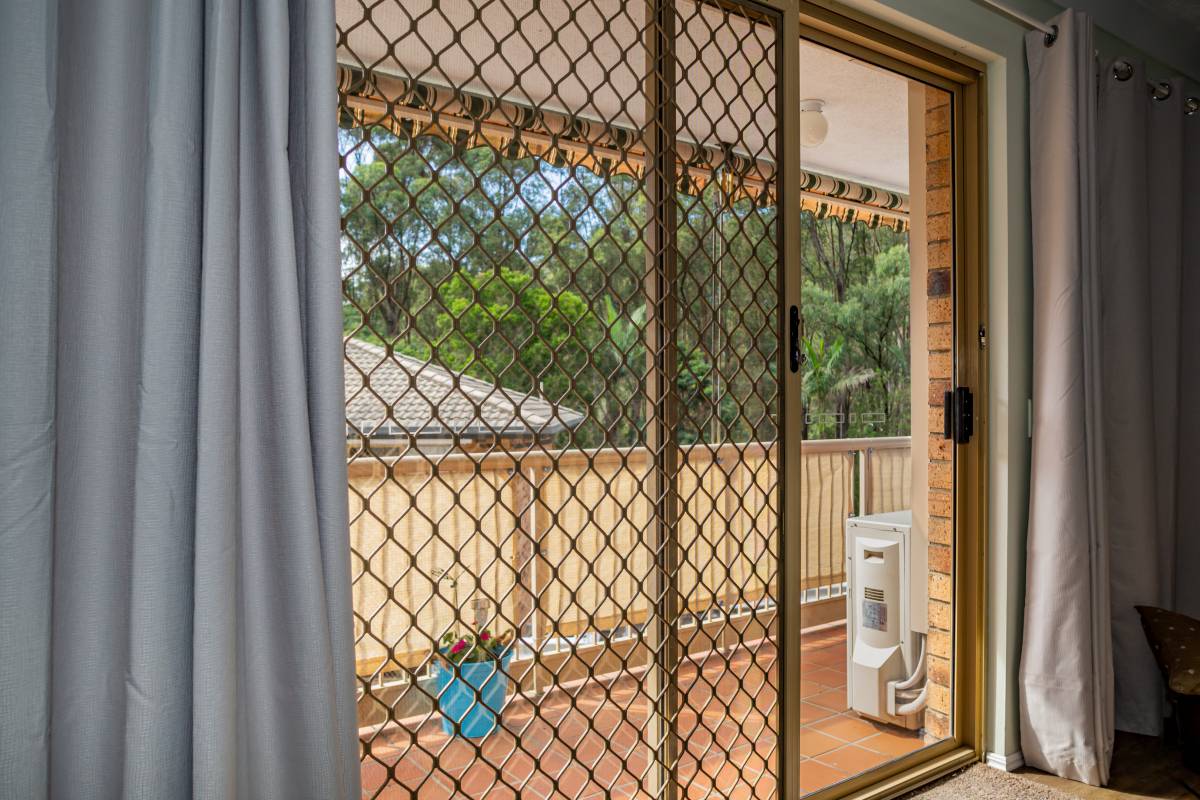
Install a screen door in 6 steps
Read more

How to Soundproof a Room
Read more
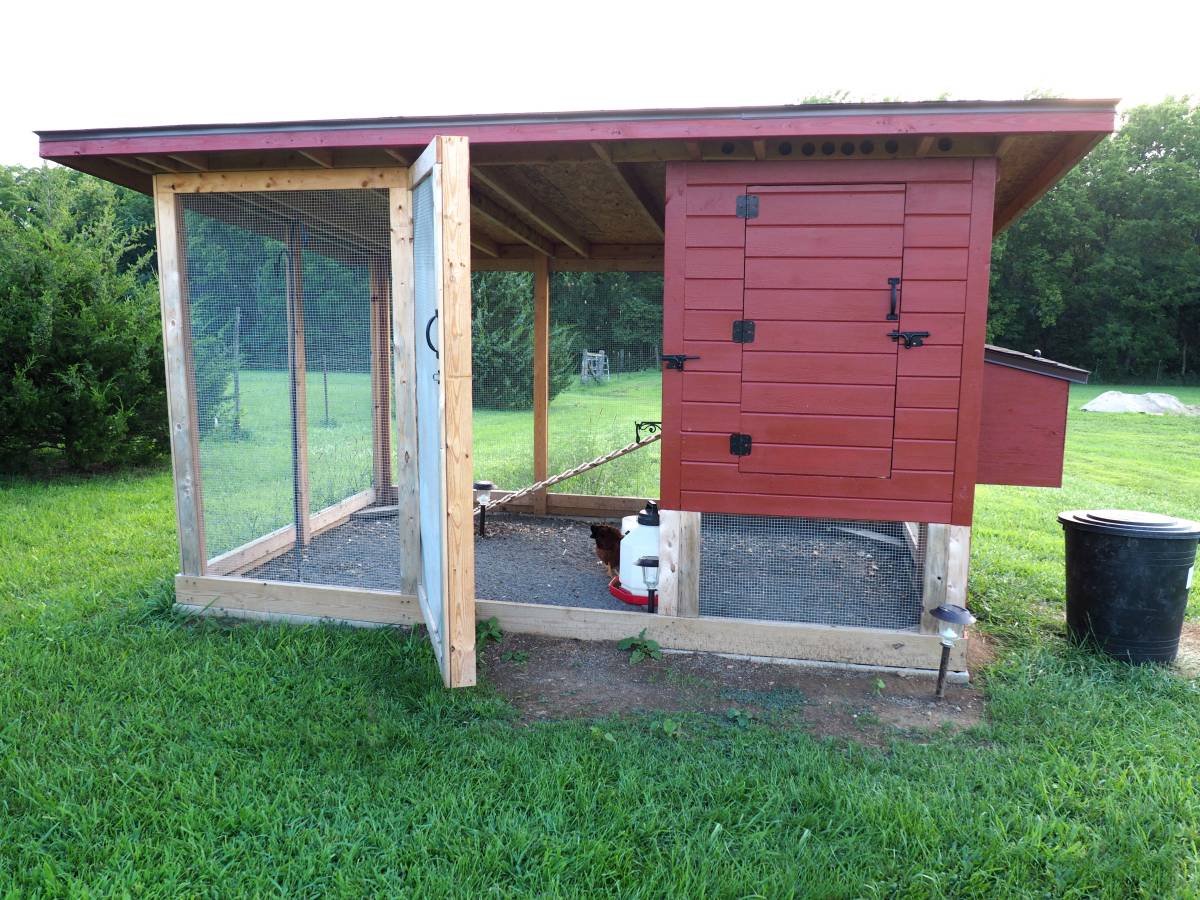
How to fox proof your chicken coop
Read more
How to install curtain rods
Read more

Best blue-collar jobs on Airtasker
Read more


Related price guides
How much does treadmill repair cost?
Read more

How much does clock repair cost?
Read more

How much does hot tub repair cost?
Read more

How much do roman blinds cost?
Read more

How much does a sunroom cost?
Read more

How much does shed roof repair cost?
Read more

How much does signage cost?
Read more

How much does window repair cost?
Read more

How much do chainsaw services cost?
Read more

What are average handyman prices?
Read more