6 Step Process to build your DIY deck
Get deck building quotes nowLast Updated on
Building a deck takes some work, but the result is worth it. A deck extends your living space to the outdoors and improves the value of your property. Building a deck is not a job for amateurs, but if you have time and a willingness to learn, you may be able to DIY.
So, where do you start if you decide to do it yourself?
All you need is the right materials (timber or composite), tools for the job and most importantly, the right plan.
Even if you have zero deck-building experience, the following six steps will guide you through building a functional and robust deck for your backyard.
Why You Should Consider Building Your Deck
Before we show you the best way to build a deck, it’s important to know the benefits of a DIY deck building project.
The main reason you should consider to build your deck is the economic benefit. Hiring a deck building professional is not cheap, and you can pay hundreds or thousands of dollars depending on the material used, the size of the deck or your preferences.
But if you decide to DIY, you will spend less money on the deck.
If you’re not willing to get your hands dirty, or the job is too much for you, make sure you hire a professional who has the skills to build the perfect deck. Check out our experienced deck installers and choose your preferred tasker right away to transform your outdoor area into an entertainment space.
Step 1: The Preliminary Steps
Before you buy the building materials and tools, you need to get approval from the council to build a deck. Your local council will tell you whether you need a building permit or not.
Local and state regulations vary in Australia, but in most cases, the height and size of your deck determine whether you need the permit.
Some councils require the homeowner to have building permits for any home improvement project.
You may also be required to take an owner builder course, but this usually depends on the size of the project. If it’s a small deck that is close to the ground level, the local council won’t ask you to take the course and approval will be easy.
Take some time to learn the Building Code Australia (BCA) standards for decks.
Once you determine the area where you want your deck to go, check for water pipes, underground cables and any other obstacle that might get in your way.
Step 2: Create a Plan
Planning is the most important step when building a deck, and if you get this part right, your deck building project is going to be a walk in the park.
You need to understand that a deck has several parts and each one has to be installed in the right way. The main components of a deck are:
Posts
Decking boards
Bearers
Joists
If you’re building an elevated deck, you’ll need to install a handrail and stairs for safety purposes.
When creating the deck plan, mark the area with stakes or paint. This process of setting out the site gives you the right dimensions to make a rectangle or square deck, or the shape of your choice.
Establish the location of the deck and mark out the dimensions with a pencil. You can create a horizontal or vertical deck by placing timber stakes at every corner and wrapping a string after each stake.
Mark the area where you’ll install the posts. You can choose either timber or concrete posts.
If you go for timber posts, check whether they are treated and suitable for ground contact. Also, remember that you may need to coat the posts to add an extra layer of protection against pests.
Once you complete marking off the area, count the number of posts that you need. Create a drawing while considering the height of the posts. The drawing makes it easy for you to know how many decking boards, bearers, and joists you need.
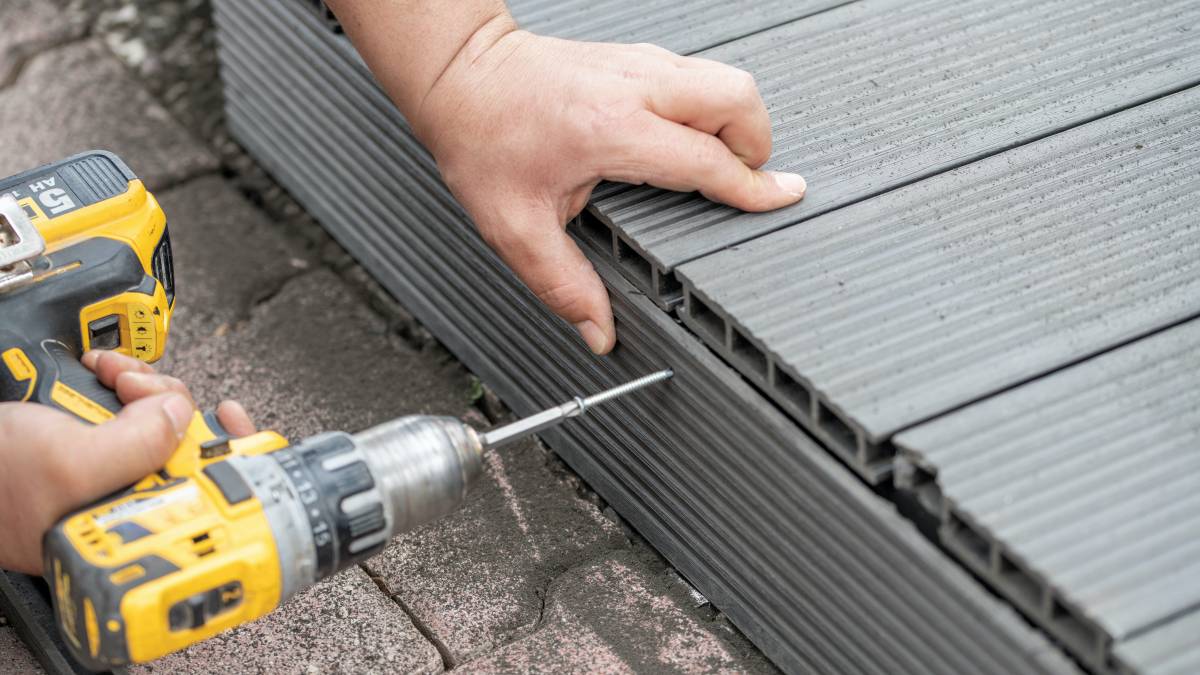
When making the complete list of deck building materials, don’t forget the nails, the screws, and concrete. Using power tools like impact drivers, impact drills, and brad or finish nailers can make the project faster and easier.
Make sure that you have everything that you need when building the deck to avoid unnecessary trips to the hardware store on building day.
Don’t forget to carry the plan when visiting the local hardware store; your local supplier may help you choose the right materials.
Step 3: Building the Deck
You’ll need the following tools to build a deck:
Safety goggles
Carpenter’s pencil
Square
Power drill
Shovel
Nail gun
Circular saw
Sawhorses
Spirit level
Tape measure
Dig the holes in the marked areas and keep them in line. Pour the concrete into each hole and let it dry. The cement acts as a footing for the posts and once it dries up, install the posts. Keep the posts plumb as you pour concrete around them.
If you didn't trim the posts, wait until the concrete is dry before you trim them.
After setting the posts, mark where you’ll place the bearers. Use the spirit level to keep the bearers level. This method makes it easy for you to notch the posts.
After you notch the posts, secure the bearers using two bolts on every post.
Now you’re ready for the lay deck process.
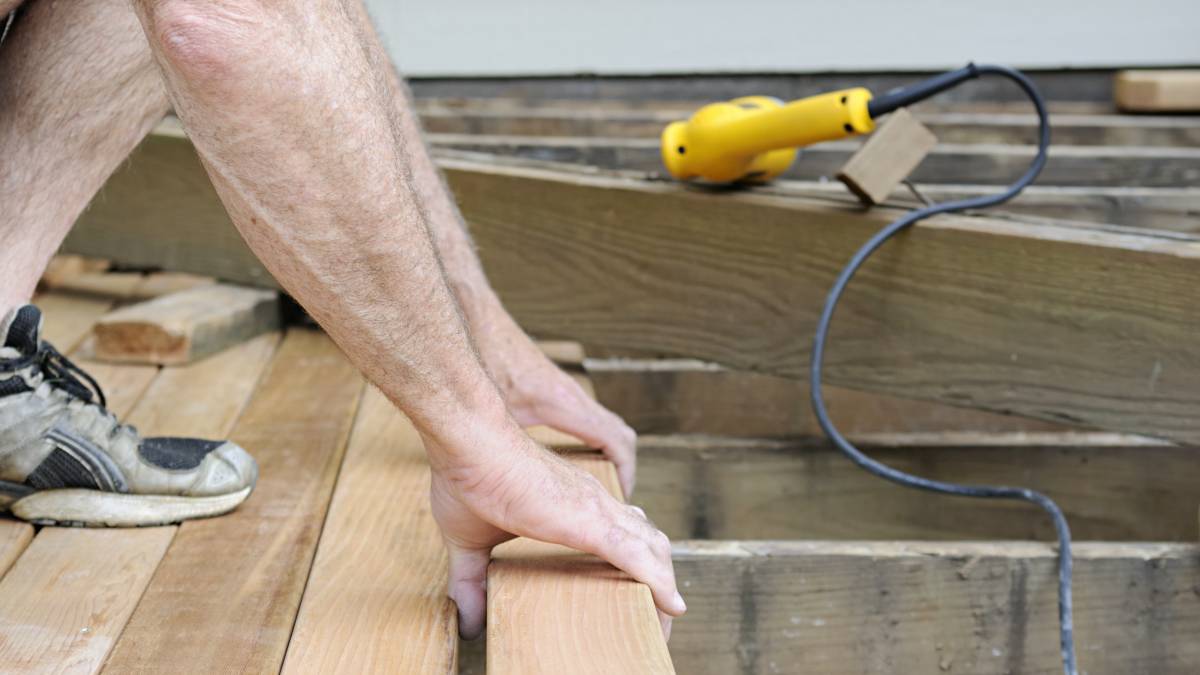
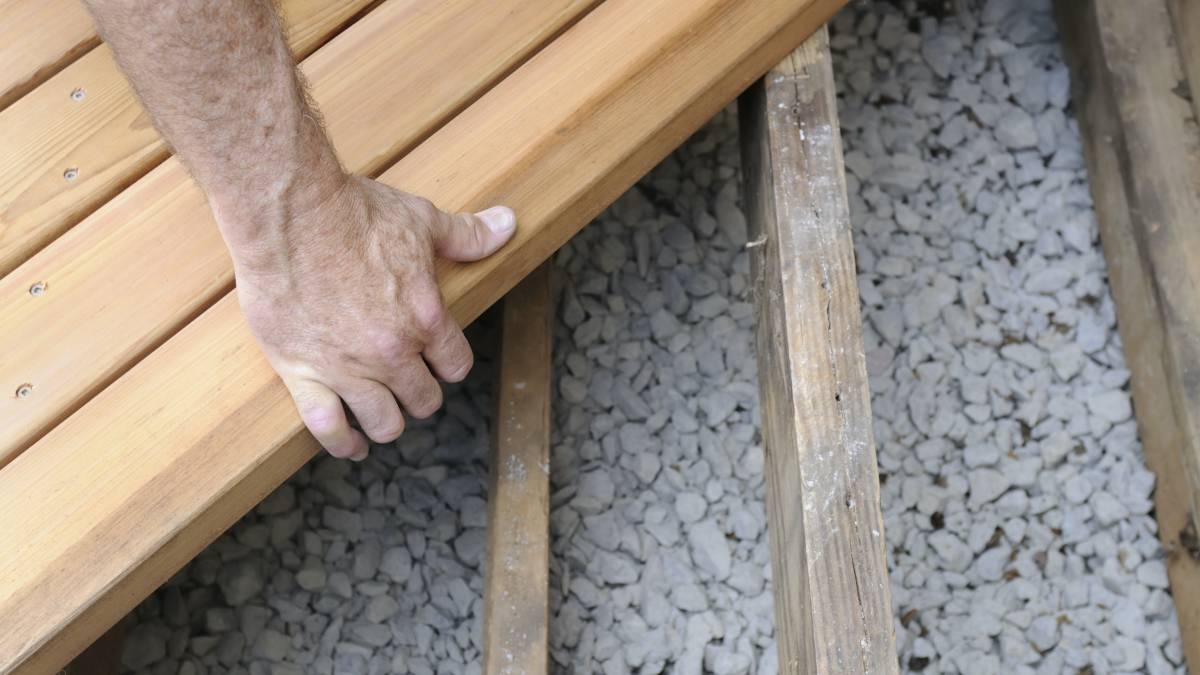
Leave a space between the decking boards as you nail them in place. Once you’re done, countersink the nails and trim the boards for a finished look.
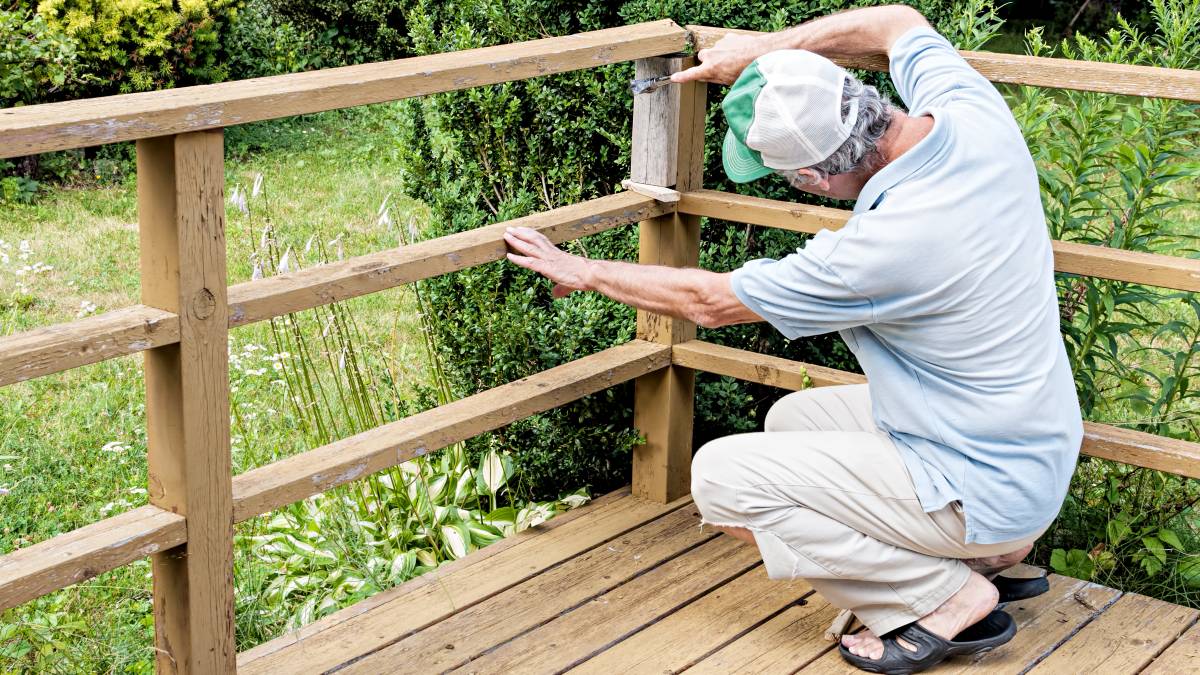
Creating the handrails and stairs is not as easy as building a deck, but you can still DIY.
Step 4: Seal the Deck
If you chose composite as your material for building a deck, you don’t have to seal it, and you can skip this step.
You have to seal a timber deck to protect it from the natural elements.
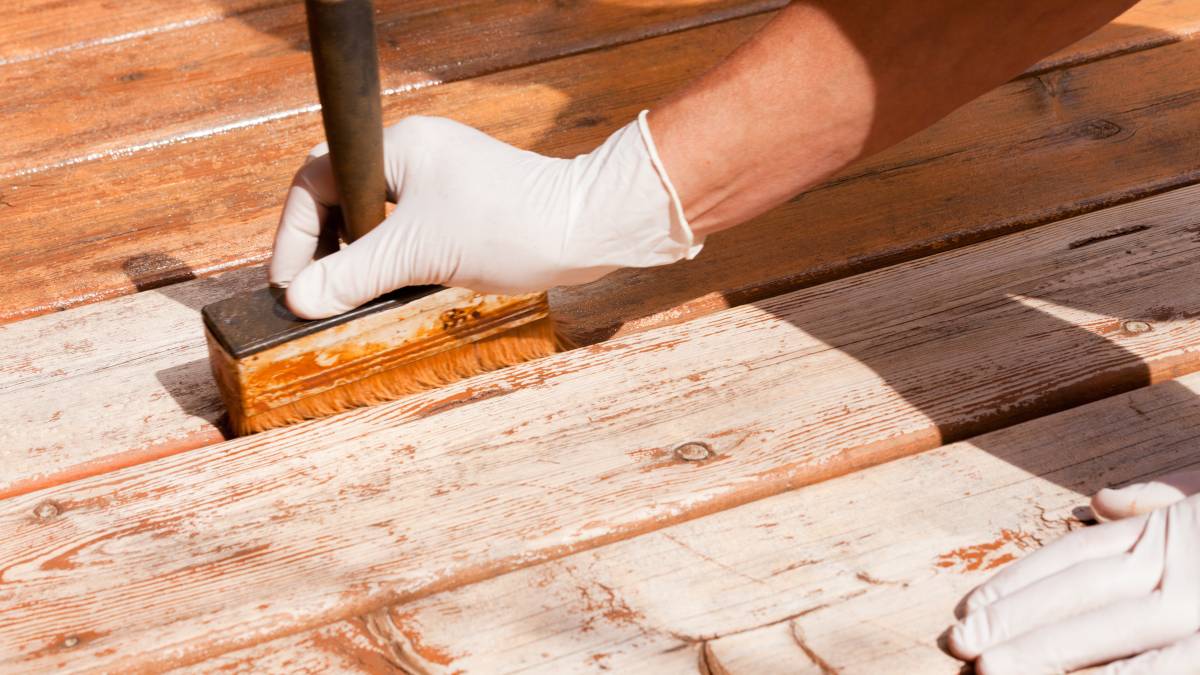
Seal your timber deck using timber decking oil and re-apply it every six to twelve months.
Step 5: Check Structural Intelligence
To be on the safe side, it's best to get someone with deck building experience to check if your DIY project is structurally sound.
The smallest error can lead to an unstable deck, so have your deck checked and approved.
Step 6: Make Some Final Adjustments
If your deck has the right measurements and is level and stable, then it’s time to invite your friends and family for some outdoor BBQ, but wait! There are a few things left.
Go through the deck and countersink all the nails as you apply filler to every hole.
If you chose treated pine boards, apply a strain first before the sealer. Add a second coat of sealer, and once it dries up, you can call your friends and family for a deck party.
DIY Deck FAQs
There are many factors that influence the design of your deck, and they include: The intended use of the deck. The purpose of the deck whether relaxing, entertainment, pool or family dining affects the design. Available space. Your deck should not take over your outdoor space; it should complement it. If you need more space for your deck, you can build it around obstacles, or you can use a multi-deck system. Unless you have a deck building experience, leave this one to the professionals and only work with what you got. Open or shaded. If the deck is around the pool, you must install a shade (a gazebo or pergola) to keep that harsh Australian sun away. Safety. Familiarise yourself with the building codes relating to safety when building a deck in your backyard.
You can buy a deck kit if you still want to do it yourself. These kits have all the fixings you need and a complete set of instructions to simplify the process for the less handy. Follow the instructions and check with the local council to make sure that the kit conforms to the Australian standards. Which is the best material for an outdoor deck, timber or composite? Simply put, timber and composite have unique, strong points that make them worthy contenders. Many prefer to use timber because it’s been used for a long time and has greater aesthetic appeal. But timber is expensive and is prone to insect, sun, water and rot damage if not adequately treated. Composite is a cheaper alternative and is resistant to the elements that damage timber. It requires less maintenance but cannot match the beauty of timber.
Yes. Your local council will disapprove your project if it infringes on the privacy of your neighbours or the deck is too high from the ground. Your deck should be either 600mm or 900mm.
Find decking contractors, fast
Find a decking contractor
Related guides
Related price guides
