- Home/
- Guides/
- Window Screen Installation/
- How to install a window screen
No more gaps: A no-fuss guide to window screen installation
Everything you need to keep your home breezy and bug-free
Find a window screen installerLast Updated on

Written by Angela A.
Staff Writer
Read more about our contributor
| Skill level | Estimated completion time | Estimated cost |
|---|---|---|
| Beginner to intermediate | 1 to 2 hours per screen | Starts at $60 per window (materials only) |
Key Facts
- A properly installed window screen improves ventilation, keeps pests out, and enhances energy efficiency.
- Frameless screens can be installed using Velcro, magnets, or adhesive strips.
- Using the right spline size prevents sagging, wrinkles, or warping.
Did you know that window screens do more than keep bugs out? They can also improve energy efficiency and indoor comfort.
Studies from the U.S. Department of Energy show that well-chosen window coverings, including screens, can reduce heat loss by up to 40% in winter and block up to 60% of unwanted solar heat in summer. However, not all screens are created equal. Some can unintentionally trap heat inside, leading to higher cooling costs.
If you’re wondering how to install a window screen to get the best balance of airflow and insulation, you’re in the right place. This guide will walk you through a simple window screen installation process, so you can choose the right materials for maximum ventilation, pest control, and energy savings.
4 reasons why you need to install a window screen
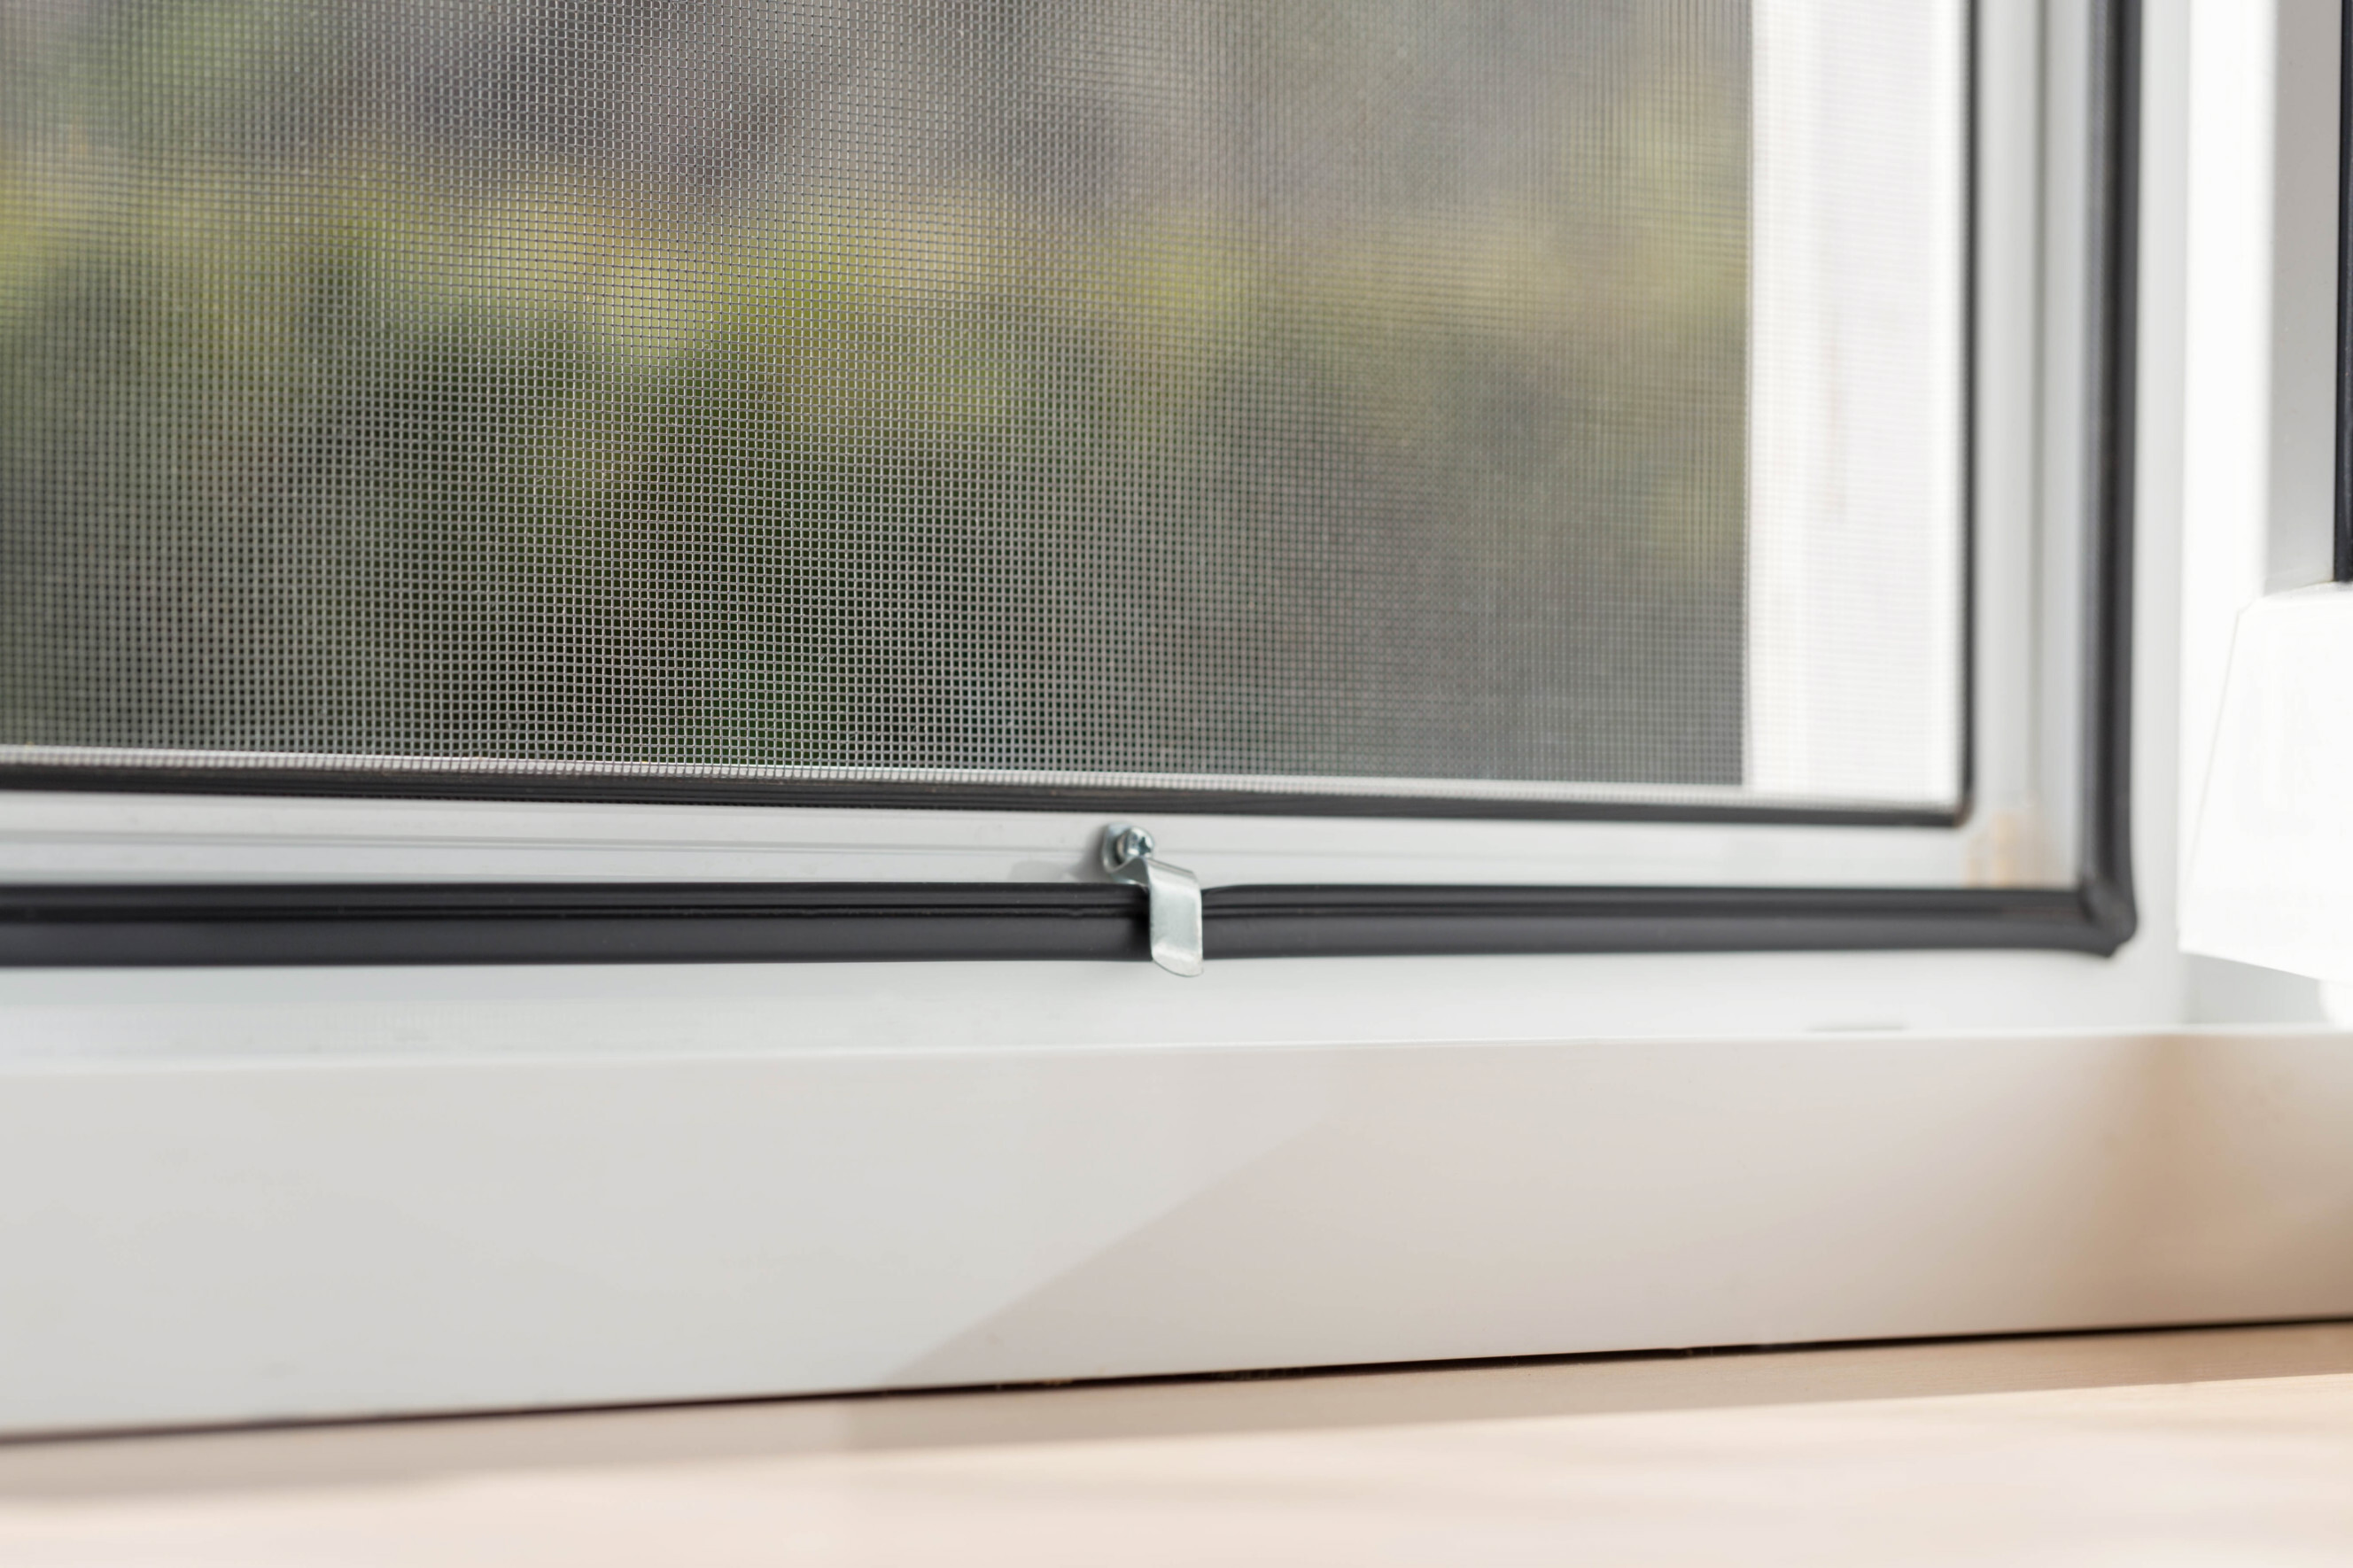
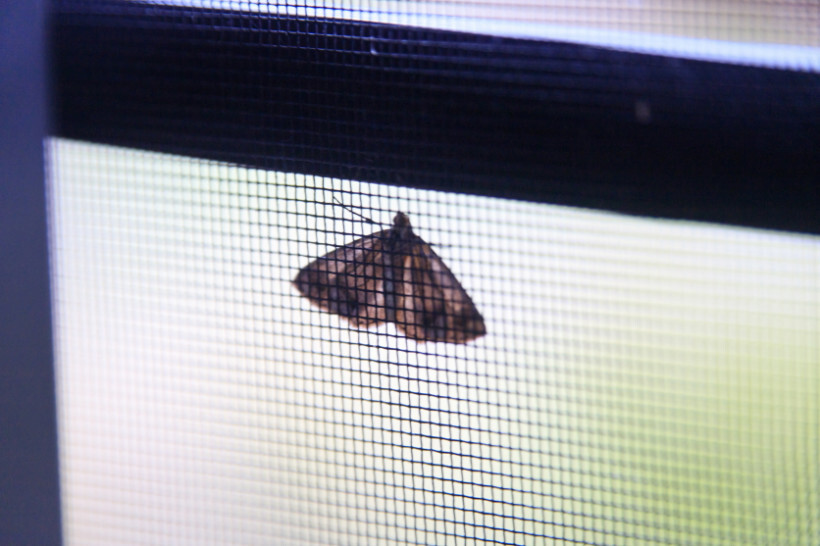 A moth on a new window screen. (Source: iStock)
Putting in window screens doesn’t just keep bugs out. It’s a simple upgrade that makes your home more comfortable, energy-efficient, and even easier to maintain. If you’re wondering if replacing a window screen is worth the DIY effort, here are four solid reasons why:
Keeps insects and debris out while letting fresh air in. No more swatting at mosquitoes or dealing with flies in the kitchen. Screens let you open your windows for fresh air without inviting in pests, dust, or pollen.
Improves indoor air quality. Cleaner air, fewer allergens—what’s not to love? Screens help block dirt and pollutants before they enter your home, which makes it easier to breathe, especially for anyone with allergies or asthma.
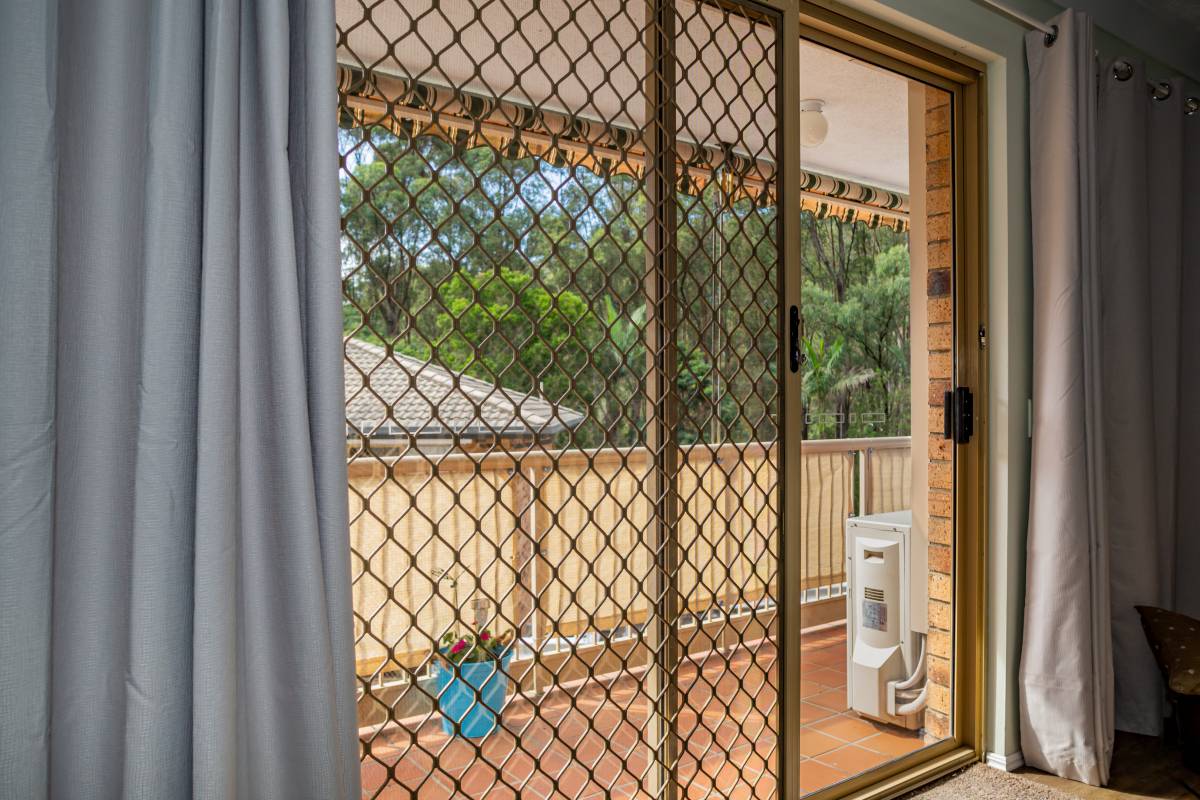
Protects windows and adds privacy. Screens keep your windows cleaner by blocking leaves, bird droppings, and grime. Plus, darker or finer mesh screens make it harder for people outside to see in, so you get privacy without shutting out natural light.
Increases energy efficiency. A good screen can help reduce heat buildup, so your home stays cooler without cranking up the AC. That means lower energy bills and a more eco-friendly way to stay comfortable year-round.
Tools and materials you’ll need for window screen installation
 Tools prepared for window screen installation. (Source: iStock)
Installing a window screen might seem like a simple DIY project, but having the right tools and materials still makes all the difference. Whether you’re replacing an old screen or building a new one from scratch, here’s everything you’ll need to get the job done right.
Tools to get from the hardware store:
Measuring tape to get precise dimensions for the screen mesh and frame
Spline roller to press the spline into the frame groove and secure the screen
Utility knife to cut the screen mesh to size and trim excess screen
Scissors for rough cuts before fine-tuning with a utility knife
Flathead screwdriver to pry out the old spline and remove the existing screen
Hacksaw to cut aluminum frame pieces if you’re building a new frame
Marking pen or pencil to mark measurements on the frame or mesh before cutting
Needed materials:
Screen mesh to keep bugs out while allowing airflow
Spline (rubber cord) to hold the screen mesh in place inside the frame’s groove
Screen frame pieces made of aluminum or plastic for holding the mesh in place
Screen frame corners or connectors to join frame pieces together securely
Tension springs (for framed screens) to help hold the screen securely in place within the window frame
Adhesive strips or Velcro (for frameless screens) that attach directly to the window frame
Retention hardware (such as turn buttons, screen frame hangers, or wire loop latches) to secure the screen to the window
Heavy-duty tape to temporarily hold the screen mesh in place during installation
Safety gear (optional but recommended):
Work gloves to protect your hands from sharp edges on aluminum screen frames and cutting tools
Safety goggles to shield your eyes from debris while cutting frames or trimming screens
Dust mask for cutting metal frames to prevent inhalation of aluminum dust
Step-by-step guide: How to install window screens
A properly installed screen keeps bugs out and adds privacy instantly. But how do you install window screens, anyway? The next steps will show you exactly how.
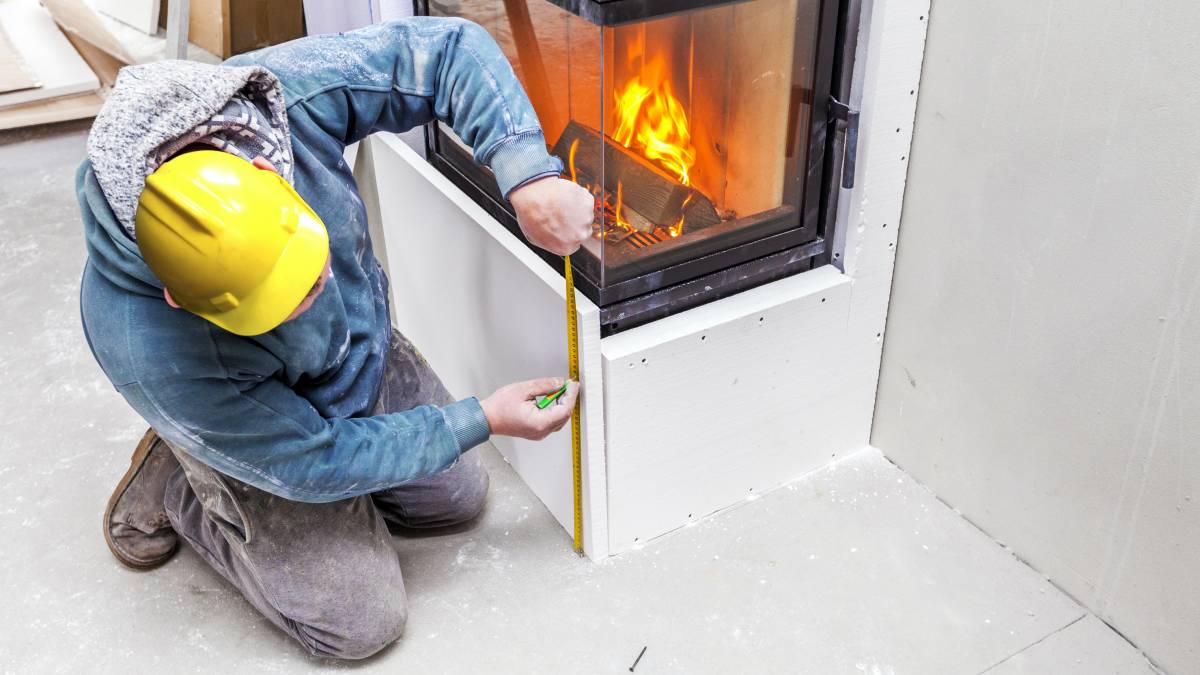
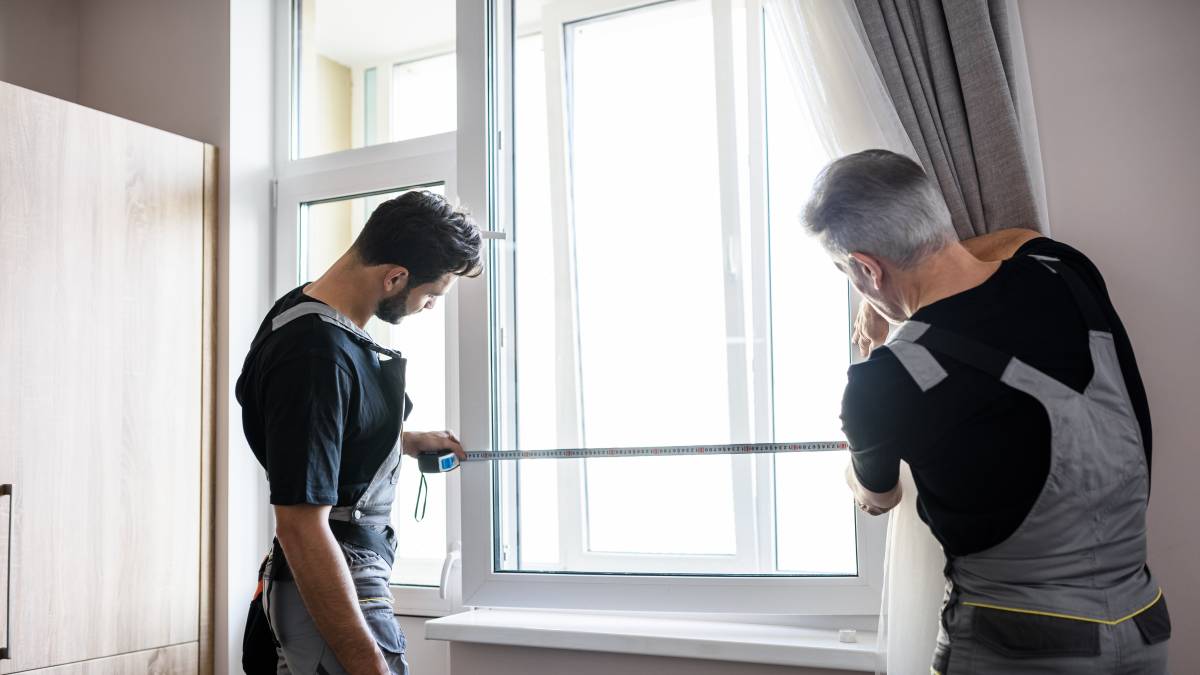
Step 1: Measure your window frame accurately
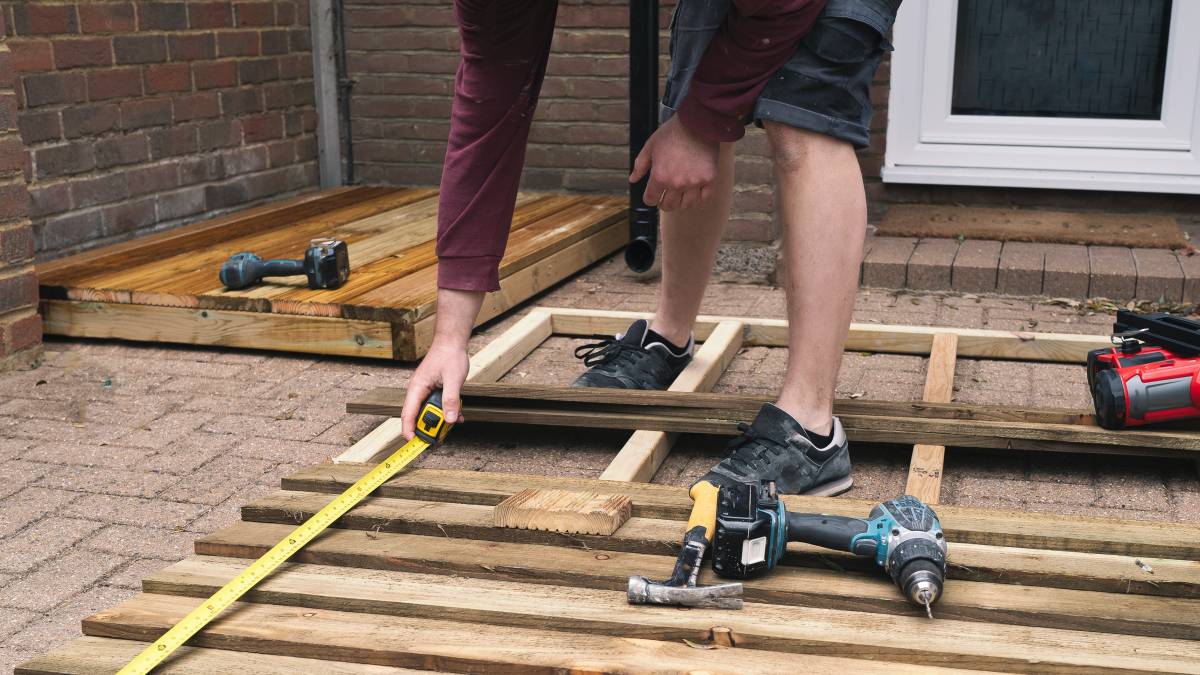
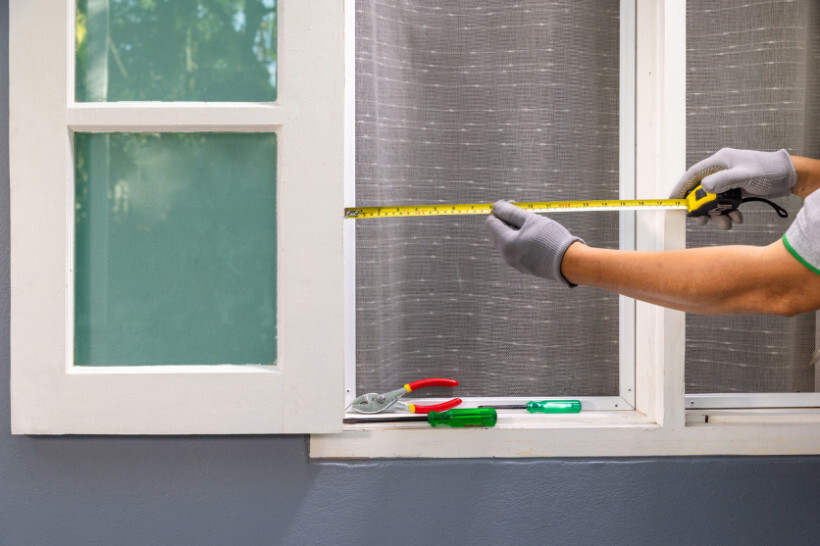
 Measuring a window in preparation for screen installation. (Source: iStock)
Getting the right fit starts with precise measurements. Even a small miscalculation can leave you with a screen that’s too loose or too tight. Before cutting anything, grab a measuring tape and follow these steps to ensure a perfect fit.
Here’s how to measure for a replacement window screen (or even a new one!):
Start with the width. Measure from side jamb to side jamb at the top, middle, and bottom of the window opening. Write down the smallest measurement to avoid gaps.
Measure from the top of the window frame to the bottom sill at the left, middle, and right sides. Again, record the smallest number for accuracy.
If you’re replacing a screen, measure the screen track’s depth to make sure the new screen isn’t too thick or too thin.
- Window frames can be slightly uneven, so always measure at three points.
- Don’t include the decorative trim. Measure only the actual window opening.
- Leave ⅛ inch on all sides to make it easier for you to fit your new screen.
Step 2: Gather your materials and tools
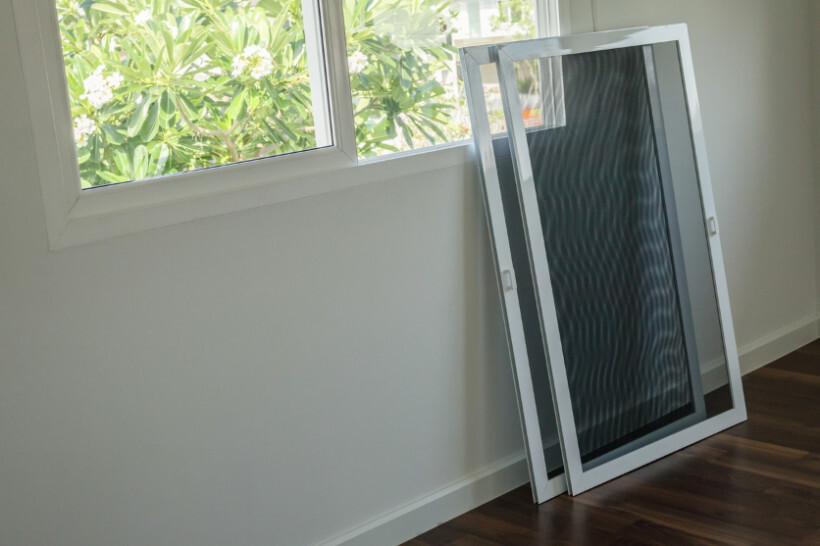 Freestanding window screens prepared for mounting. (Source: iStock)
Before you start assembling, make sure you’ve got the right screen type and all the necessary tools. The screen material you choose affects durability, visibility, and airflow, so pick one that suits your needs. Here’s a quick breakdown to help you decide:
Fiberglass: Easy to install, rust-resistant, and doesn’t crease
Aluminum: More durable but can crease if not handled properly
Polyester/Pet-resistant mesh: Stronger than fiberglass, ideal for homes with pets
Solar screens: Block UV rays and reduce heat gain while still allowing visibility
Fine-Mesh Screens: Keeps out pollen and tiny insects like gnats and sandflies
Studies show that screens with a tighter weave can trap heat indoors and raise temperatures by up to 7.7°C during peak heat hours. For better airflow and lower cooling costs in hotter areas, choose fiberglass or high-porosity screens (35%-40% open space).
Once you’ve chosen the screen type for your needs, gather all the other essential tools, correct frame components, and hardware.
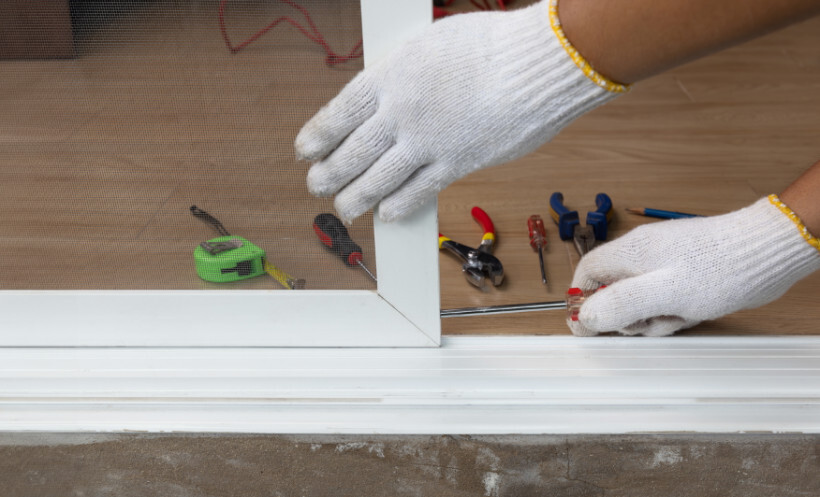
Step 3: Assemble or prepare the window frame
 Measuring a window frame for screen installation. (Source: iStock)
If you’re only replacing the mesh, skip this step. Otherwise, you’ll need to assemble a new frame before installing the screen. Whether you're using a screen kit or cutting your own frame, follow these steps to get it right.
If you’re using a screen frame kit:
Follow the manufacturer’s instructions to connect the frame pieces.
Insert plastic or metal corner connectors into the ends of the frame pieces.
Press the frame pieces together firmly to form a secure rectangle.
If you’re cutting your own frame:
Measure and mark the correct lengths on the aluminum screen frame using your window measurements.
Carefully cut the frame pieces with a hacksaw, ensuring straight, even edges.
Insert the corner connectors and press firmly to lock the frame into place.
Before moving on, test fit the frame in the window opening to make sure it sits properly. If it’s too tight or loose, adjust the measurements before installing the mesh.
At some point, you’ll need to remove the screen for cleaning, and installing spring frame clips can make that easier. Simply slide a clip into one top corner of the frame to secure it in place. You only need to install clips on one side of the frame, so you can pop the screen out effortlessly when needed.
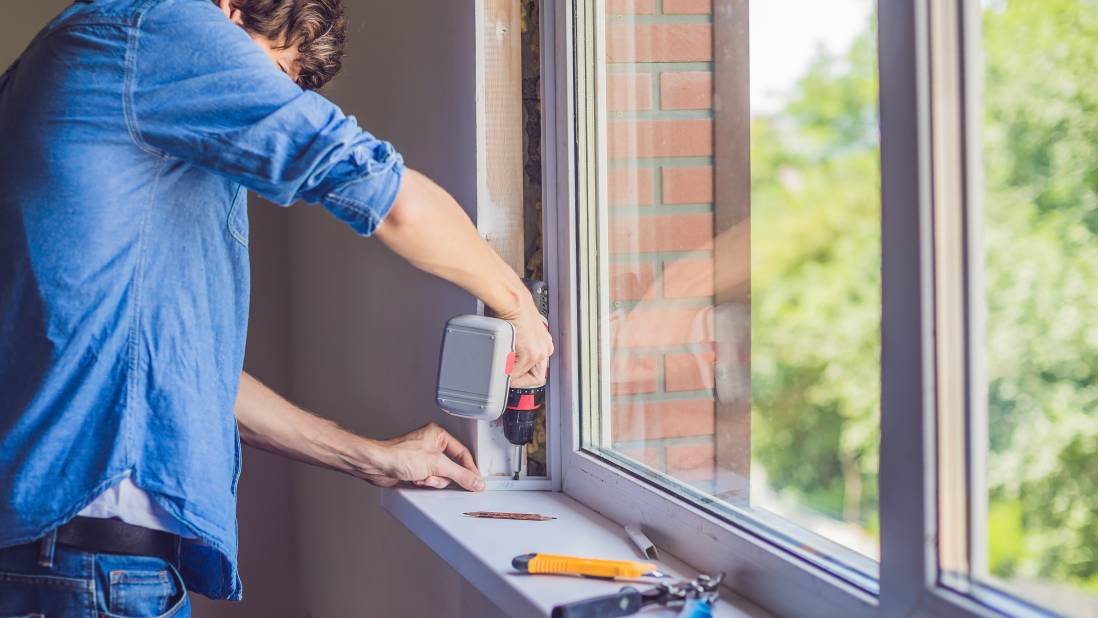
Step 4: Attach the screen mesh to the frame
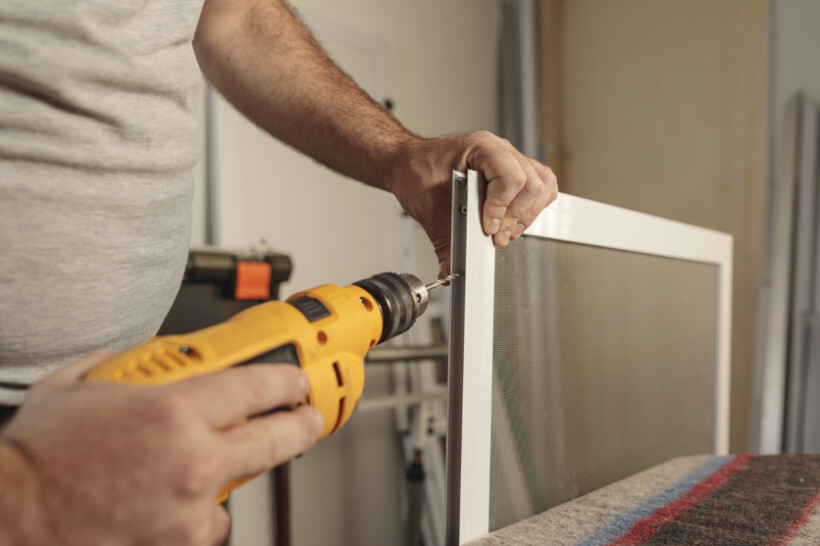 Drilling a window screen frame in preparation for installing. (Source: iStock)
Now that the frame is ready, it’s time to attach the screen mesh. Follow these steps to get it right the first time.
How to attach the screen mesh:
Place the frame on a flat surface with the groove side facing up.
Lay the screen over the frame, leaving 1–2 inches of extra material on all sides.
Use the rounded side of the spline roller to push the mesh into the frame groove.
Start at one corner and use the concave side of the spline roller to press the spline in place. Work your way around, keeping the mesh evenly stretched.
Use a sharp utility knife to cut away extra mesh along the outer edge of the spline.
Tips for preventing wrinkles or sagging:
Apply gentle tension to the mesh while rolling in the spline to avoid slack.
Work on opposite sides first before moving to the remaining edges for even stretching.
Use a slightly smaller spline than the groove to prevent it from popping out.
If you’re wondering whether to install window screen tabs inside or outside, it depends on your window type. Exterior screens usually have tabs on the outside for easy removal, while interior screens often have them on the inside for a flush fit.
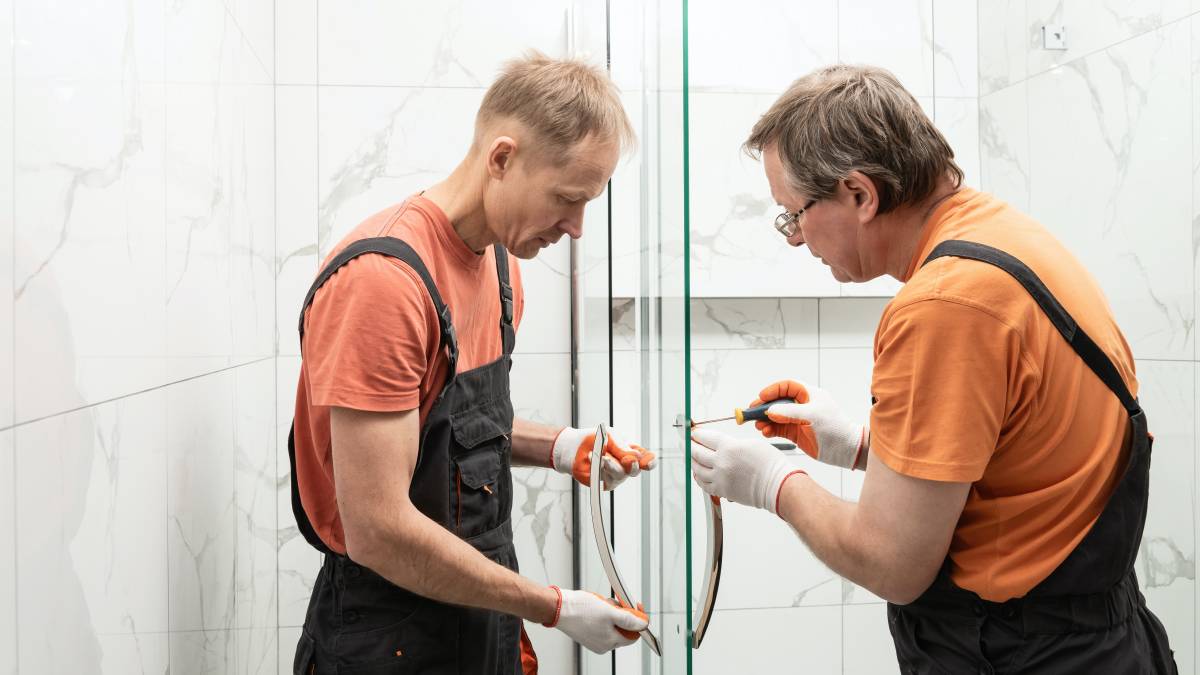
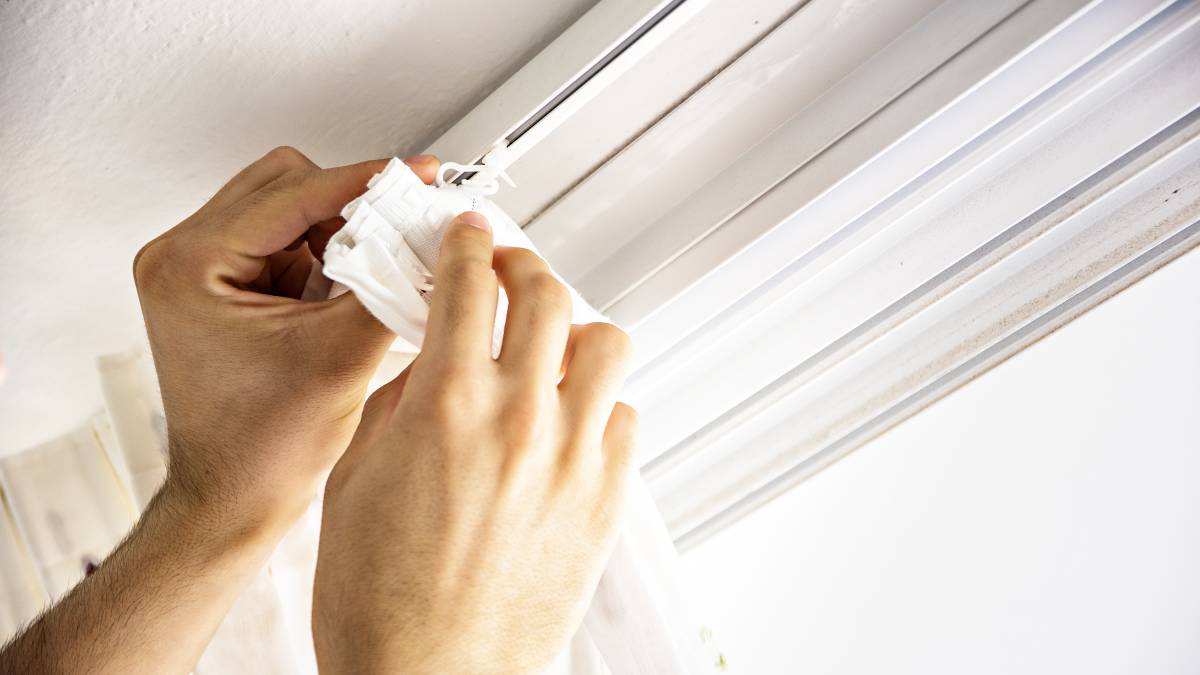
Step 5: Install the screen into the window frame
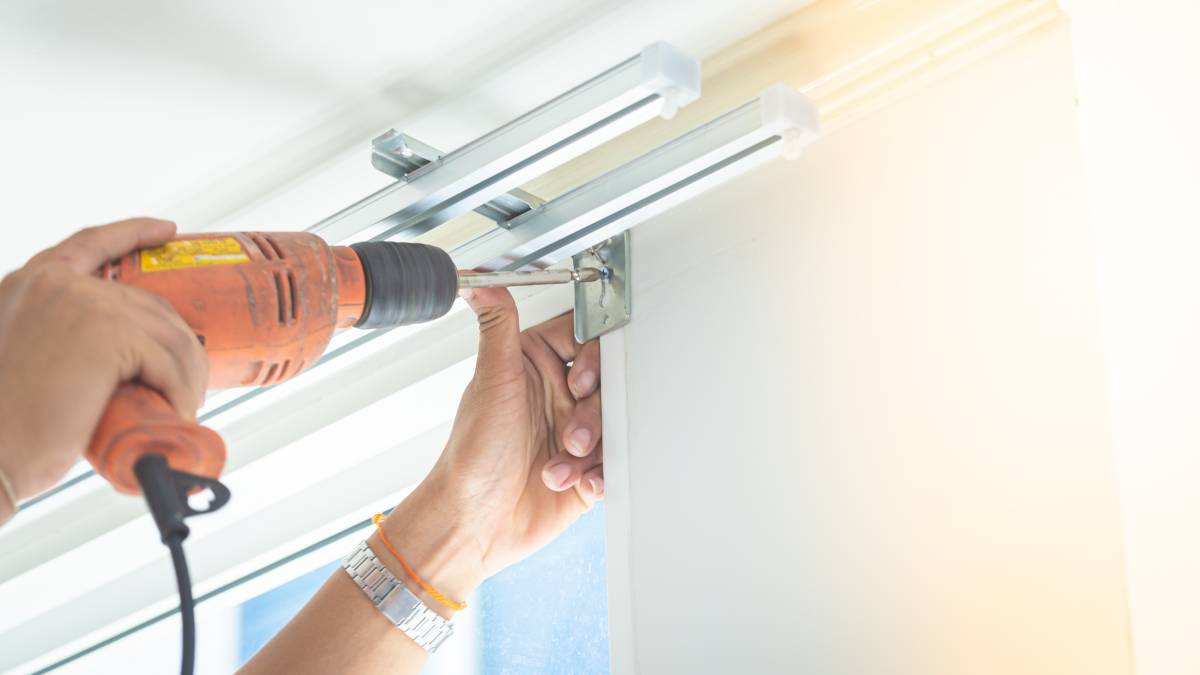
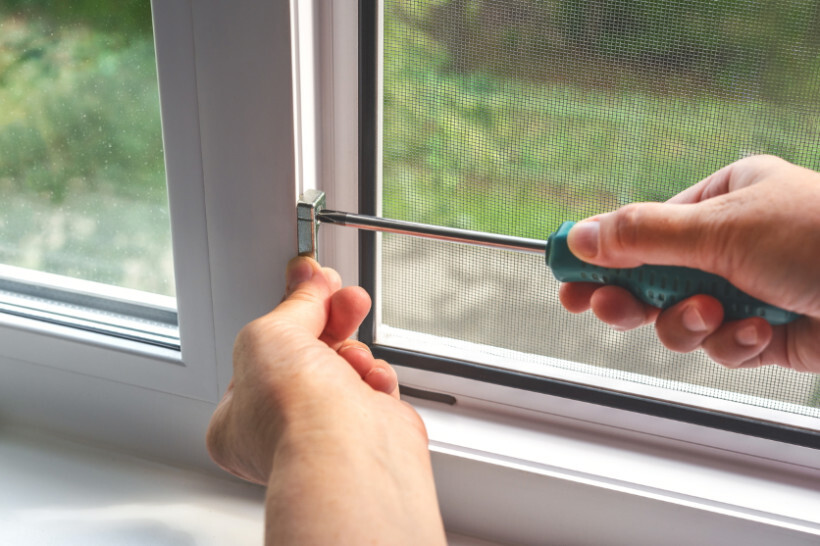 Securing a window screen with a screwdriver. (Source: iStock)
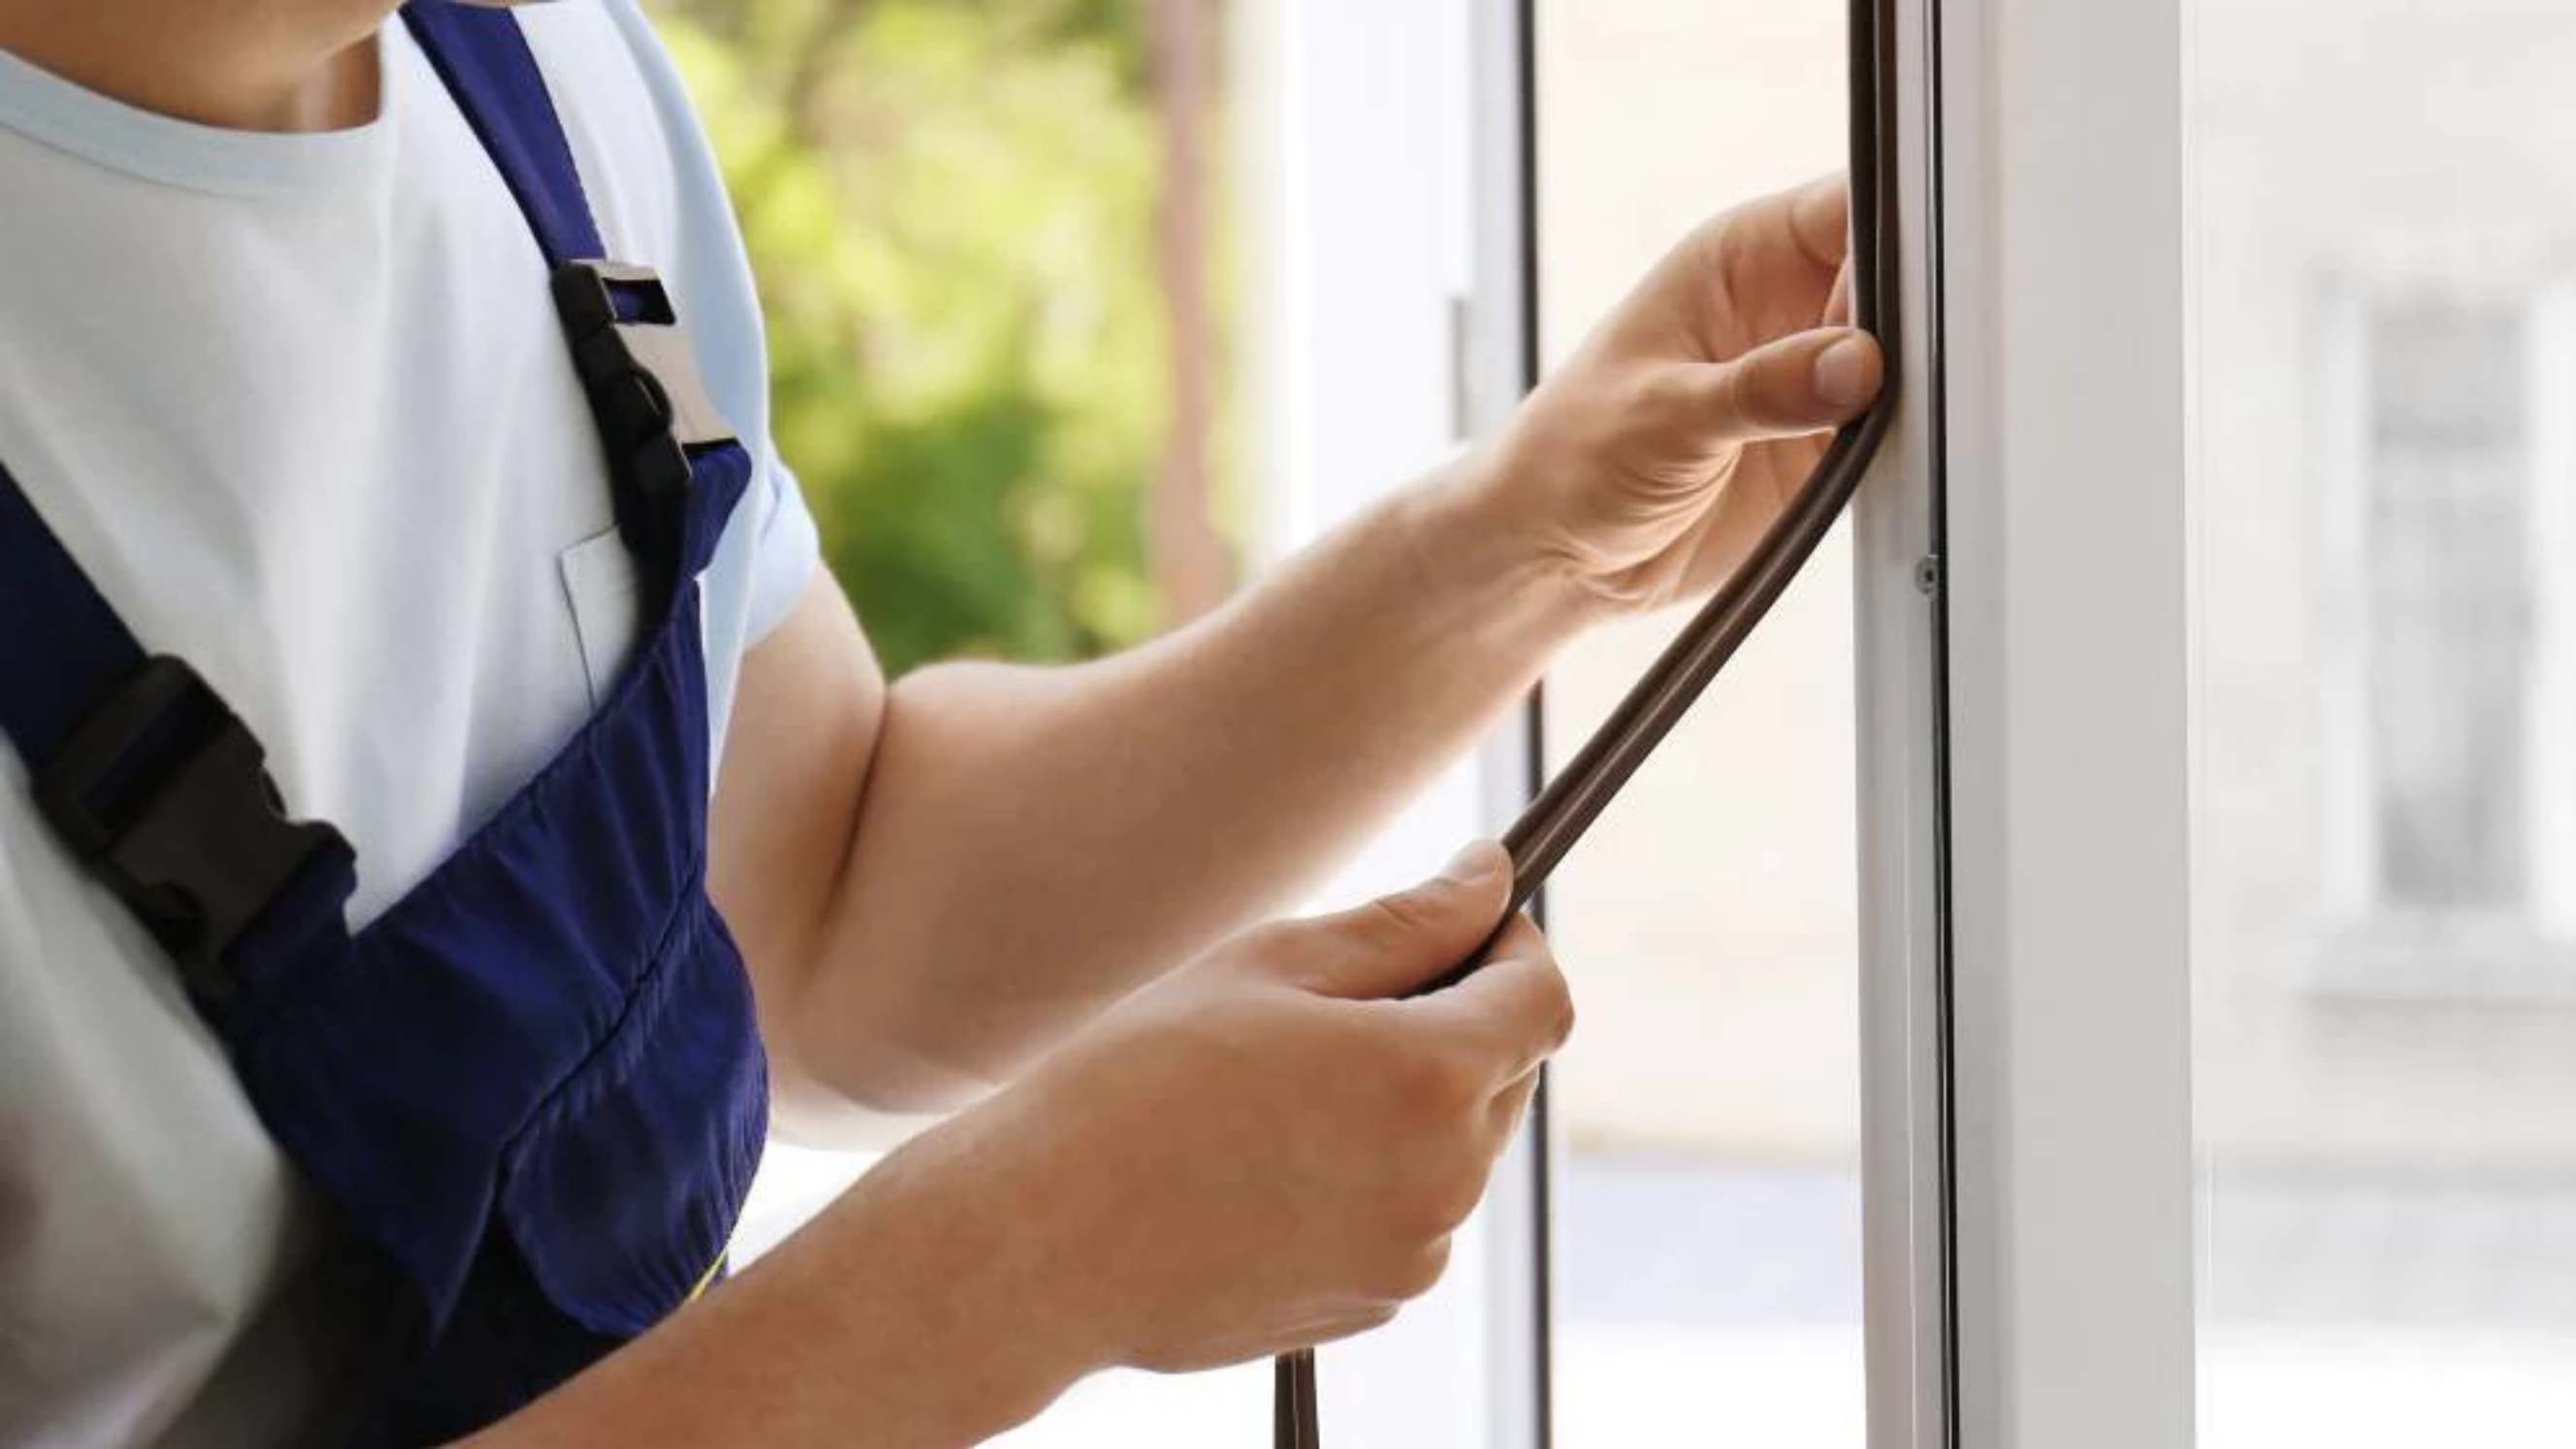
With the screen assembled, it’s time to secure it in place. Depending on your window type, you’ll either slide or snap the screen into position. Make sure it fits snugly to prevent shifting or popping out.
For sliding screens: If your window has tracks, lift the screen into the top track first, then lower it into the bottom track. Adjust it until it sits evenly and moves smoothly.
For snapping screens: Some windows use spring-loaded clips or retention hardware like turn buttons or wire loop latches. Align the screen with the frame and press gently until the clips lock it in place.
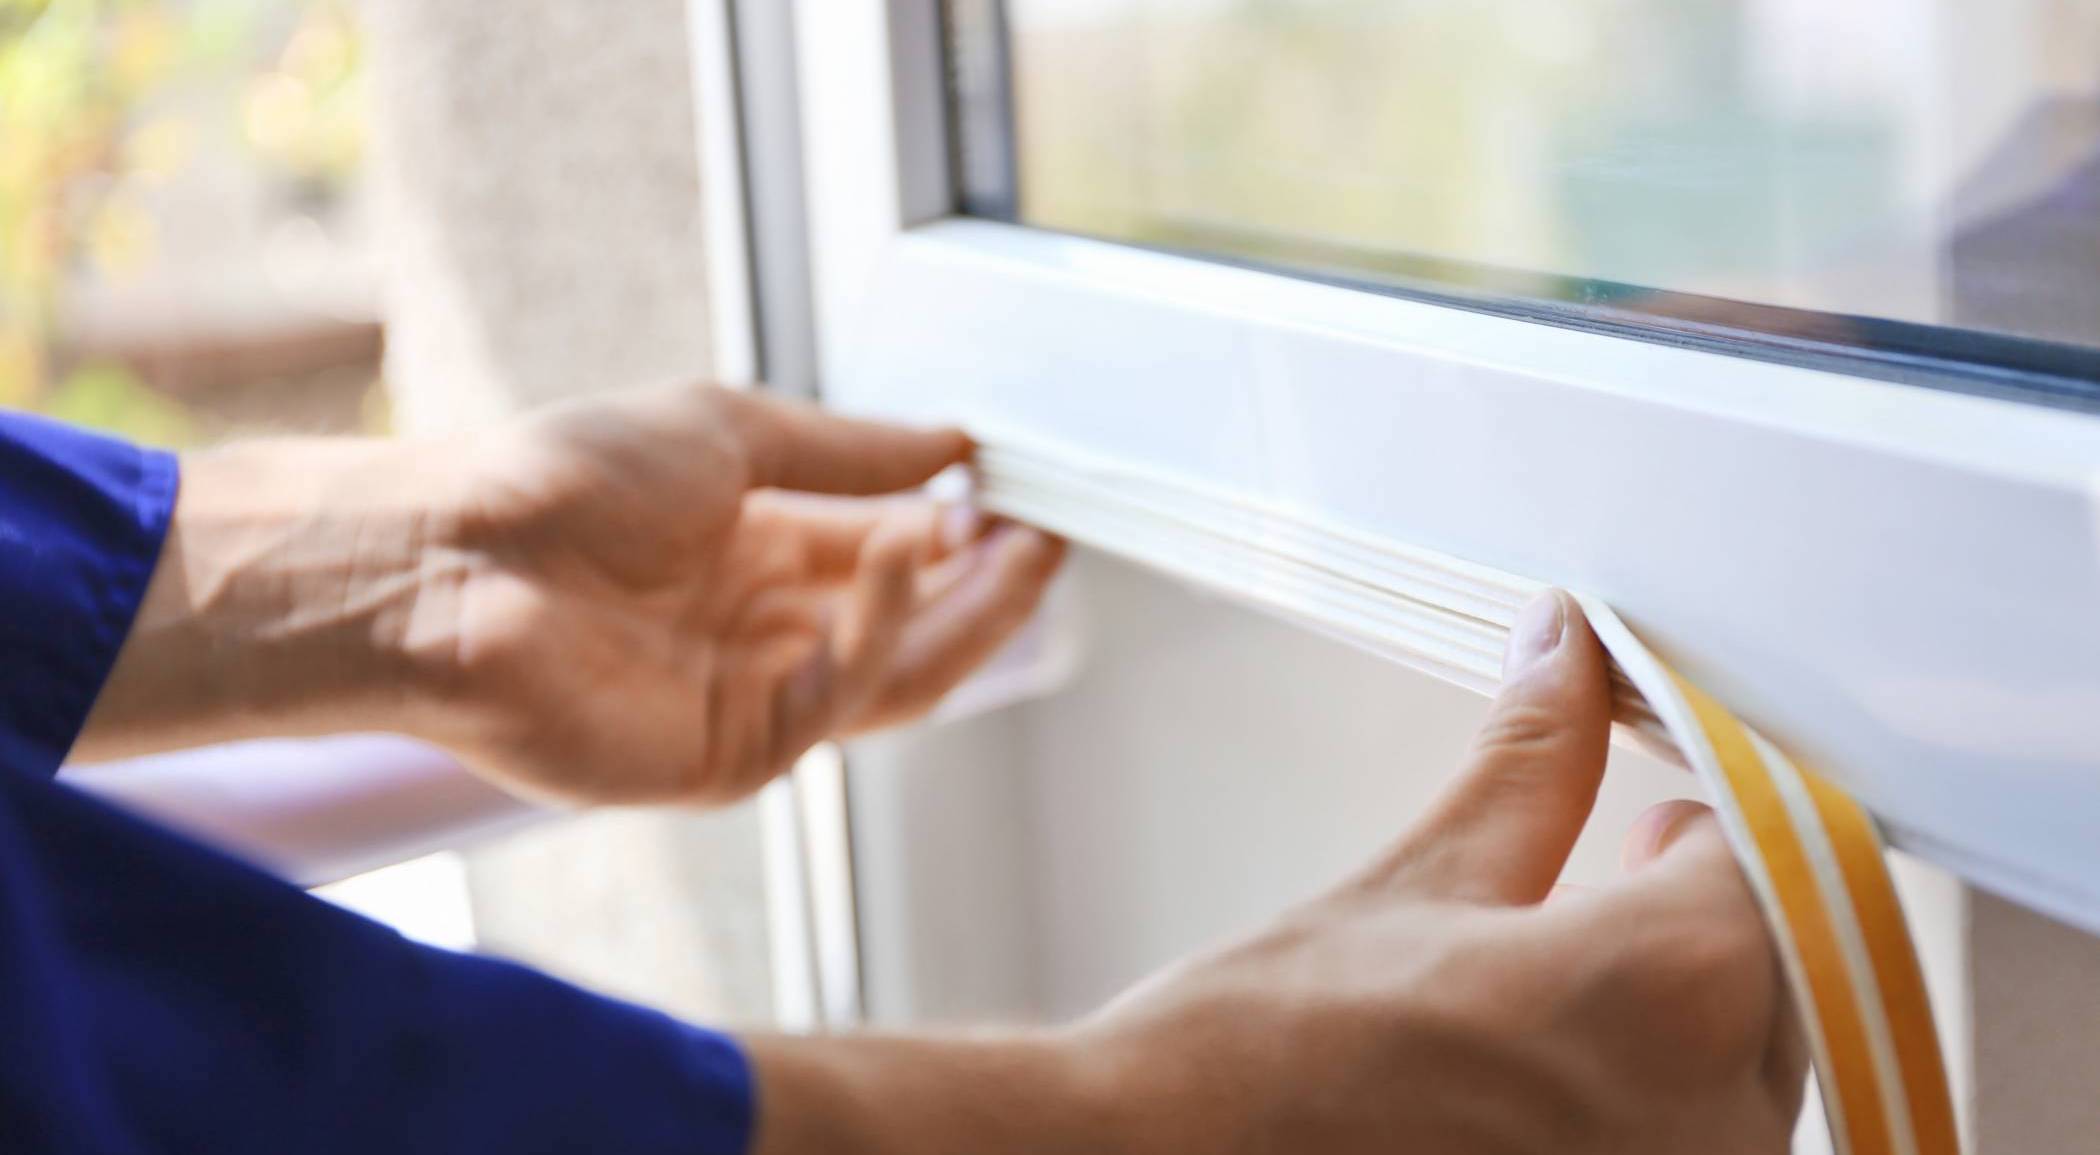
To secure the screen properly, use tension springs or retention clips to hold it tight and prevent shifting. Check for gaps along the edges—if you see light coming through, reposition the screen for a better seal. On the other hand, if you prefer a frameless screen, use Velcro strips, magnets, or adhesive tape.
Not sure how to install window screens with clips? Just align the screen, press it in, and let the clips do the work. Once secured, give it a gentle push to ensure it stays in place.
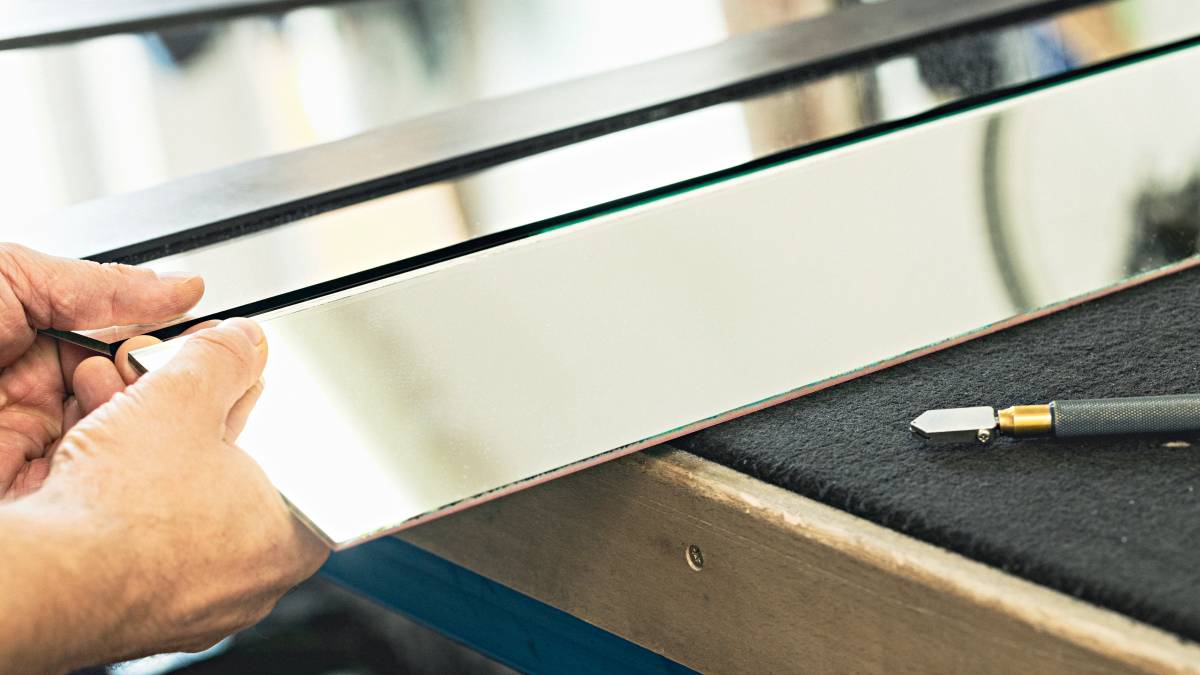
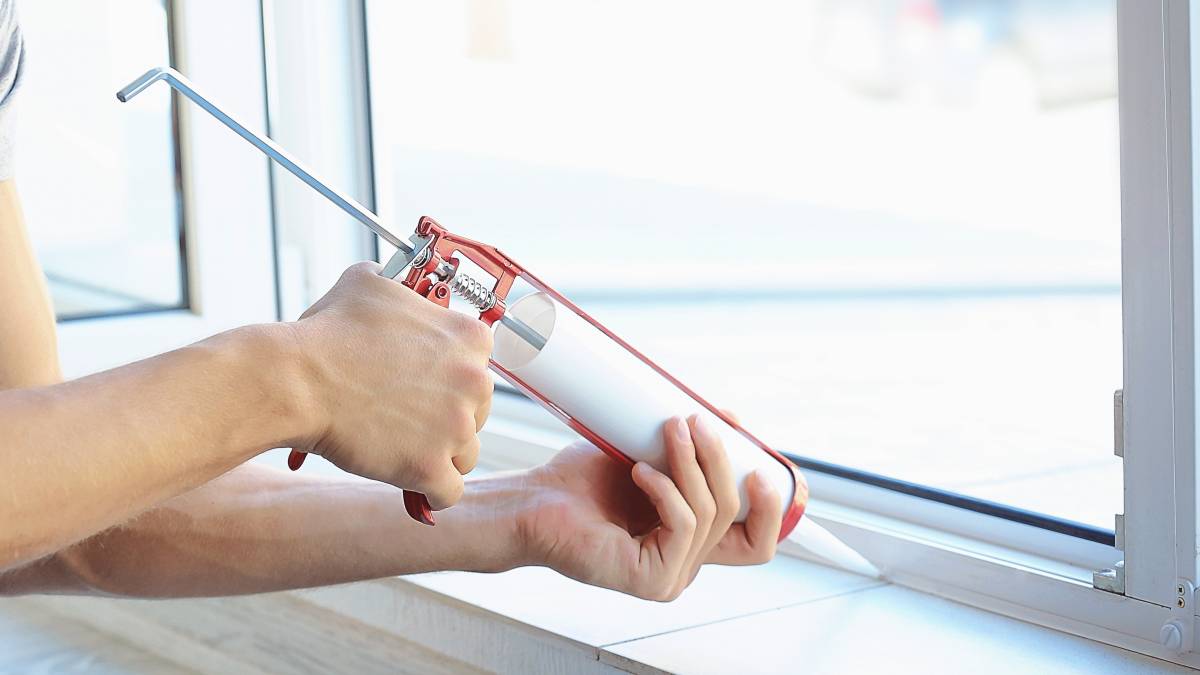
Common mistakes to avoid when installing a window screen
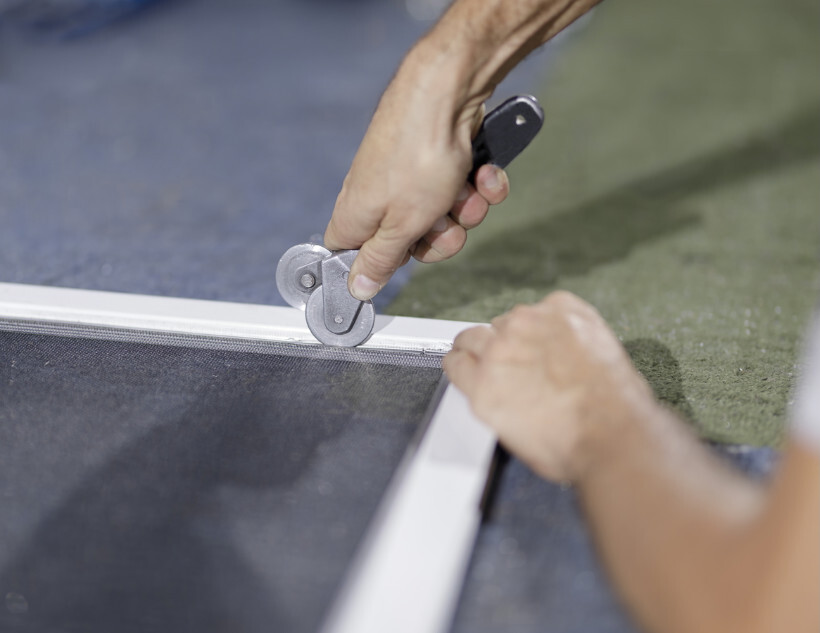 Applying a spline to secure window screen mesh. (Source: iStock)
Even with the right tools and materials, installing replacement window screens can go wrong if you’re not careful. A screen that’s too loose, too tight, or even warped can lead to poor performance and durability issues. Here’s how to avoid these common mistakes:
What to do if the screen is too loose or too tight
A screen that doesn’t fit properly can either sag and detach or warp under too much tension. Here’s how to fix both issues:
If the screen is too loose: Check the spline size—if it’s too small, it won’t grip the mesh properly. Try replacing it with a slightly larger one for better tension. If needed, remove the screen and reinstall it with more stretch before securing the spline.
If the screen is too tight: Overstretching can cause the frame to bow inward or make the screen hard to fit. Use a slightly smaller spline to reduce tension, or reinstall the mesh with less stretching. If the frame won’t slide into place, check for debris in the tracks or trim 1/16 inch off the frame with a hacksaw.
Fixing a warped screen frame
A warped frame won’t sit properly in the window, leading to gaps or an uneven fit. This can happen due to uneven tension, excessive force during installation, or heat exposure.
To prevent warping: Work on opposite sides when securing the mesh (top to bottom, then left to right) to avoid pulling the frame out of shape. Assemble frames on a flat surface and make sure all cuts are at perfect 90-degree angles.
To fix minor warping: Try gently bending the frame back into shape by hand or tapping it with a rubber mallet.
For moderate warping: Remove the mesh, place the frame on a flat surface, and weigh it down with books or clamps overnight to reshape it.
If the frame is severely warped: It’s best to replace it. For metal frames, cut a new piece and reassemble using screen frame connectors.
How to repair small tears or damage in the mesh
A small hole in the mesh might not seem like a big deal, but it can let in bugs and weaken the screen over time. Here’s how to repair it:
For tiny holes (under ½ inch): Apply clear nail polish or super glue to seal the tear and prevent it from spreading.
For larger holes (½ to 3 inches): Use a self-adhesive screen patch or cut a small piece of new mesh to cover the hole. Press it in place with glue or adhesive.
For major damage: Cut out the damaged section and replace it with a slightly larger piece of mesh. Secure it with adhesive, stitching, or heat-sealing for fiberglass screens.
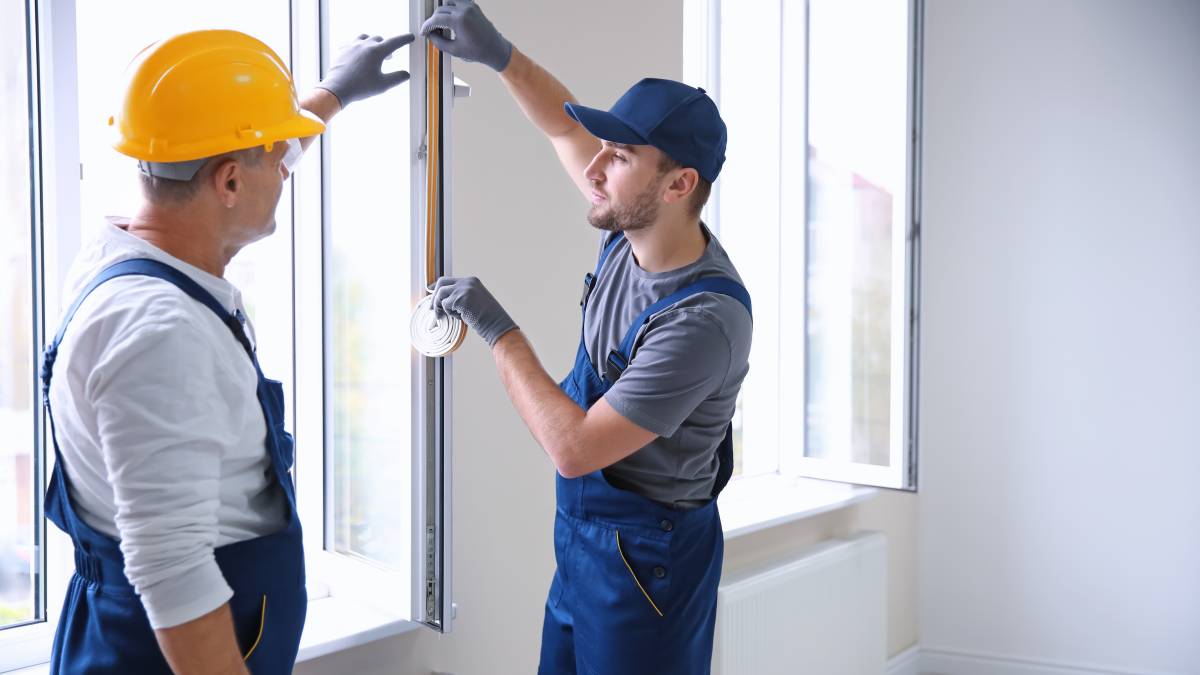
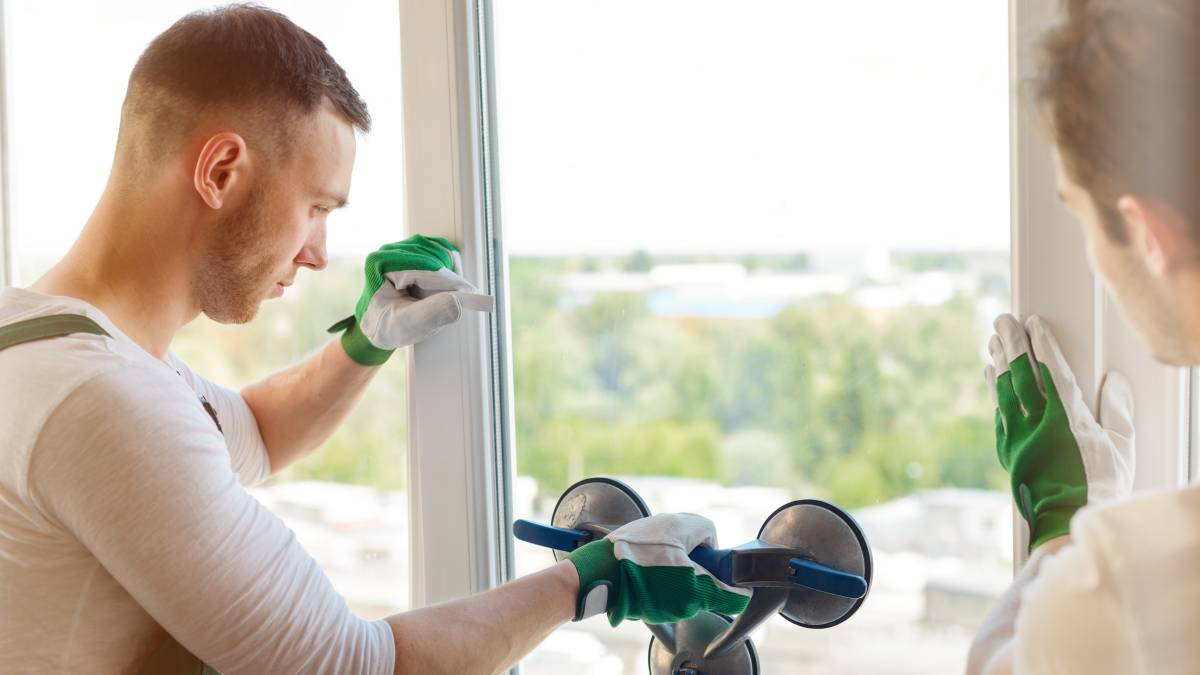
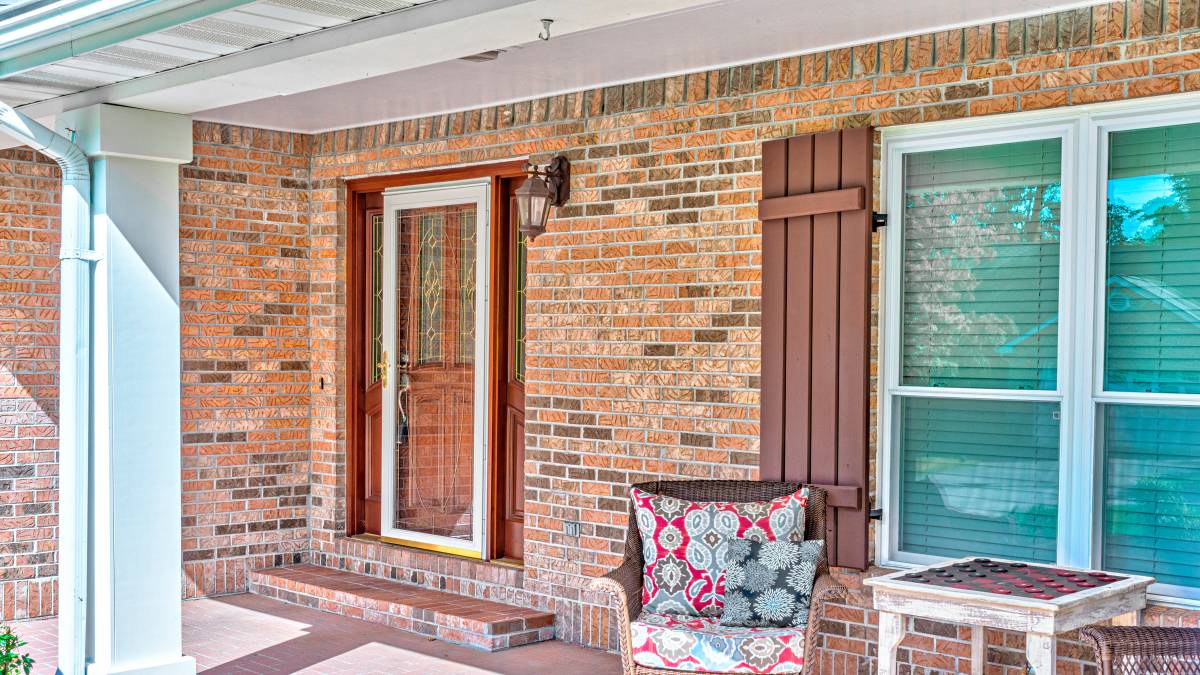
Can you hire a professional to install window screens?
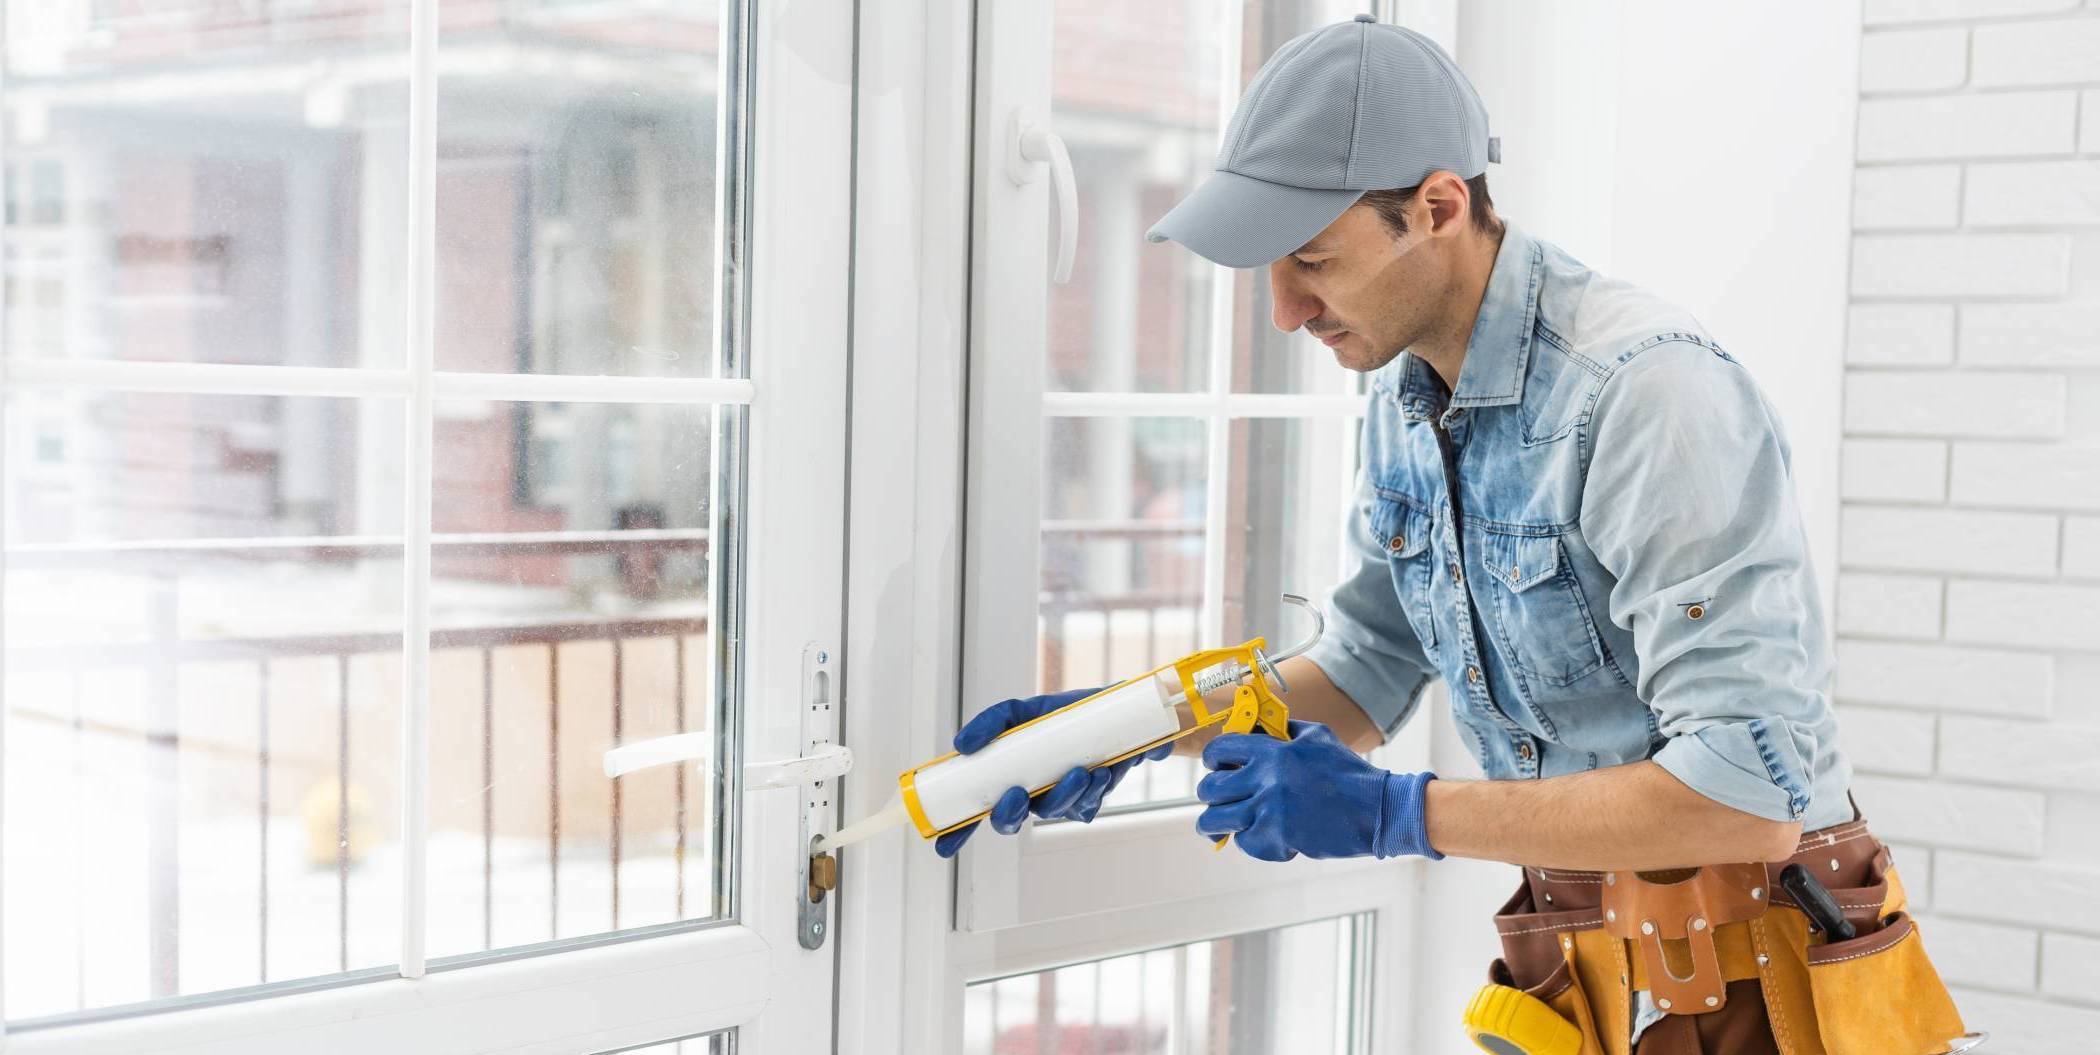
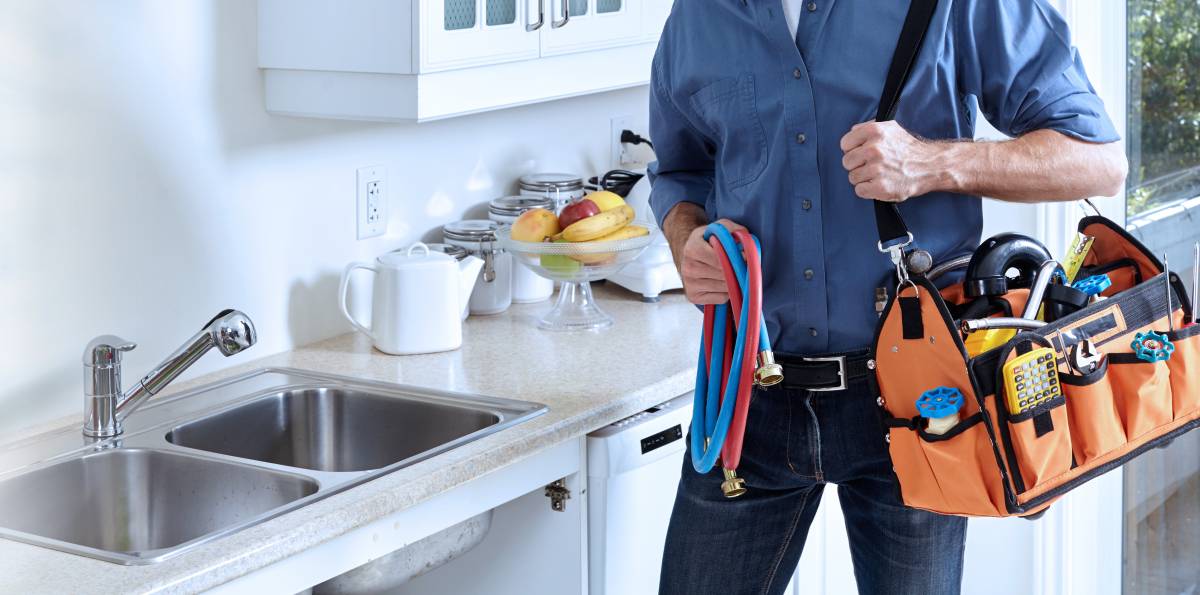
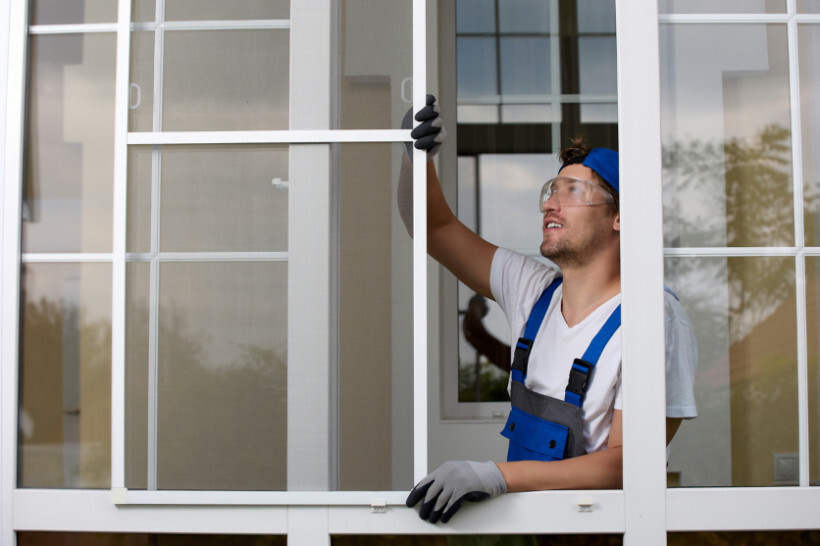 Professional installation of a window screen. (Source: iStock)
Yes, you can hire a professional. In fact, for many homeowners, it’s the best way to ensure correct installation and long-lasting results.
While learning how to install a screen on a window yourself can be a cost-saving option, DIY mistakes—like incorrect measurements, using the wrong spline size and excess screen, or applying uneven tension—can lead to gaps, warping, or sagging screens. If not done properly, fixing these errors might even require replacing the window frame or repairing the window sash, which adds to your costs.
A professional installer has the right tools, experience, and techniques to ensure a perfect fit with no hassle. They can also handle specialty screens like solar, pet-resistant, or security screens, which require precise fitting and installation.
- How much does window replacement cost?
- How much does sash window repair cost?
- What are average handyman prices?
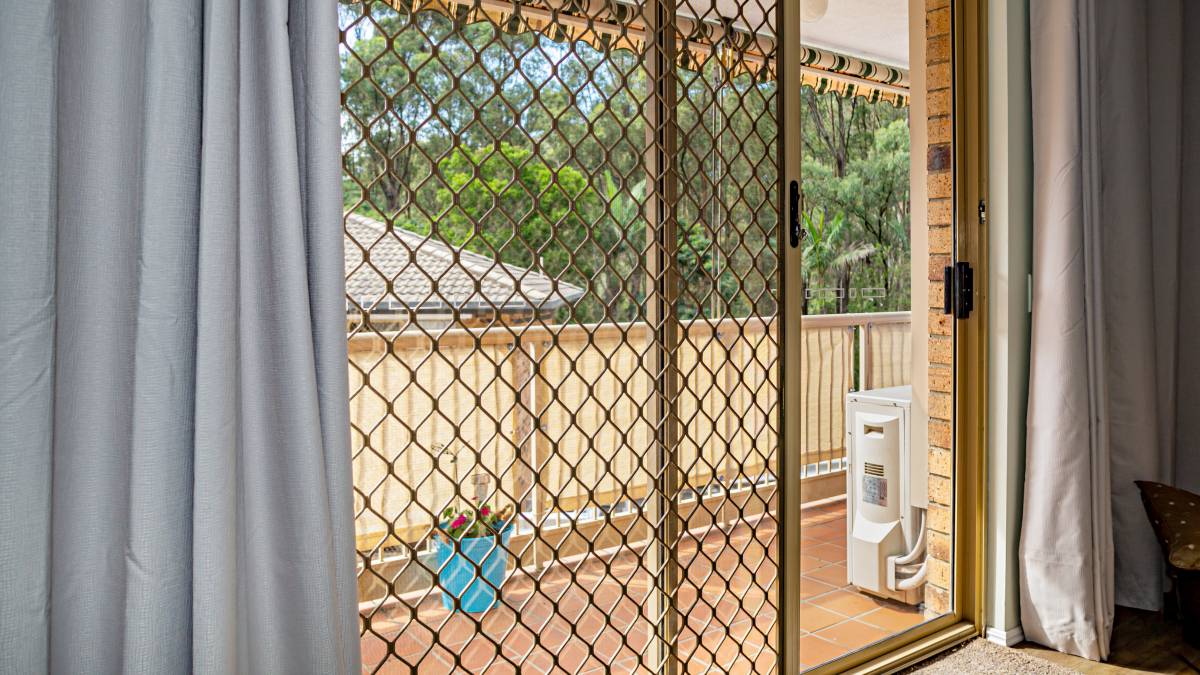
Get your window screens installed hassle-free
A properly installed window screen keeps bugs out, improves airflow, adds privacy, and even helps with energy efficiency. But let’s be honest, DIY isn’t always as easy as it looks. From measuring and cutting to securing everything in place, there are plenty of things that can go wrong.
If you’d rather skip the hassle, let a skilled Tasker handle it for you. Whether you need help with setting up your window screen, door installation, or other windows and doors services, Airtasker makes it easy to find professionals who can get the job done right. Just post a task today and get quotes shortly.
Learn more about our contributors
Written by Angela A.
Staff Writer
Angela Apolonio is an experienced writer with a Biology background. She writes about home tips, car upkeep, gardening hacks, and food facts, bringing a unique blend of science and practicality to her work. As a wife and a mother, she knows the value of iron-clad routines, so she's passionate about sharing what works for her with everyone else. She loves making everyday life simpler and helping readers find fresh ideas to bring more joy into their spaces.
FAQs on window screen installation
Yes! Here’s how to install a window screen without a frame: use magnetic strips, Velcro, tension rods, or adhesive strips. Make sure to cut the screen slightly larger than the window opening. Then, secure it tightly to prevent sagging.
Window screens are not universal and often need to be custom-fitted. While some standard sizes exist for common window types, many homes—especially older or uniquely shaped ones—require custom screens for a proper fit.
Yes, you can replace only the mesh instead of the entire screen frame. Simply remove the old spline, discard the damaged mesh, and install a new piece using a spline roller and utility knife for a clean fit.
For inside-mounted screens, tilt or lift the screen into the window top-first, then lower and press it into place. If your screen uses spring-loaded clips or retention hardware, align it with the frame and push until it locks securely.
Homeowner’s insurance typically does not cover screen replacement unless the damage was caused by a covered event like a storm or accident. It’s best to check your policy for specific coverage details.
Find window screen installers, fast
Find a window screen installer
Related articles
Install a screen door in 6 steps
Read more
How to Soundproof a Room
Read more
How to fox proof your chicken coop
Read more
How to install curtain rods
Read more

Best blue-collar jobs on Airtasker
Read more


Related price guides
How much does treadmill repair cost?
Read more

How much does clock repair cost?
Read more

How much does hot tub repair cost?
Read more
How much do roman blinds cost?
Read more

How much does a sunroom cost?
Read more
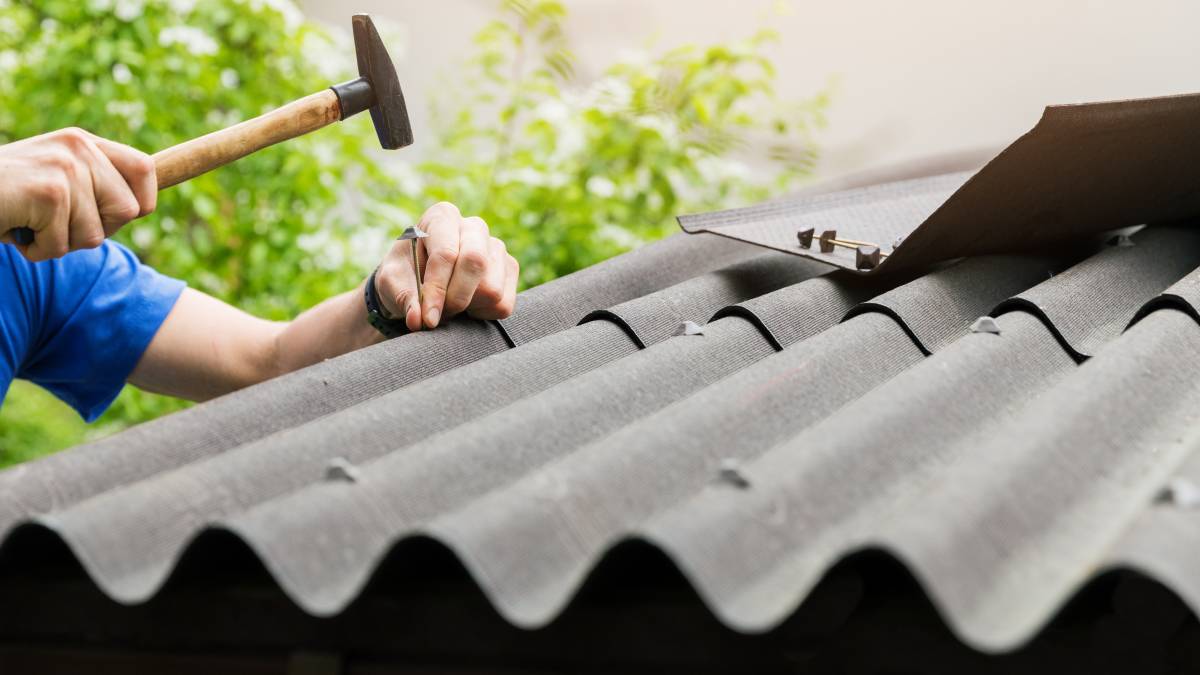
How much does shed roof repair cost?
Read more

How much does signage cost?
Read more
How much does window repair cost?
Read more
How much do chainsaw services cost?
Read more

What are average handyman prices?
Read more