- Home/
- Guides/
- Appliance Movers/
- How to Transport a PC
Your handy guide for packing and transporting a computer when moving
Pack and move with care. Transport your PC to your new home or office safely.
Find a professional moverPublished on
Many people who work from home prefer the capability of powerful desktop computers to laptops. They may be stationary, but they offer the best storage and speed. Unfortunately, moving to a new home and office with them is more challenging than turning off a laptop or smartphone. You’ll need to disassemble, pack, and reassemble them properly.
Learning how to transport a PC for moving on your own is a useful skill. In this post, you’ll learn how to prepare your computer for transport in a car or truck so that it turns on and works right when you reassemble it.
Parts of a computer
Before you start learning how to pack a computer for moving, here’s a quick refresher on the different parts of a computer that you’ll need to pack.
Data storage mediums: These hard drives can be sensitive to vibrations and shock.
Video cards: Also known as a graphics card, it rivals the motherboard in size and is often large and needs its own bag and container.
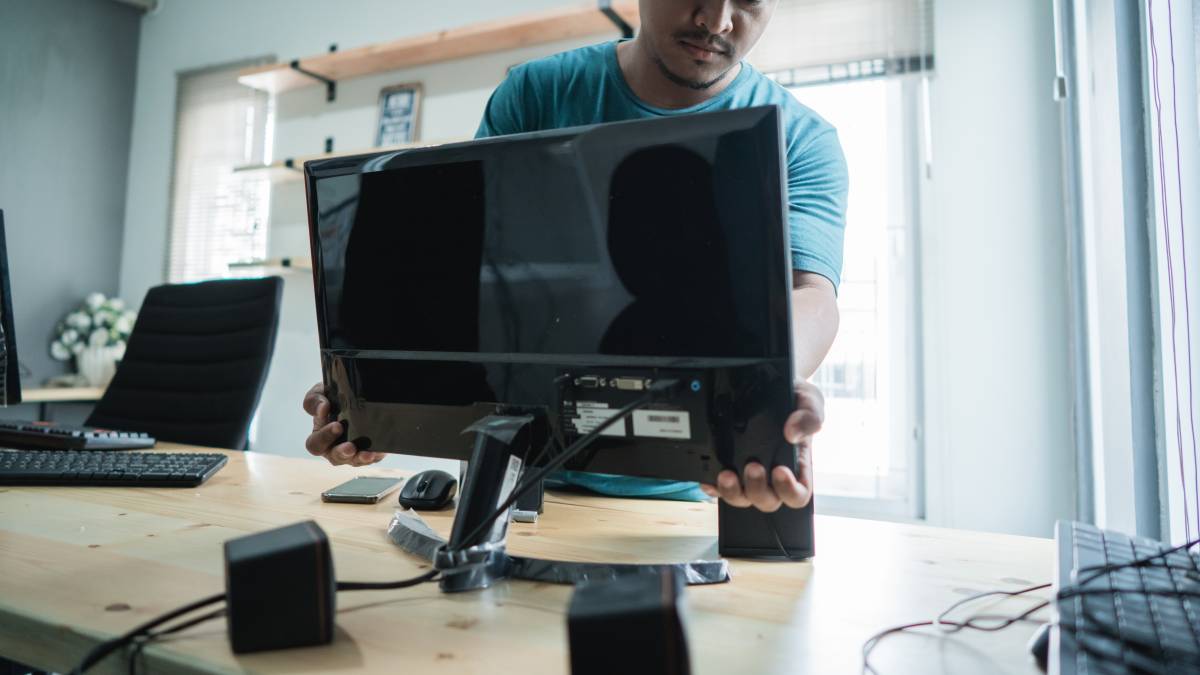
Monitors: The computer hardware device that displays visual or textual data generated by the video card.
CPU case: Most technicians also refer to it as a computer tower.
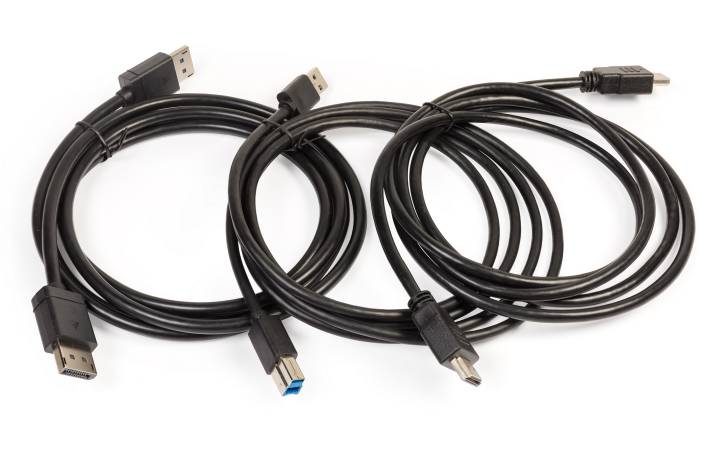
Data and power cables: These are small cables inside your computer that connect your hard drives and power supply to the motherboard and various other components.
Power supply: A computer always needs a power supply that connects to a power socket in your home or office.
HDMI cable: This connects the monitor to your motherboard or video card.
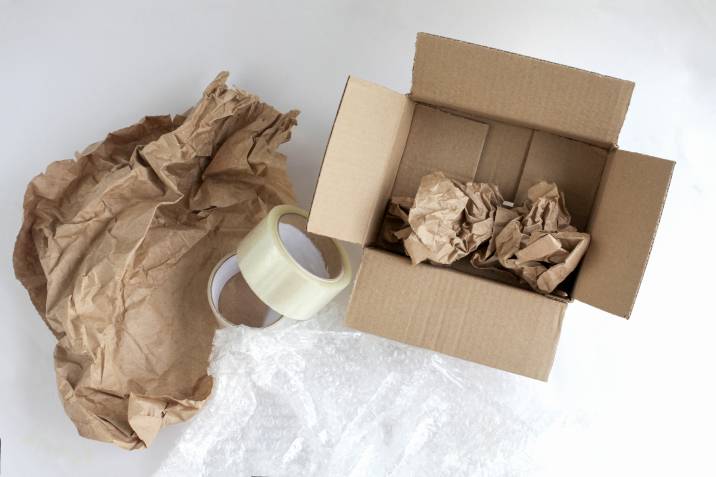
What you’ll need
As part of learning how to transport a PC safely, here are the tools you'll need to dismantle and secure many of your computer's components and bits and pieces.
A screwdriver
Anti-static bags or paper bags
A large plastic or cardboard box (or a set)
A smaller plastic or cardboard box (or a set
Old towels and clothes
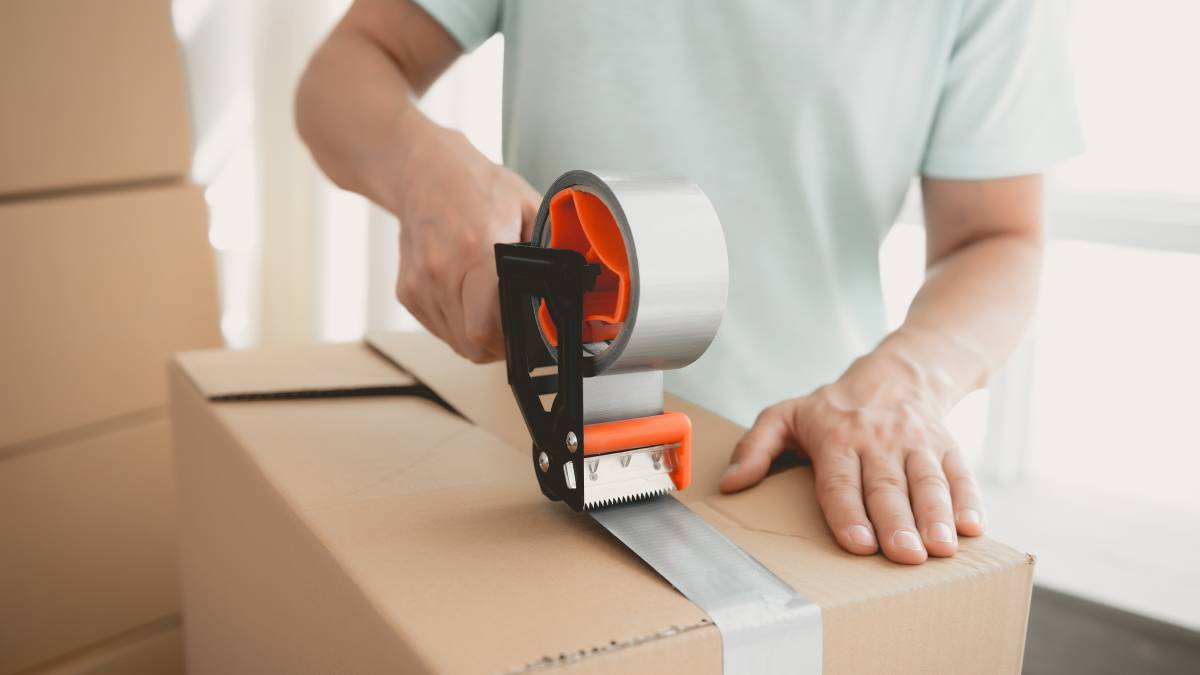
Packing tape
Cable ties
Name tags and labels
Hardware manuals for each component
Average completion time of transporting a PC
On average, you might accomplish this task within one to two hours. If you’re pressed for time, an expert packer can quickly prepare your computer for travel.
A step-by-step guide to transporting a PC
Make sure to back up your data before you start packing it. Then, prepare it for transport by learning how to transport a computer with the following steps.
Step 1: Snap a photo before dismantling
Take a photo of your current setup, including the cord connections, hard drive placements, and other components. With these photos, you won’t have to do any guesswork when reassembling the computer once you arrive at its new home.
Step 2: Start unplugging the cables
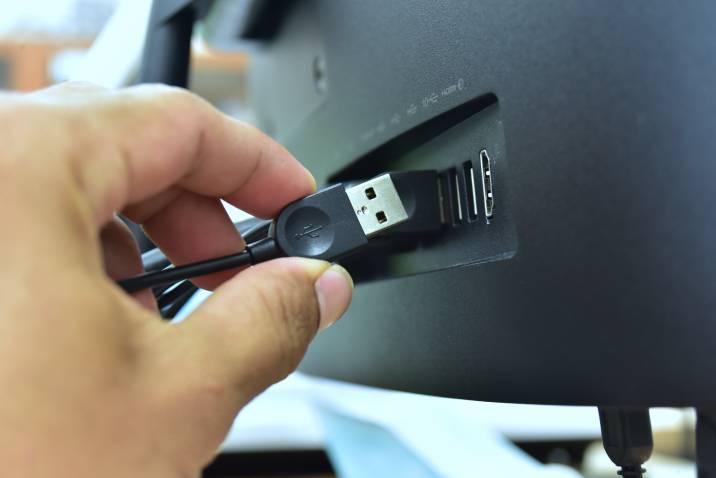
Get your screwdriver (if necessary) and bags ready before unplugging or taking out parts of your PC. First, ensure that your main power supply is unplugged. Then, remove the power cable, HDMI, keyboard, mouse, and other devices connected to your system. Use cable ties to manage all cables and label them for easy identification later.
Step 3: Remove heatsinks and heavy components
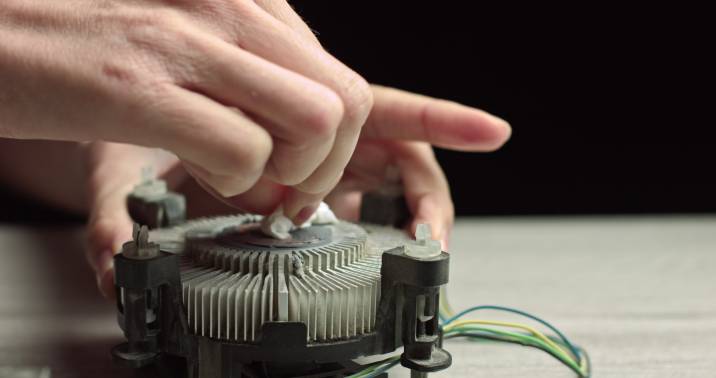
Remove your CPU’s heatsink using your screwdrivers. Read the heatsink’s manual to unlatch any locks and other small parts. You can place your heatsink inside its original box or a small plastic storage box with a label.
Aside from the heatsink, your computer’s hard drives, video card (if any), and mounted power supply only use small screws to attach to the motherboard. Unscrew and remove each, place them in their respective paper or anti-static bag to protect their circuits from damage, and label each to speed up your assembly later.
You can also start removing and packing the lighter components. The RAM and CPU of most computers are well-attached to the motherboard with tight clips. But, if your specific model is much heavier than typical RAMs and CPUs, consider removing them. Store them in separate bags and label them accordingly to prepare them for packing.
Step 4: Secure anything that can move around
 Secure the heavy power cable plugs, HDMI connectors, and any power cables inside the CPU that you can’t unplug with cable ties.
This step ensures they won’t get trapped inside and pull any capacitor or transistor on your motherboard. Securing all the cables or parts that can move around can prevent damage to your computer parts, even at the car’s sharp turn or bumps on the road.
Step 5: Start packing
Wrap your CPU cooler and tower with old towels or clothing to reduce shock and physical damage. If you have some, you can also use bubble wrap or any air-filled plastic wrap. Use packaging tape to pack up the entire CPU case.
Then, turn your attention to the items stored in separate bags and wrap each of them individually. If you're wondering how to protect your monitor when moving, you can cover it with more bubble wrap or clothing to ensure the screen won’t get damaged during transport.
Step 6: Store the parts in boxes
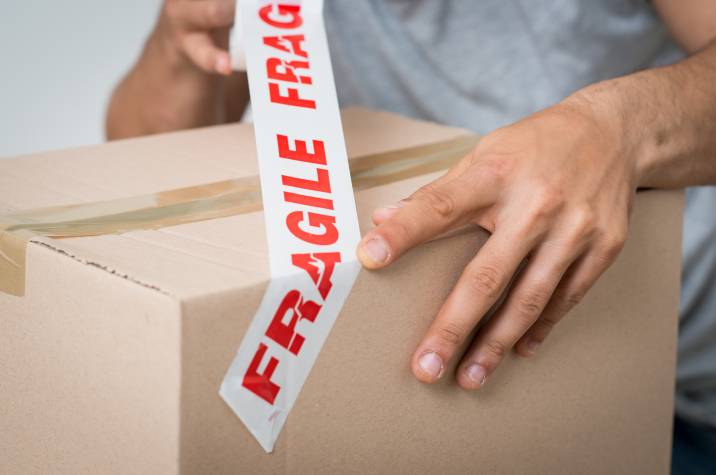
Put your CPU case inside its box and ensure it fits snugly. If it has more space, try to place the monitor inside the same box. Otherwise, use another large box for your monitor. Next, store all wrapped component bags in one box. It’s best to group the cables and components and label them properly to avoid confusion during assembly.
Step 7: Handling transport
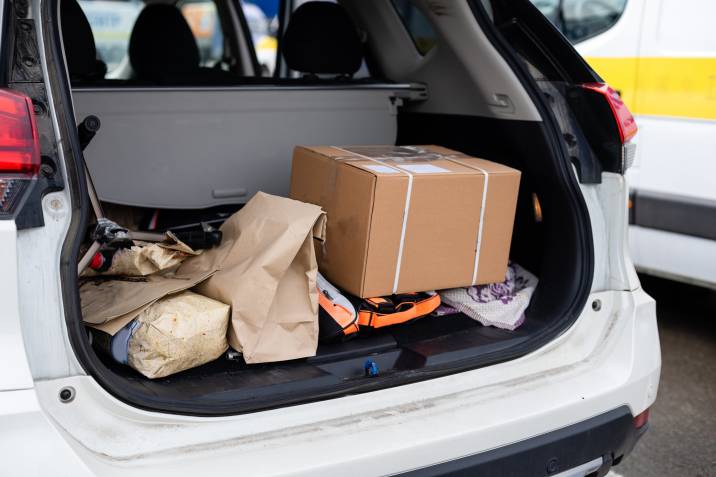
Packing and loading your PC for the road is the trickiest part of transporting a PC in a car. When loading your PC on your vehicle, put the boxes behind the passenger seat to reduce their wiggle room. You can line the boxes with any towels and void fillers you have left to reduce movement on the drive further.
During the drive, maintain a steady speed and keep the right as smooth as possible. Ideally, avoid bumpy roads and large humps on the road to prevent damaging the components.
Get your PC transport-ready!
Want to ensure your computer is disassembled and packed well for the road? Make it easier for yourself by having professional appliance movers do it. These experienced Taskers understand how delicate and fragile computer parts are, so they’ll handle its disassembly and packaging in the best way possible.
Just put up a task for moving services on the platform, and you’ll have plenty of Taskers reaching out and offering to do the job for you.
Find appliance movers, fast
Find an appliance mover
FAQs about packing and transporting a PC
The best way to transport a PC is to disassemble all heavy components and consider removing delicate parts. Then, place them in individual bags for protection. Lastly, wrap these bags in old towels to reduce denting and physical damage. Store larger boxes before smaller ones in the car, and do not stack them.
Disassemble your computer parts and store them in bags covered in old towels and clothes. Then, secure them in boxes properly. The towels and void fillers ensure your computer’s components wouldn’t endure much physical damage even as they wiggle inside during the drive, especially if you have to travel through bumpy roads during long-distance travel.
Wrap your monitor in old towels or bubble wrap and secure it with packing tape to reduce the risk of screen damage. You can fit your monitor and CPU together in a single box. If not, use a large box to store your 24-inch monitor safely and fill the box with packing paper or sheets to keep it from shifting around.
It is ideal to disassemble your computer before you load it and transport it when moving. The loose components and cables inside the system may come off quickly and cause damage to other internal parts during the move. Packing the parts using bags and cloth wrappings ensures each piece is in good condition and reduces any risk of electric or physical damage during the trip.
Related articles
How to move a washing machine
Read more

A guide to becoming a mover
Read more


Related price guides
How much does a removalist cost?
Read more
How much do packers cost?
Read more

How much does mattress removal cost?
Read more


Let's do this!
It's free and takes only a minute.