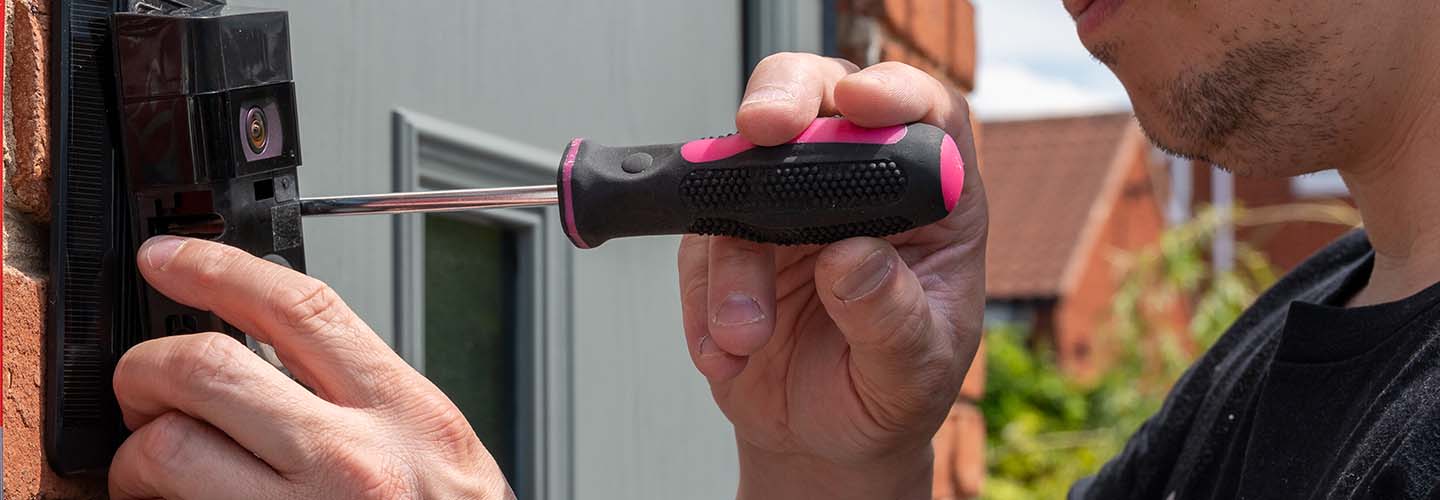

Find an experienced Ring doorbell installation expert in Dallas
Fill in a short form and get free quotes for a professional Ring doorbell installation service
Excellent rating - 4.3/5 (9300+ reviews)
Get help from a local Ring doorbell installer
- Ring doorbell service
- Ring professional installation
- Ring wired doorbell installation
- … or anything else
Similar Ring Doorbell Installation services you might be interested in Dallas
What is Airtasker?

Post your task
Tell us what you need, it's FREE to post.

Review offers
Get offers from trusted Taskers and view profiles.

Get it done
Choose the right person for your task and get it done.
Book Your Next Expert Ring Doorbell Installation in Dallas
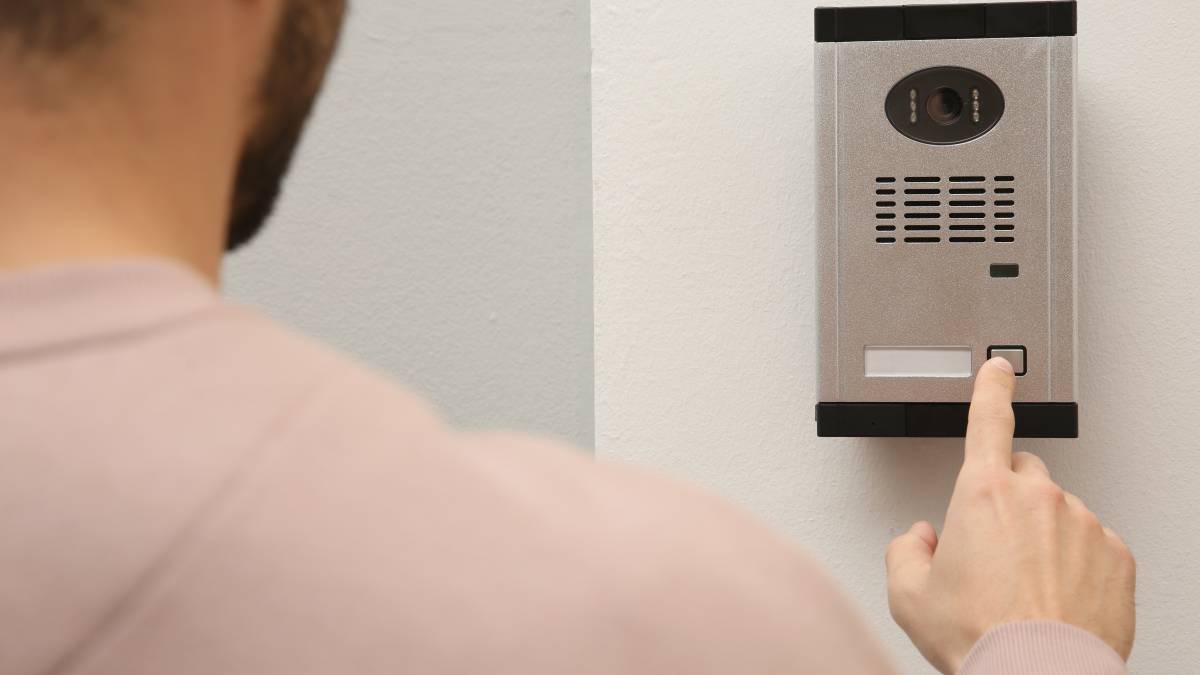
Looking to enhance your home security with a Ring Doorbell? Whether you need a wired or wireless Ring Doorbell installed in Downtown Dallas or a full smart home setup in Plano, finding a professional installer ensures a hassle-free experience. Our platform connects you with trusted Taskers who specialize in Ring Doorbell installation, helping you secure your home with ease.
Home security systems, including smart doorbells, are increasingly popular in Dallas due to rising concerns about package theft and break-ins. A professionally installed Ring Doorbell can reduce the risk of theft by deterring intruders and providing real-time surveillance.
Post your task today to connect with top-rated Ring Doorbell installation experts in Dallas.
What’s Included in Ring Doorbell Installation Services
Taskers in Dallas offer comprehensive Ring Doorbell installation services, including:
Ring Doorbell Setup & Installation
Installing wired or battery-powered Ring Doorbell models
Ensuring proper mounting height and optimal camera angles
Connecting the device to WiFi and the Ring app for real-time access
Wiring & Power Configuration
Hardwiring Ring Doorbells to existing doorbell systems
Installing new wiring if needed for continuous power supply
Setting up battery-operated models for easy, wire-free use
Ring Doorbell Integration With Smart Home Systems
Syncing with Alexa, Google Assistant, and other smart home devices
Connecting to existing smart locks, security cameras, and lights
Motion Sensor & Customization Settings
Adjusting motion detection zones to minimize false alerts
Configuring night vision and video recording settings
Custom Requests
Taskers can assist with multi-camera setups, additional chimes, and security system integration based on your needs.
Why Choose Ring Doorbell Installation Taskers in Dallas?
1. Local Expertise in Smart Home Security
Dallas homeowners are increasingly investing in smart security systems. Taskers are experienced in installing and optimizing Ring Doorbells for Dallas homes.
2. Fast Turnaround Times Across the Dallas Metroplex
From Downtown and Uptown to Richardson and Irving, Taskers offer same-day or next-day installation services.
3. Transparent Pricing Reflective of Dallas Market Rates
The cost of Ring Doorbell installation in Dallas typically ranges from $75 to $200, depending on whether additional wiring or troubleshooting is required.
Common Ring Doorbell Installation Needs in Dallas
Preventing Package Theft
With an increase in porch piracy cases in Dallas, homeowners are turning to Ring Doorbells for 24/7 video monitoring and real-time alerts.
Smart Home Security Upgrades
Many homeowners in Frisco, Plano, and Fort Worth are integrating Ring Doorbells into full smart home security systems for added protection.
Replacing Outdated Doorbell Systems
Older homes in Oak Cliff and East Dallas often require new wiring or power adapters to support modern video doorbells.
How It Works: Book Your Ring Doorbell Installation in Dallas
Post Your Task – Describe your Ring Doorbell model and location in Dallas.
Get Local Offers – Receive quotes from Taskers near Downtown, Addison, Plano, and beyond.
Choose Your Tasker – Compare reviews, prices, and experience to find the best fit.
Get It Installed Fast – Schedule a time for professional setup and security optimization.
Hire Local Ring Doorbell Experts in Dallas
Fast, Local Service: Taskers in Dallas provide quick, reliable Ring Doorbell installation.
Support Your Community: Hiring local professionals helps support small businesses and independent service providers.
Knowledge of Dallas WiFi & Home Security Needs: Taskers ensure optimal connectivity and performance for your smart doorbell.
FAQs About Ring Doorbell Installation in Dallas
How much does Ring Doorbell installation cost in Dallas?
Pricing ranges from $75 to $200, depending on the model and installation complexity.
Do Taskers provide same-day Ring Doorbell installation in Dallas?
Yes. Many Taskers in Downtown Dallas, Plano, and Fort Worth offer same-day or next-day installation.
Do I need an existing doorbell to install a Ring Doorbell?
No. Ring Doorbells can be installed wirelessly with a battery pack or hardwired to an existing system for continuous power.
Related Smart Home Installation Services in Dallas
Looking for more smart home upgrades? Taskers in Dallas also offer:
Security Camera Installation – Set up additional home surveillance cameras
Smart Lock Installation – Upgrade your home security with keyless entry
Home Automation Setup – Connect smart devices for seamless home control
Book your Ring Doorbell installation today for a more secure and connected home.
Handyman Services
Tent Repair
Mirror Cutting
Clock Repair
Venetian Blind Repair
Curtains & Blinds Installation
Treadmill Repair
Wooden Blind Installation
Hot Tub Repair
Ceiling Fan Installation
Attic Ladder Installation
Sewing Machine Repair
General Labor
Door Installation
Tool Repair
Curtain Rod Installation
Vanity Mirror Installation
