- Home/
- Guides/
- Ceiling Fan Installation/
- Ceiling Fan Wiring Guide
How to wire a ceiling fan: A beginner’s guide to safe installation
A comprehensive guide to understanding ceiling fan wiring for safe electrical connections.
Find an installerLast Updated on
Key Takeaways
- Even if you’re not directly working on electrical projects, investing in a non-contact voltage tester can help you check if wires are live without touching them.
- Australian law requires licensed electricians to handle all ceiling fan wiring. Attempting DIY electrical work may void your home insurance.
- The safety, proper function, and legal compliance you get from professional installation make it worth every penny compared to the risks of DIY attempts.
Are you about to replace or fix your ceiling fan but unsure about the wiring colour codes? Knowing how to wire a ceiling fan will help you make better decisions about your installation.
Wiring a ceiling fan in Australia actually requires specific knowledge about different setups—fans with standard switches and without all need particular approaches. This guide provides the essential information you need to understand the process and communicate effectively when you hire a handyman to ensure your installation meets Australian electrical standards.
The tools and materials you’ll need
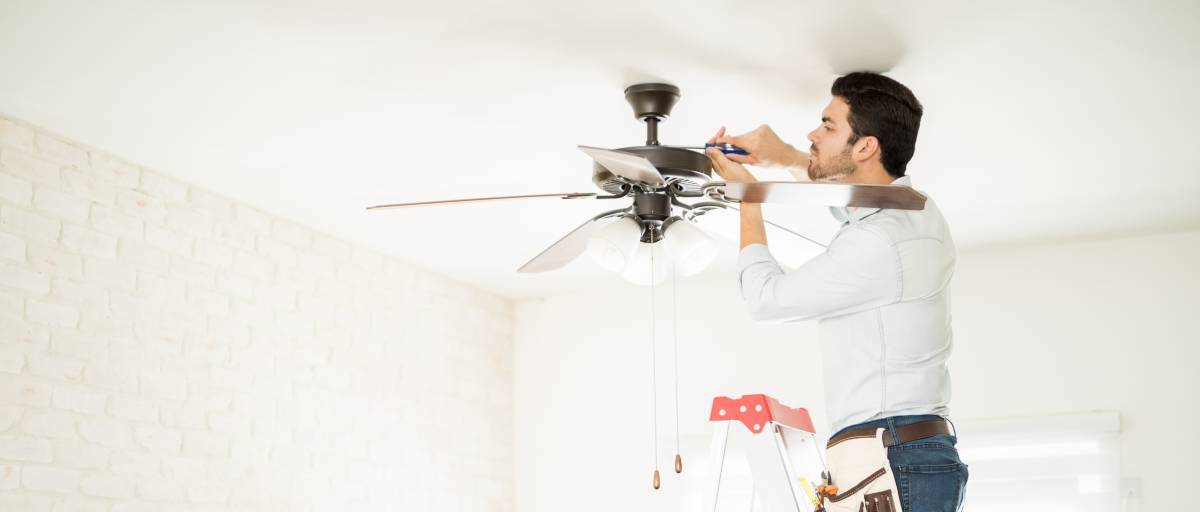
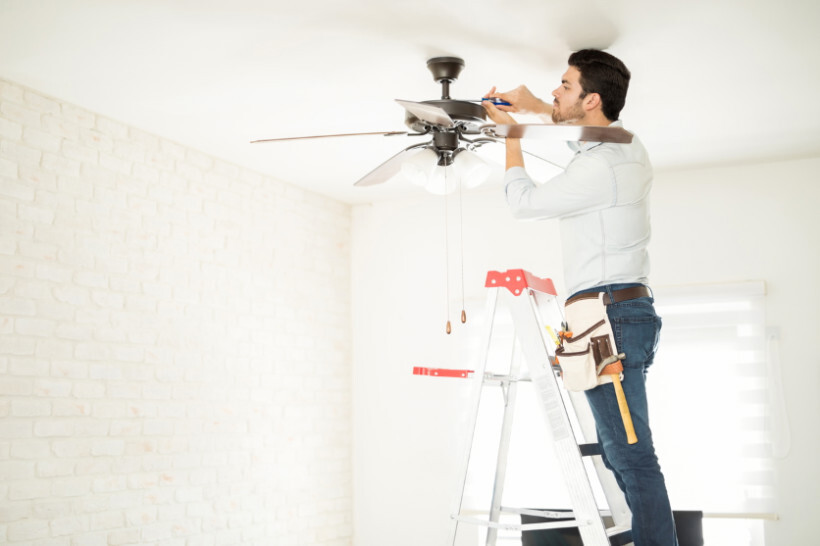 Man on a ladder carefully unscrewing a ceiling fan. (Source: iStock)
When your ceiling fan installer arrives, they should have these general tools ready for the job:
Wire connectors to join wires safely
Screwdriver set with flathead and Phillips heads for mounting hardware
Wire cutter/stripper for clean wire preparation
Electrical tape for extra protection on connections
Non-contact voltage tester to check for live wires
Pliers or needle-nose pliers for handling small components
A good installer will also wear rubber-soled shoes for electrical safety and use protective gear like work gloves and safety glasses during installation.
Decoding ceiling fan wiring colour codes
Before connecting any wires, a licensed electrician will ensure the electrical power supply is turned off before starting work and that all connections comply with the relevant Standards Australia Wiring Rules. Once done, they’ll take a minute to understand what each ceiling fan wiring colour actually does. While manufacturers sometimes use different colour schemes (always check your fan’s manual first), here’s what you’ll typically find:
| Green and yellow | Connects to metal parts for safety in case of electrical faults |
| Brown | Carries electricity to power the fan |
| Blue | Completes the electrical circuit |
The Australian Standard AS/NZS 3000 (Wiring Rules) sets specific requirements for electrical wiring colours:
Green and yellow wires: Earth wires protect against electrical shock by directing fault currents safely to the ground. These must always connect to the fan’s metal housing and the earth wire in your ceiling junction box.
Brown wires: These active wires carry 240 volts from your switchboard to power your ceiling fan. They should be treated as potentially live until tested with a voltage meter. Your electrician will connect these to the matching active wire from your ceiling.
Blue wires: These neutral wires complete the electrical circuit by providing a return path for current. For proper fan operation, they must connect to the neutral wire in your ceiling junction box.
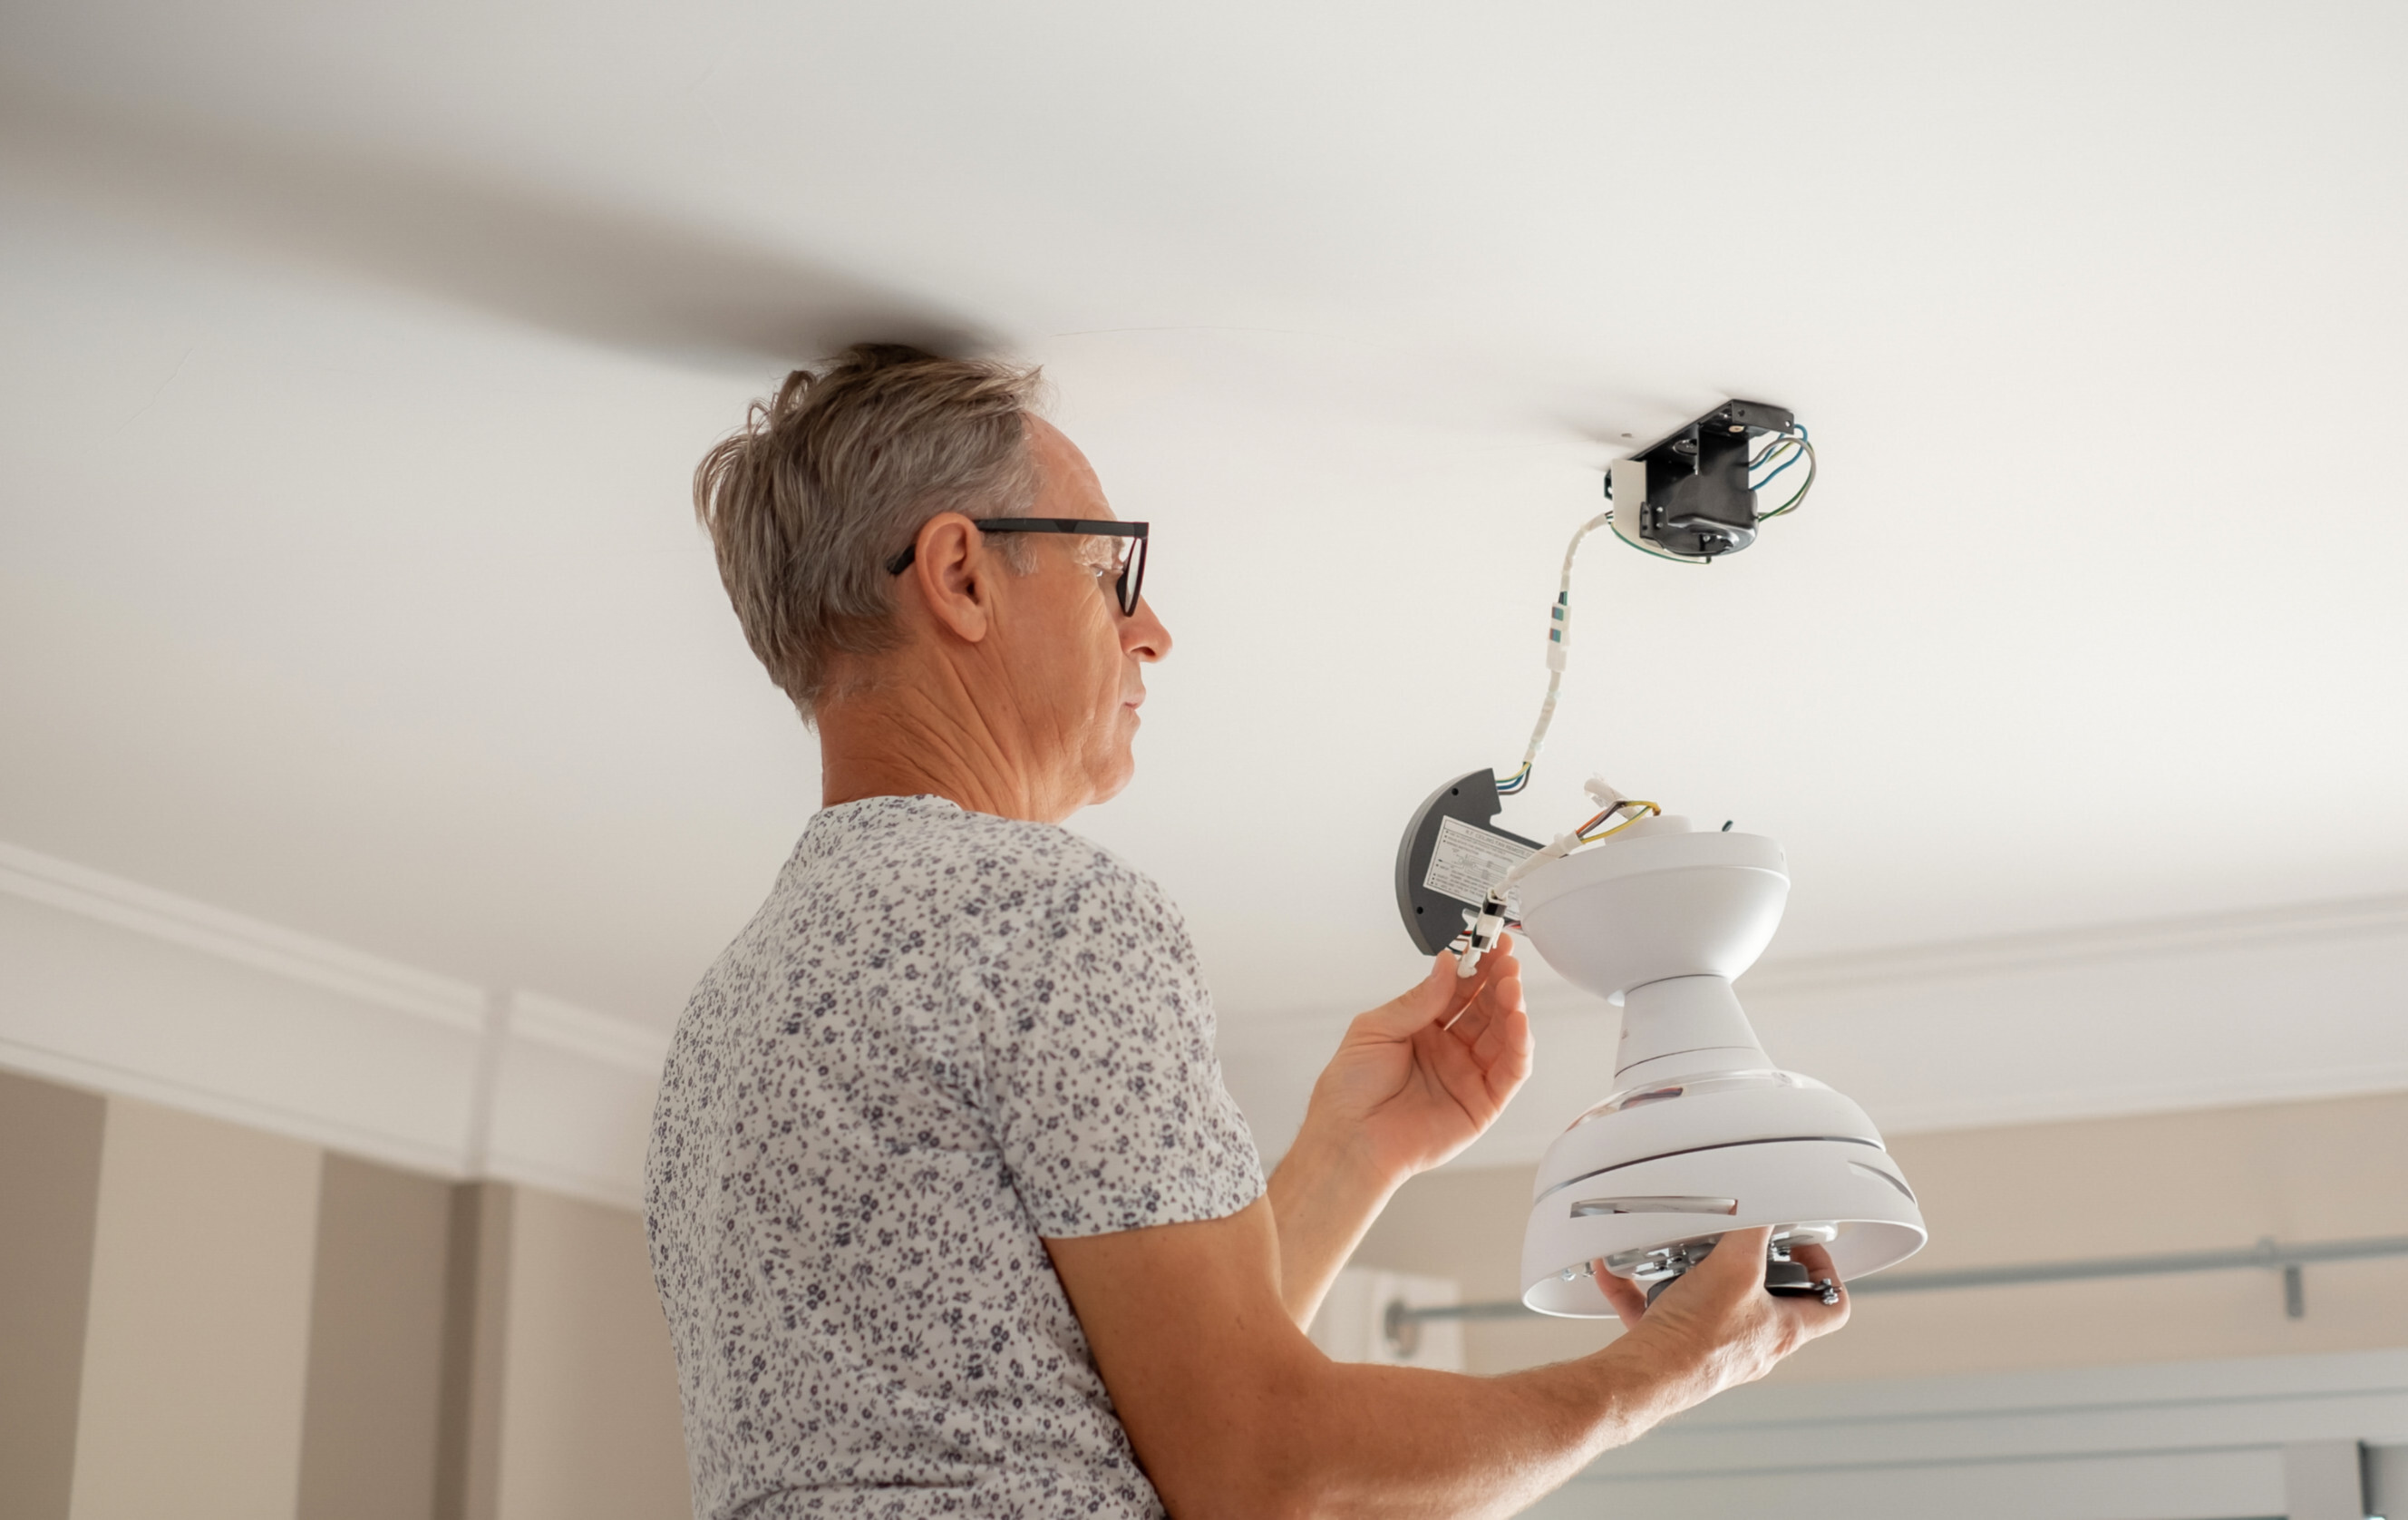
Understanding your ceiling fan wiring
 Close-up view of exposed ceiling fan wiring and installation bracket. (Source: iStock)
Safety must come first before working on any ceiling fan. Here’s how professional electricians check wiring in Australian homes:
Step 1: Turn off the power at the switchboard
The electrician will find the main switchboard and locate the circuit breaker controlling the room with the ceiling fan. They’ll switch it off completely. For extra safety, many place tape over the switch and write “Do Not Turn On” to prevent accidents. Some electricians also remove the fuse entirely while working.
Step 2: Test that power is truly off
A qualified electrician working with an electrical box uses a non-contact voltage tester—a small pen-like device that detects electrical current without touching bare wires. They hold it near each wire in the ceiling box. If the tester lights up or beeps, power is still present, and they’ll need to check which circuit breaker controls these wires.
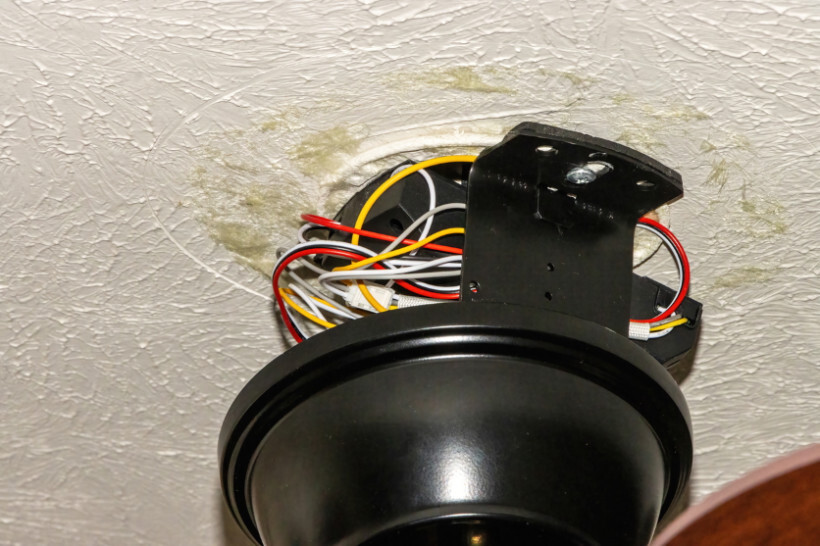
Step 3: Identify the wires in the ceiling box
Once safety is confirmed, the next step is identifying what you’re working with. In newer Australian homes (built after 2004), electricians look for brown wires (active), blue wires (neutral), and green/yellow striped wires (earth). In older Australian homes, they’ll find red instead of brown, and black instead of blue. These colour codes help match the right wires to your new ceiling fan. Mixing them up could damage your fan or create safety hazards.
Step 4: Check for additional wires
The electrician will also note if there are multiple active wires. Two active wires (two brown or two red) typically mean the ceiling box is set up for separate fan switching and light switching. A single active wire usually means the fan and light operate from one switch. This helps them understand how the fan will be controlled and what wiring configuration to use.
When in doubt, call a professional
If the wiring doesn’t match standard colours or you can’t make sense of the extra wires in front of you, calling a licensed electrician is especially valuable. They can test connections, trace circuits, and ensure everything is connected safely.
Connecting the ceiling fan to the mounting bracket
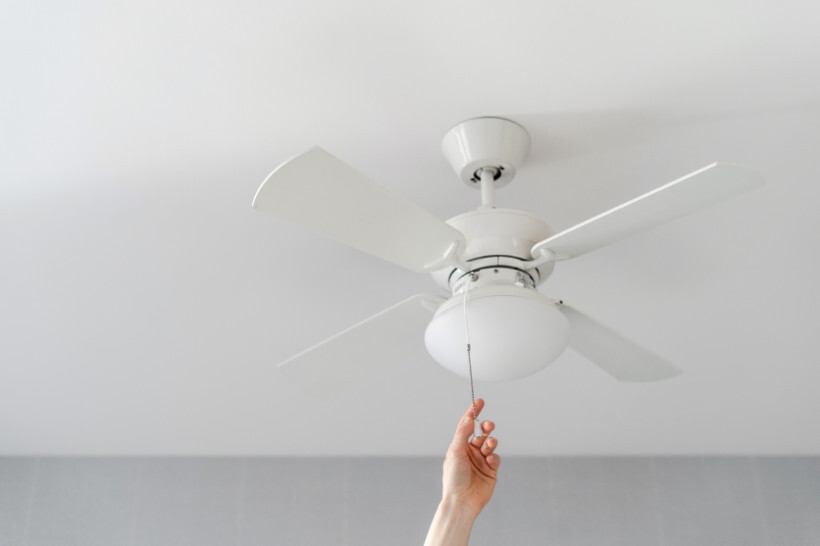 Turning on a ceiling fan with a simple pull of the chain switch. (Source: iStock)
Standard junction boxes aren’t usually strong enough to support the weight and size of a ceiling fan. Without the right support, a fan could work loose over time and fall, potentially causing damage or injury.
Per AU building codes, ceiling fan mounts must support a minimum weight of 30kg (66 pounds). This requirement exceeds basic light fixture needs and accounts for both the fan’s weight and the forces created when it spins.
Junction box installation
For most Australian homes, installing a suitable junction box comes first:
Locate ceiling joists: The electrician finds the wooden beams in your ceiling that provide structural support. These joists become anchor points for the fan mounting system.
Choose the right junction box: Fan-rated boxes are designed to handle weight and movement. It’s critical to ensure that fan-rated boxes are used, as standard junction boxes may not handle the dynamic load of a ceiling fan. They’re marked with their weight capacity, which must meet the weight requirement.
Install support bracing: When the fan location doesn’t align with the ceiling joists, a support brace is inserted through the existing ceiling hole. This brace expands to span between joists, creating a solid mounting point.
Secure the junction box: The junction box attaches to either the ceiling joist or the support brace. All screws must be tightened firmly to prevent any movement.
Mounting bracket installation
With the junction box in place, the mounting bracket comes next:
Attach the bracket: The mounting bracket connects directly to the junction box using the supplied hardware. This bracket has slots that match the fan’s base plate.
Check for stability: A good electrician will test the bracket by applying pressure to ensure it can handle the fan’s weight without shifting or bending. This step is crucial for safety.
Run the wiring through the bracket: Electrical wires from the ceiling pass through the centre of the mounting bracket, ready for later connection to the fan.
Final position adjustments: The bracket position is fine-tuned to ensure the fan hangs level and is centred in the room.
For concrete ceilings, special anchoring methods replace the junction box approach. The electrician drills precisely sized holes and inserts masonry anchors rated for the fan’s weight.
Wiring your ceiling fan without switches
For some Australian homes, running new switch wiring isn’t practical. In these cases, the fan operates using pull chains, a remote control, or built-in controls rather than wall switches. Here's how licensed electricians handle this setup:
The electrician turns off the power at the breaker box.
They connect the blue wire (neutral) from the fan to the blue ceiling wire.
The green/yellow earth wire connects to the household earth wire.
The brown active wire from the fan connects to the brown ceiling wire.
For fans with lights, the separate light wire connects to the active circuit.
All wires are carefully secured with connectors and tucked into the junction box.
This direct ceiling fan wiring Australia setup works well with remote-controlled fans, giving you convenient operation without needing wall switches. Most modern ceiling fans include remote controls, but retrofit kits are available for older models.
Wiring your ceiling fan and light with one switch
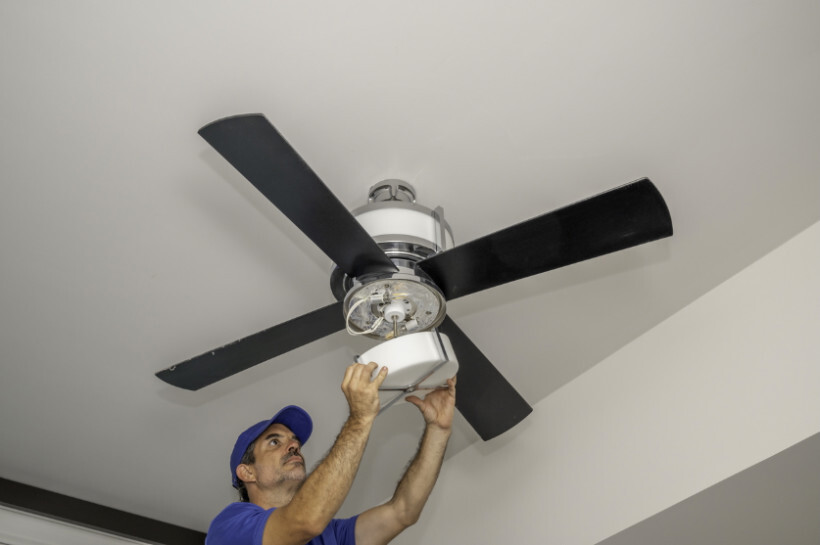 Installation of a modern ceiling fan with light fixtures by a professional. (Source: iStock)
In this setup, the ceiling fan and its integrated light kit are connected to a single circuit controlled by one wall switch. When you operate the switch, the fan and the light turn on or off together.
After switching off the power at the circuit breaker box, the electrician identifies all wires.
The green/yellow earth wires from the ceiling and fan are connected.
Blue neutral wires from the ceiling and fan are joined together.
Brown active wires from the ceiling (passing through the switch) connect to the fan's active wire.
The light wire connects to the same active circuit, allowing the switch to control both functions.
All connections are secured with proper connectors and arranged neatly.
As a rule of thumb, reference an Australian ceiling fan wiring diagram from your fan’s manual to confirm connections.
Testing your ceiling fan connections
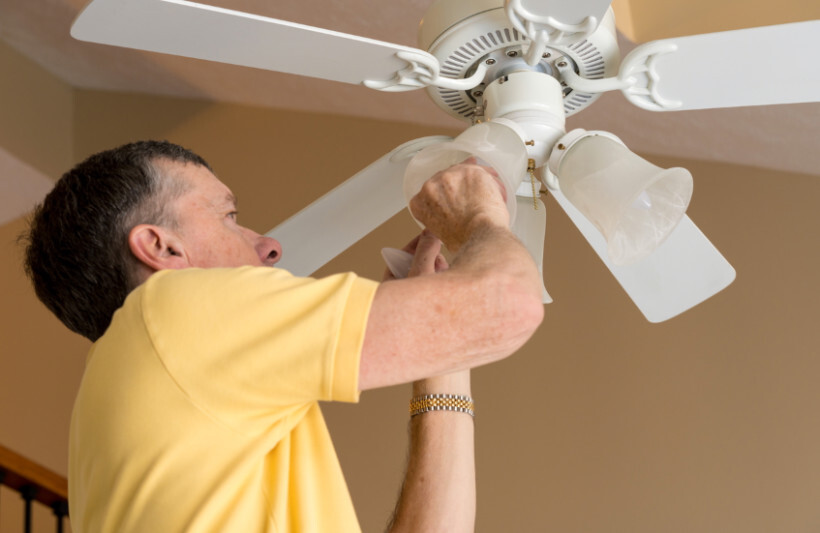 Casual yet professional installation of a ceiling fan with lights. (Source: iStock)
After the wiring is complete, it’s time to check if everything works properly. This final step confirms that all connections are correct before considering the installation finished. Head to your switchboard and flip the right breaker box back to “ON.” With power restored, try each fan function one by one:
Test the wall switch to make sure electricity reaches the fan.
Try the fan pull chain to cycle through different speed settings.
Check that the fan turns at the expected speed at each setting.
Listen carefully for any strange noises that might signal loose parts.
Test the light function (if your fan has one).
Good ceiling fans run smoothly and quietly. Any rattling, scraping, or wobbling suggests something isn’t quite right. If your fan doesn’t work as expected:
Switch off the power at the breaker again for safety.
Check all wire connections match up correctly.
Make sure the light wire connects to the proper circuit.
For dual-switch setups, check all switch connections.
Tighten any loose screws in the canopy or mounting bracket.
Confirm the fan blades aren’t hitting anything.
Is the ceiling fan still not spinning? You can always find a qualified tradie or licensed electrician on Airtasker for a quick and hassle-free ceiling fan installation.
Should you hire a professional for ceiling fan installation?
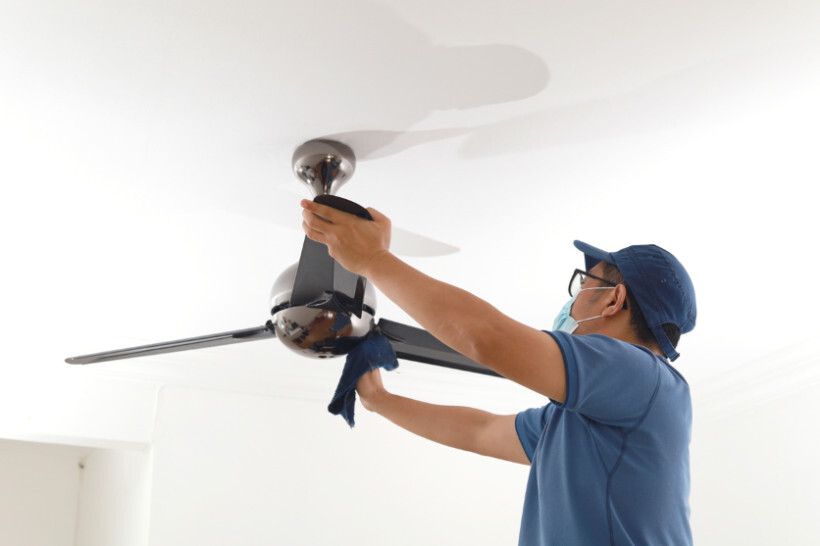 Final adjustments being made on a ceiling fan to ensure perfect alignment and function. (Source: iStock)
Yes, you should absolutely hire a professional for ceiling fan installation in Australia. The Australian regulations state that electrical work must be done by licensed electricians, and ceiling fan wiring falls under this category. Doing this work yourself may void your home insurance and create serious safety risks for your family.
Even if you feel confident after reading a fan installation tutorial, the potential consequences aren’t worth the money you might save.
A licensed electrician brings the right tools, knows how to connect a ceiling fan wiring properly according to Australian standards, and provides certification that keeps your insurance valid. They understand how to wire a ceiling fan with light fixtures correctly for different ceiling types and switch configurations. Plus, they can complete the job quickly and safely, often within an hour or two.
Master your ceiling fan wiring
While familiarising yourself with the ceiling fan installation process helps, note that only licensed electricians can legally handle the wiring work. So, if you’re ready to get your ceiling fan installed, skip the stress and hire a ceiling fan installer through Airtasker.
Just post your job, including details like your fan type, ceiling height, and whether you need new wiring or switches. You’ll get quotes from qualified tradies in your area who bring the right tools and know-how.
FAQs on ceiling fan wiring
In Australia, electrical work is strictly regulated. Most ceiling fan wiring tasks require a licensed electrician. Attempting this work yourself may void your home insurance and could result in fines. While this guide shows what’s involved, we recommend hiring a qualified professional for the actual installation.
Sometimes, but only if the junction box can support the fan’s weight and the wiring matches Australian standards. It’s very important to make sure the existing junction box is rated to support the weight and movement of a ceiling fan. Most light fixture boxes need upgrading to handle a fan’s weight and movement.
The noise might come from loose screws, unbalanced blades, or electrical issues with the motor or capacitor. A licensed electrician can safely check and fix these problems.
The earth wire protects you by directing dangerous electrical currents safely to ground if a fault occurs, preventing electric shocks and reducing fire risks.
Find ceiling fan installers, fast
Find a ceiling fan installer
Related articles
How to Soundproof a Room
Read more

30 Eye-catching pantry door ideas
Read more
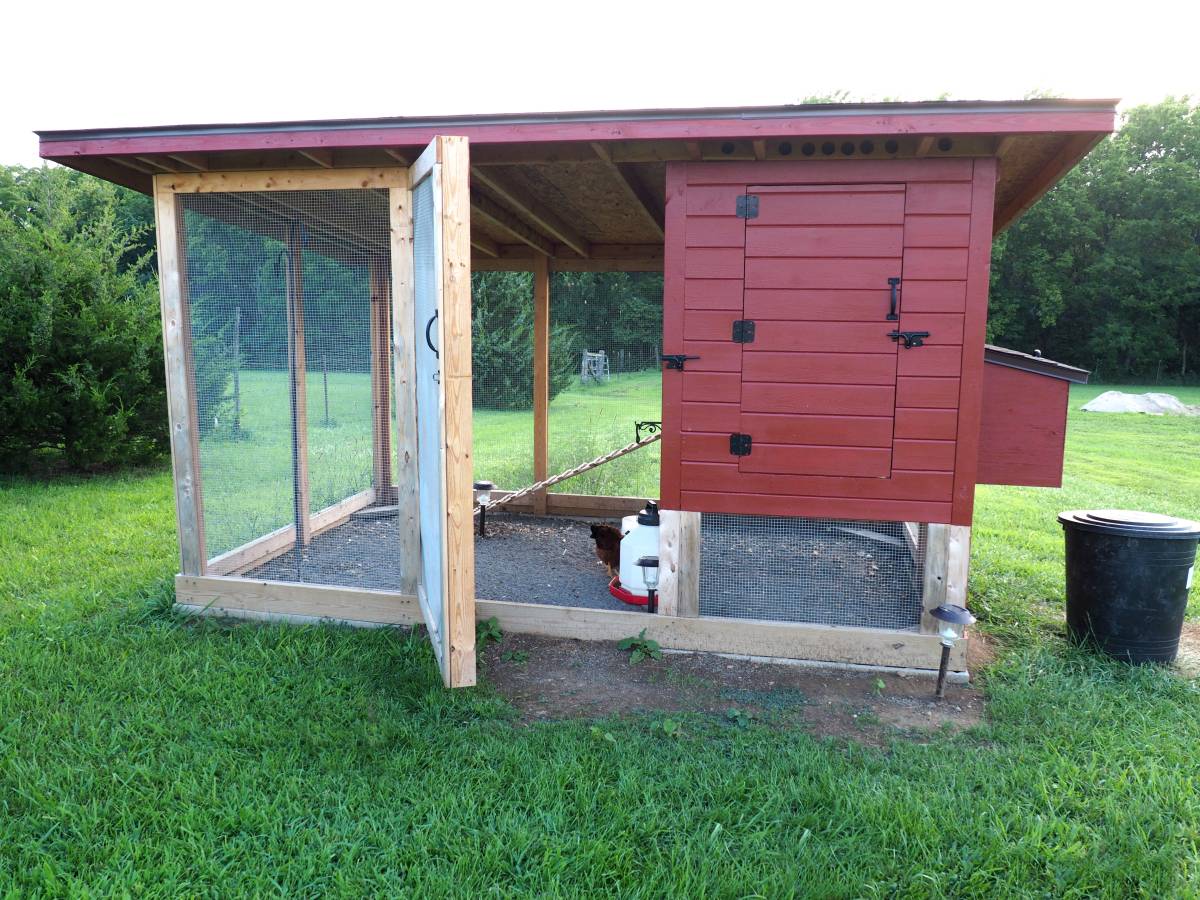
How to fox proof your chicken coop
Read more
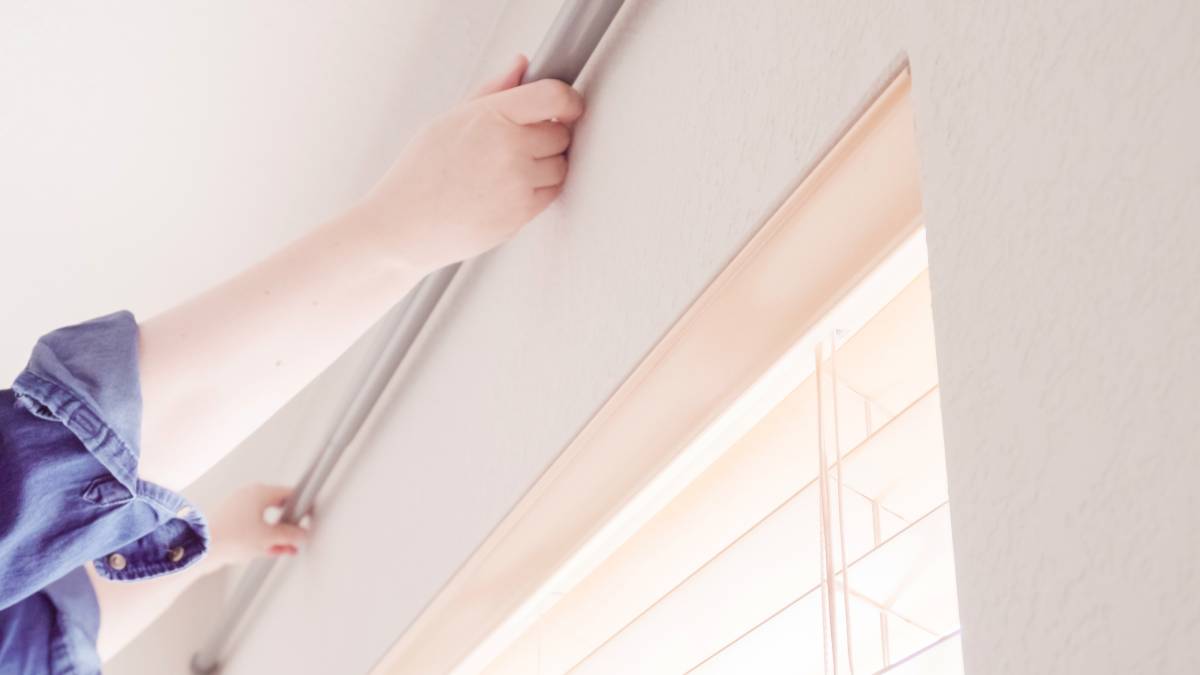
How to install curtain rods
Read more

Best blue-collar jobs on Airtasker
Read more


Related price guides
How much does treadmill repair cost?
Read more

How much does clock repair cost?
Read more

How much does hot tub repair cost?
Read more

How much do roman blinds cost?
Read more

How much does window repair cost?
Read more

How much does signage cost?
Read more

How much do chainsaw services cost?
Read more

What are average handyman prices?
Read more