- Home/
- Guides/
- Cat Door Installation/
- How to Install a Cat Door
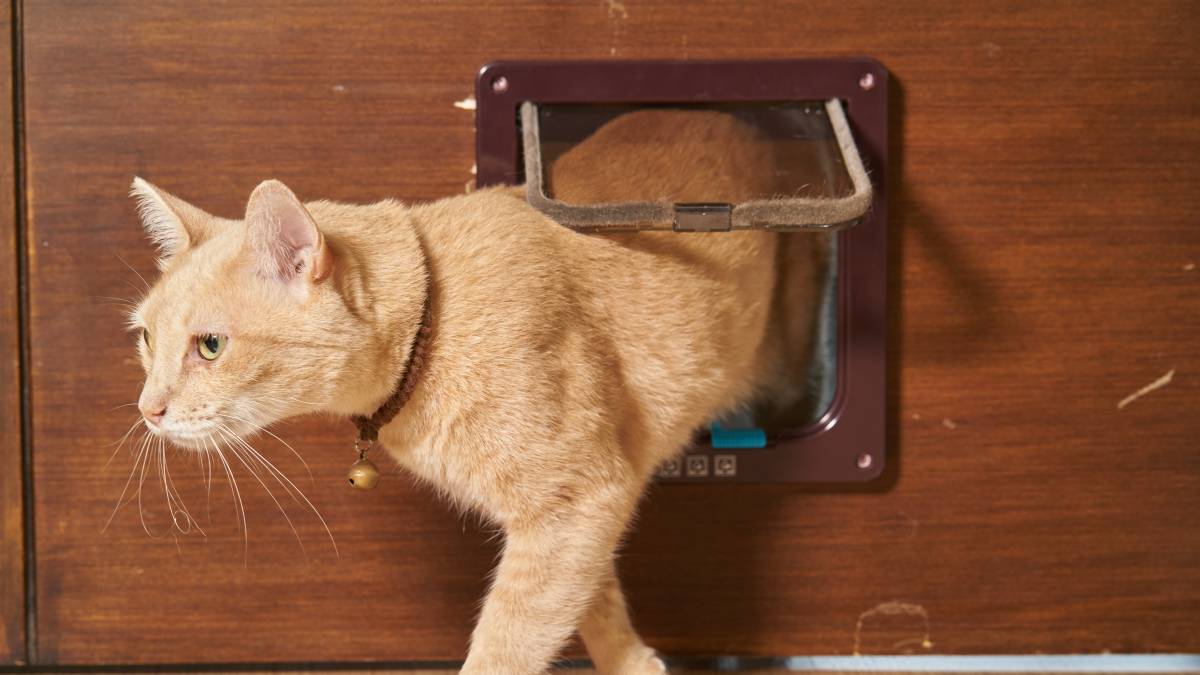
A guide to installing a cat door for your feline friends
Let your cat wander with their new flap!
Get help with the installationLast Updated on
One of the things that bother cat owners is how their furry friends can go out to potty when they’re not at home. A helpful way to train your cats while allowing them to go as needed is by installing a cat door!
You’ve probably researched how to install a cat flap in a wooden door or even sought out cat doors for wall installations but still don’t know where to start. Fret not, because our guide will tell you the ins and outs and cover the basics of how to install a cat door!
What do I need to install a cat door?
Before you start installing your cat door, prepare the following tools and materials:
Cat door kit
Measuring tape
Pencil
Paper
Ruler
Scissors
Drill with a 1-inch bit
Saw
1-by-2 wood plank
Wood glue
4 C-clamps
Phillips screwdriver
Saw horses
Cat door installation tips and completion time
Determine which part of the house to install the cat door. Keep in mind that placing a cat flap in interior doors with a hollow core will require added preparation and work, as a wooden support frame will need to be installed in the interior of the door.
When choosing a cat door, consider the price, the size of your cat, and if you have multiple cats sharing the door. For example, if you have one cat bigger than the other, it's best to go with a door that fits the larger cat.
You must also consider where you'll set it up, as this will determine the material of the cat door you'll use. Depending on the area, the cat door must be able to withstand extreme weather, rain, or snow.
Installing a cat door can be as quick as less than an hour or more, depending on the type of door material you intend to place the cat door on.
Step-by-step guide to cat door installation
Step 1: Prepare the door
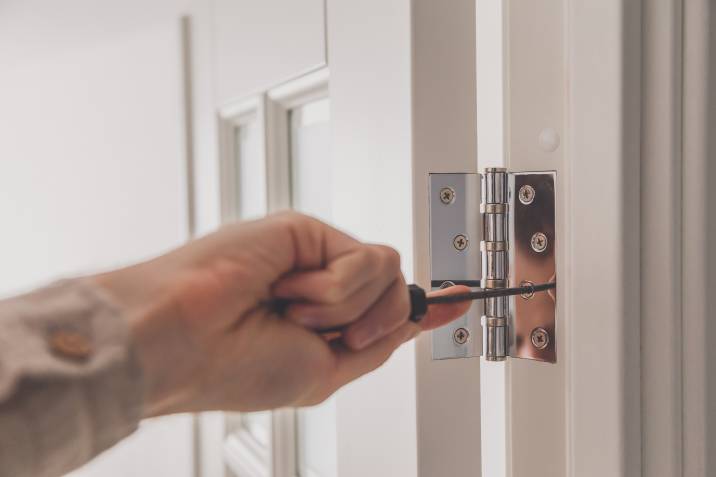
Before starting the project, unscrew the door from its hinges and lay it on a table or saw horses (if you have these around). This is to help you cut and place the cat door precisely where you need it and allow you to work on this project comfortably at standing height.
Step 2: Get measuring
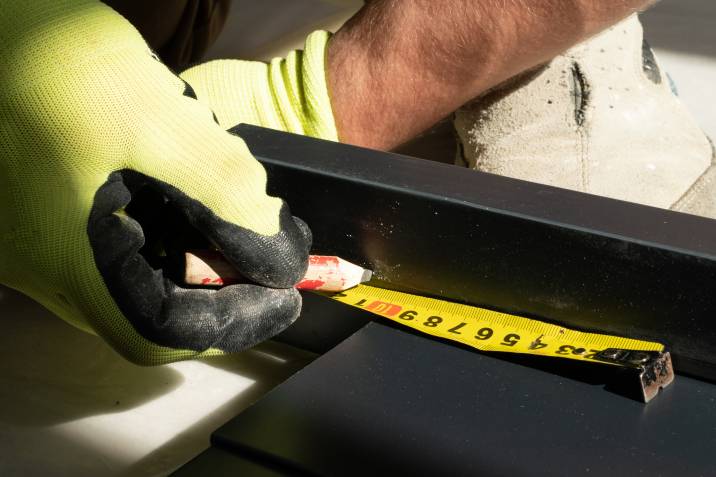
Using a measuring tape, measure the height of the cat's belly from the ground to its stomach. This is how high the cat door needs to be from the bottom of the door.
Measure the door to find its centre point. Start by marking 12 inches up from the floor at the centre point on the interior and exterior sides of the door.
Then, cut out the cat door template included in the kit by transferring its dimensions and cutting it out. Place the template in the centre with the bottom lined up to the 12-inch centre point mark you created earlier. Trace around the template, ensuring the marks are as even and level as possible.
Step 3: Mark it with holes and start sawing
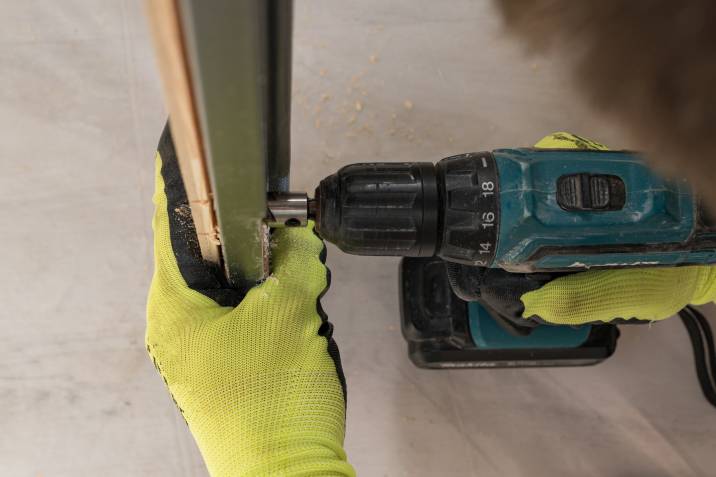
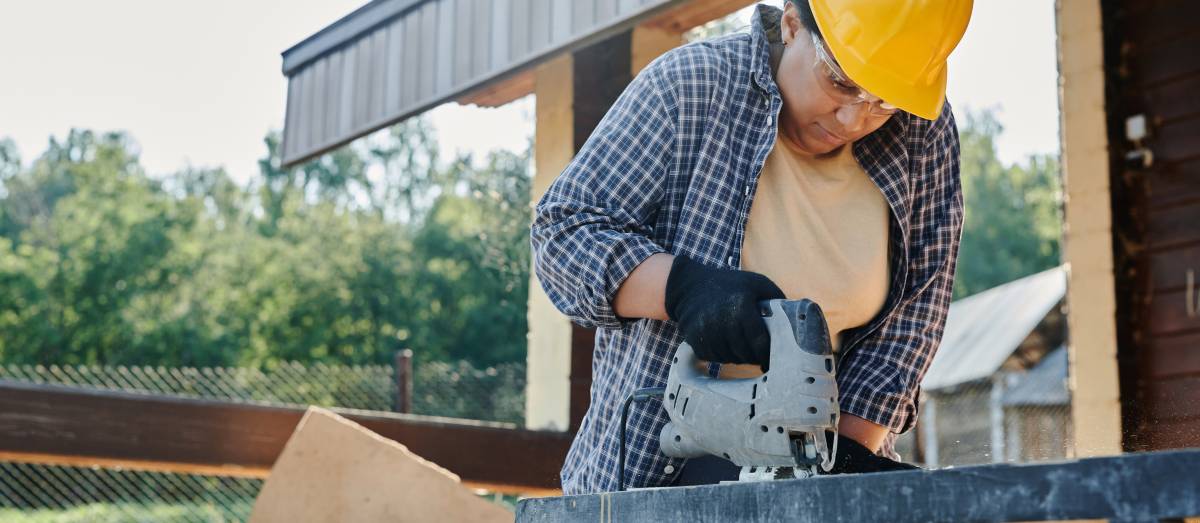
Using a drill with a 1-inch bit, drill a 1-inch hole on each corner of the door pattern to create access points for the saw. Carefully follow and cut along the traced line of the pattern with the saw.
Make sure to wear proper safety gear when handling power tools. Always be careful when using such tools.
Step 4: Create the wooden frame
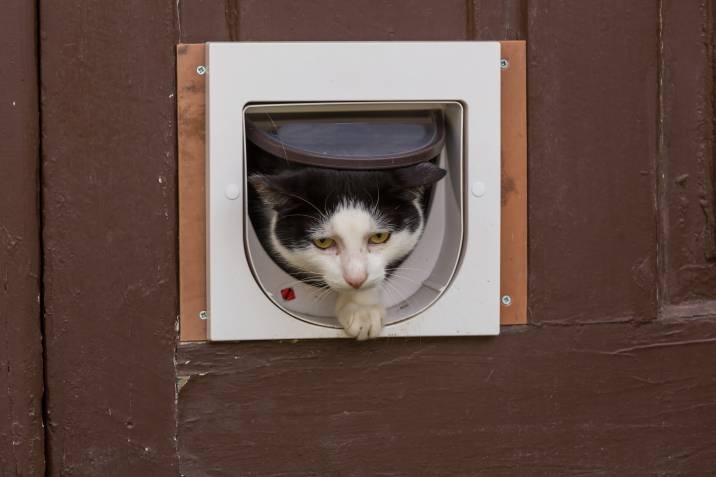
Measure the interior dimensions (width, height, and length) of the cat door hole. These measurements will be used to make a wooden support frame for the cat door opening.
Cut out four pieces of wood from the 1-by-2-inch wood plank. Cut a piece per each side of the opening from the dimensions you gathered.
Step 5: Fit the pieces in
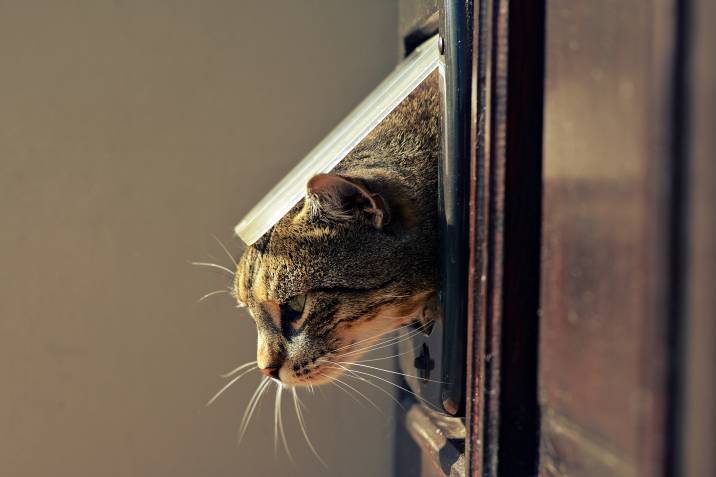
To attach the wooden frame, follow these steps:
Apply wood glue to the sides of the cut wood pieces and insert them onto the wooden door. The top surface of the wood pieces should line up with the cut edge of the cat door opening.
Use C-clamps to hold each section of the door to a wood piece, and wait at least 12 hours for the wood glue to dry.
Once the glue has set, you can install the cat door's interior side.
Loosely attach the interior side to the wooden door by screwing the centre screws on each side of the door.
Install the exterior frame into the hole of the door.
Push the frame into the door until the flanges of each side meet on the inside.
Loosely attach the frame of the cat door with screws.
Test it to ensure that the cat door is aligned with the door and fits well.
Step 6: Secure the door in place
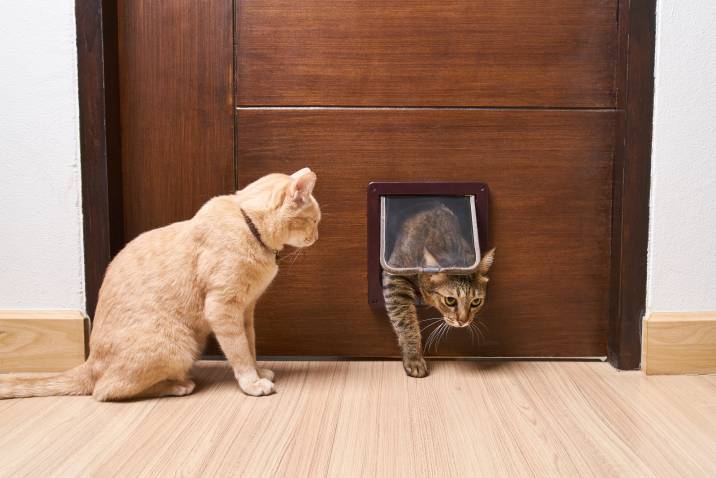
Once you're happy with the positioning and your cat can comfortably go in and out of it, you can start securing the pieces with the screws. Reattach the door back to its door frame by screwing back the hinges. Then, wait and see your feline friends test their new door!
In case this project isn't something you're confident to do yourself, you can call a handyman to help you with tasks like this. You can also reach out to them if you need to repair broken cat doors.
A purr-fect investment for your cats!
Give your feline companions handy entry and exit doors to let them roam around your property and leave you in peace. No more meowing to get you to open the door for them!
Got no time to install the cat door yourself, or would you rather leave it to the pros? Contact a skilled cat door installer through Airtasker to help you place handy flaps around for your cats.
Frequently asked questions
Installing a cat door is a relatively easy DIY project; chances are you already have the required tools to do it. The installation will vary, depending on the material of the door and the style.
The cost of installing a cat door will vary, depending on the location and materials. Cat door installation can start at $70, depending on the size, style, and where it will be placed.
You can install an interior cat door by following our step-by-step guide. It covers the basics of cat door installation, from sizing your feline friends down to placing the frame.
Find cat door installers, fast
Find a cat door installer
Related articles
How to install curtain rods
Read more
Best blue-collar jobs on Airtasker
Read more
How to Soundproof a Room
Read more
30 Eye-catching pantry door ideas
Read more
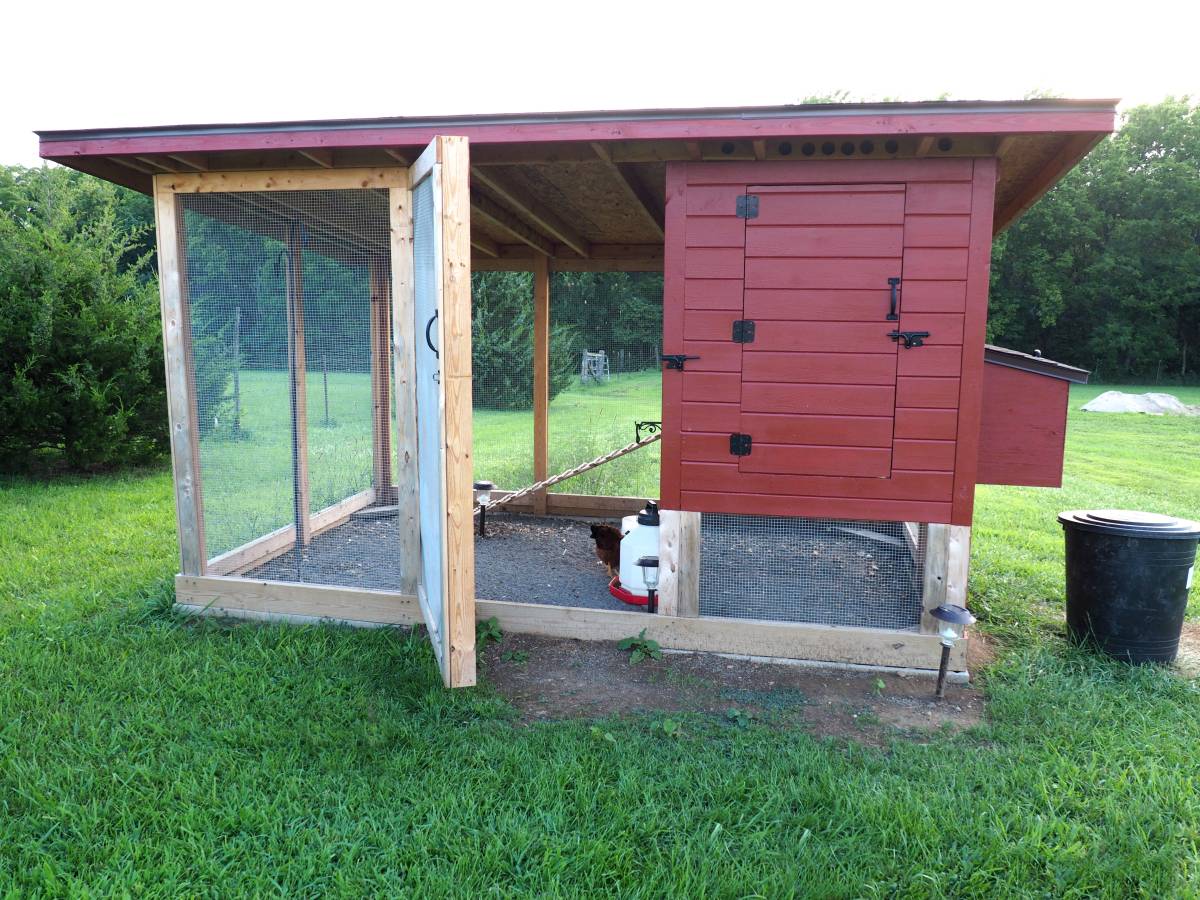
How to fox proof your chicken coop
Read more
Related price guides
What are average handyman prices?
Read more
How much does treadmill repair cost?
Read more

How much does clock repair cost?
Read more
How much does hot tub repair cost?
Read more
How much do roman blinds cost?
Read more
How much does window repair cost?
Read more

How much does signage cost?
Read more
How much do chainsaw services cost?
Read more
