- Home/
- Guides/
- Car Detailing/
- How to Detail Your Own Car
How to detail your own car with ease
Everything you need to know about DIY car detailing
Hire a car detailing expertLast Updated on
Is your car looking a bit grubby? Don’t despair. You can transform your dirty car into a sparkling, clean beauty with some elbow grease and the right techniques.
This straightforward, step-by-step guide covers everything about how to detail your own car. It provides DIY car tips to clean the exterior and interior thoroughly, from washing away dirt and grime to restoring faded paint and upholstery.
Learn proper techniques, from applying the two-bucket wash method to cleaning wheels, leather, and carpets. This article will also share how to engage with car detailing professionals for more difficult tasks.
What is car detailing, and why is it important?
What is detailing a car? Auto detailing goes beyond the typical wash to thoroughly clean, polish, and protect all vehicle components. Professional detailers use specialised products and techniques to clean deeply into surfaces and restore like-new shine.
It also removes contaminants that simple car cleaning cannot. Comprehensive detailing services include the following:
Thorough cleaning of the engine, hoses, and all components
Deep cleaning of all fabric and surfaces
Removing brake dust and shine from the wheel surface
This deeper-level sprucing makes a noticeable difference in appearance compared to basic car washing. It also helps extend the vehicle’s service life and may improve its resale value.
What things do you need for car detailing?
What do detailers use to clean the interior of a car? The most essential car detailing supplies and equipment include the following:
Car wash soap and shampoo
Wash mitt
Buckets
Wheel cleaner
Clay bar
Car wax or paint sealant
Microfiber cloth
If you truly want the vehicle to look squeaky clean, consider investing in these, which detail shops also use:
Leather conditioner
Leather cleaner
Upholstery cleaner
Glass cleaner
Wheel brush
Furniture polish
Lint-free cloth
Scrub brush
Pressure washer
Compressed air
Soapy water
Steps to detailing your car well
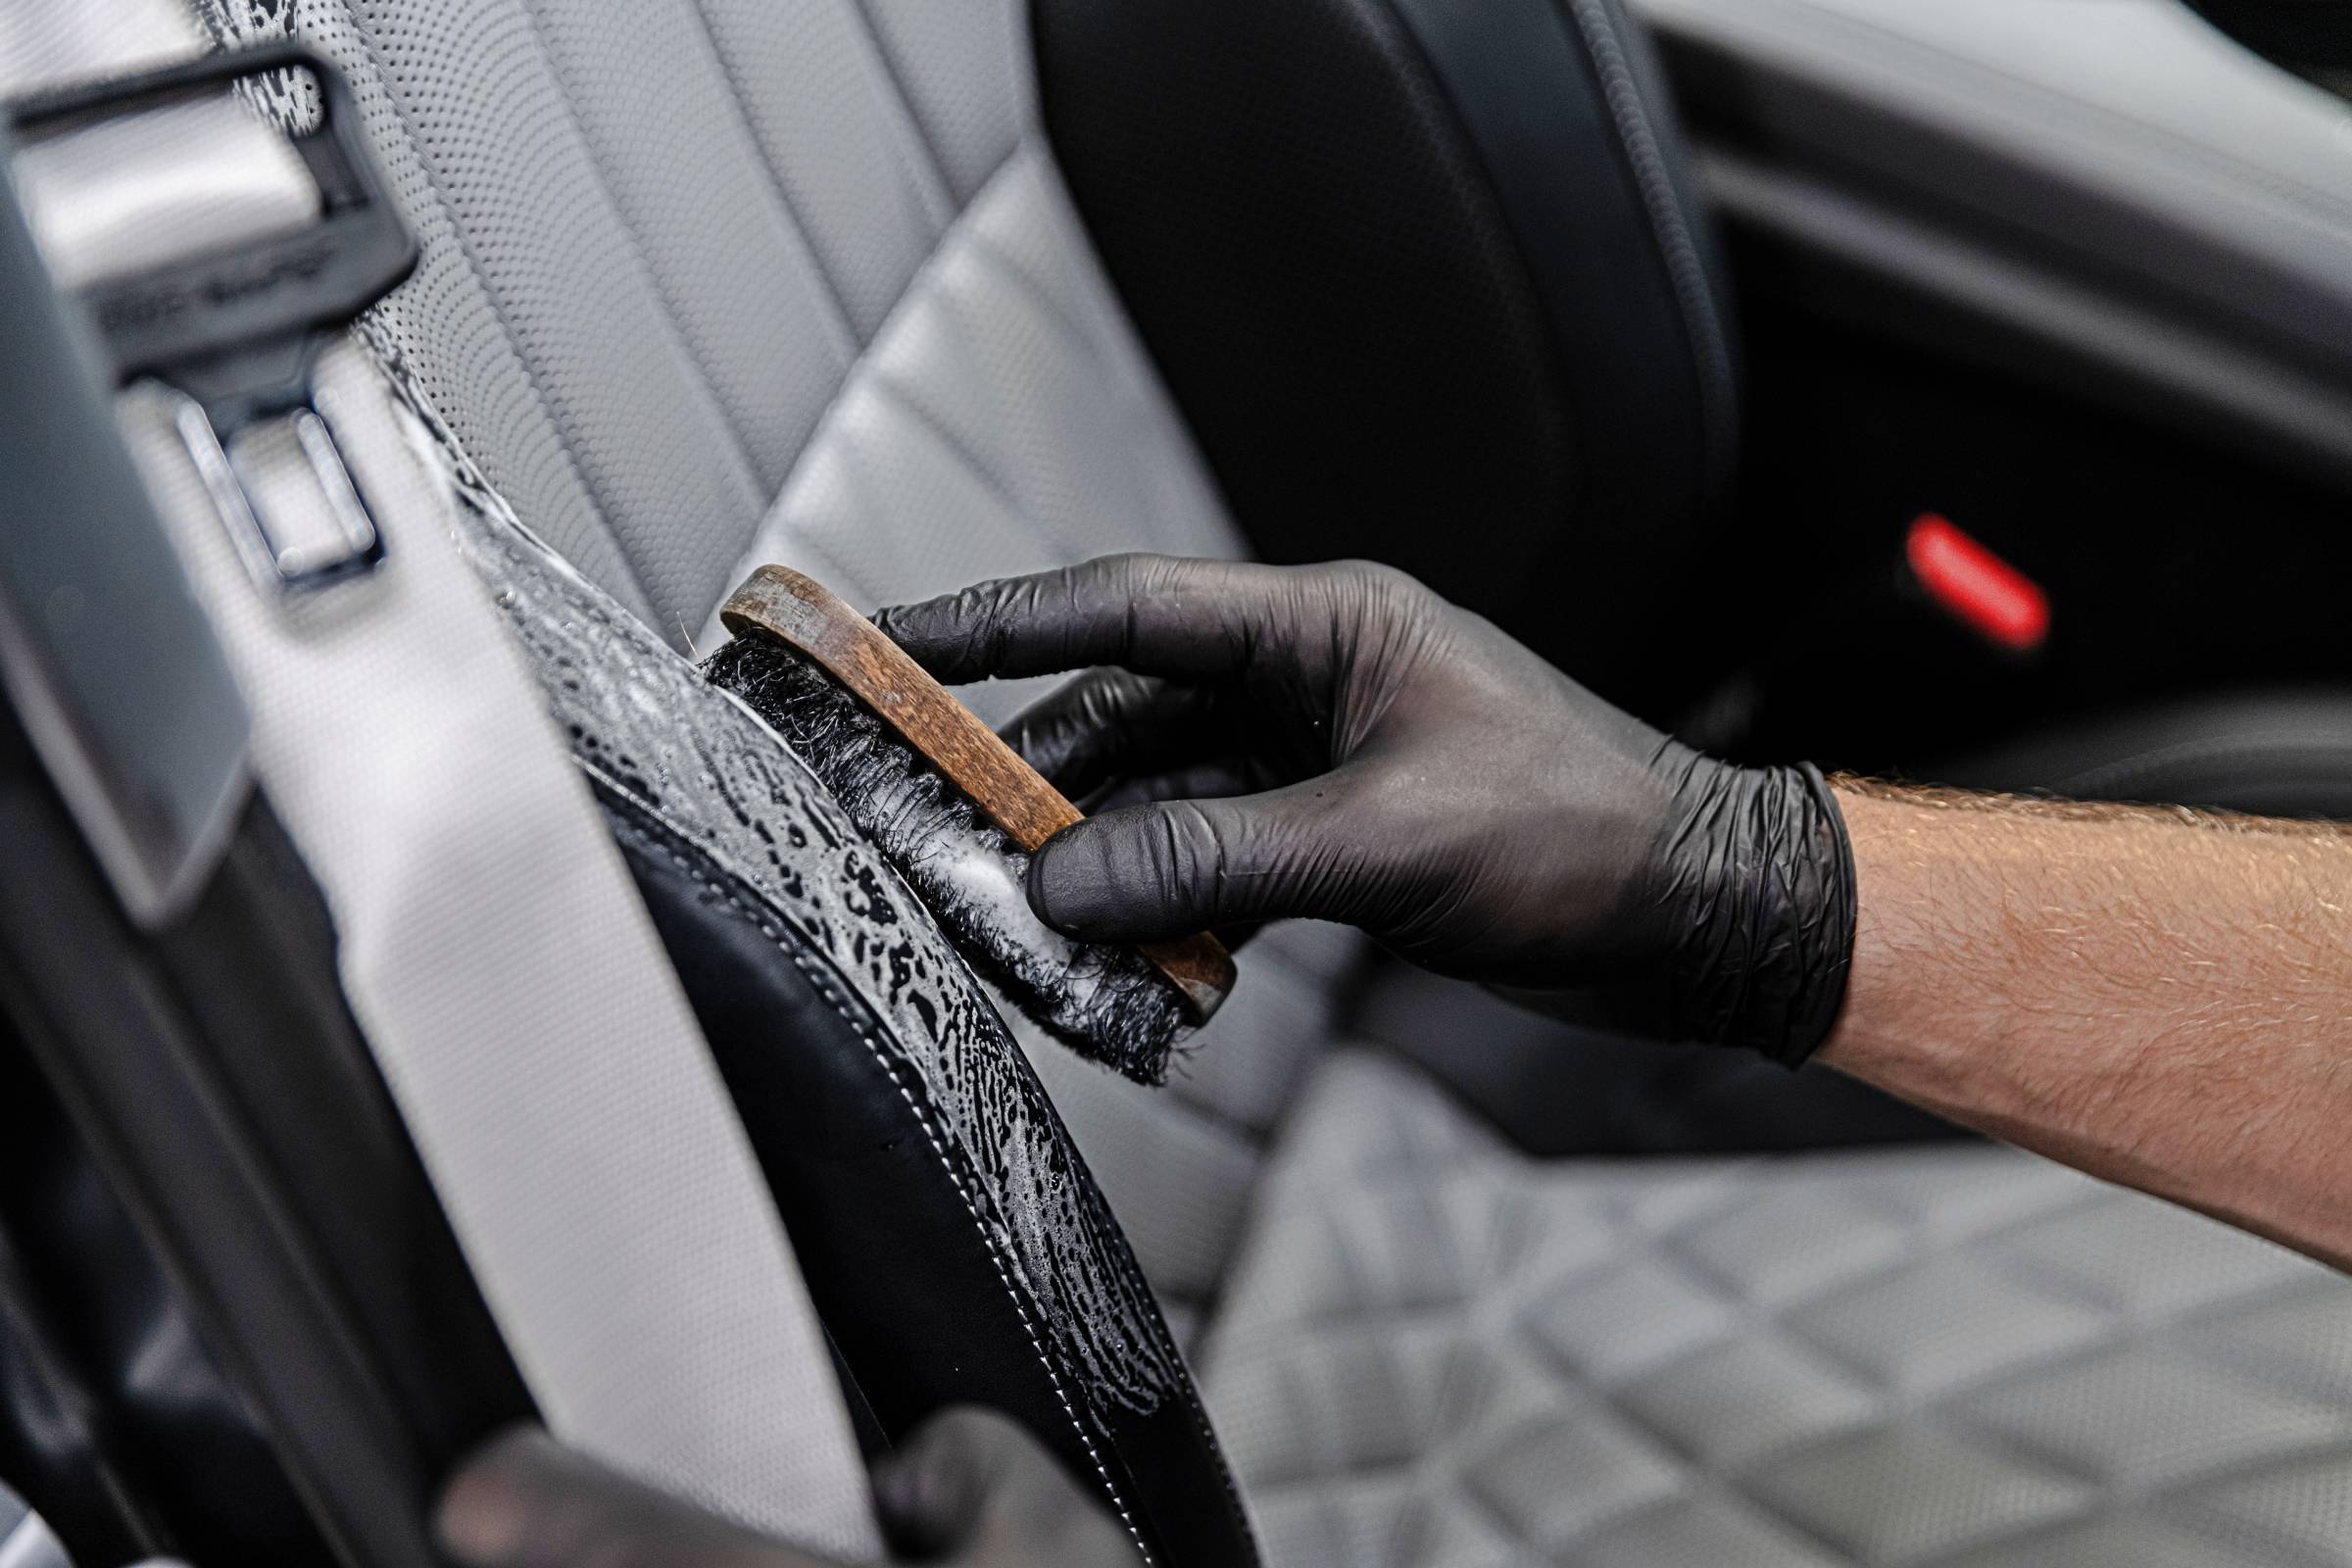
Achieving a show-quality detail on your car is satisfying but requires time and technique. For those who want a professional-grade detailing job without the hassle, experts are ready to help. However, this makes a fun project if you are willing to take the risk and have a lot of time. So gather your supplies now and follow these five car detailing steps.
Step 1: Prep the vehicle
Don’t make the same mistakes some car owners make, which is to tackle the job right away. Before jumping into sudsing and scrubbing, take a moment to prep your vehicle properly.
Start by moving it out of direct sunlight and into a shaded area, where surfaces won’t get hot and amplify stubborn stains. Do a pre-wash to loosen up dirt by lightly spraying your car with water first.
Avoid rubbing particles directly against the paint. Be sure to use two buckets: one bucket for wash water and another for rinse water. This prevents cross-contamination from reintroducing grime.
Gather the needed microfiber cloths and prep any cleaning solutions. Inspect for extra dirty or stained areas to focus on during the wash.
Step 2: Wash the exterior surfaces
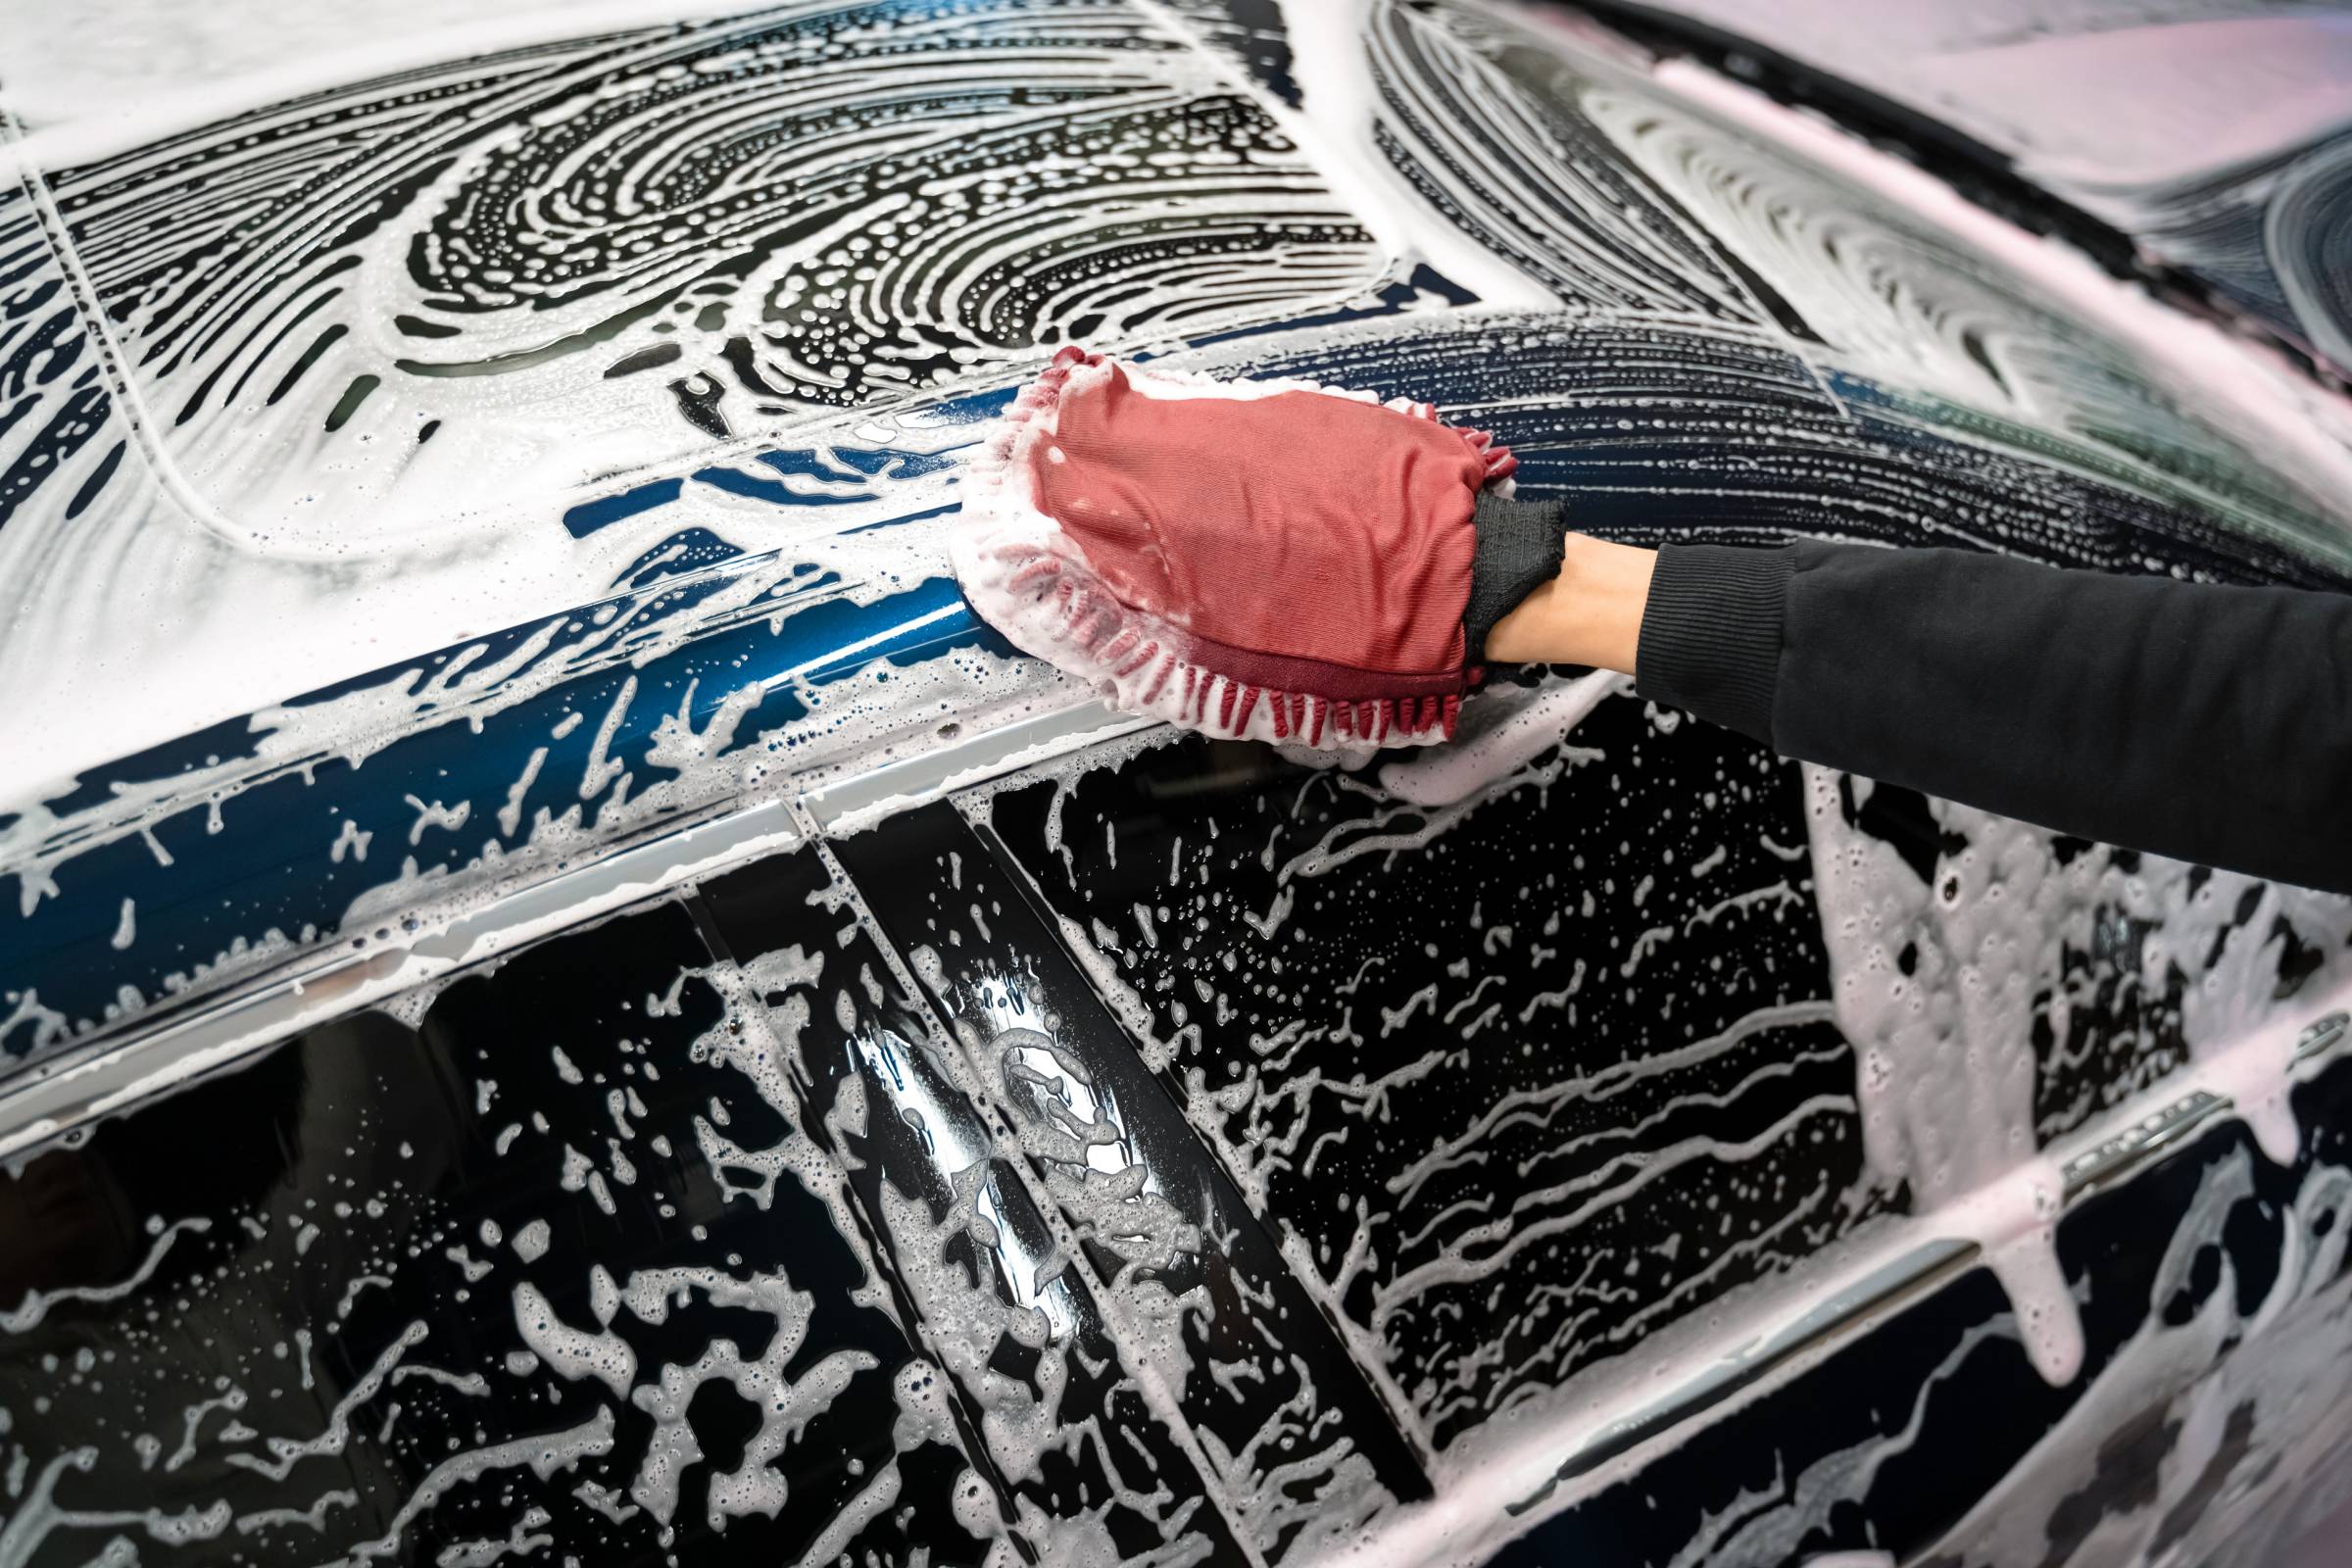
Doing car exterior detailing first restores the paint’s shine and removes bonded contaminants, such as road grime and surface dirt, before they spread into the vehicle’s interiors. In other words, it gives you a clean slate for polishing and protection.
When washing the vehicle, use a quality wash mitt and car shampoo to lift away stubborn grime gently. However, use different mitts for multiple vehicles and washes to prevent the spreading of contaminants and dirt. Avoid dish soap, which can harm the paint.
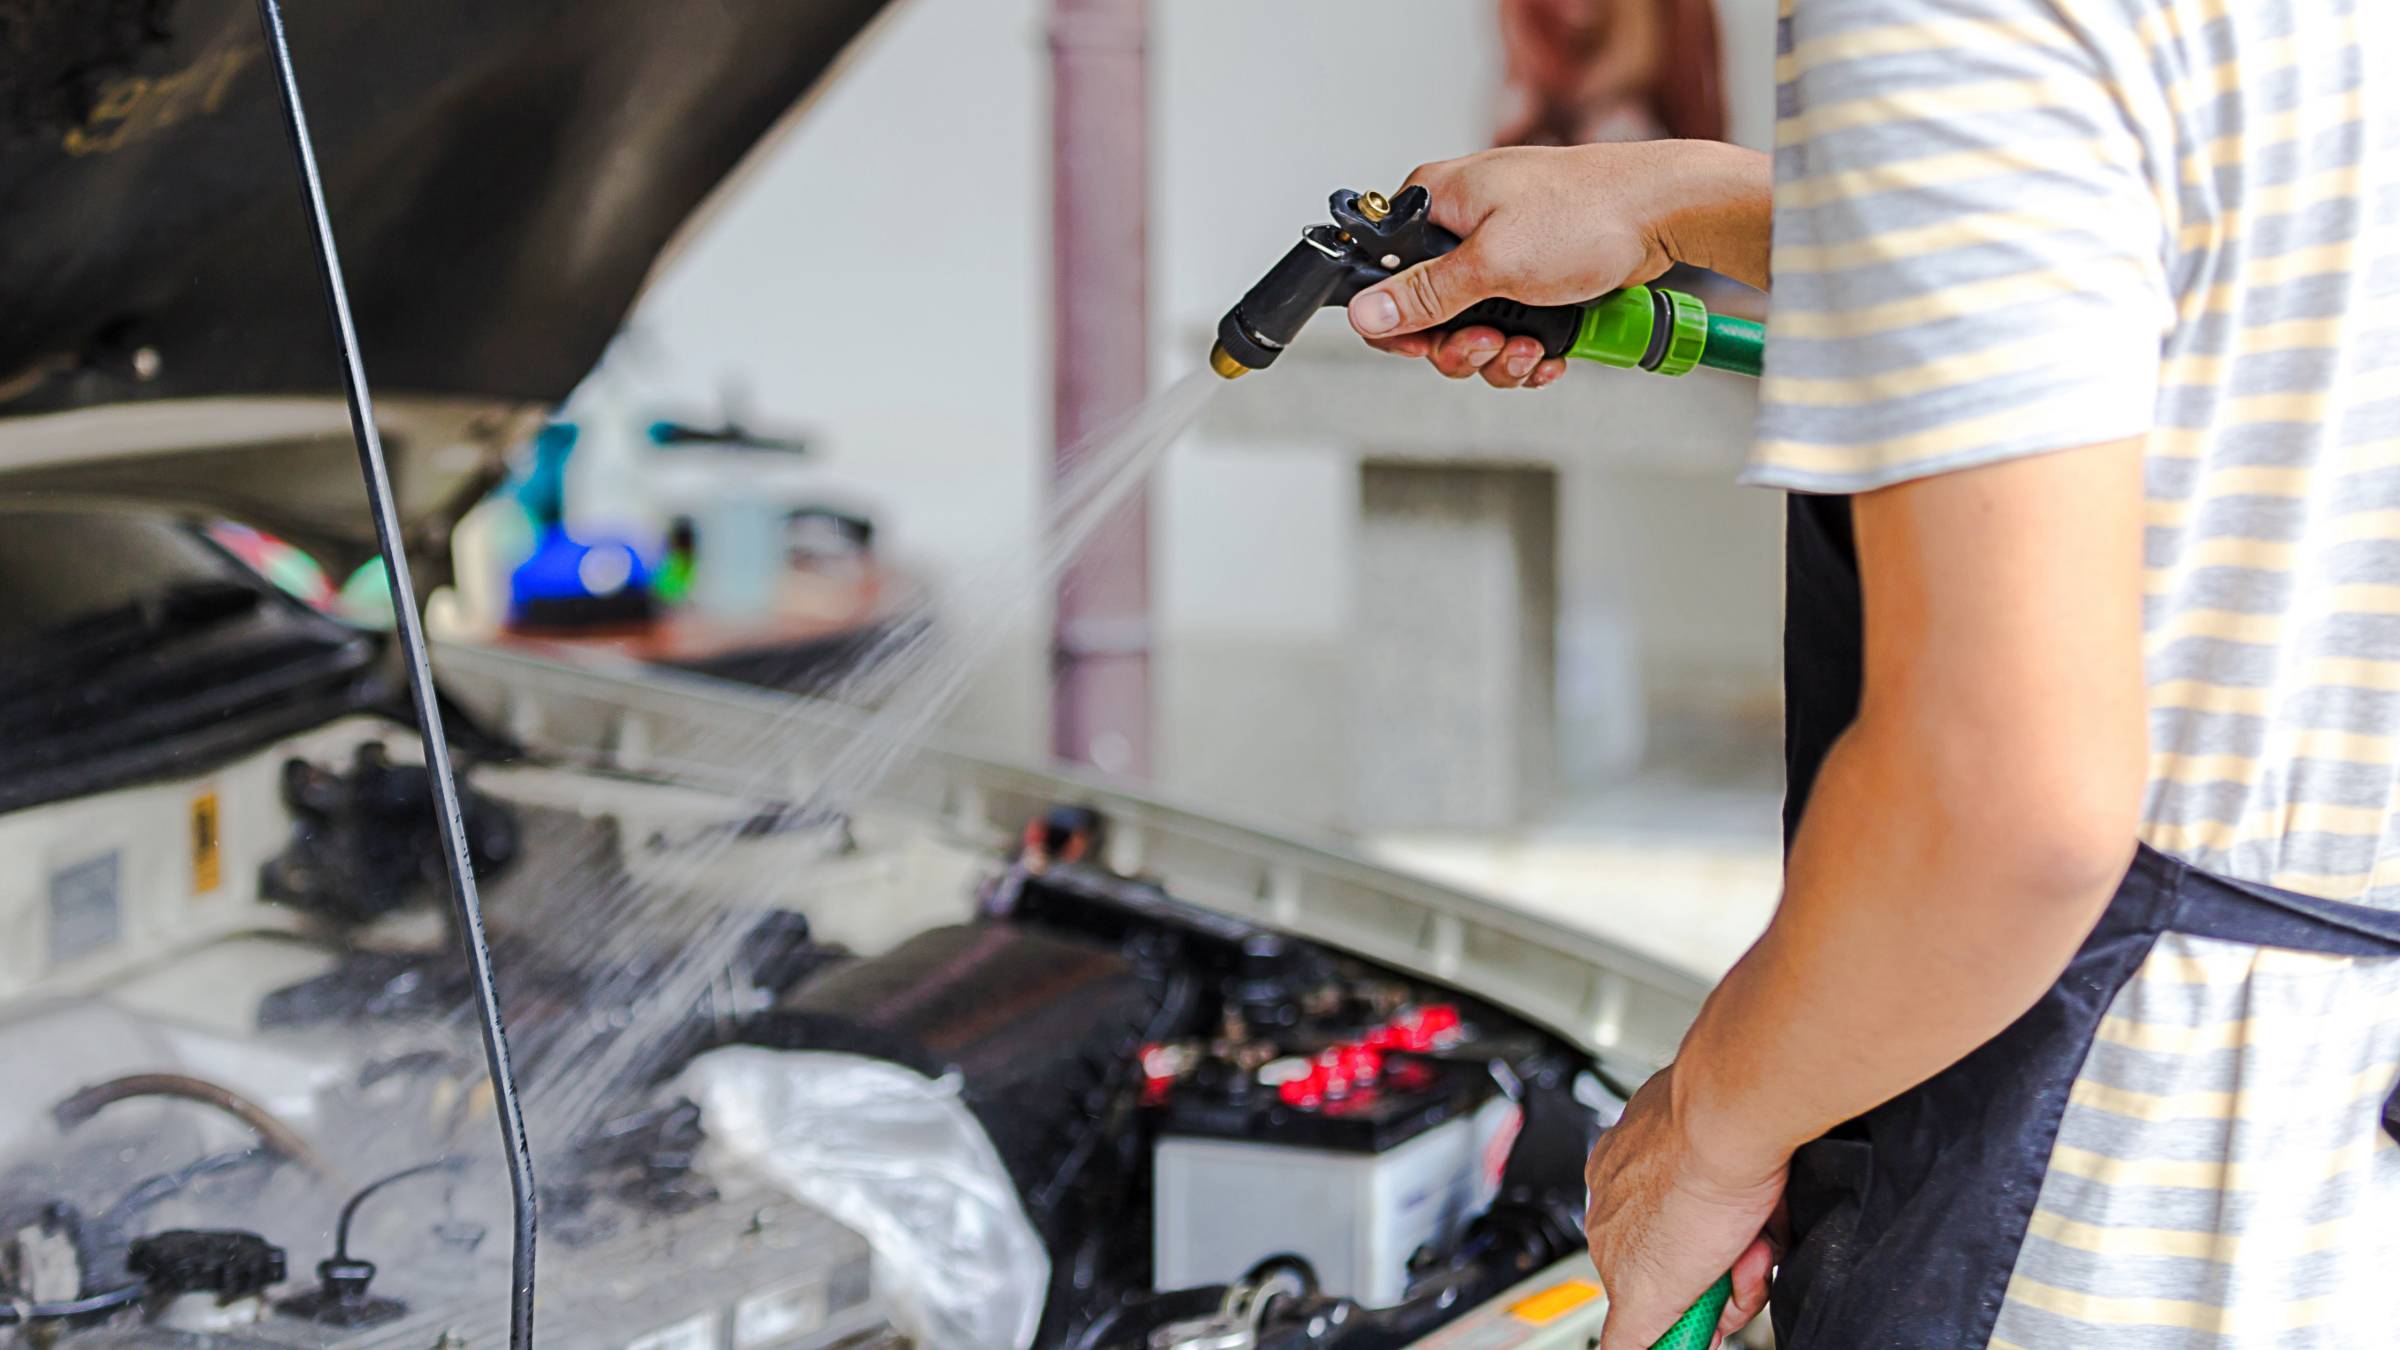
Thoroughly rinse suds and muck using a garden hose with an adjustable nozzle or another trusted water source, going section by section. Another option is a pressure washer with a psi of 1,500 and lower.
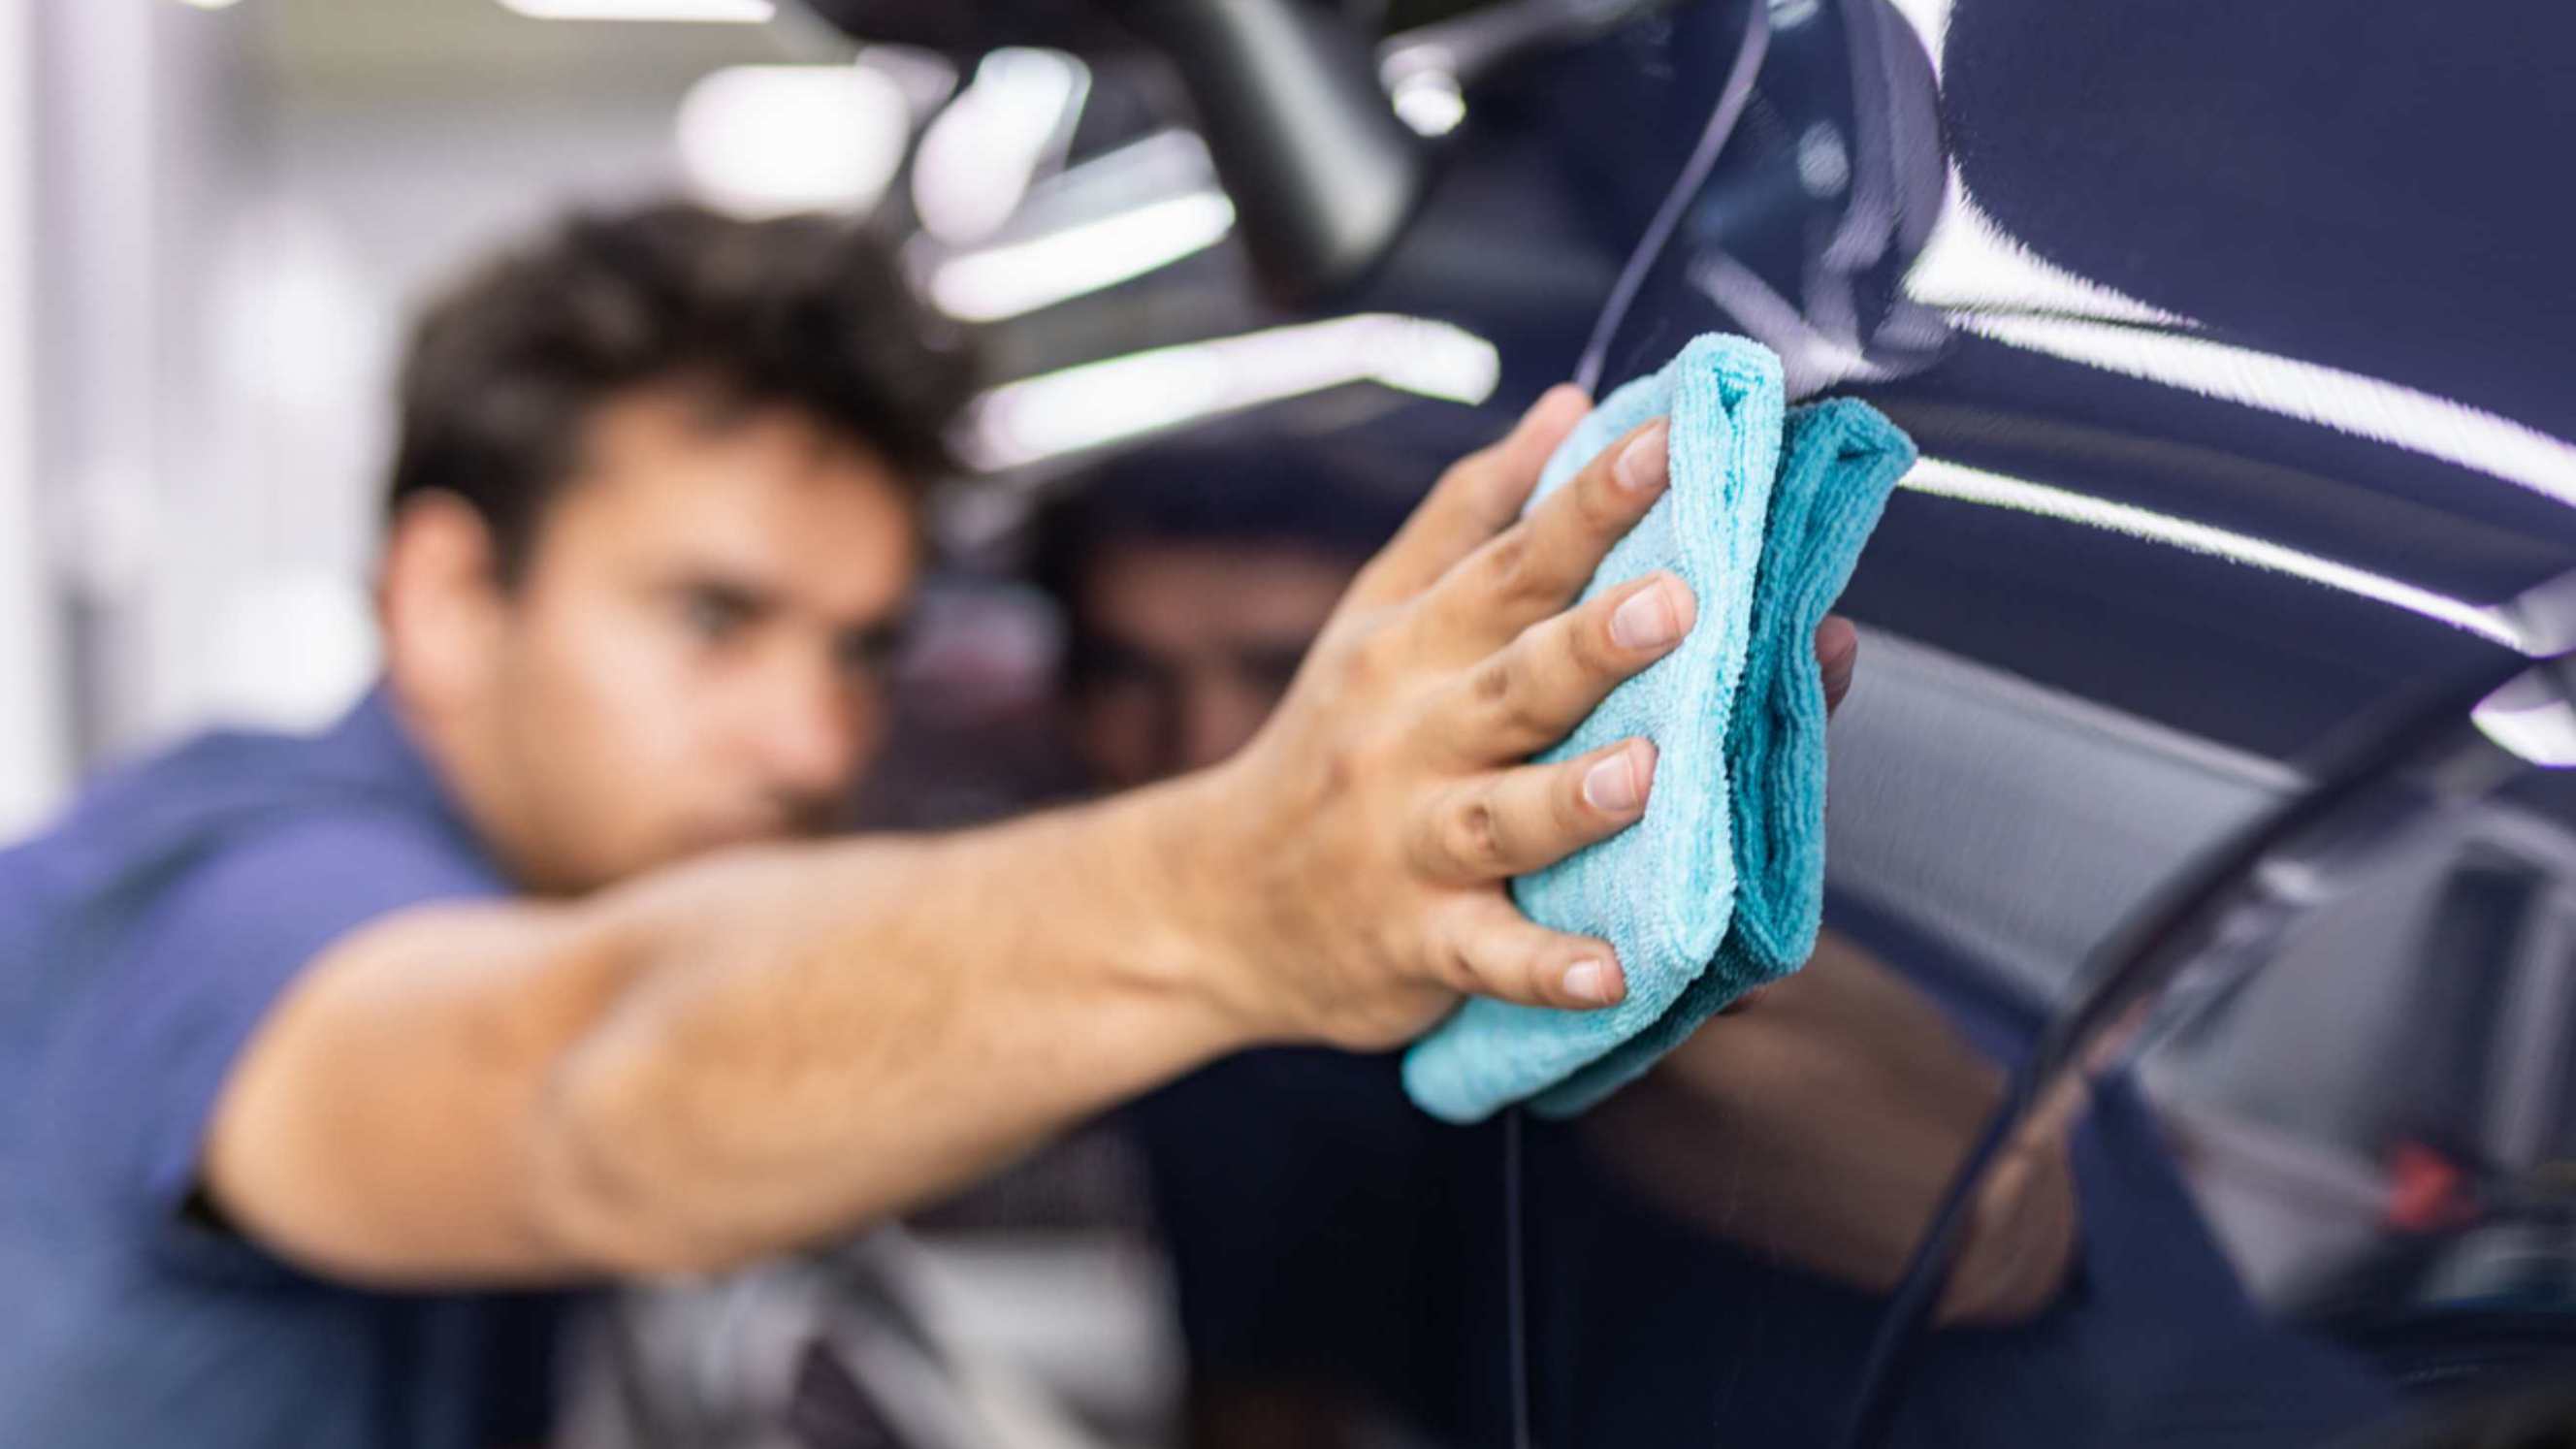
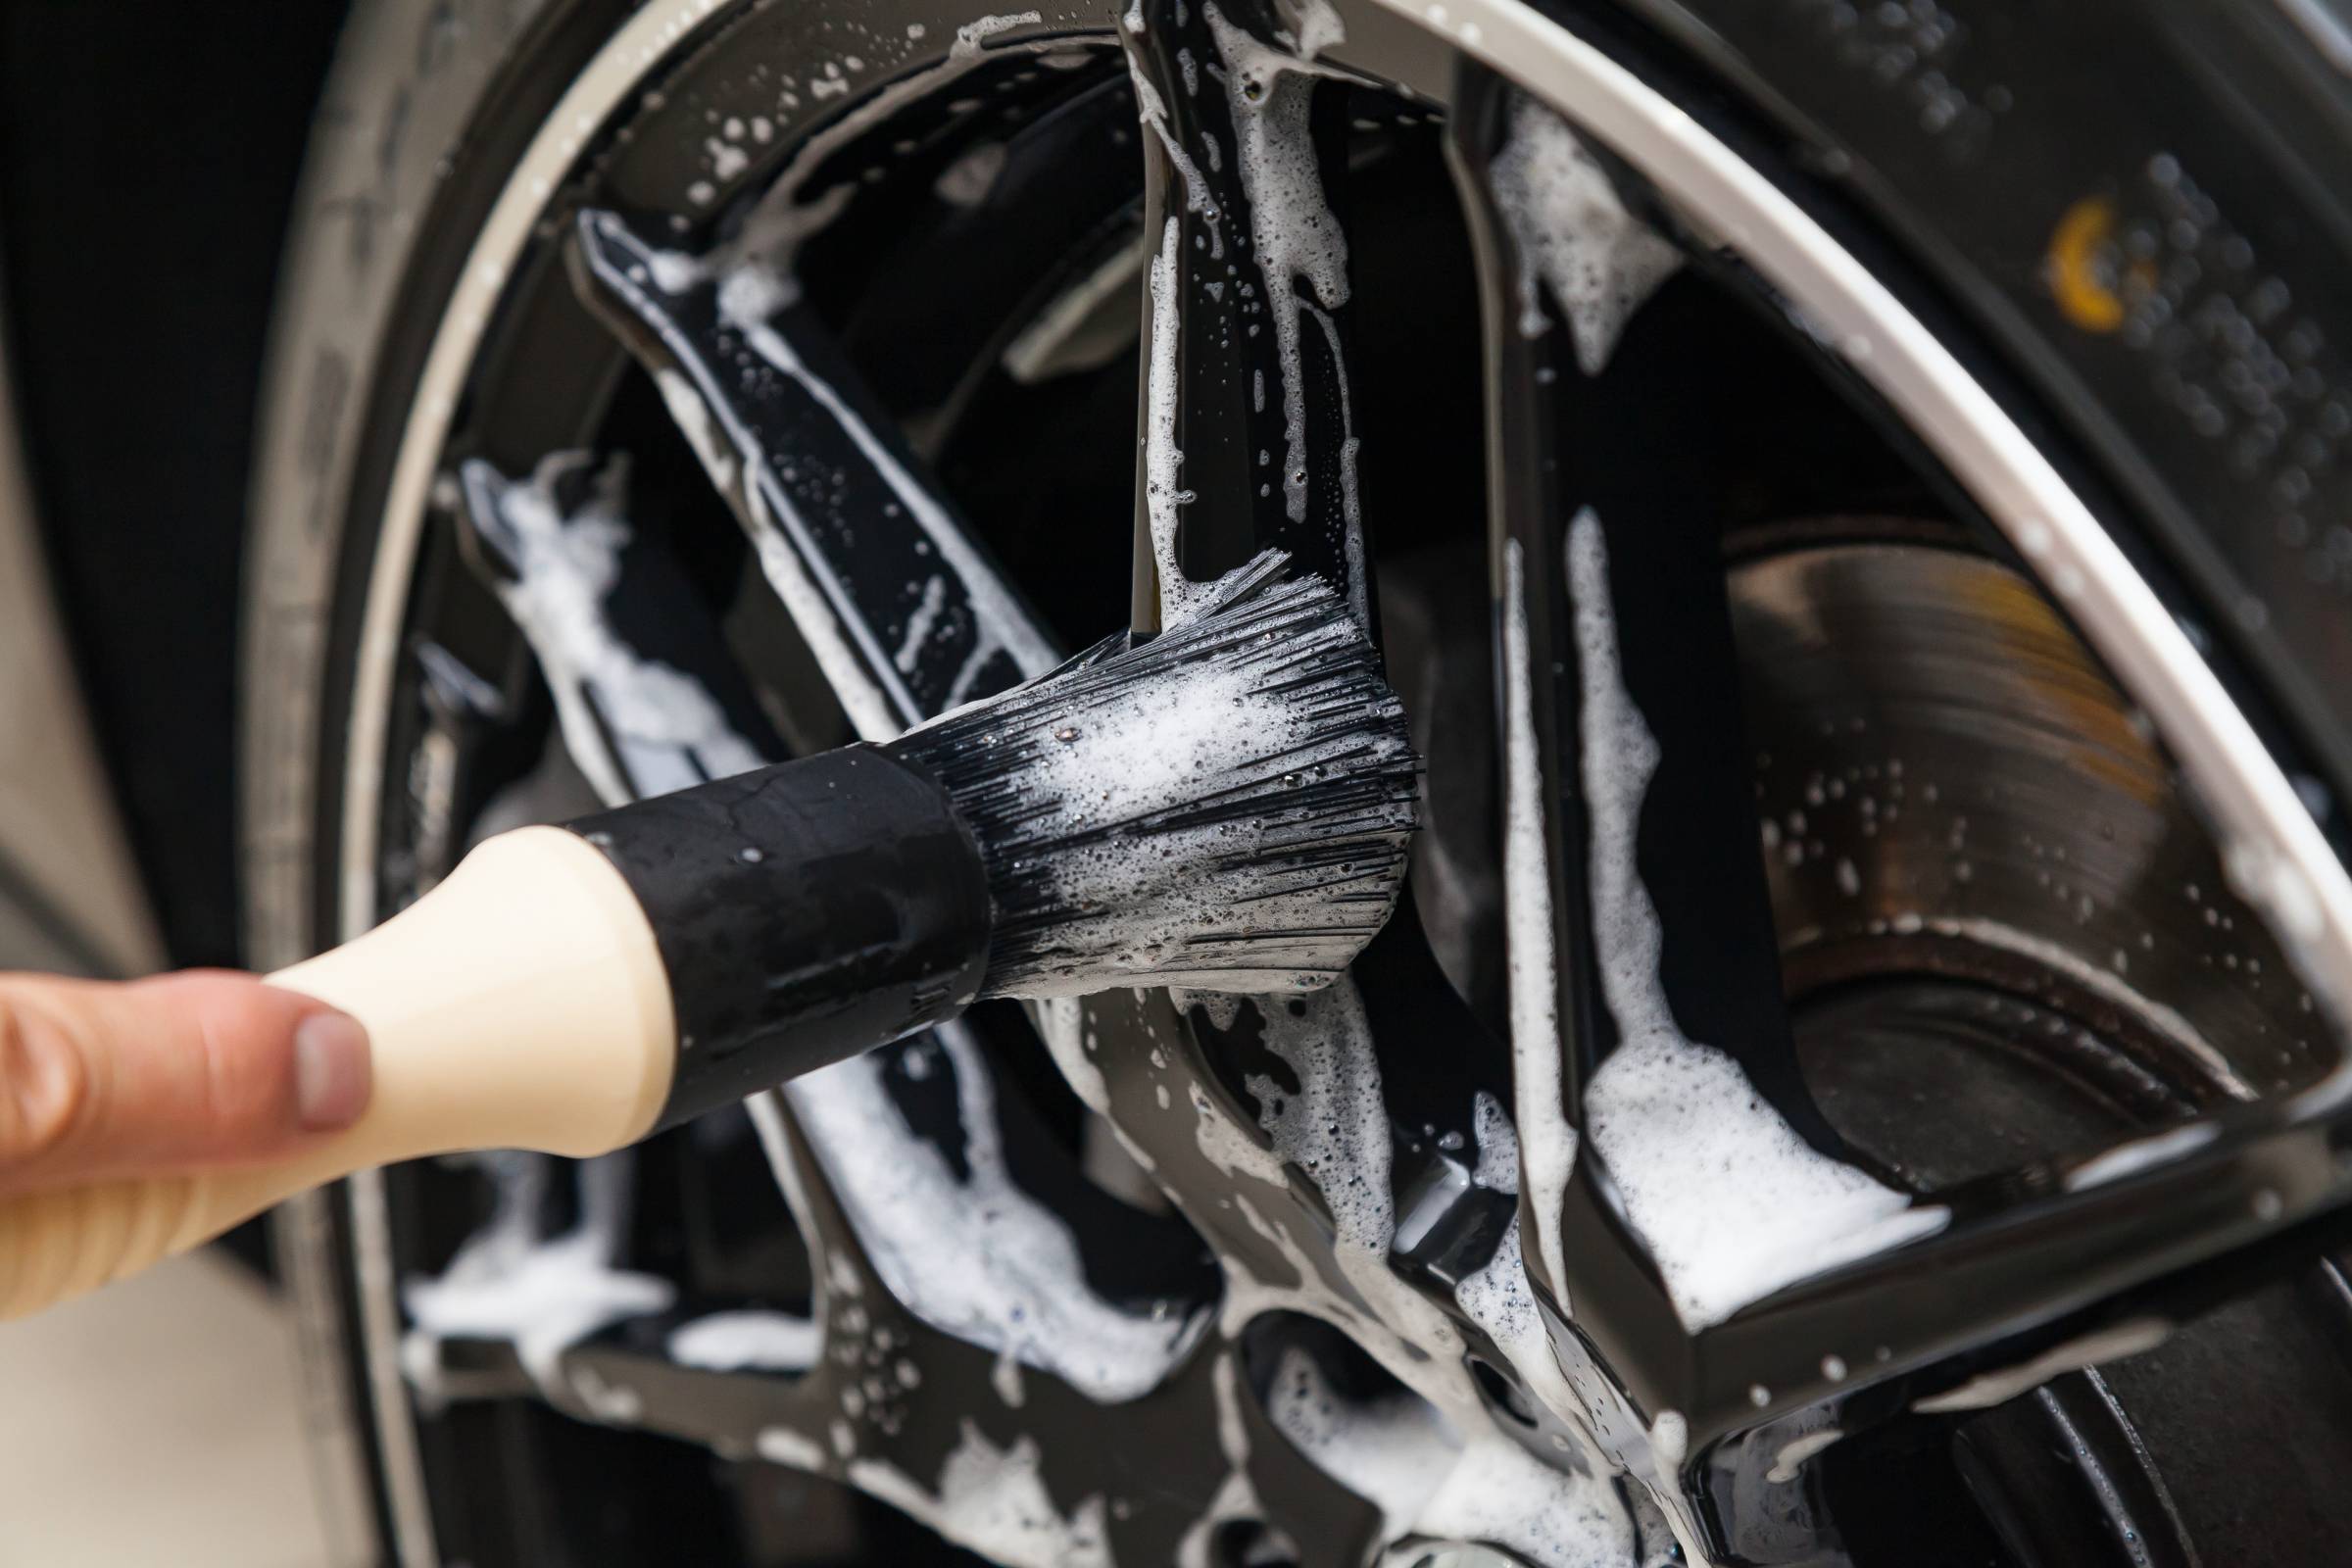
Dry by patting with microfiber towels, working top down. Never wipe across when drying, as this can scratch paint. Remember to clean wheels and wheel wells. Use a scrub brush for tougher built-up dirt on side skirts, rocker panels, and other exterior surfaces.
Step 3: Decontaminate the paint
Learning how to detail a car exterior includes paint decontamination or the removal of bonded contaminants. These particles, such as tar, sap, and iron deposits, are stuck or chemically bonded to the clearcoat of your vehicle’s paint.
Unlike regular dirt and grime, they do not disappear through regular washing alone. If you try to polish over them, they can permanently scratch the clearcoat or leave swirl marks.
Although many car detailers specialise in repairing car scratches, prevention is still better than cure. Hire an expert to do this complicated step for you. However, if you are confident to do it, consider these ideas:
Knead a clay bar into a flat pad and rub over the paint to grab contaminants.
Spray on and rinse away iron particles that are embedded in the clearcoat with a remover.
Apply a tar remover to break down stubborn tar deposits and bug splatter.
Go slowly and re-lube the clay often. Be sure to wash again after using chemical removers before moving on.
Step 4: Polish and protect the car’s exterior
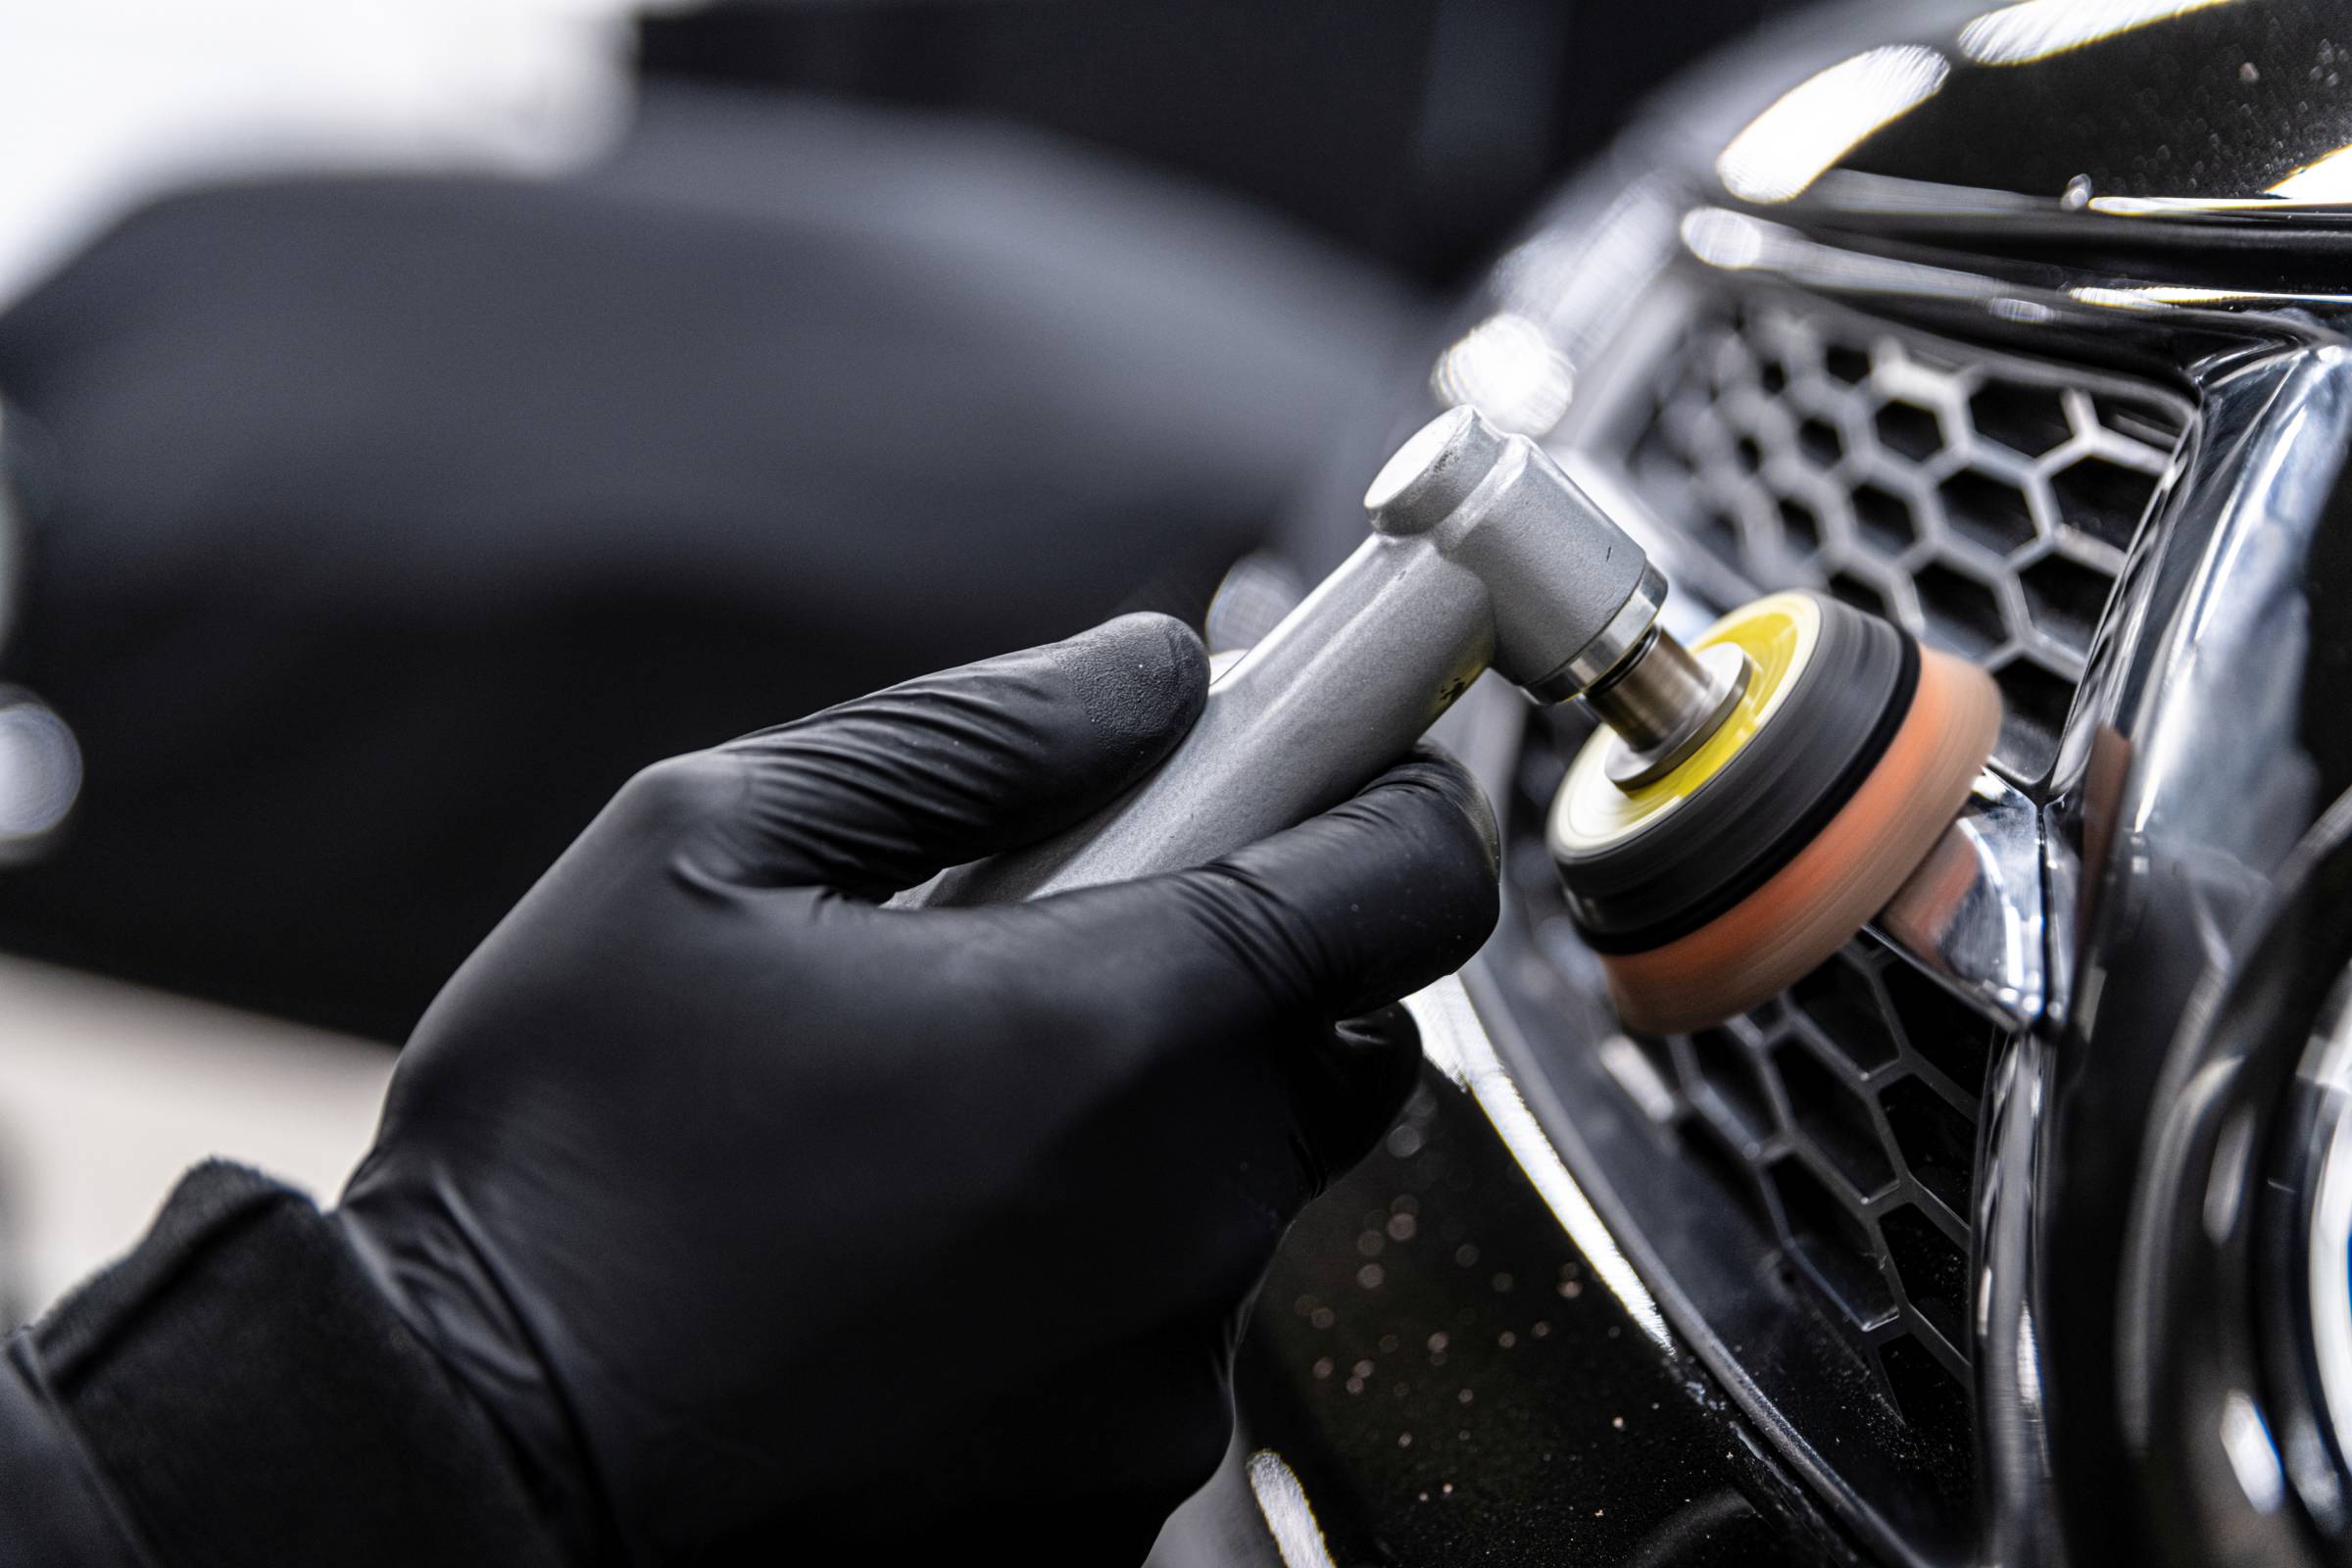
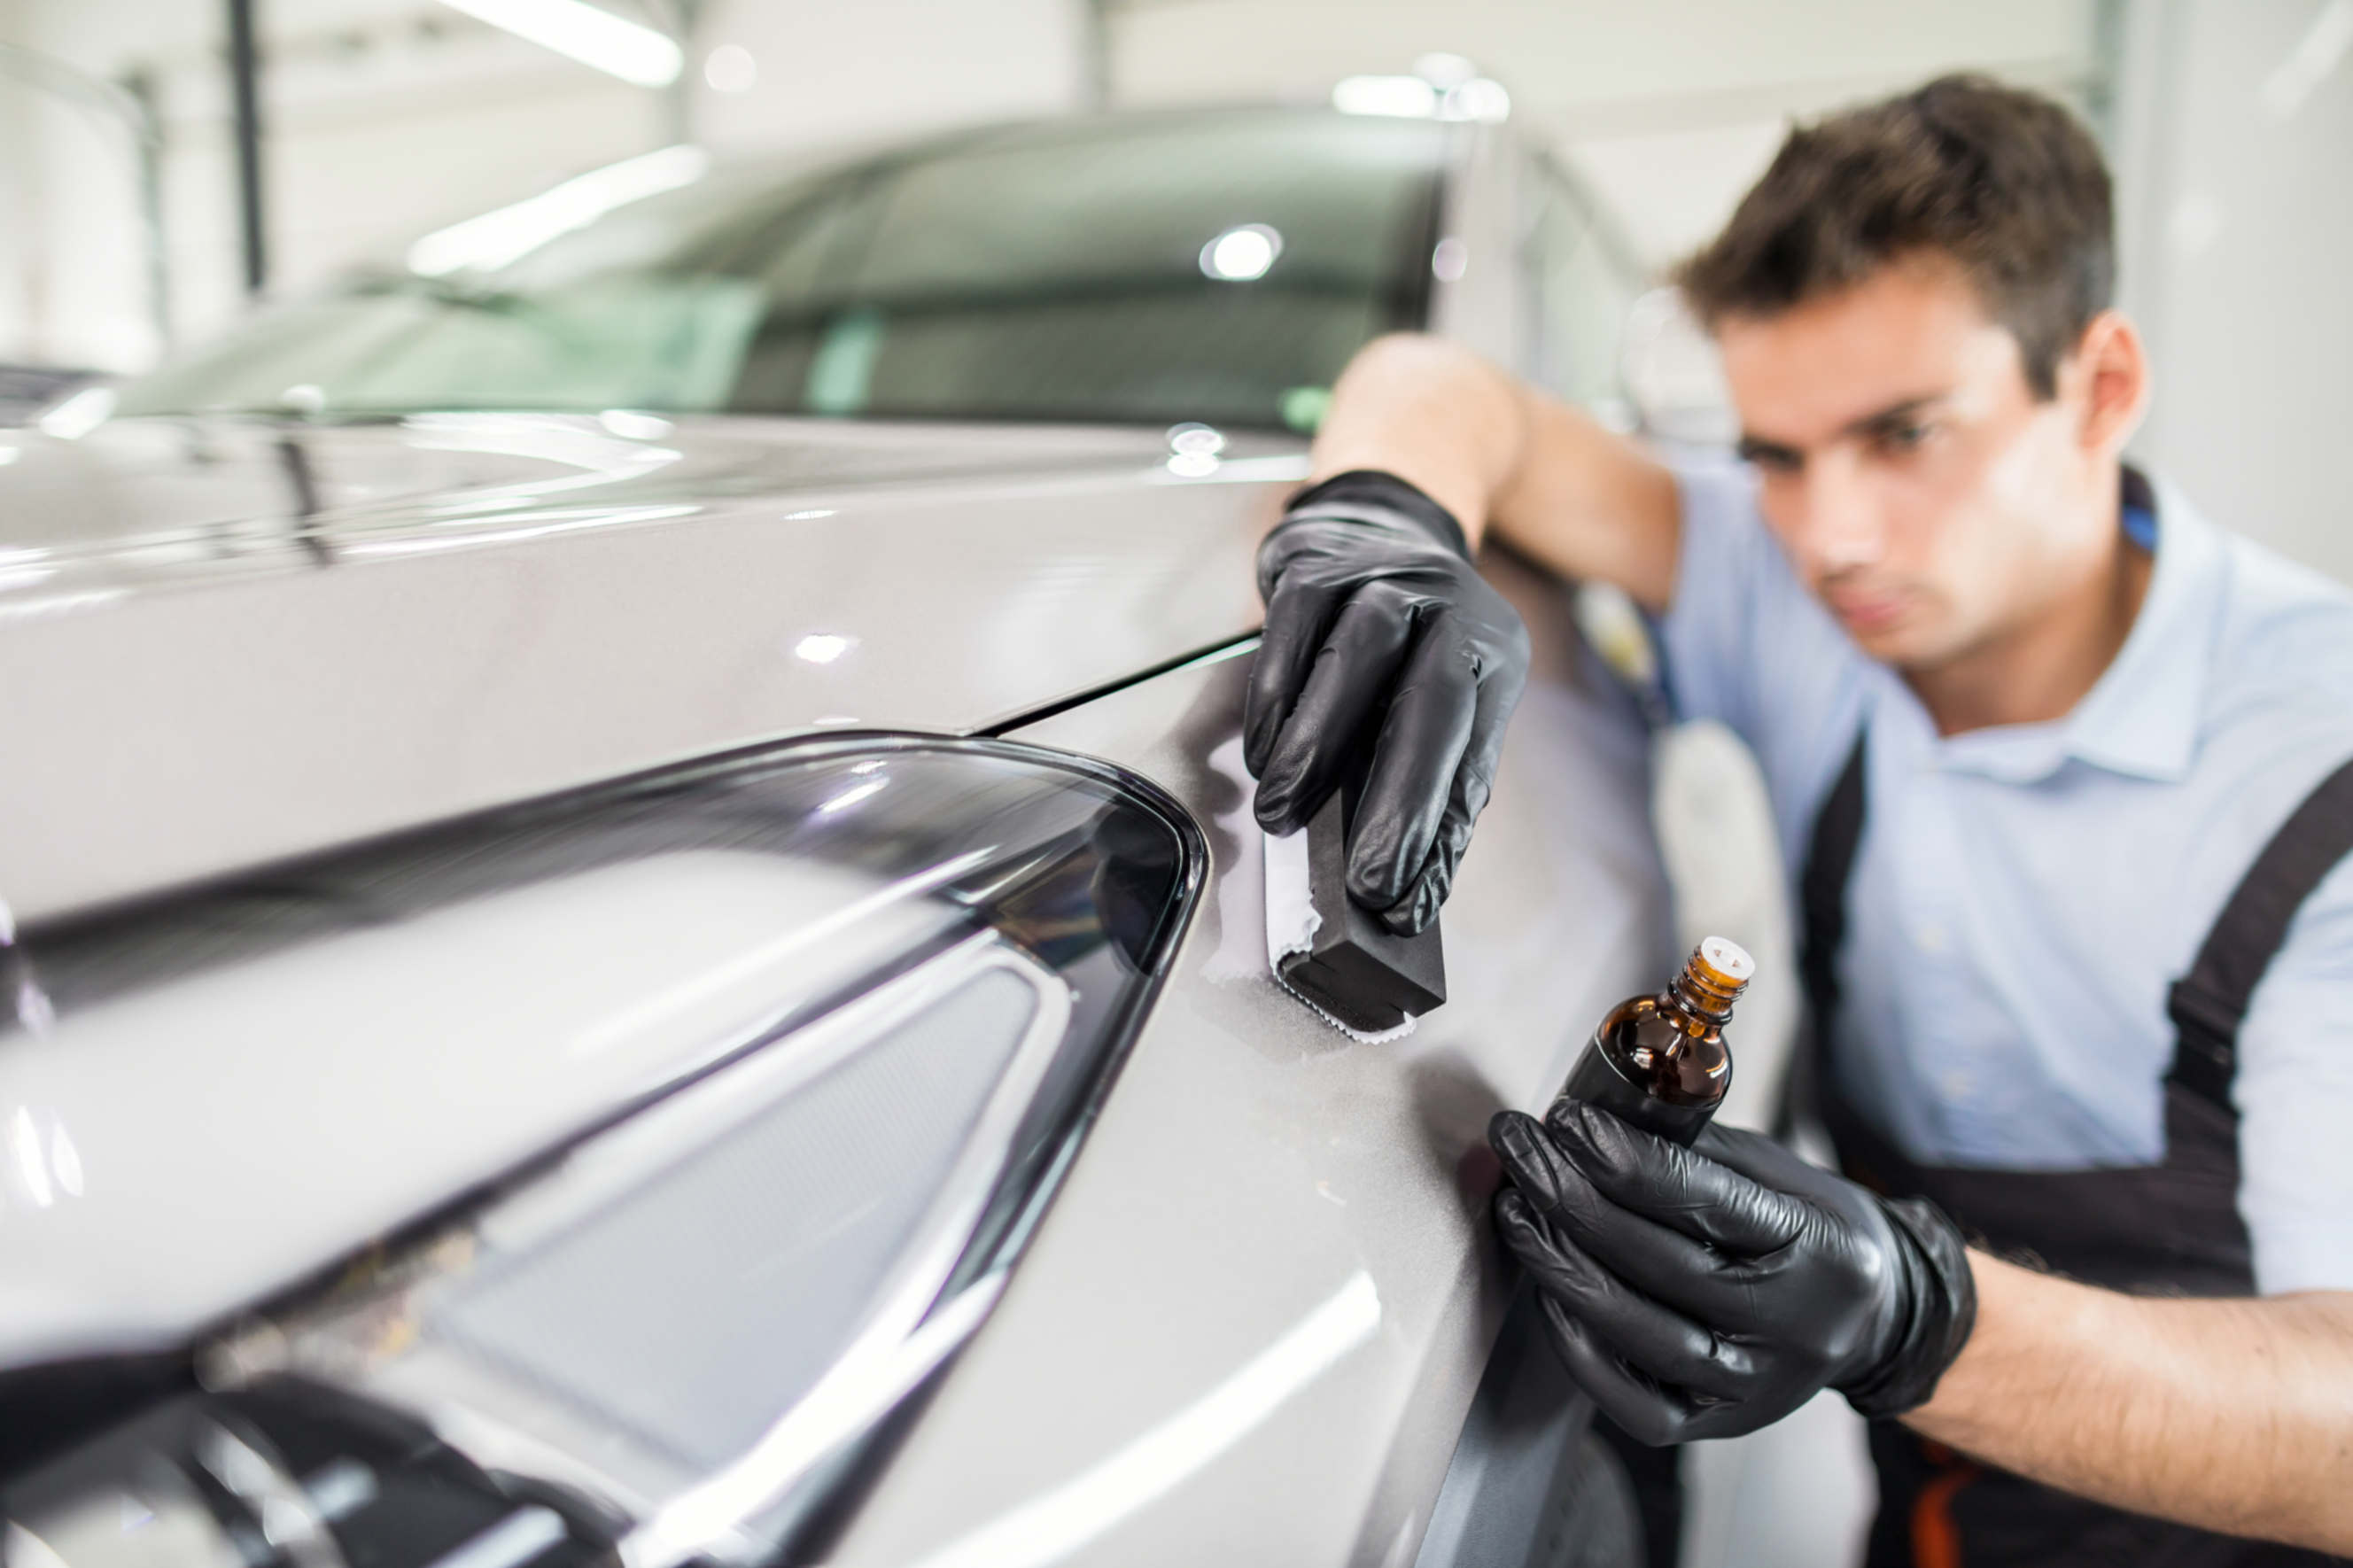
Paint polish and protection is a key part of quality auto detailing. It restores faded shine and provides a layer of defence against environmental damage. Expert car detailers and you have many options for protection products: waxes, sealants, and ceramic coatings. They differ in curing times, prices, and effects:
In terms of longevity, waxes have the shortest service life; they become ineffective after three months. Ceramic coatings can protect your vehicle’s exterior for years. They are also ideal for cars stored outside.
Sealants and waxes are the easiest to work with. Using ceramics can significantly increase the cost of auto detailing because they are more complicated to apply and require meticulous preparation from experts like panel beaters. But they leave a glossy finish compared to waxes, often creating a “wet car” look.
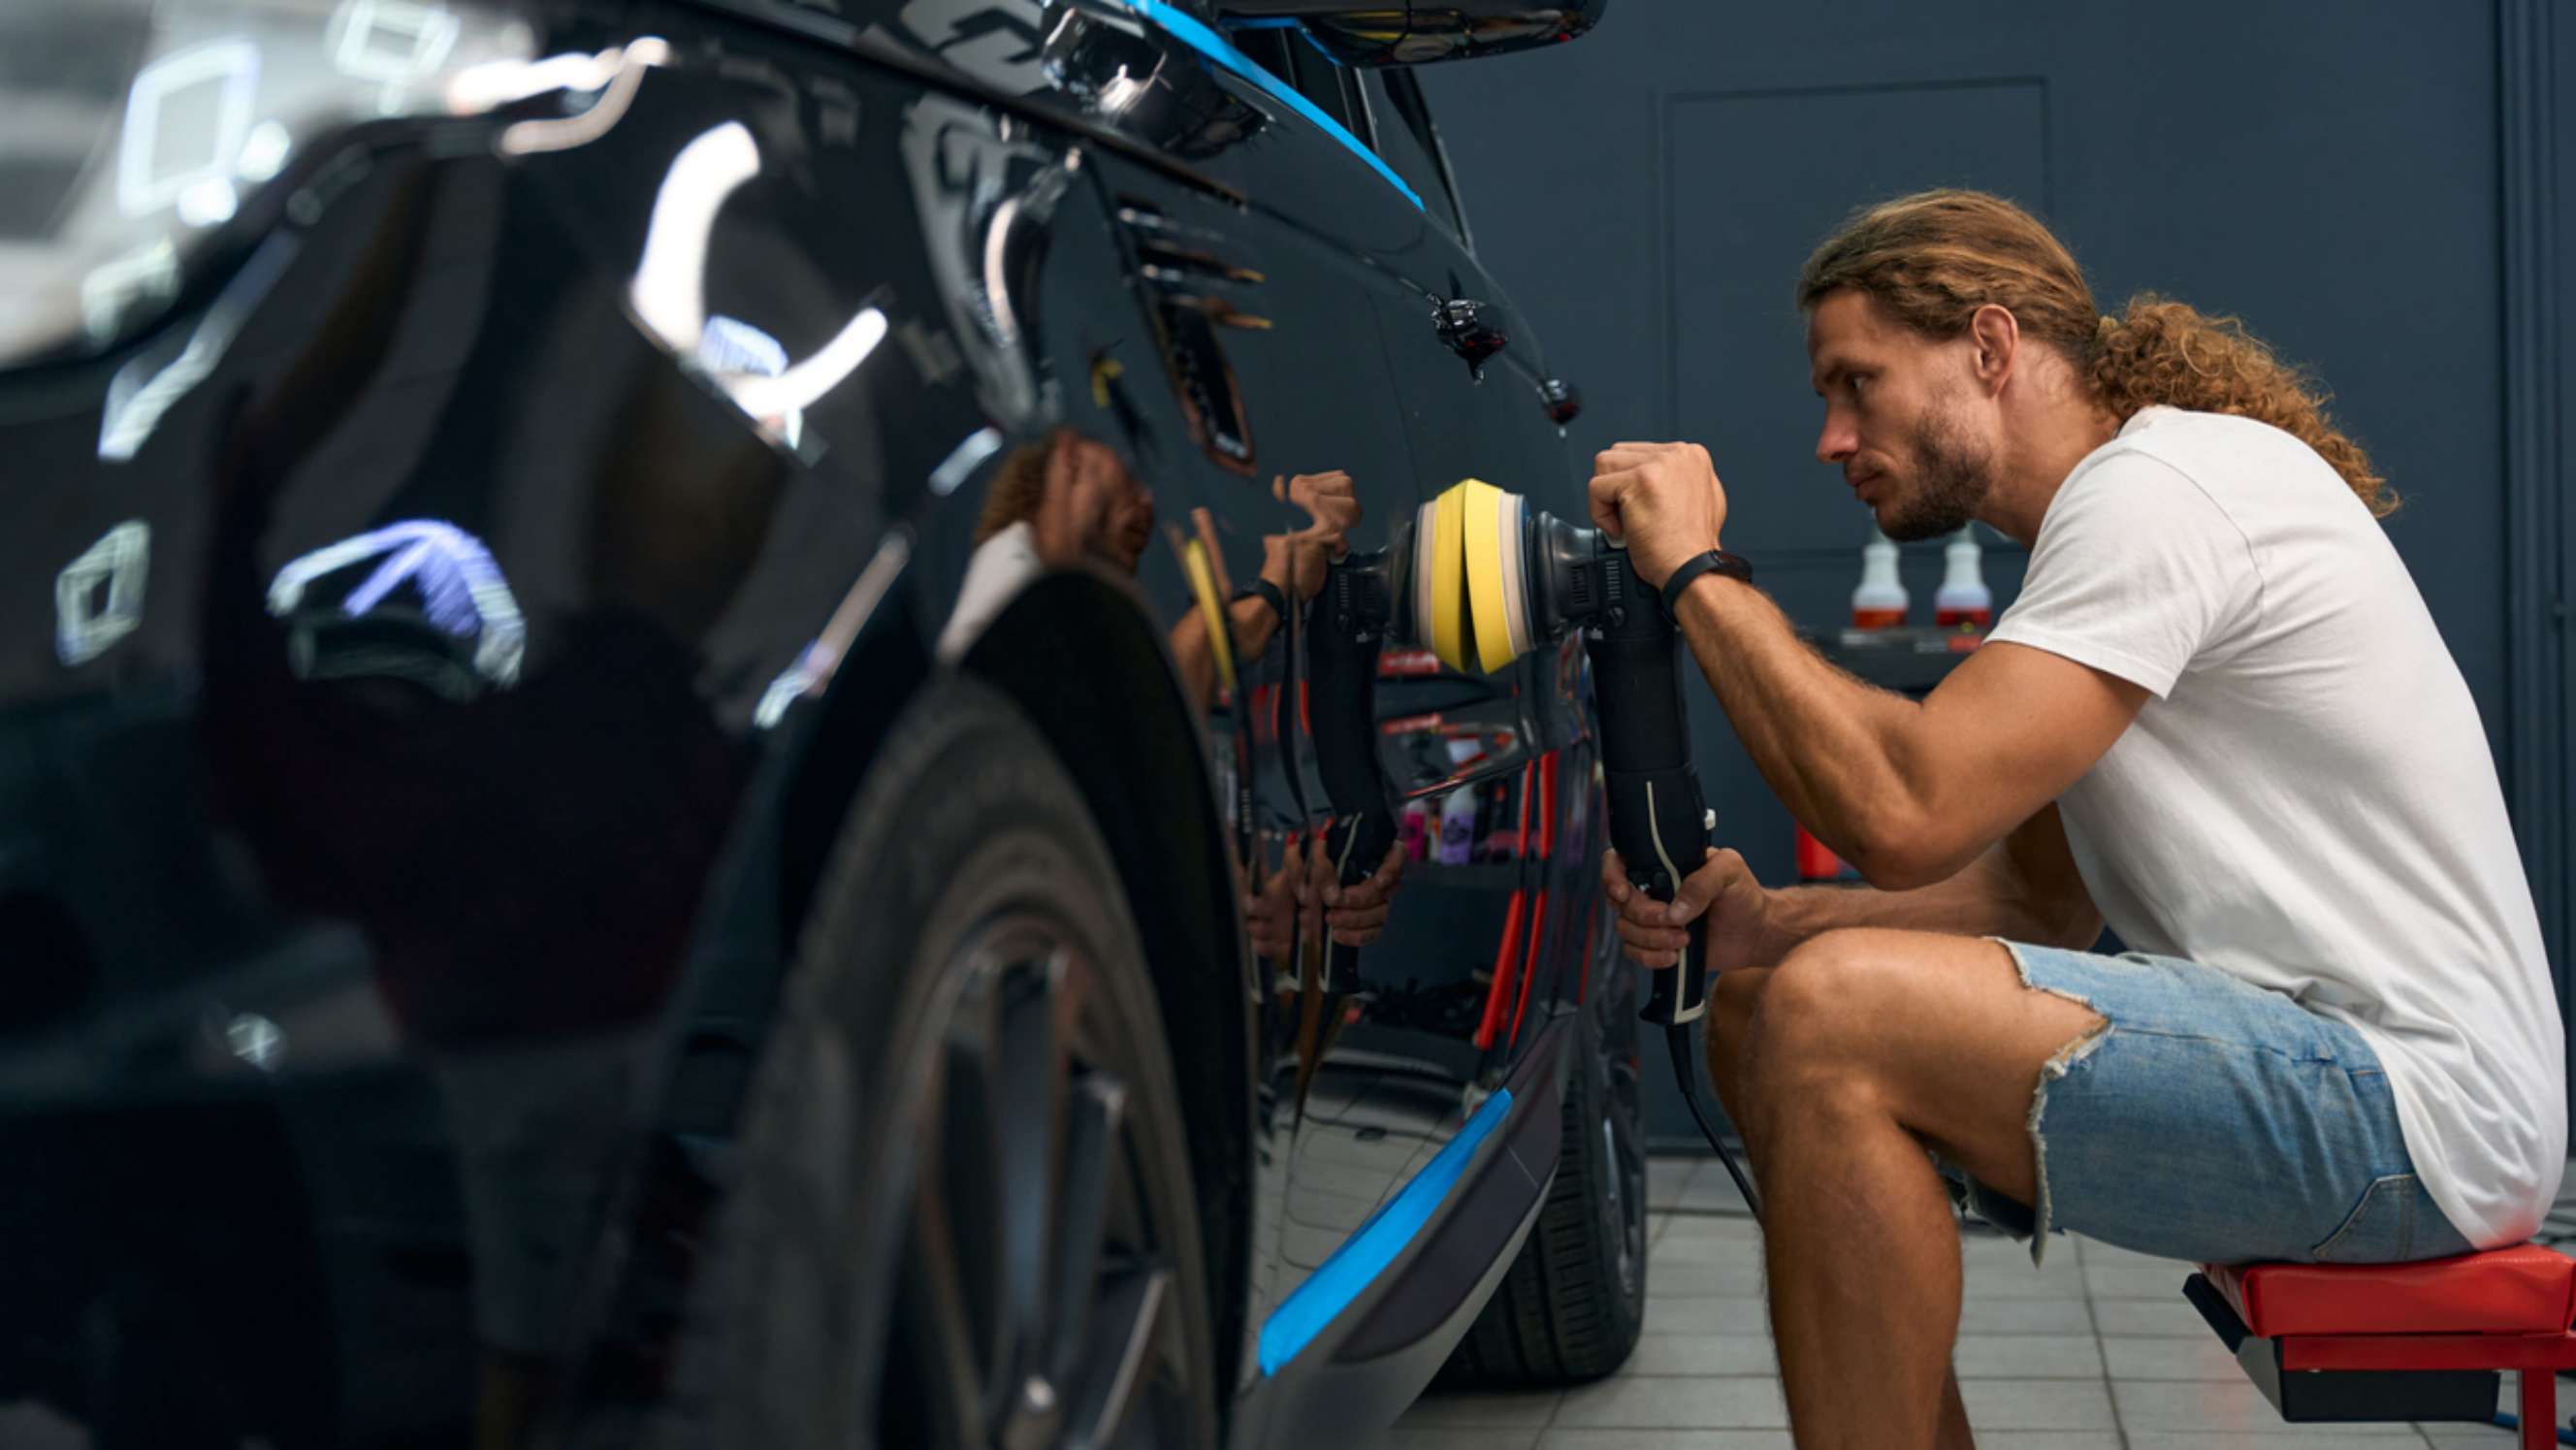
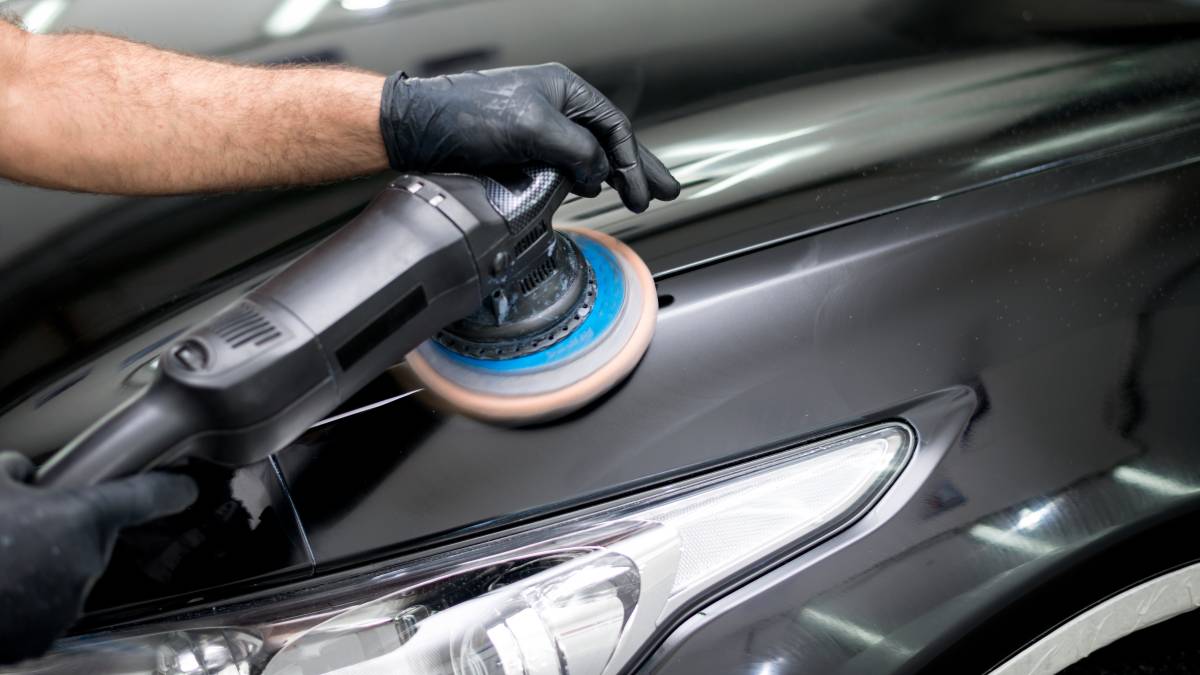
Buffing comes after polishing the vehicle surfaces. It involves using a buffing pad to remove any leftover polishing residue to create a brilliant, smooth finish.
Step 5: Clean the car’s interior surfaces
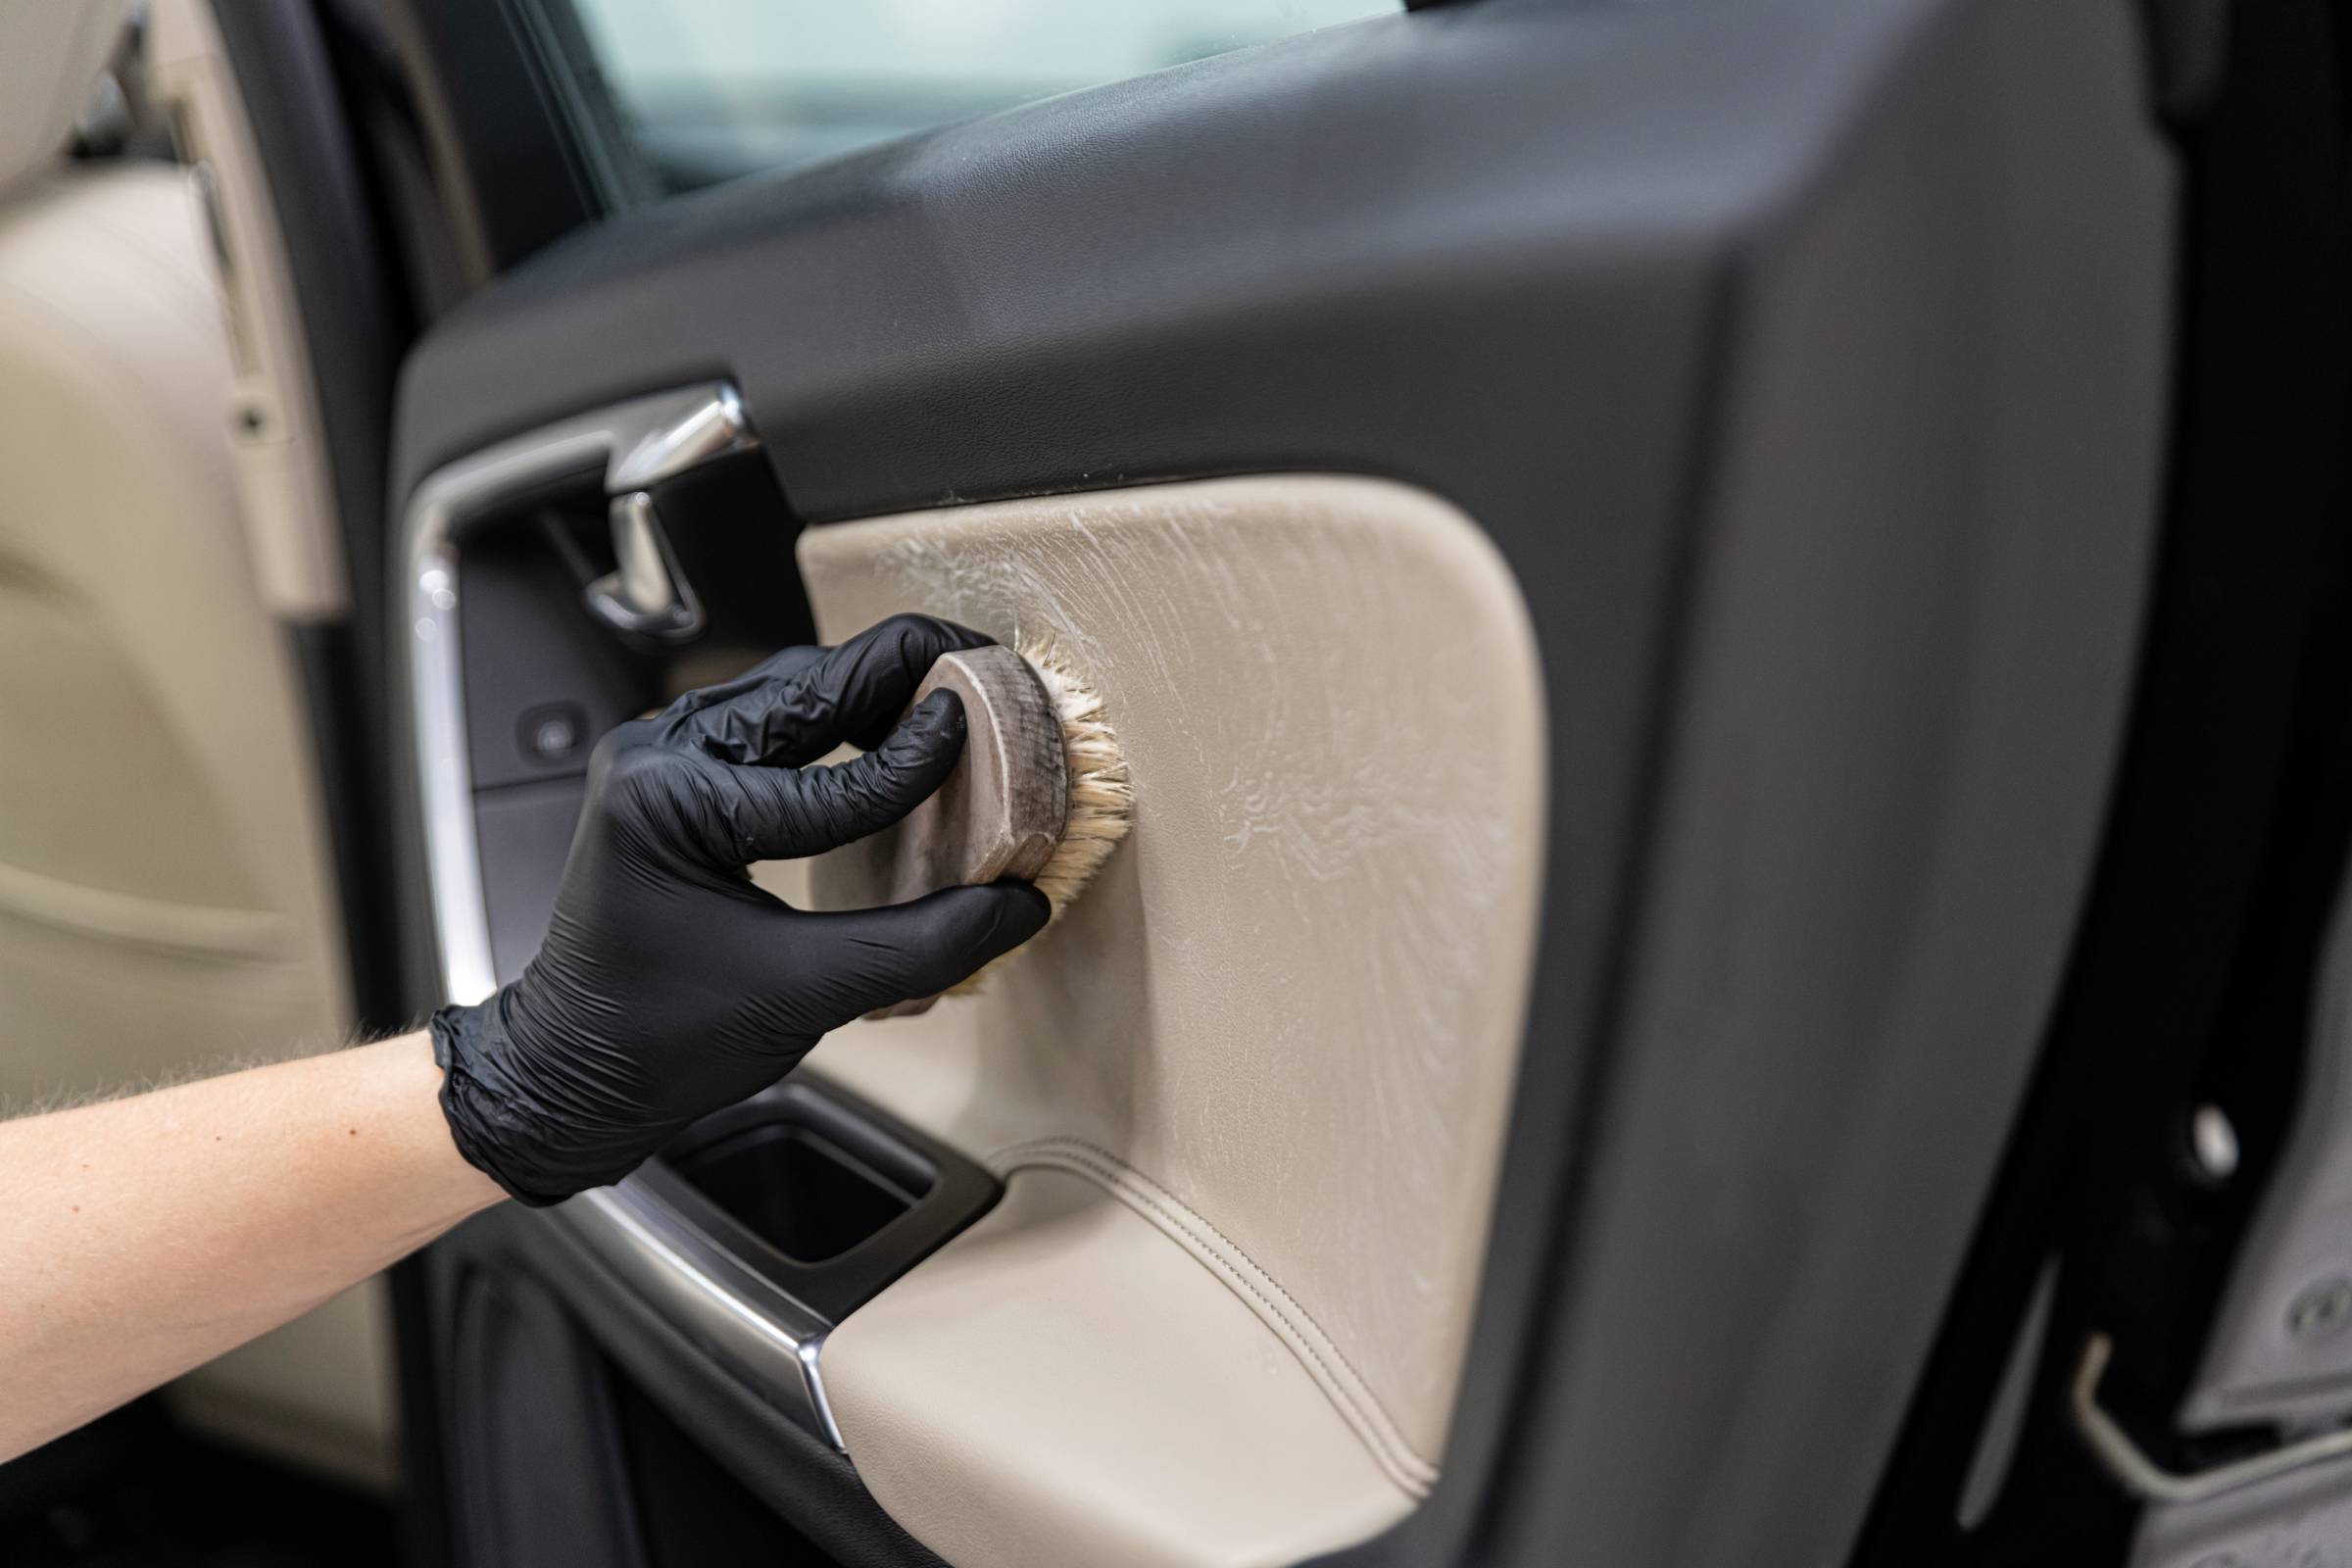 Thorough interior car detailing or cleaning is crucial after exterior washing. This completes the full detail for a pleasant driving environment.
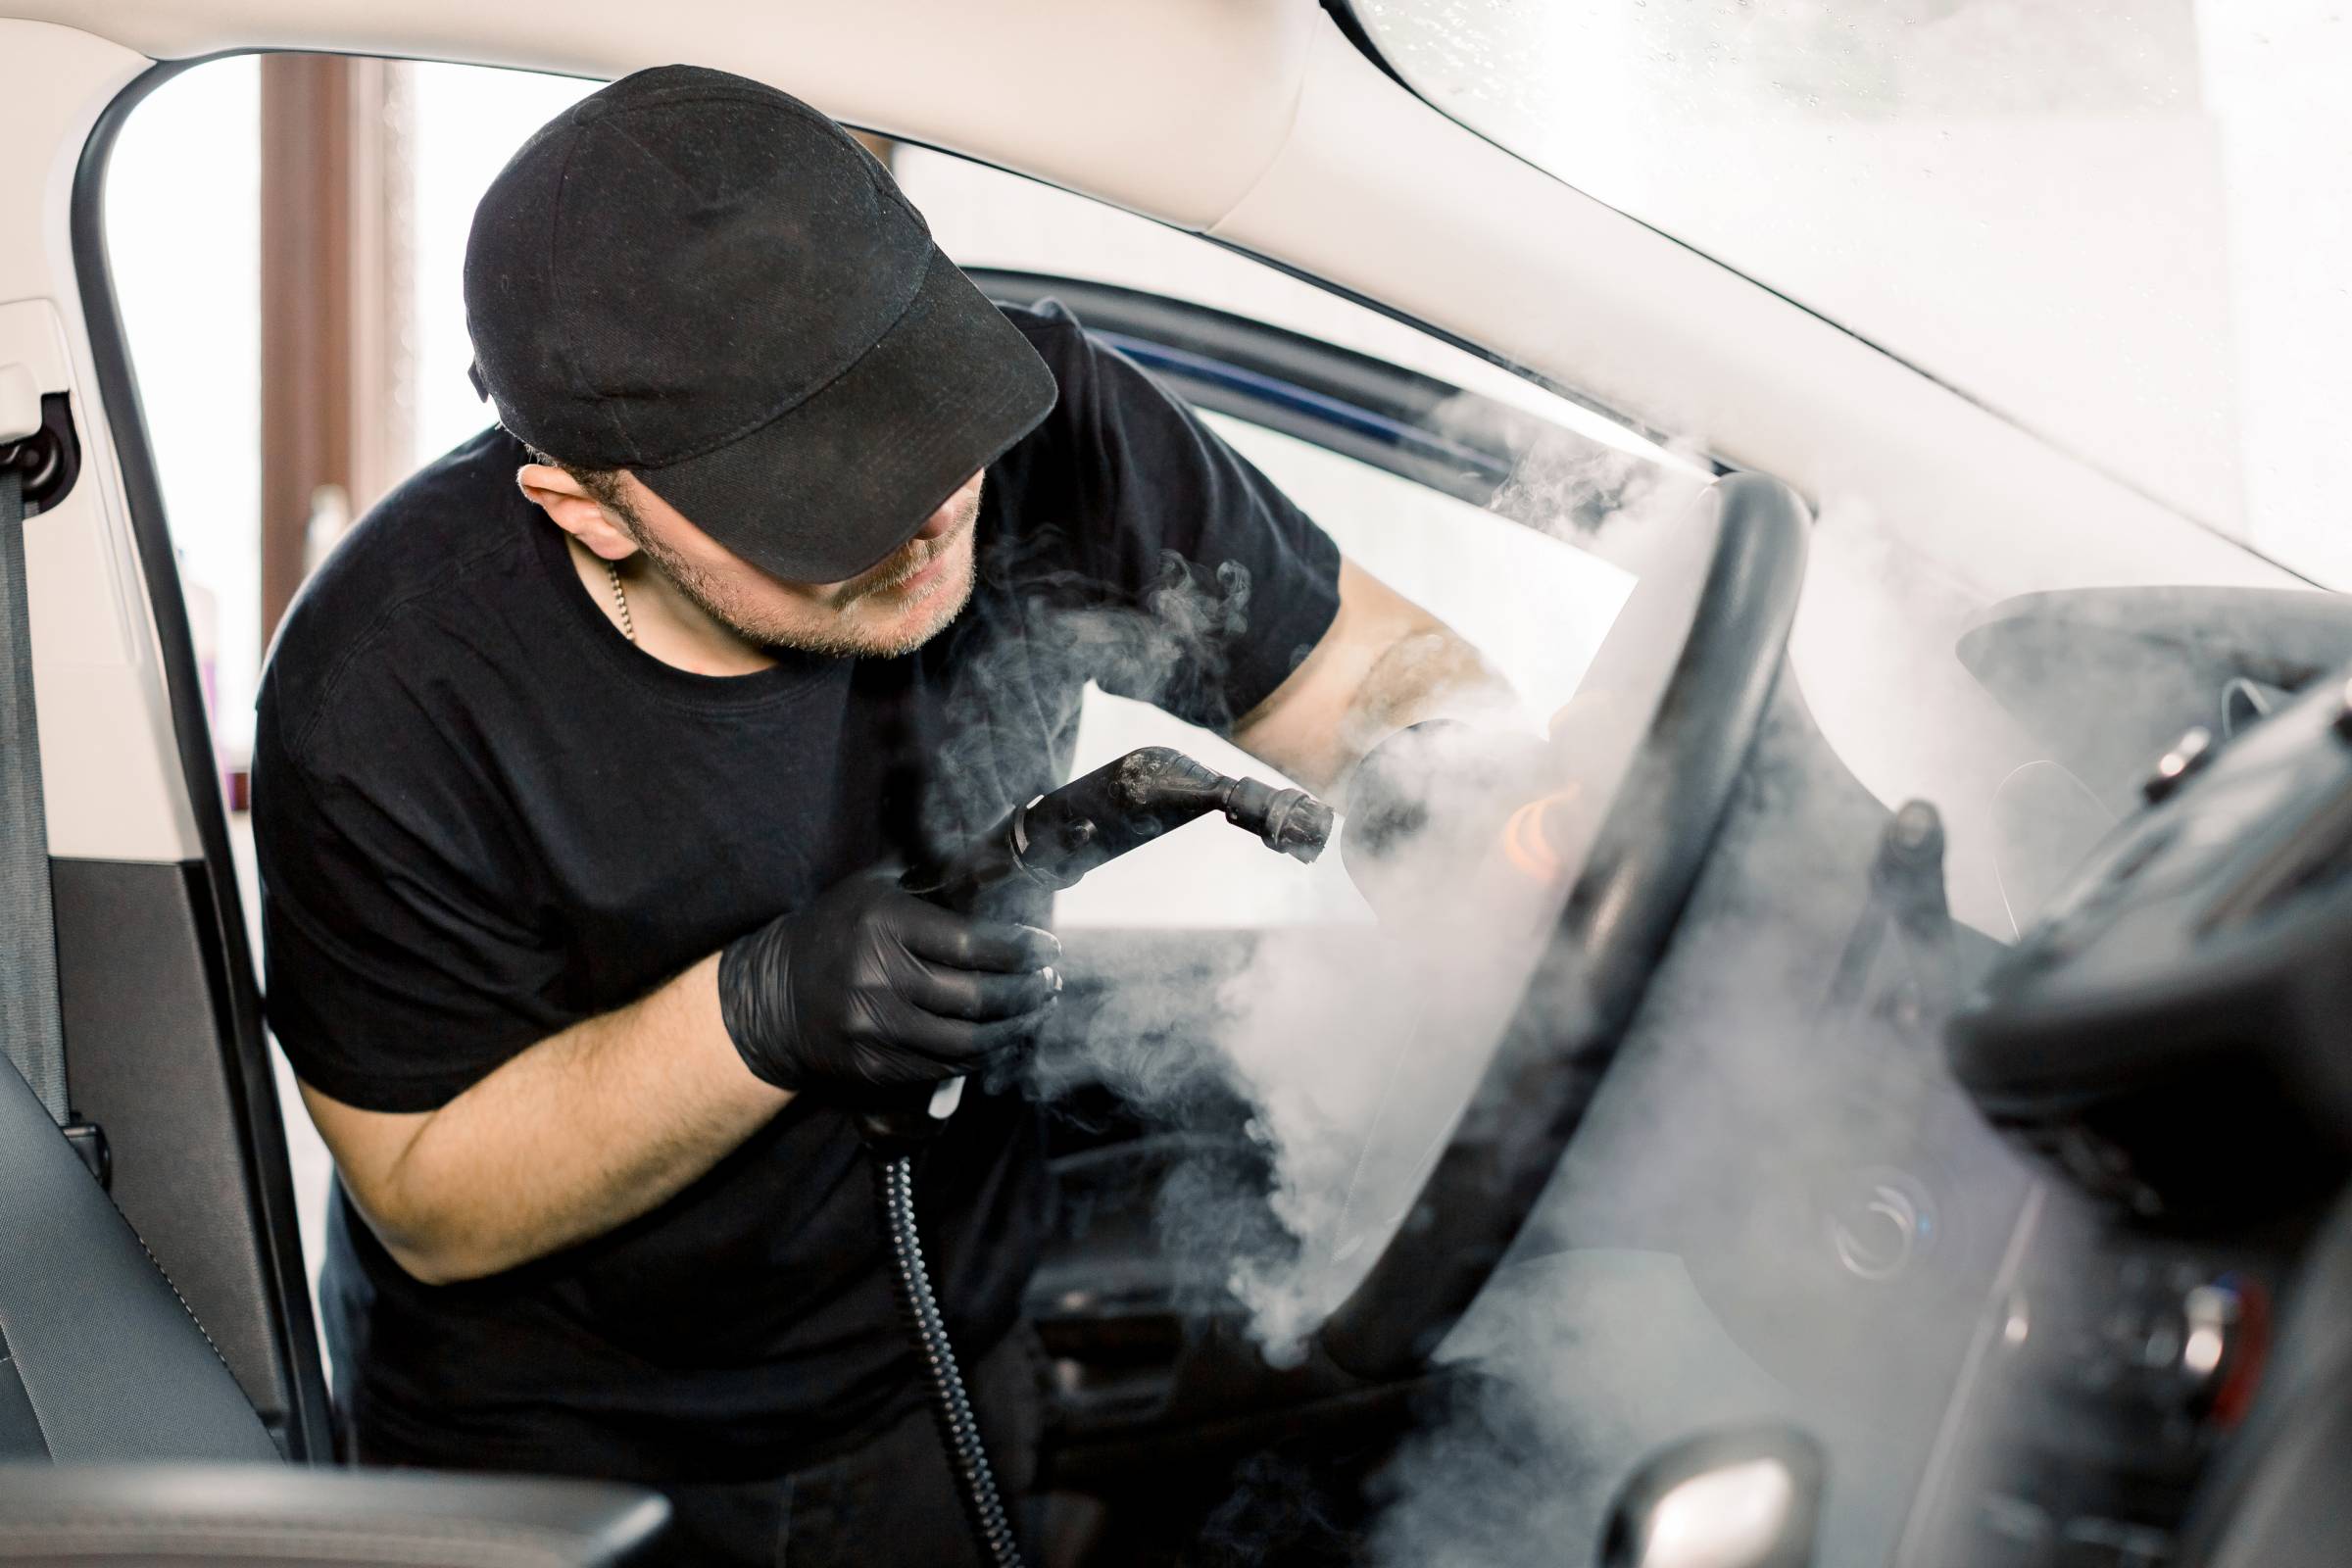
For starters, use interior-safe cleaners on leather seats, cloth seats, door panels, dashboards, and other surfaces. Products with high alkalinity or acidity can damage leather, vinyl, and plastic surfaces over time. They cause fading, cracking, or discolouration.
Do not oversaturate the materials with cleaners either. Over time, it can contribute to stains, mould, or mildew in the upholstery. Instead, apply only a small amount onto the microfiber towel. Deep-clean carpets using an appropriate shampoo.
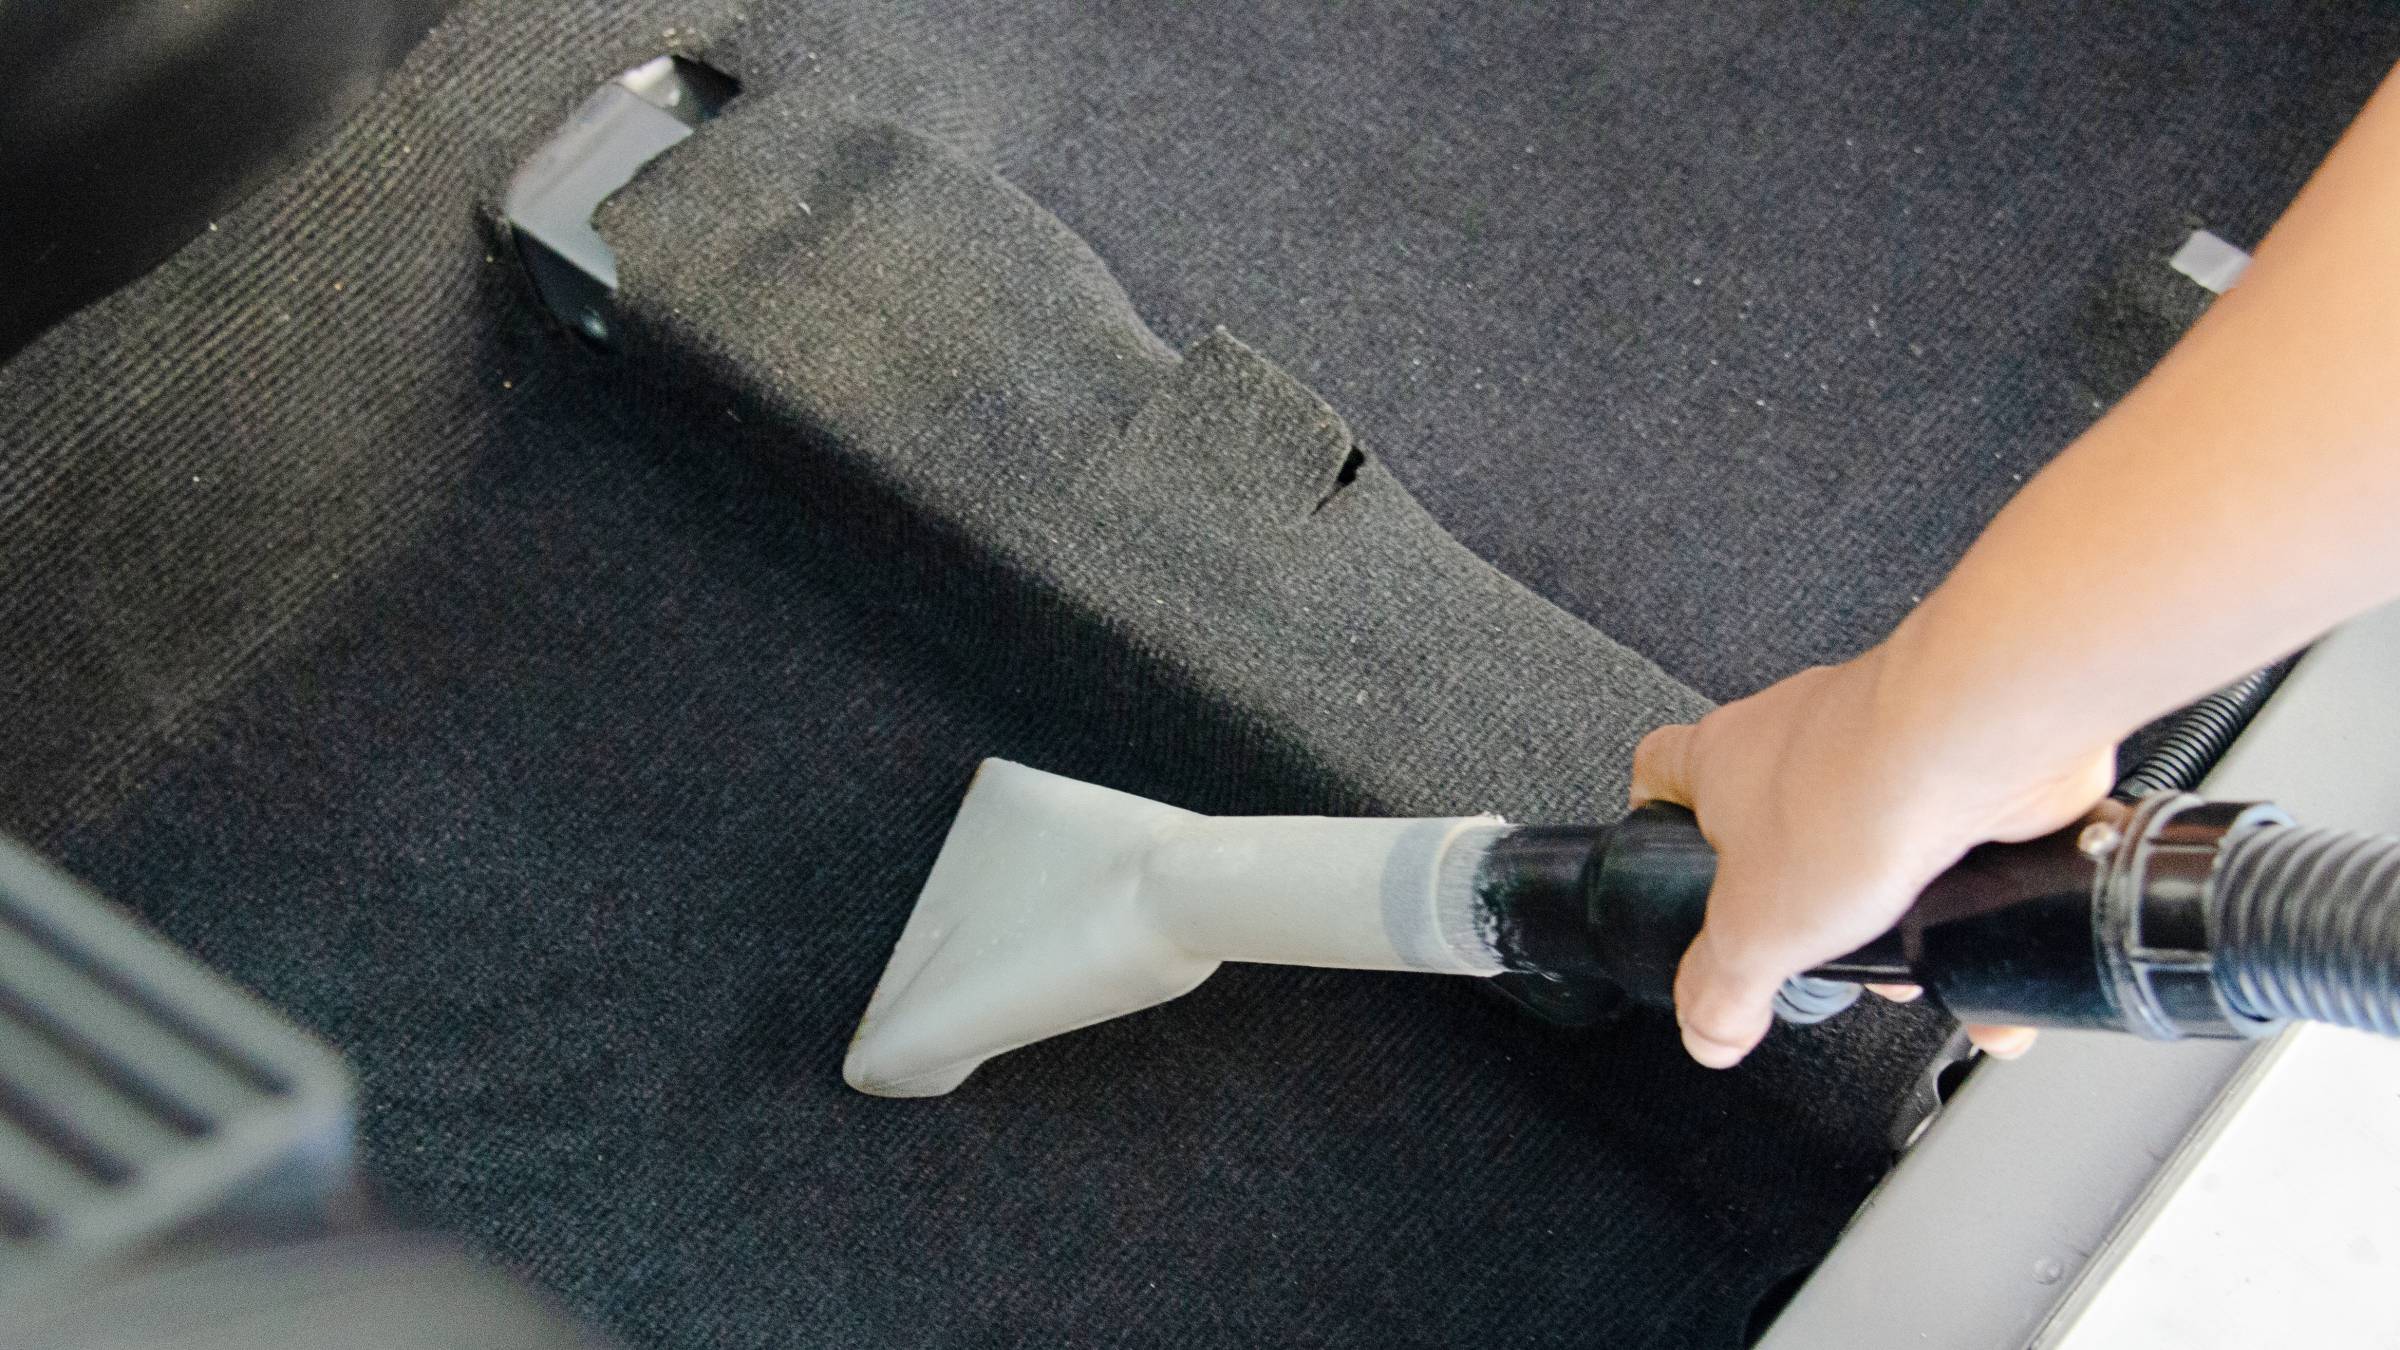
Vacuum fabrics, including car seats and floor mats. Scrub the steering wheel, and use an artist’s paintbrush dipped or dabbed with furniture polish to remove dust in the air vents. Use compressed air to dislodge debris from hard-to-reach areas.
Clean inside windows and mirrors using glass cleaner and microfiber cloths. Add a few drops of your preferred essential oil to leave a light scent in the interiors, but do not overdo it to prevent staining.
Get your car detailed by a pro through Airtasker
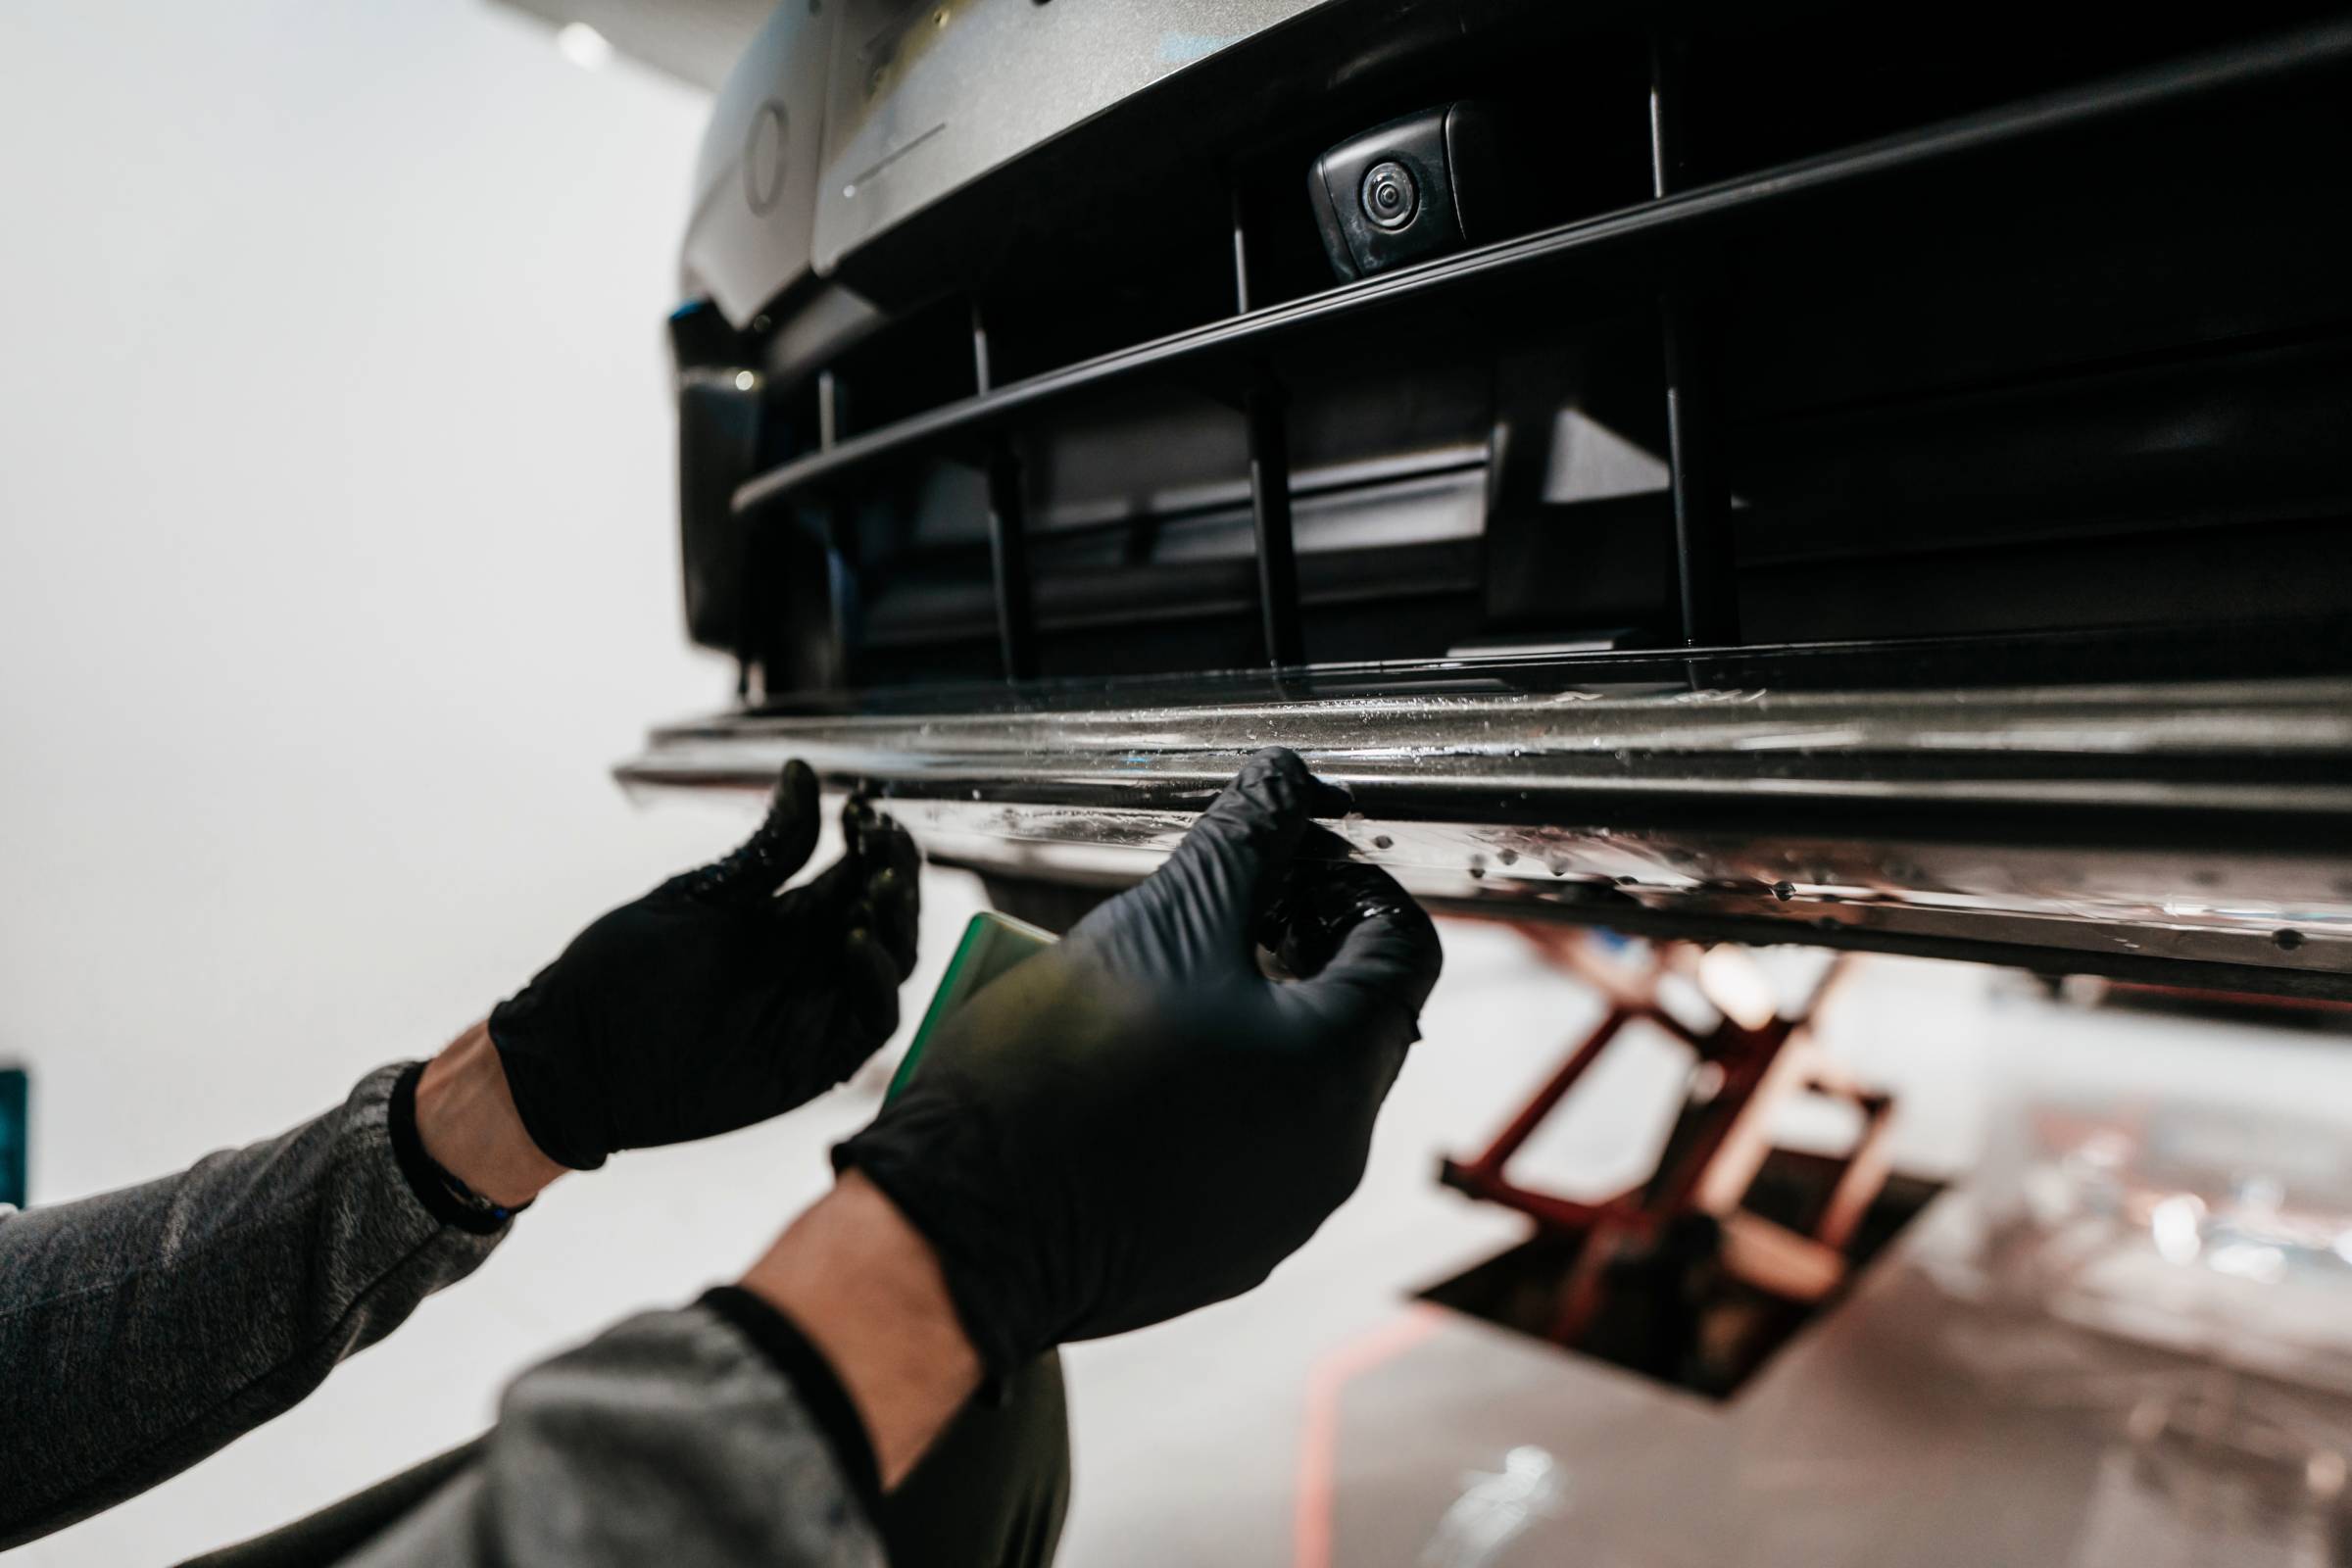
Although learning how to detail a car yourself can be rewarding, sometimes it’s best to leave it to the auto detailing experts. They have specialised tools, products, and skills for a show-quality clean.
They thoroughly wash away built-up dirt and grime, restoring your paint’s original shine. They buff out swirls, scratches, and oxidation for a flawless finish. The interior gets a deep cleaning of carpets, cloth, and leather upholstery.
Even better, Airtasker matches you with the ideal person to handle your car’s detailing in only three simple steps:
Sign up for a free account.
Post a task with comprehensive details. Include the needed services, such as a car paint job or polishing. State your budget, timeline, and car model.
Wait for proposals or reach out to local car detailing specialists.
That’s it! You don’t have to settle for a basic car wash or waste money on products at the auto part store. Connect with skilled detailers on Airtasker and relax while they pamper your vehicle.
FAQs on DIY car detailing
A proper DIY car detailing project requires more than just a few minutes to thoroughly clean. Plan at least 2-3 hours for a basic wash, vacuum, and wipe down interior surfaces and cloth upholstery. An experienced detailer works efficiently but doesn’t cut corners that could jeopardize quality results.
It’s best to apply wax or other sealants to a dry, clean surface for optimal results when it comes to auto detailing and protecting your car’s paint finish. The substance adheres much better to a dry vehicle than a wet one. This is because moisture causes wax to go on unevenly. Drying also allows you to inspect the paint more closely and do any spot cleaning or touch-ups needed before waxing.
When cleaning your vehicle’s interior, car detailers recommend avoiding dish soap or other household cleaning products. They often contain harsh detergents and abrasive chemicals that can damage auto surfaces.
Plan to detail your vehicle at least 2-3 times yearly to maintain a clean car and prevent light scratches. Do a basic wash every 2-4 weeks to remove surface dirt. Vacuum the interior weekly or as needed.
Using a carb cleaner or a brake cleaner to remove tough grime and stains from your car is not recommended, as these products contain strong solvents that can damage the car's paint, clear coat, plastic, and rubber parts. Instead, opt for car-specific cleaning products that are formulated to safely clean the exterior without causing harm.
Find car detailers, fast
Find a Car Detailer
Related articles

How to detail your own car with ease
Read more
Related price guides
